Introduction
A gaming monitor is an essential component for any serious gamer. It not only determines the visual quality of the games you play but also impacts the overall gaming experience. One crucial aspect of a gaming monitor is its color settings. Having accurate and vibrant colors can greatly enhance the immersion and enjoyment of your gameplay.
However, out of the box, gaming monitors may not have the optimal color settings for your preferences or the specific requirements of the games you play. That’s where adjusting the color settings becomes necessary. In this guide, we will explore various techniques and settings to help you adjust the color on your gaming monitor and achieve the best visual experience.
Understanding how color settings work on a gaming monitor is the first step towards effectively adjusting them. Monitors use different color profiles, such as sRGB, Adobe RGB, or custom profiles, to represent colors. These profiles define the range and accuracy of colors that can be displayed. It’s important to choose the right color profile based on your needs and the types of games you usually play.
Once you have selected the appropriate color profile, you can begin adjusting the brightness and contrast settings. These settings impact the overall picture quality and the balance between bright and dark areas. Finding the right balance can help you see details in shadows and highlights, enhancing the overall visual experience.
Color temperature is another crucial setting to consider. It determines the warmth or coolness of the colors displayed on your monitor. Adjusting the color temperature allows you to create a more accurate representation of the intended colors of the game or match your personal preference.
An RGB setting allows you to fine-tune the levels of red, green, and blue colors individually. This adjustment is helpful to achieve better color accuracy and balance. Tweaking the RGB settings can also help eliminate any color casts or biases that may appear on your gaming monitor.
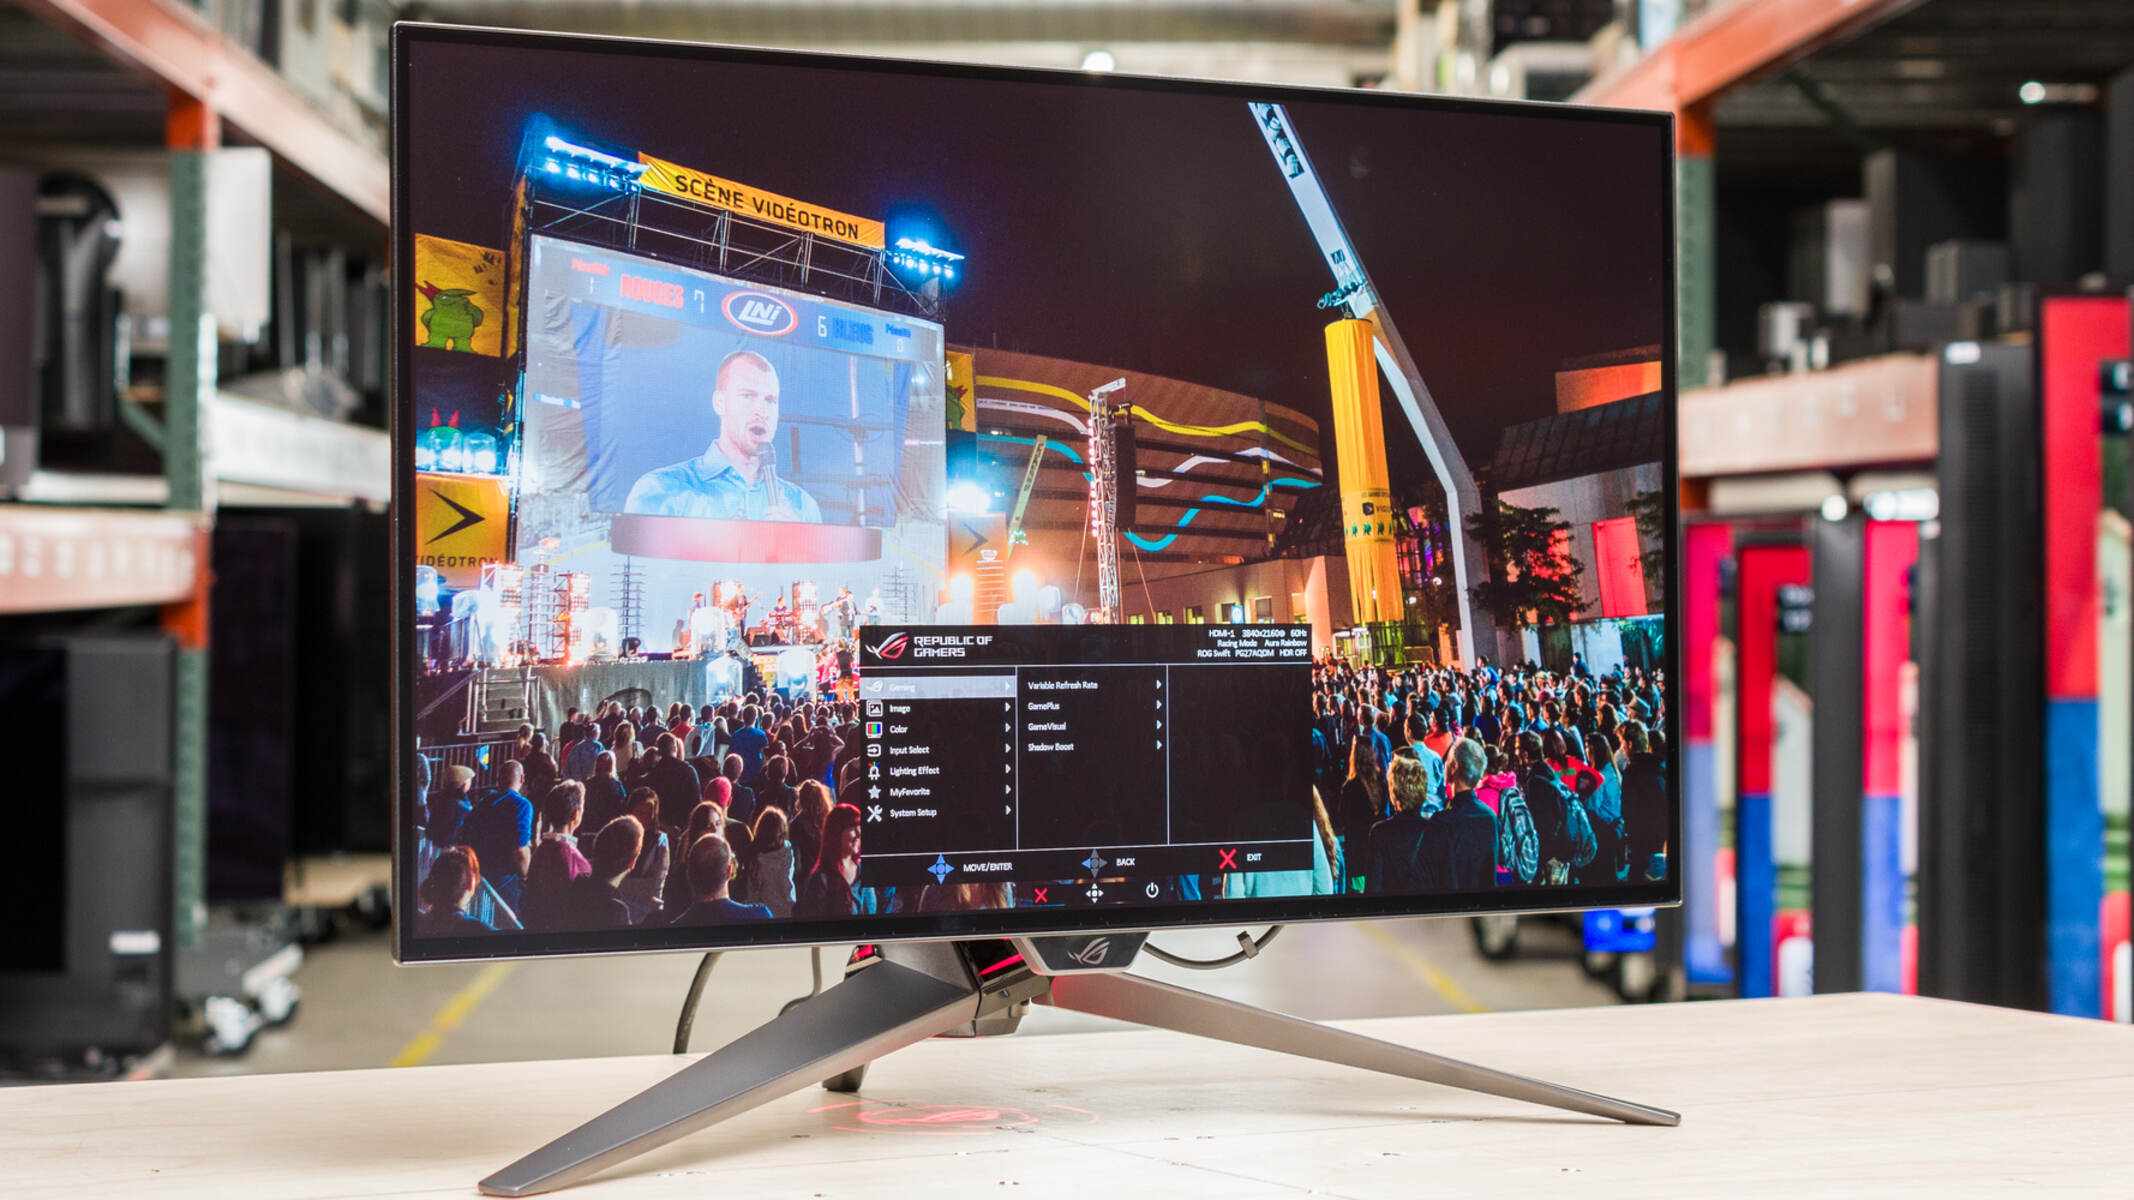
Most gaming monitors come with an on-screen display (OSD) menu that allows you to access and adjust various settings. Understanding how to navigate and use the OSD menu is essential for making precise color adjustments. Being able to adjust the color settings directly from the monitor’s OSD menu gives you real-time control and flexibility.
It is important to test and compare your color adjustments to ensure you achieve the desired results. Take the time to play games, view images, and watch videos to evaluate the impact of your color changes. Comparing the before and after results will help you fine-tune your settings until you achieve the best color quality.
Adjusting the color settings on a gaming monitor is an ongoing process. As you encounter different games and media content, you may need to make slight adjustments to optimize your experience. Remember to regularly re-evaluate and refine your color settings to keep your gaming visuals at their best.
In the following sections, we will dive into more detail on how to adjust each aspect of color settings on your gaming monitor, providing you with step-by-step instructions and useful tips to help you achieve your desired visual experience.
Understanding Color Settings on a Gaming Monitor
When it comes to understanding color settings on a gaming monitor, there are a few key concepts to grasp. By familiarizing yourself with these concepts, you can make informed decisions when adjusting the color settings to optimize your gaming experience.
One important concept to understand is color profiles. A color profile is a set of predefined values that determines how colors are displayed on your monitor. Common color profiles include sRGB and Adobe RGB. Each profile has a different color space, which refers to the range and accuracy of colors that can be reproduced on the monitor. It’s essential to choose the appropriate color profile based on your needs and the types of games you play.
Another crucial factor to consider is the monitor’s color gamut. The color gamut refers to the range of colors that a monitor can display. It is usually represented as a percentage of the NTSC or sRGB color space. Monitors with a larger color gamut can reproduce a wider range of colors, resulting in more vibrant and lifelike visuals.
Brightness and contrast are two fundamental settings that greatly impact the overall visual quality of your games. Brightness controls the overall luminance of the display, while contrast determines the difference between the brightest and darkest areas. Adjusting these settings properly can enhance the details in shadows and highlights, making your games visually stunning.
Color temperature is another critical aspect of color settings. It defines the warmth or coolness of the displayed colors. Common color temperature presets include “warm,” “cool,” and “neutral.” Selecting the appropriate color temperature can help create a more accurate representation of the intended colors in your games or match your personal preference.
RGB settings allow you to control the intensity of red, green, and blue colors individually. This granular control is beneficial when it comes to achieving accurate color balance and eliminating any color casts or biases. Adjusting the RGB settings lets you fine-tune the colors to your liking, resulting in a more immersive gaming experience.
To access and make these adjustments, gaming monitors typically come with an on-screen display (OSD) menu. The OSD menu allows you to navigate through various settings and make changes directly on the monitor. Familiarizing yourself with the OSD menu is essential for making precise color adjustments and ensuring that your gaming visuals are at their best.
Understanding the color settings on your gaming monitor is the foundation for making accurate and effective adjustments. By grasping the concepts of color profiles, color gamut, brightness, contrast, color temperature, RGB settings, and the OSD menu, you’ll be equipped with the knowledge to fine-tune the color of your gaming monitor to achieve optimal visual quality.
Now that we have a solid understanding of the color settings on a gaming monitor, let’s move on to the next section, where we will delve into choosing the right color profile for your gaming needs.
Choosing the Right Color Profile
When it comes to adjusting the color on your gaming monitor, one of the first decisions you’ll need to make is selecting the right color profile. A color profile determines how colors are displayed on your monitor and plays a crucial role in achieving accurate and vibrant visuals.
There are several common color profiles to choose from, with the most widely used being sRGB and Adobe RGB. Let’s take a closer look at each of these profiles to help you make an informed decision:
1. sRGB: This is the standard color profile used in most consumer electronics, including gaming monitors. sRGB has a smaller color gamut compared to Adobe RGB, but it is ideal for general gaming and everyday use. Most games and media content are optimized for the sRGB color space, so using this profile ensures consistent and accurate color reproduction.
2. Adobe RGB: This color profile has a larger color gamut compared to sRGB. It is commonly used by professionals in fields such as graphic design and photography. If you require precise color reproduction and work with content that is specifically designed for the Adobe RGB color space, choosing this profile may be beneficial. However, it’s worth noting that not all games and media content are optimized for Adobe RGB, so it may not always yield the desired results.
In addition to the standard color profiles, some gaming monitors offer custom profiles. These profiles allow you to create and save personalized color settings tailored to your preferences or specific game requirements. Custom profiles can be a great option if you want complete control over the color settings and wish to experiment with different combinations.
When deciding on the right color profile, it’s essential to consider the types of games you usually play and the content you interact with. If you primarily play modern AAA games or watch movies, the sRGB profile is likely sufficient to deliver accurate and vibrant colors. However, if you engage in professional graphic design or photography work or play older games that may benefit from a wider color gamut, the Adobe RGB profile may be more suitable.
It’s worth noting that choosing the right color profile is not a one-time decision. You can switch between different profiles on your gaming monitor depending on the content you are viewing or the games you are playing. Experimenting with different profiles and observing their impact on color reproduction is a great way to find the setting that best suits your specific needs and preferences.
Now that you understand the importance of selecting the right color profile for your gaming monitor, let’s move on to the next section, where we will explore how to adjust the brightness and contrast settings to enhance your visuals.
Adjusting Brightness and Contrast Settings
When it comes to optimizing the visual quality of your gaming experience, adjusting the brightness and contrast settings on your monitor is essential. These settings can significantly impact the clarity, detail, and overall immersion of your games.
Let’s start with brightness. The brightness setting controls the overall luminance of the display. If the brightness is set too high, it can result in washed-out and overexposed images. On the other hand, if the brightness is set too low, the screen may appear dark, making it challenging to see fine details.
To find the ideal brightness setting, begin by adjusting it to a level that feels comfortable to your eyes in a well-lit room. You don’t want the screen to be too bright or too dim, as it can strain your eyes and affect your overall gaming experience.
Contrast, on the other hand, determines the difference between the brightest and darkest areas of the screen. A higher contrast setting can enhance the details and make colors appear more vibrant. However, setting the contrast too high can result in loss of detail and introduce visual artifacts.
Start by setting the contrast to a moderate level and gradually increase or decrease it until you achieve the desired balance. You want to strike a balance where the screen displays a wide range of colors and tones without sacrificing detail in bright or dark areas.
It’s worth noting that the optimal brightness and contrast settings can vary depending on the ambient lighting conditions in your gaming environment. For instance, if you’re playing games in a dimly lit room, you may want to lower the brightness and increase the contrast for better visibility. Conversely, in a well-lit room, boosting the brightness and adjusting the contrast accordingly can help maintain a vibrant and well-defined image.
One helpful tip when adjusting the brightness and contrast settings is to refer to in-game images that contain both dark and bright elements. Look for scenes that have a good balance of shadows, highlights, and colors. By tweaking the brightness and contrast settings while viewing these images, you can fine-tune the visual quality to your liking.
Remember that finding the perfect brightness and contrast settings may require some trial and error. Take the time to test different adjustments and evaluate the impact on your gaming experience before settling on the ideal settings. Regularly reassessing and adjusting these settings as needed will ensure that your games are displayed with optimal clarity and detail.
Now that you have a good understanding of adjusting the brightness and contrast settings, let’s move on to the next section, where we will explore how to calibrate the color temperature for accurate and pleasing visuals.
Calibrating Color Temperature
Calibrating the color temperature of your gaming monitor is an important step in achieving accurate and pleasing visuals. Color temperature refers to the warmth or coolness of the colors displayed on your screen. By adjusting the color temperature, you can create an optimal balance that enhances the overall visual experience.
Most gaming monitors offer pre-set color temperature options such as “warm,” “cool,” and “neutral.” Each option represents a different color temperature and has its own characteristics. Let’s take a closer look at these options:
1. Warm: Setting the color temperature to warm adds a reddish, warm tone to the screen. This can make the colors appear more natural and vibrant, especially for certain types of content such as movies or games with a warm color palette. However, keep in mind that warmer color temperatures may not always be suitable for all types of games or content, as it can slightly skew the color accuracy.
2. Cool: Choosing the cool color temperature adds a bluish, cool tone to the screen. This can make the colors appear sharper and more vivid, particularly for games or content that feature cool color schemes. It’s important to note that a cool color temperature might not be the ideal choice for every situation, as it can introduce a cooler bias to the overall color representation.
3. Neutral: The neutral color temperature option strikes a balance between warm and cool tones, aiming for a more accurate representation of colors. This option is often recommended for those seeking a natural and balanced color reproduction. Using the neutral color temperature helps to ensure that the displayed colors are close to how they were intended to appear.
When calibrating the color temperature, it’s important to consider factors such as personal preference, ambient lighting conditions, and the color palette predominant in the games you play. Experiment with different color temperature options and observe how they affect the overall look and feel of your gaming experience.
If you require a more precise color temperature adjustment, some gaming monitors provide advanced settings that allow you to fine-tune the temperature through numerical values or color temperature sliders. This level of control enables you to achieve a personalized color temperature that aligns with your specific preferences.
It’s important to note that achieving the optimal color temperature can be subjective and may require some trial and error. As you adjust the color temperature, refer to images or games that contain a wide range of colors. Pay attention to skin tones, natural landscapes, or scenes with various lighting conditions. This will help you determine if the color temperature adjustment results in accurate and pleasing visuals.
Regularly reassessing and calibrating the color temperature of your gaming monitor can help ensure that the colors are displayed as intended and enhance your overall visual satisfaction. Now that you have a better understanding of calibrating the color temperature, let’s continue to the next section, where we will explore tweaking the RGB settings for finer color adjustments.
Tweaking RGB Settings
Adjusting the RGB settings on your gaming monitor allows you to fine-tune the levels of red, green, and blue colors individually. This level of control enables you to achieve better color accuracy, balance, and customization in your gaming visuals.
The RGB settings on your monitor can typically be accessed through the on-screen display (OSD) menu. Once you locate the RGB settings, you will usually find sliders or numerical values that represent the intensity or level of each color channel.
Why would you want to tweak the RGB settings? Well, sometimes monitors may exhibit color imbalances or biases out of the box. By adjusting the RGB settings, you can correct any tint or color cast issues that you may notice in your gaming experience.
Start with the default settings and observe the colors displayed on your screen. Look for any apparent color biases or unevenness. For example, if you notice that white areas appear slightly warm or yellowish, you can decrease the intensity of the red channel to balance the colors.
When making adjustments to the RGB settings, it’s important to take a gradual and systematic approach. Make small changes to one color channel at a time and observe the impact on the overall color balance. It’s recommended to have some reference images or games that contain a wide range of colors and tones to help you evaluate the changes accurately.
Another technique for fine-tuning the RGB settings is using color calibration tools. There are software applications and hardware devices available that can help you achieve more accurate color calibration by generating and displaying specific color patterns for calibration purposes.
Keep in mind that the adjustments you make to the RGB settings should be based on your personal preference and the specific characteristics of your gaming monitor. While it’s important to strive for accurate color reproduction, don’t be afraid to experiment and find a color balance that pleases your eye and enhances your gaming experience.
Once you have made adjustments to the RGB settings, take the time to test and view different types of content, including games, images, and videos. Evaluate the color accuracy, vibrancy, and overall visual appeal. This process of testing and fine-tuning will allow you to achieve the desired color balance and ensure that your gaming visuals are displayed with optimal accuracy and customization.
Now that you understand how to tweak the RGB settings, let’s move on to the next section, where we will explore using the on-screen display (OSD) menu to access and adjust various settings on your gaming monitor.
Using the On-Screen Display (OSD) Menu
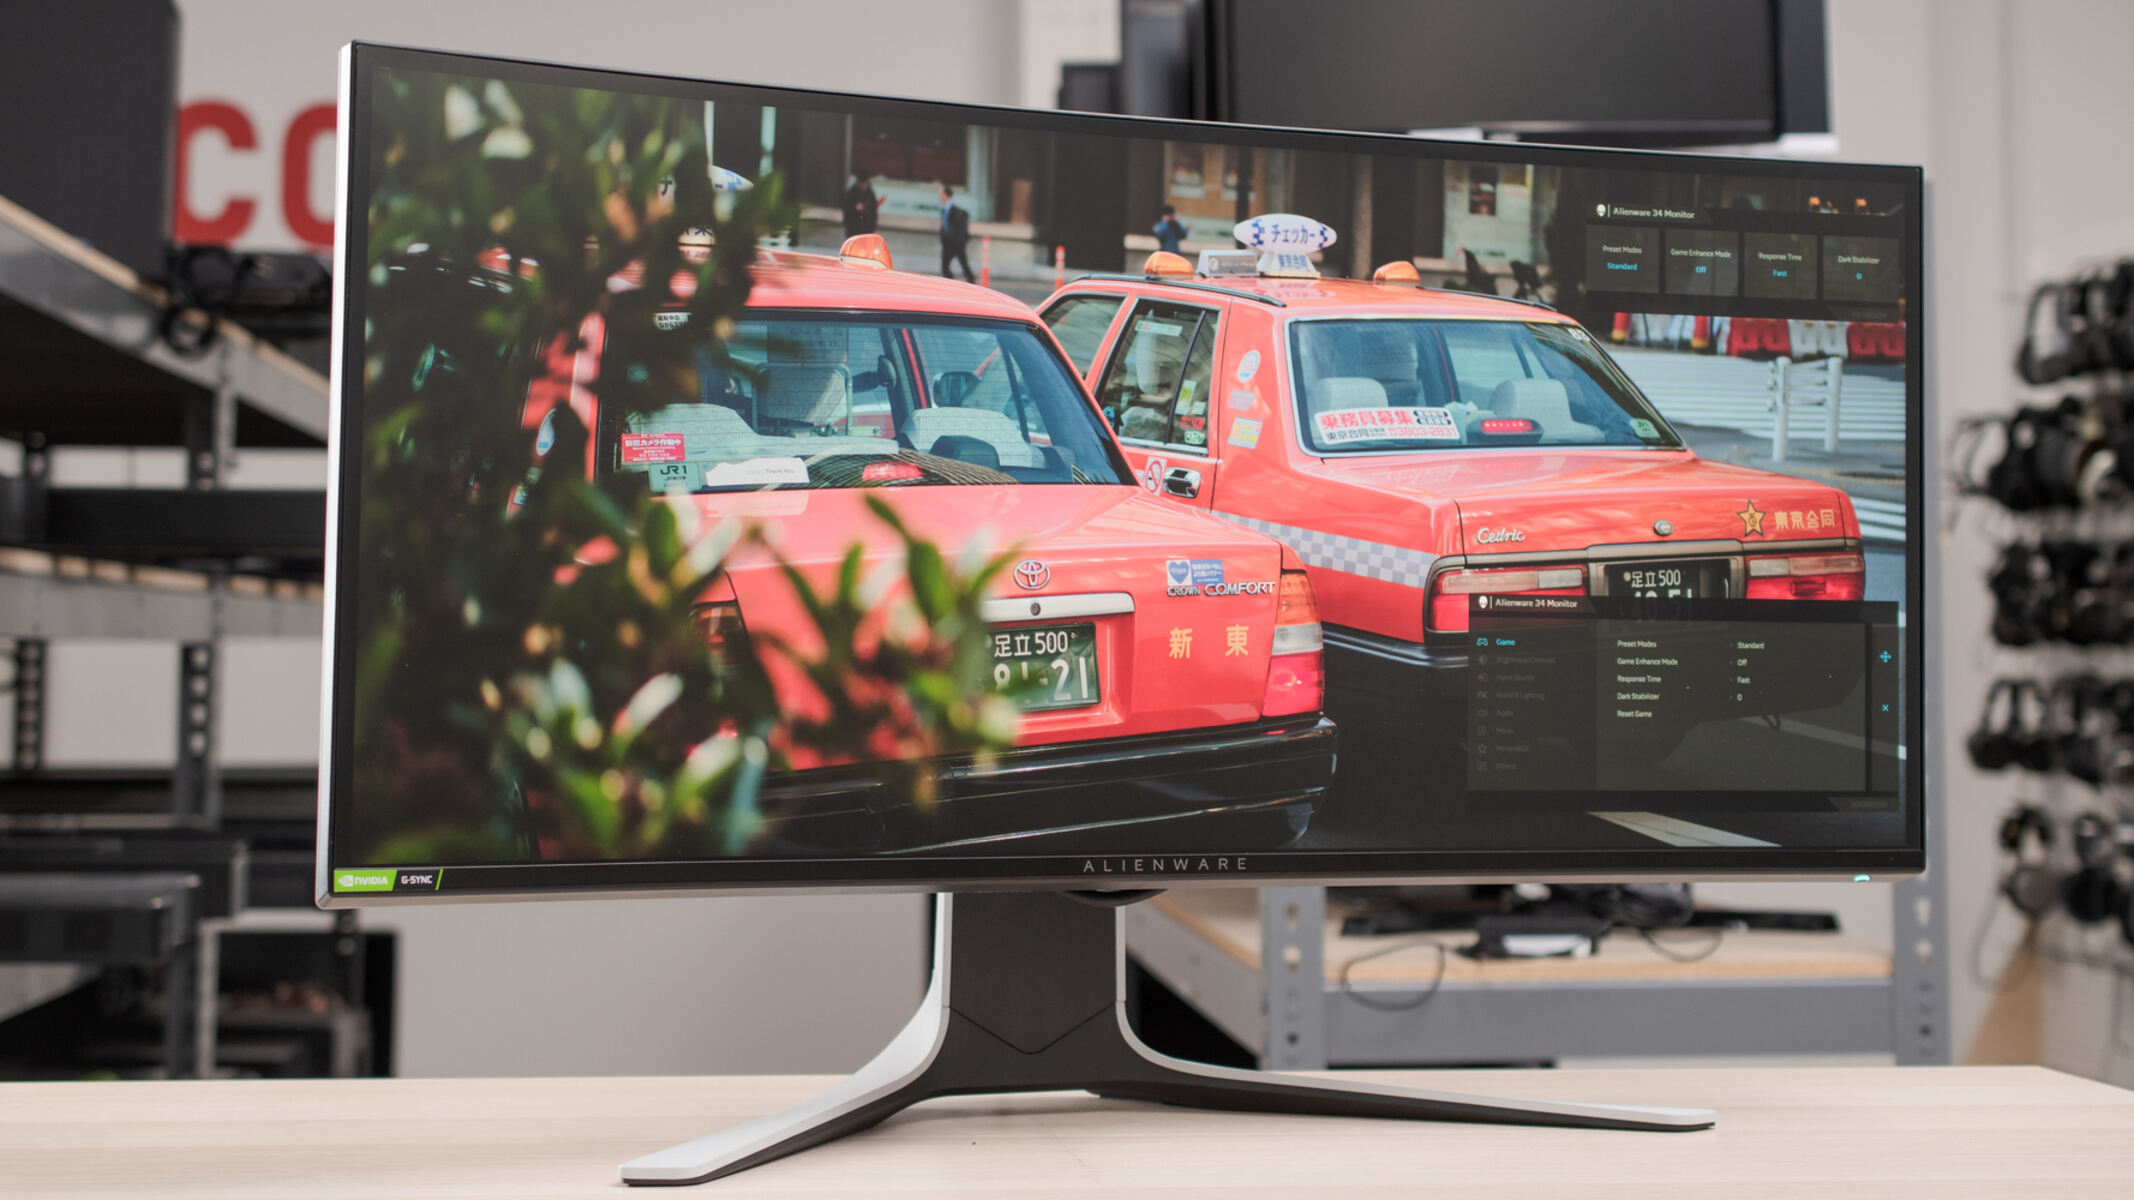
The on-screen display (OSD) menu is a vital tool that allows you to access and adjust various settings on your gaming monitor. It provides a convenient and user-friendly interface for fine-tuning your monitor’s color settings and other display preferences.
To access the OSD menu, you typically press a dedicated button on your monitor or use a combination of buttons to activate it. Once the OSD menu appears on your screen, you can navigate through the different options and make changes using the corresponding buttons.
The OSD menu offers a wide range of settings that you can adjust to enhance your gaming experience. These settings may include brightness, contrast, color temperature, and RGB adjustments, as well as options for sharpness, aspect ratio, and input selection.
Navigating through the OSD menu may vary depending on your monitor model, but most menus offer a hierarchical structure with submenus and individual settings within each category. Use the navigation buttons to move between different options and make selections.
When making changes in the OSD menu, it’s important to take your time and be patient. Read the descriptions or labels associated with each setting to understand its effect. Making small adjustments and testing the results can help you fine-tune the settings to your liking.
While exploring the OSD menu, you may come across additional features and options that can enhance your gaming experience. For example, some monitors offer gaming-specific settings like game modes, response time adjustments, or crosshair overlays. These features can optimize your monitor’s performance for different gaming genres or provide additional visual aids.
It’s worth noting that not all monitors have the same OSD menu layout or options. Each manufacturer designs their OSD menu differently, so it’s essential to consult your monitor’s user manual or online resources specific to your model for detailed instructions.
Once you have made changes to the settings in the OSD menu, take the time to play games, view images, and watch videos to evaluate the impact of your adjustments. Comparing the before and after results will help you determine the effectiveness of your changes and make any necessary fine-tuning.
Remember to regularly visit the OSD menu to reevaluate and adjust the settings as needed. Different games or content might benefit from different configurations, so periodically revisiting the OSD menu will help ensure that your gaming visuals are always optimized.
Now that you understand how to navigate and use the OSD menu, let’s move on to the next section, where we will discuss the importance of testing and comparing your color adjustments to achieve the best visual quality.
Testing and Comparing Color Adjustments
Once you have made color adjustments to your gaming monitor, it’s crucial to test and compare the results to ensure that you achieve the desired visual quality. Testing and comparing your color adjustments will help you fine-tune the settings and make any necessary refinements.
Begin by playing games that showcase a wide range of colors and visual elements. Look for scenes with different lighting conditions, vibrant colors, and subtle details. Pay attention to how the adjusted color settings affect the overall clarity, vibrancy, and accuracy of the colors.
In addition to games, viewing images that represent various color schemes and tones can also aid in evaluating the color adjustments. Test images that contain natural landscapes, portraits, and scenes with diverse lighting situations. As you switch between different color profiles or make adjustments to settings like brightness, contrast, or color temperature, observe any changes in color accuracy and overall visual appeal.
Comparing the before and after results is a useful technique to assess the impact of your color adjustments. Take note of specific elements such as skin tones, natural landscapes, or objects with distinct colors. By directly comparing the visual quality before and after the adjustments, you can easily identify any improvements or areas that may still need adjustment.
It’s important to remember that each game or content type may require different color settings for optimal visual quality. What works well for one game or image may not yield the same results in another. Therefore, it’s crucial to fine-tune your color adjustments based on the specific needs and characteristics of each game or content you engage with.
Regularly revisiting and testing your color adjustments is essential, as external factors like lighting conditions or changing hardware configurations can affect your visual experience. By periodically evaluating and fine-tuning your color settings, you can ensure that your gaming visuals consistently deliver the best possible quality.
When testing and comparing color adjustments, take your time and be patient. Make incremental changes to your color settings and allow yourself to become familiar with the nuances of the adjustments. Patience and attention to detail will help you achieve the desired visual quality and enhance your overall gaming experience.
Now that you understand the importance of testing and comparing your color adjustments, let’s move forward to the final section for some additional thoughts and tips on adjusting the color on a gaming monitor.
Final Thoughts and Tips on Adjusting the Color on a Gaming Monitor
Adjusting the color on your gaming monitor is a process that requires patience, experimentation, and attention to detail. By following the steps and tips outlined in this guide, you can fine-tune the color settings to achieve the best visual quality for your gaming experience. Here are some final thoughts and tips to keep in mind:
1. Understand your monitor: Familiarize yourself with your gaming monitor’s specific features, color profiles, and available settings. This knowledge will help you make informed decisions when adjusting the color settings.
2. Take your environment into account: Consider the lighting conditions in your gaming area and adjust your color settings accordingly. Dimly lit rooms may require lower brightness settings, while well-lit rooms may benefit from higher brightness levels.
3. Test and compare: Regularly test and compare your color adjustments using games, images, and videos that showcase different color schemes and lighting conditions. Take note of any improvements or areas that may still need adjustment.
4. Be patient and detail-oriented: Fine-tuning color settings requires patience and attention to detail. Make gradual adjustments, testing each change and observing the impact it has on color accuracy and overall visual appeal.
5. Reference resources: Consult your monitor’s user manual, online forums, or professional calibration tools for more in-depth guidance and resources specific to your gaming monitor model.
6. Personal preference matters: While it’s important to strive for color accuracy, remember that personal preference also plays a role. Adjust the color settings according to your own visual preferences, taking into account the specific games and content you engage with.
7. Regularly reassess and refine: As you experience different games and media content, reassess your color settings and make any necessary refinements. Regularly refining your color adjustments will ensure that your gaming visuals remain optimized.
Ultimately, adjusting the color on a gaming monitor is about finding the perfect balance that suits your preference and enhances your overall gaming experience. By understanding the various color settings, utilizing the OSD menu effectively, and testing and comparing your adjustments, you can achieve accurate, vibrant, and visually captivating gaming visuals.
Remember to enjoy the process of adjusting the color on your gaming monitor and embrace the opportunity to make your gaming experience truly immersive and visually stunning.


