Introduction
Welcome to this guide on how to adjust the brightness on your LED TV. Whether you recently bought a new television or have been using one for a while, finding the right brightness level is crucial for an optimal viewing experience. A properly adjusted brightness setting ensures that you can enjoy your favorite shows, movies, and games with clarity and vividness.
LED (Light Emitting Diode) TVs have become increasingly popular due to their excellent picture quality, energy efficiency, and sleek designs. However, with numerous options and settings available, it can be overwhelming to navigate through the menus and find the brightness adjustment feature.
In this guide, we will explore the different ways to adjust the brightness on your LED TV, whether you have the remote control or need to access the settings directly on the TV. We will also cover advanced brightness settings and troubleshooting common brightness issues.
Before we delve into the details, it’s important to note that adjusting the brightness of your TV can help reduce eye strain, especially when watching in low-light conditions. Additionally, finding the optimal brightness level can enhance the overall contrast, color accuracy, and detail in the images displayed on your screen.
Now, let’s dive in and discover how to adjust the brightness of your LED TV to achieve the best possible viewing experience!
Understanding Brightness on LED TV
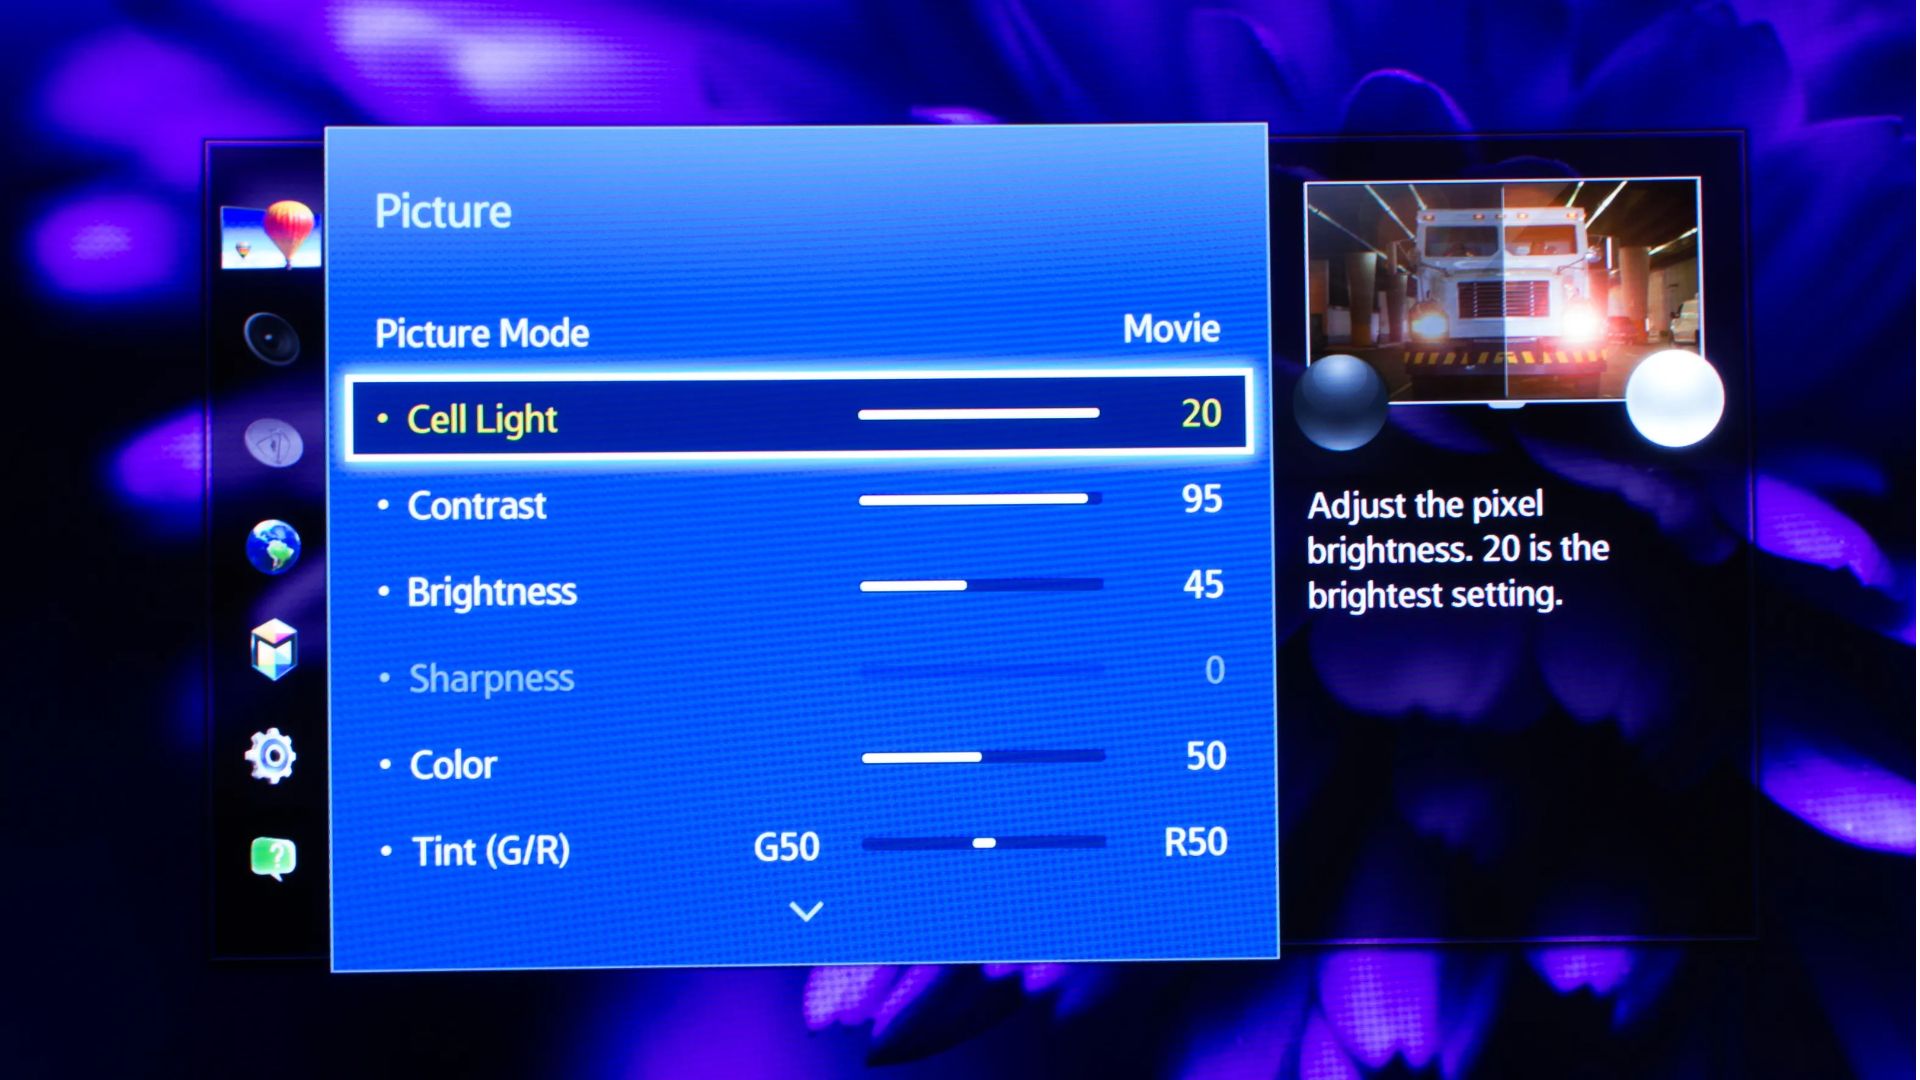
Before we delve into the process of adjusting the brightness on your LED TV, let’s first understand what brightness means in the context of television displays. Brightness refers to the amount of light emitted by the individual pixels on the screen. It directly affects the intensity of the displayed image and plays a crucial role in overall picture quality.
The brightness setting on your LED TV controls how bright or dark the images appear on the screen. Setting the brightness to the right level ensures that you can see all the details in dark areas and prevents overly bright scenes from looking washed out or lacking in detail.
It’s important to note that brightness is different from backlighting. Backlighting is the technology that illuminates the screen from behind, providing the necessary light for the display. The brightness setting, on the other hand, adjusts the intensity of the light emitted by the pixels themselves.
When adjusting the brightness, it’s crucial to strike a balance. If the brightness is set too low, the images may appear dim and lack vibrancy. On the other hand, if the brightness is set too high, the images can become overly bright and lose detail, resulting in eye strain or discomfort.
Another important consideration is the ambient lighting in your viewing environment. If you’re watching TV in a well-lit room, you may need to increase the brightness to compensate for the additional light. Conversely, in a dimly lit room, reducing the brightness can help prevent eye fatigue and improve overall viewing comfort.
Now that we have a basic understanding of brightness on LED TVs, let’s explore how to adjust this setting on your specific television.
Adjusting Brightness Using the Remote Control
Most LED TVs come with a remote control that allows you to easily navigate the settings and make adjustments. Adjusting the brightness using the remote control is a straightforward process that can be done with just a few clicks. Here’s how:
- Locate the “Menu” or “Settings” button on your remote control. It is usually represented by a gear icon or a button with three horizontal lines.
- Press the “Menu” or “Settings” button to bring up the on-screen menu.
- Using the directional buttons on your remote control, navigate to the “Picture” or “Display” settings. The exact location may vary depending on your TV model and brand.
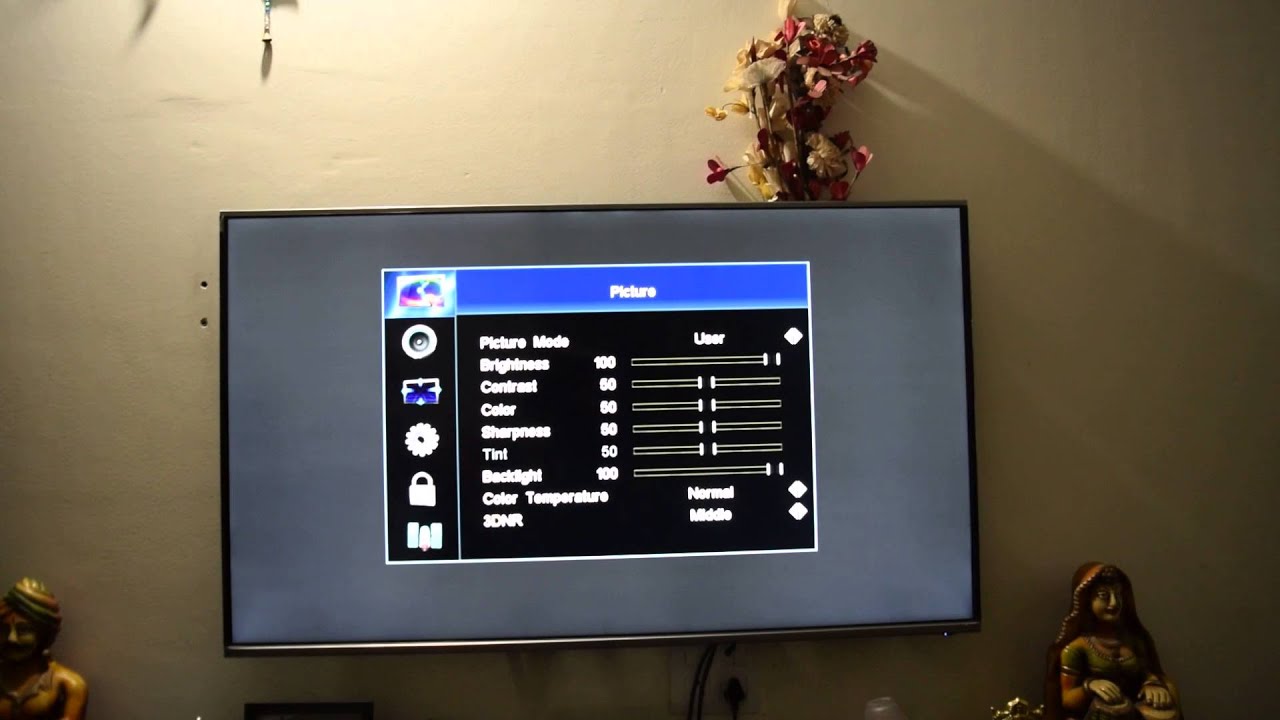
- Once you are in the “Picture” or “Display” settings, look for the “Brightness” option. It can typically be adjusted using the arrow keys or plus/minus buttons on the remote control.
- Use the arrow keys or plus/minus buttons to increase or decrease the brightness level to your desired setting.
- After making the adjustments, press the “OK” or “Enter” button on the remote control to save the changes.
- Take a moment to observe the changes on the screen and adjust further if necessary.
It’s important to note that the exact steps for adjusting brightness may differ slightly depending on your TV brand and model. If you’re unsure, refer to the user manual that came with your TV or consult the manufacturer’s website for specific instructions.
Furthermore, many remote controls feature dedicated buttons that allow for quick adjustments of brightness, such as “Brightness Up” and “Brightness Down” buttons. These buttons can be found near the navigation or channel control buttons on the remote. Pressing these buttons will instantly increase or decrease the brightness level by a predefined increment.
Now that you know how to adjust the brightness using the remote control, let’s explore how to access the brightness settings on different TV brands.
Accessing Brightness Settings on Different TV Brands
While the process of adjusting the brightness on LED TVs using the remote control is generally similar across different brands, there may be slight variations in the menu layout and terminology. Here, we’ll explore how to access the brightness settings on some popular TV brands:
Samsung: On Samsung TVs, press the “Menu” button on the remote control to access the main menu. From there, navigate to “Picture” or “Display” settings. Look for the “Backlight” or “Brightness” option and adjust it according to your preference.
LG: For LG TVs, press the “Settings” button on the remote control to open the settings menu. Navigate to “Picture” settings and find the “Backlight” or “Brightness” option. Use the arrow keys to adjust the brightness level to your liking.
Sony: On Sony TVs, press the “Home” or “Menu” button to open the main menu. Navigate to “Settings” and select “Picture” or “Display” settings. Look for the “Brightness” or “Backlight” option and make the necessary adjustments.
TCL: With TCL TVs, press the “Menu” button on the remote control to access the menu. Navigate to “Picture” settings and find the “Brightness” or “Backlight” option. Use the arrow keys to increase or decrease the brightness level.
Vizio: For Vizio TVs, press the “Menu” button to open the on-screen menu. Navigate to “Picture” or “System” settings and find the “Backlight” or “Brightness” option. Use the arrow keys to adjust the brightness level as desired.
These are just a few examples, and the exact process may vary for other TV brands. If you’re unsure, refer to the user manual or check the manufacturer’s website for detailed instructions specific to your TV model.
Now that you know how to access the brightness settings on different TV brands, let’s explore some advanced brightness settings for an optimal viewing experience.
Advanced Brightness Settings for Optimal Viewing Experience
In addition to the basic brightness adjustment on your LED TV, there are some advanced settings you can explore to further enhance your viewing experience. These settings allow you to fine-tune the brightness levels and optimize the display quality to your specific preferences. Here are some advanced brightness settings to consider:
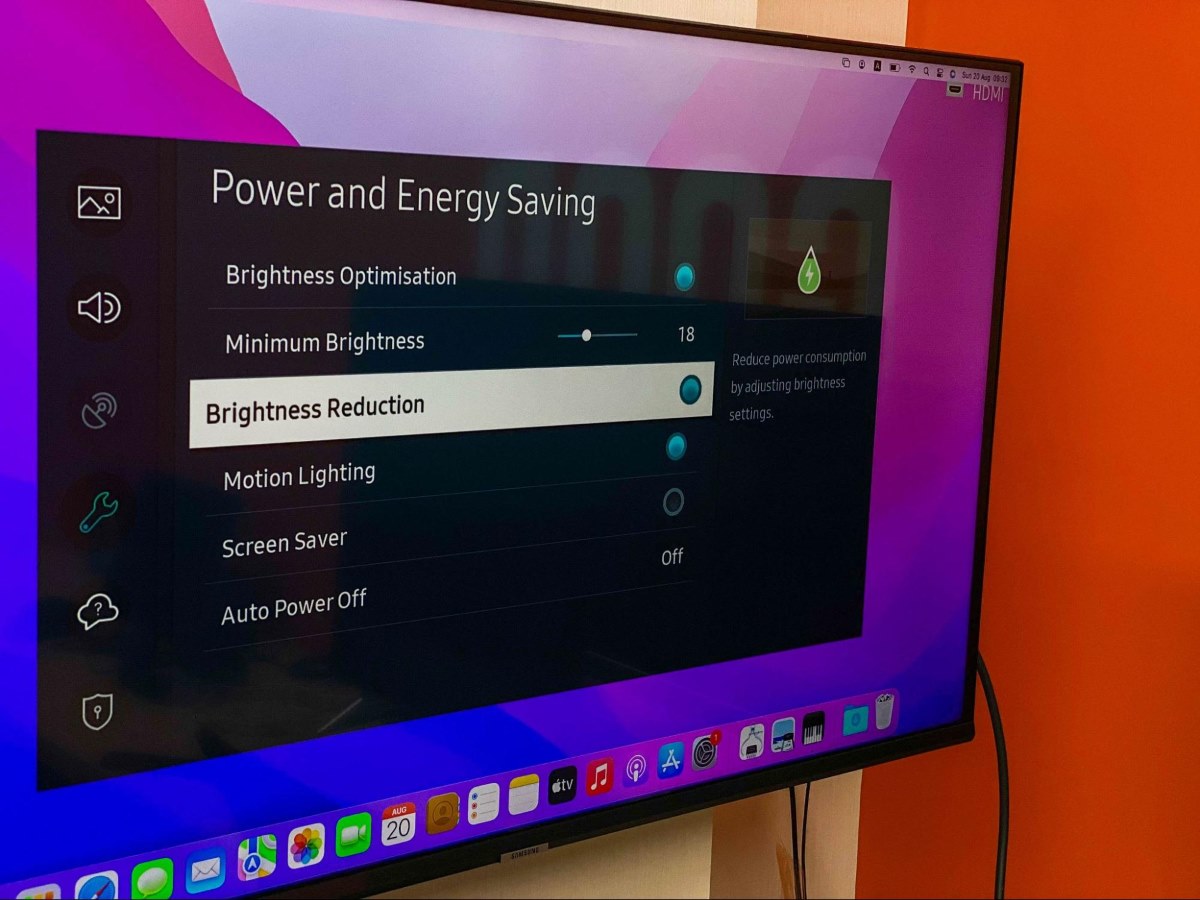
Contrast Enhancement: Many TVs offer a contrast enhancement feature, sometimes referred to as “dynamic contrast” or “dynamic backlight control.” This feature adjusts the backlight intensity dynamically based on the content being displayed. It can help improve contrast levels and enhance details in both bright and dark areas of the image.
Local Dimming: Local dimming is a feature typically found in higher-end LED TVs with full-array backlighting. It allows the TV to control the brightness of specific areas of the screen independently. By dimming the backlight in dark areas of the image, local dimming enhances contrast and improves the overall picture quality. The level of local dimming can often be adjusted in the TV settings.
Preset Picture Modes: Most LED TVs come with preset picture modes, such as “Standard,” “Cinema,” or “Game.” These modes optimize the settings, including brightness, contrast, and color temperature, to suit different types of content. Experiment with different picture modes to find the one that best matches your viewing preferences.
Gamma Correction: Gamma correction is a setting that adjusts the overall brightness and contrast curve of the TV. It can help fine-tune the display’s reproduction of different shades of gray. Typically, gamma settings are represented by a numerical value or preset options like “low,” “medium,” and “high.” Adjusting the gamma can impact the overall brightness and contrast of the image.
Color Temperature: The color temperature setting allows you to adjust the overall warmth or coolness of the displayed colors. It is usually presented as options like “Cool,” “Normal,” or “Warm.” By adjusting the color temperature, you can achieve a more accurate representation of colors based on your preference.
Keep in mind that the availability and terminology of these advanced settings may vary depending on your TV brand and model. Refer to your TV’s user manual or explore the settings menu to access these options.
Now that you’re aware of some advanced brightness settings, let’s move on to troubleshooting common brightness issues.
Troubleshooting Common Brightness Issues
While adjusting the brightness on your LED TV is usually a straightforward process, you may encounter some common brightness issues along the way. Here are a few troubleshooting tips to help you fix these problems:
1. Uneven Brightness: If you notice areas of the screen that appear brighter or darker than others, you may be experiencing an issue with uneven backlighting. This can be particularly noticeable in dark scenes. To address this, you can try enabling or adjusting the local dimming feature in the TV settings, if available. Local dimming can help improve the uniformity of brightness across the screen.
2. Overly Bright or Washed Out Images: If your TV’s brightness is set too high, the images on the screen may appear overly bright or washed out, lacking detail. To fix this, simply reduce the brightness setting to a more moderate level. You can use the remote control or access the brightness settings in the TV’s menu to make the adjustment.
3. Dim or Dark Images: On the other hand, if the images on your TV screen appear too dim or dark, it may indicate that the brightness is set too low. Increase the brightness setting gradually until the desired level of brightness is achieved. Be careful not to set it too high, as this can result in loss of detail and eye strain.
4. Ambient Light Interference: The lighting conditions in your viewing environment can affect the perceived brightness on your TV. If you’re watching in a bright room, try adjusting the brightness setting to compensate for the additional light. Likewise, if you’re watching in a dimly lit room, reducing the brightness can help prevent eye fatigue and improve the overall viewing experience.
5. Firmware Updates: Occasionally, the brightness issues on your LED TV may be related to outdated firmware. Check the manufacturer’s website for any available firmware updates for your TV model. Installing the latest firmware can sometimes resolve compatibility issues and improve overall performance, including brightness settings.
If you’ve attempted these troubleshooting steps and still experience persistent brightness issues, it may be worth reaching out to the manufacturer’s customer support for further assistance. They can provide specific guidance based on your TV model and help troubleshoot any hardware or software-related problems.
Now that we’ve covered some common brightness issues and their solutions, let’s wrap up this guide.
Conclusion
Adjusting the brightness on your LED TV is an essential step to ensure an optimal viewing experience. By finding the right balance of brightness, you can enhance the clarity, contrast, and overall picture quality of your TV display.
In this guide, we covered various aspects of adjusting brightness, starting with a basic understanding of brightness on LED TVs. We then explored how to adjust the brightness using the remote control, accessing brightness settings on different TV brands, and delving into advanced brightness settings for fine-tuning your viewing experience.
Additionally, we provided troubleshooting tips for common brightness issues, such as uneven backlighting or overly bright images. By following these troubleshooting steps, you can overcome these challenges and enjoy a more immersive and satisfying viewing experience.
Remember, every TV model may have slight variations in terms of menu layout and terminology. Always refer to your TV’s user manual or the manufacturer’s website for specific instructions on adjusting brightness on your particular TV.
Now armed with the knowledge and understanding of adjusting brightness on LED TVs, you can take control of your viewing experience and customize it to suit your preferences. Whether you prefer a bright and vivid display or a more subdued and comfortable viewing environment, finding the right brightness level will enhance your enjoyment of movies, shows, and games.
So, go ahead and grab that remote control, navigate through the TV settings, and adjust the brightness to create the perfect viewing ambiance. Enjoy your favorite content with brilliant clarity and immersive visuals!