Introduction
Welcome to this guide on how to add someone to a Slack conversation! Slack is a popular team communication platform that allows you to collaborate with colleagues, share files, and have conversations all in one place. Sometimes, you may need to bring in new members to join a specific conversation or channel within Slack.
Adding someone to a conversation on Slack is a simple and straightforward process. In just a few steps, you can invite a new team member to join your ongoing discussions and ensure that they stay up to date with the latest information.
In this article, we will walk you through the process of adding someone to a Slack conversation and explain each step in detail. Whether you need to bring in a new team member or include someone from outside your organization, we’ve got you covered.
So, if you’re ready to learn how to add someone to a Slack conversation and enhance your team collaboration, let’s dive in!
Step 1: Open the Slack conversation
The first step in adding someone to a Slack conversation is to open the conversation where you want to include them. Slack allows you to have multiple channels and direct message conversations, so make sure you are in the right place.
Start by navigating to the Slack workspace or channel where the conversation is located. You can do this by clicking on the appropriate workspace in the left sidebar or selecting the channel from the list of available channels.
Once you are in the correct workspace or channel, locate the conversation you want to add someone to. This could be a channel with multiple participants or a direct message conversation between you and another person. Click on the conversation to open it and ensure that you are ready to proceed with adding the new member.
By opening the Slack conversation, you are setting the stage for the next steps in the process. It is important to be in the right conversation context to avoid any confusion and ensure that you are adding the person to the correct dialogue.
Remember, Slack offers various channels and conversation options, so double-check that you are in the right place before moving on to the next step.
Step 2: Click on the “+” icon
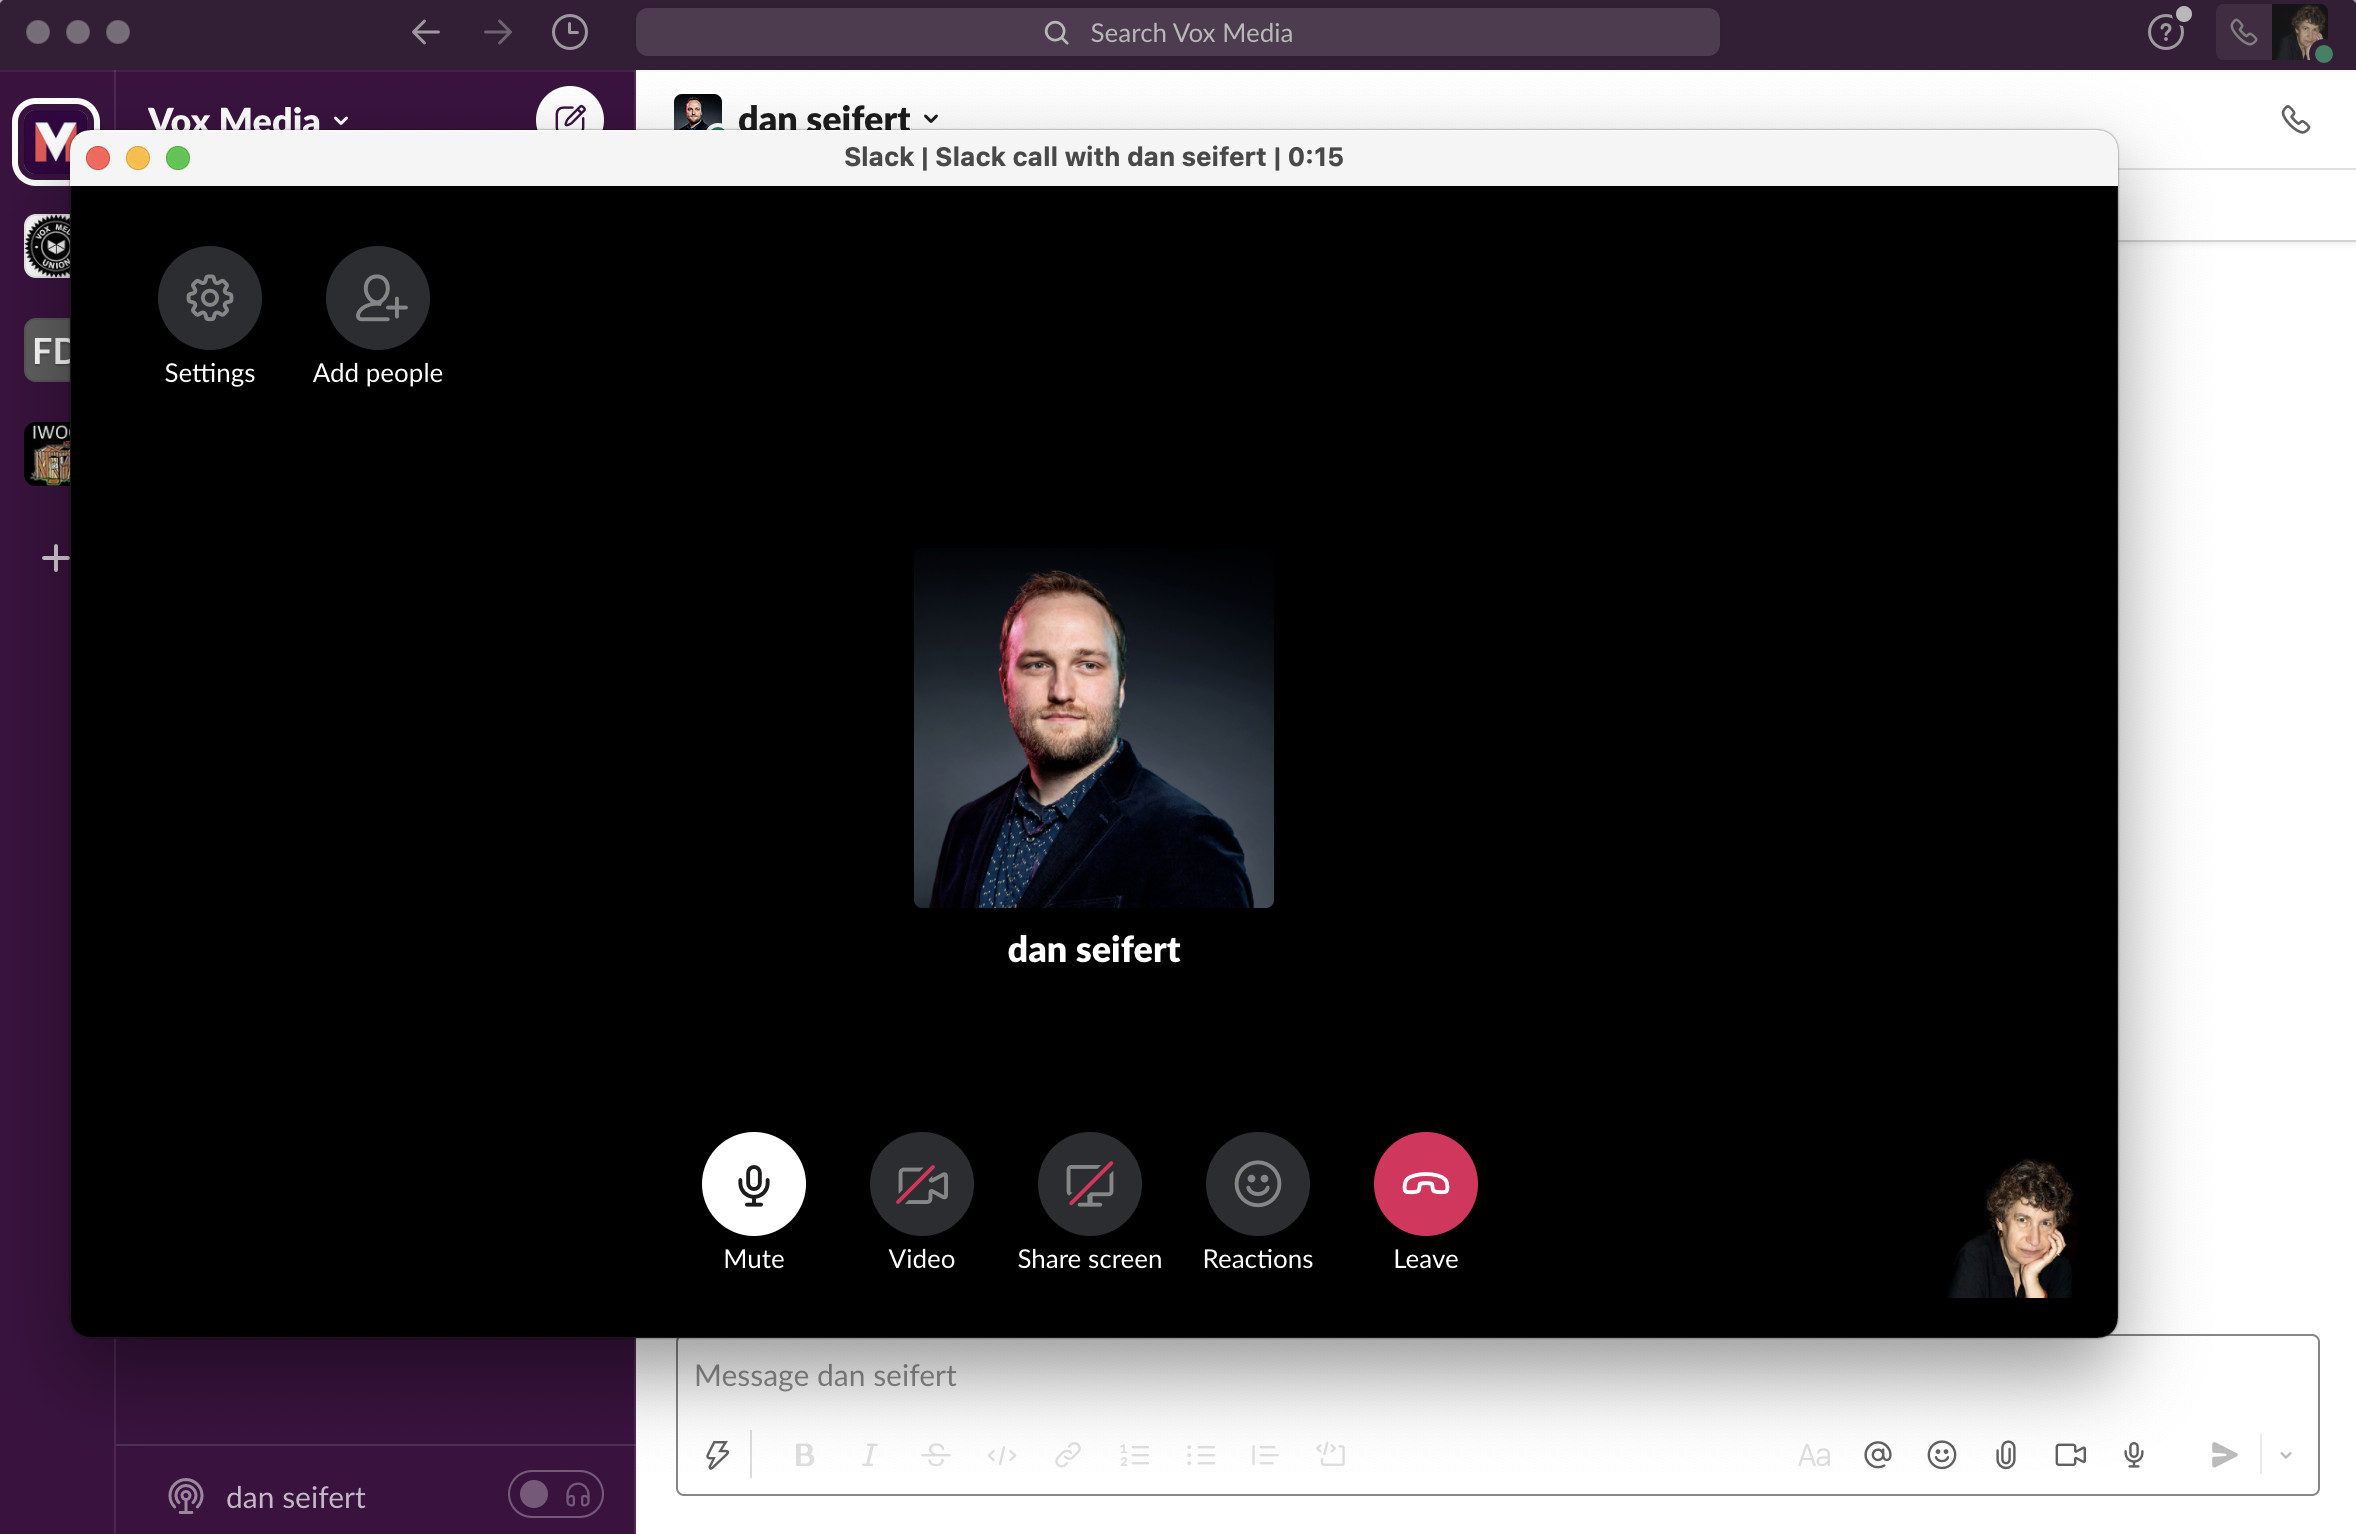
Once you have opened the Slack conversation where you want to add someone, the next step is to locate and click on the “+” icon. This icon allows you to access the options for adding new members to the conversation.
The “+” icon is typically located near the top of the Slack interface, usually in the upper-right corner of the conversation window. It is a universal symbol that indicates the addition or creation of something new in the application.
Clicking on the “+” icon will reveal a dropdown menu or a set of options related to managing the conversation. This menu may include options such as adding members, creating channels, or changing conversation settings.
Find the option that allows you to add people to the conversation and click on it. The specific wording may vary depending on your Slack version or workspace settings, but it is usually labeled as “Add People” or “Invite to Channel”.
By clicking on the “+” icon, you are signaling your intention to add a new member to the conversation. This action opens up the necessary settings and options to facilitate the addition process.
Once you have successfully clicked on the “+” icon and accessed the appropriate menu, you can proceed to the next step of entering the necessary information to invite the person to the Slack conversation.
Step 3: Select “Add People”
After clicking on the “+” icon, you will see a dropdown menu with various options related to managing the conversation. Look for the option labeled “Add People” and select it.
This action will open a dialog box or a pop-up window where you can enter the necessary information to invite someone new to the Slack conversation.
By selecting “Add People”, you are indicating that you want to include a new member in the ongoing dialogue. This step is crucial in initiating the process of inviting the person and providing them with access to the conversation.
Pay close attention to the menu options and make sure you select the correct one. In some cases, there may be similar options such as “Add Member” or “Invite Member”. The wording may vary depending on your Slack version or workspace settings, but the functionality remains the same.
Once you have successfully selected “Add People”, you are now ready to move on to the next step of entering the person’s email address to initiate the invitation process.
Step 4: Enter the person’s email address
After selecting “Add People” in the previous step, a dialog box or pop-up window will appear where you can enter the email address of the person you want to add to the Slack conversation.
Enter the person’s email address accurately in the designated field. Make sure to double-check for any typos or errors before proceeding. The email address is essential as it will be used to send an invitation to the person to join the conversation.
If you are not sure about the person’s exact email address, it is best to confirm with them beforehand to ensure that the invitation is sent to the correct recipient.
Slack also offers options to add multiple people at once using their email addresses. If you need to add more than one person, you can separate the email addresses with commas or use the provided interface to add additional addresses.
Once you have entered the person’s email address, you are ready to move on to the next step of inviting them to the Slack conversation. However, before proceeding, make sure to review the entered email address one final time to ensure accuracy.
Step 5: Click on “Invite to Channel”
After entering the person’s email address in the previous step, locate and click on the “Invite to Channel” button. This button initiates the invitation process and sends an invitation to the person to join the Slack conversation.
The “Invite to Channel” button is typically located near the bottom or side of the dialog box or pop-up window where you entered the email address. It may be labeled slightly differently depending on your Slack version or workspace settings, but the functionality remains the same.
Clicking on the “Invite to Channel” button will trigger the invitation process. Slack will send an email notification to the person, informing them that they have been invited to join the conversation.
It is important to note that the person will only receive the invitation if they have a Slack account with the email address you entered. If they do not have an account, they will be prompted to create one before being added to the conversation.
Take a moment to ensure that you have entered the correct email address and that you are ready to invite the person to the conversation. Once you are confident, click on the “Invite to Channel” button to proceed.
By clicking on “Invite to Channel”, you are extending an invitation to the person and signaling that you want them to be part of the ongoing dialogue in Slack.
Step 6: Confirm the invitation
After clicking on the “Invite to Channel” button in the previous step, you will need to confirm the invitation to add the person to the Slack conversation. Confirmation ensures that the person receives the invitation and grants them access to join the conversation.
Once the invitation is confirmed, Slack will typically display a confirmation message on the screen, notifying you that the invitation has been sent successfully.
It is important to note that the confirmation process may vary depending on your Slack version or workspace settings. In some cases, you may receive a notification or email confirming that the invitation has been sent to the person.
At this stage, it is recommended to be patient and allow the person some time to receive and review the invitation. Depending on their email settings and personal availability, they may not respond to the invitation immediately.
Keep in mind that the person will need to accept the invitation to officially join the Slack conversation. Until they accept the invitation, they will not have access to the conversation or be able to participate in the ongoing discussions.
Once the invitation is confirmed, you have completed the necessary steps to add someone to the Slack conversation. Now, it is a waiting game as you anticipate the person’s response and their acceptance of the invitation.
Step 7: Wait for the person to accept the invitation
After sending the invitation to the person, it is time to patiently wait for them to accept it. Slack will inform the person that they have been invited to join the conversation, and it’s up to them to take the next step.
During this waiting period, it’s essential to be patient and refrain from sending multiple invitations or following up excessively. Everyone has their own schedule and availability, so it’s best to give the person some time to review the invitation and make a decision.
It’s worth noting that Slack will send the invitation email to the person’s registered email address, so encourage them to check their inbox, including any spam or promotional folders, for the invitation email.
Depending on the person’s familiarity with Slack or their level of responsiveness, it may take anywhere from a few minutes to a few days for them to accept the invitation.
If you need to expedite the process or find it necessary to follow up, consider sending a friendly and polite message reminding them of the invitation and emphasizing the benefits of joining the conversation.
Remember that joining the conversation may require the person to have a Slack account. If they don’t have an account, they will be prompted to create one before they can accept the invitation and gain access to the conversation.
Once the person accepts the invitation, they will officially become a member of the Slack conversation and can start participating in the ongoing discussions.
Now, it’s time to be patient and wait for the person to accept the invitation. While you wait, you can continue your collaboration with existing members in the conversation.
Step 8: The person is added to the conversation
Once the person you invited accepts the invitation, they will be officially added to the Slack conversation. This means they can now actively participate in the ongoing discussions and have access to all the messages, files, and updates shared within the conversation.
When the person accepts the invitation, Slack will typically notify you and other members of the conversation. This notification ensures everyone is aware of the new addition and can start engaging with the newly joined member.
The person will now have full access to all previous and future messages in the conversation, depending on the channel’s visibility settings and any messages that may have been deleted before their entry. They will also be able to contribute their ideas, ask questions, share files, and collaborate with other members in real-time.
As a host or inviter, it is a good practice to welcome the newly added member to the conversation. You can do this by sending a friendly greeting message, introducing them to the other participants, and providing any relevant information or context that they may need to catch up.
Encourage the person to explore the conversation history and catch up on any important discussions or files shared before their entry. This will help them integrate and get up to speed with ongoing conversations and projects.
Now that the person is added, they become an active contributor to the Slack conversation. Their presence will enhance collaboration, foster teamwork, and bring fresh perspectives to the ongoing discussions.
It’s important to remember that Slack conversations are meant to be inclusive, fostering open communication and encouraging participation from all members. Make sure to create a welcoming and inclusive environment to ensure everyone feels comfortable contributing and sharing their thoughts.
With the person now added to the conversation, you can all continue collaboratively working together, sharing ideas, and achieving your goals with the help of Slack’s powerful communication and collaboration features.
Conclusion
Adding someone to a Slack conversation is a simple process that can greatly enhance team collaboration and communication. By following the steps outlined in this guide, you can easily invite new members to join your ongoing discussions and ensure everyone stays connected and informed.
Throughout the process, it’s important to be patient and considerate. Remember that the person you invite may need time to accept the invitation and join the conversation. Follow up politely if necessary, but avoid being overly persistent or pushy.
Creating an inclusive and welcoming environment within the Slack conversation is essential. When the person joins, take the time to introduce them to the rest of the participants and provide any necessary context to help them get up to speed with the ongoing discussions.
Slack’s features, such as real-time messaging, file sharing, and collaborative tools, make it an efficient platform for teams to collaborate and work together. By adding the right people to your conversations, you can leverage these features to foster teamwork, enhance productivity, and drive successful outcomes.
So, whether you need to bring in a new team member, include someone from outside your organization, or simply expand the conversation to involve more stakeholders, follow the steps outlined in this guide to add someone to a Slack conversation with ease.
Embrace the power of effective communication and collaboration within your Slack workspace by inviting the right people to your conversations. With everyone on board, you can create a more connected and productive team dynamic.
Now that you have mastered the process of adding someone to a Slack conversation, go ahead and start inviting the necessary individuals to join your ongoing discussions. Enjoy the benefits of streamlined communication, seamless collaboration, and enhanced teamwork in your Slack workspace!


