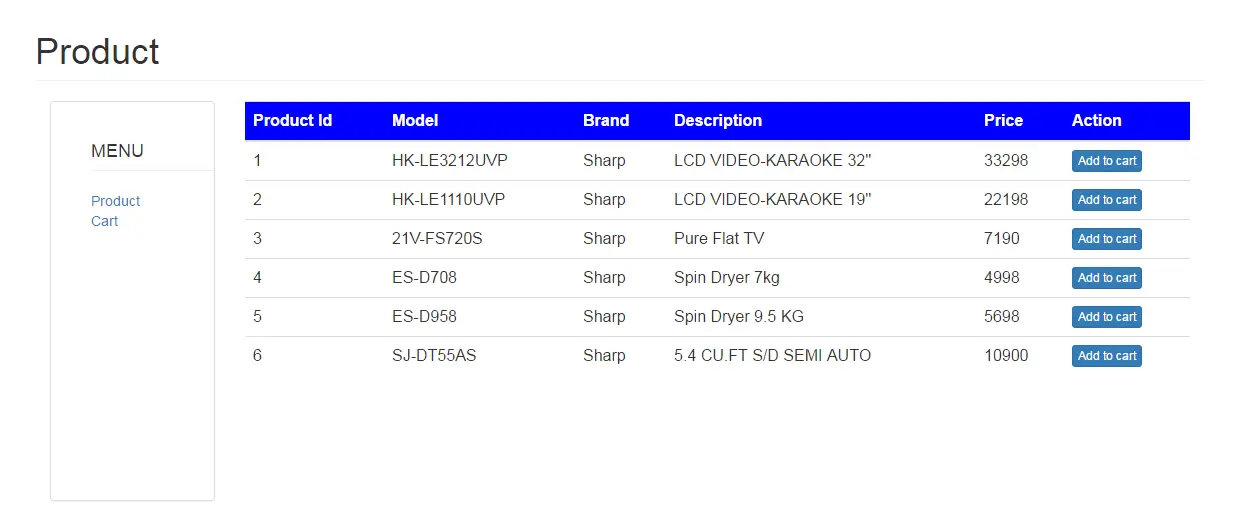
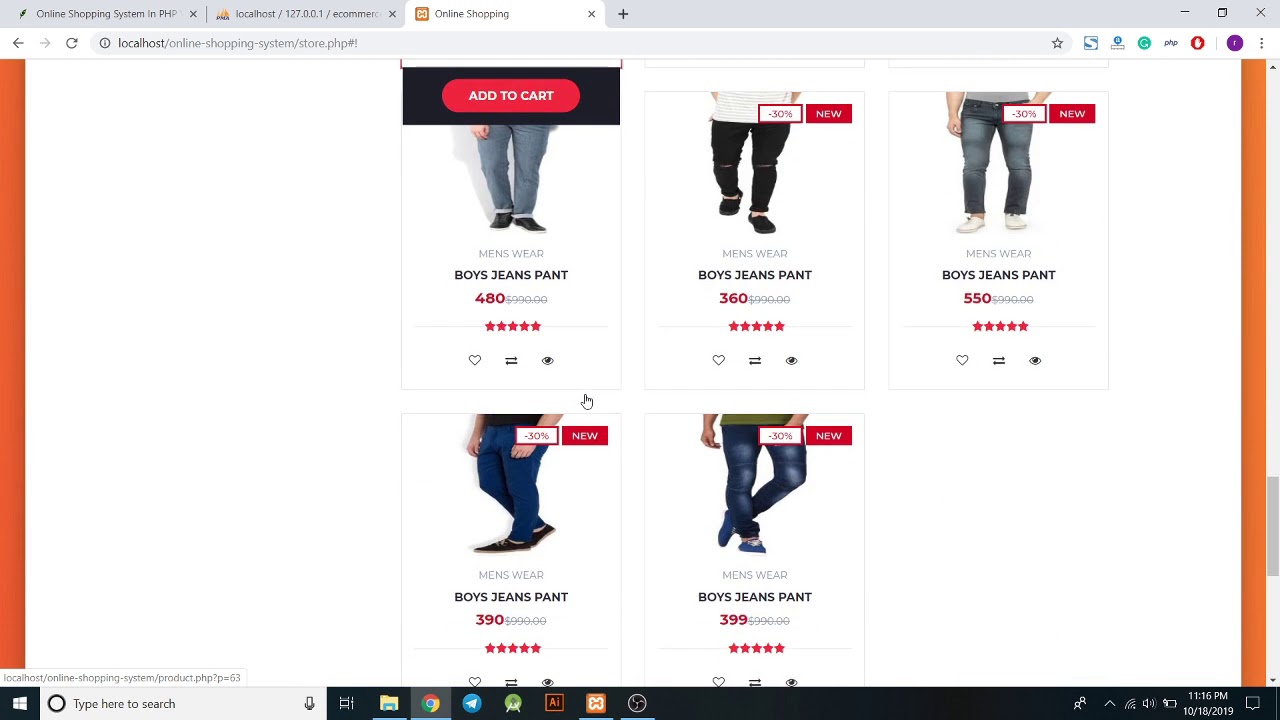
` to create a container for each product and apply CSS styles to enhance the visual presentation.
Within each product container, display the product name, description, price, and any other relevant details. You can also include an image of the product to provide a visual representation. Use CSS to style these elements and make them visually appealing.
In addition to displaying the product details, you should include a button or link that allows users to add the item to their cart. This can be achieved by adding an “Add to Cart” button within each product container. You can use JavaScript or jQuery to handle the click event and trigger the function that adds the selected product to the cart.
Finally, display the generated HTML elements within the designated container on the shopping cart page. This can be done by echoing or printing the HTML code within the PHP loop or by using JavaScript to dynamically update the DOM.
By implementing this step, you will have successfully displayed the products on the shopping cart page, making it easier for your customers to browse and select the items they wish to purchase. In the next step, we will learn how to add items to the cart.
Step 4: Add Items to the Cart
One of the key functionalities of a shopping cart is the ability to add items to it. In this step, we will focus on implementing the functionality to add selected products to the cart and store the information in the database.
To begin, we need to capture the user’s action of adding a product to the cart. This can be achieved by attaching an event listener to the “Add to Cart” button or link that we created in the previous step. When the user clicks on the button, we can use JavaScript or jQuery to handle the event and execute the necessary actions.
In the event handler function, we need to gather the information about the selected product, such as its ID, name, price, and quantity. We can access this information directly from the HTML elements or by storing it in data attributes.
Once we have gathered the product information, we can send an AJAX request to a server-side script that will handle the addition of the item to the cart. This script should validate the input, check if the item already exists in the cart, and update the cart accordingly.
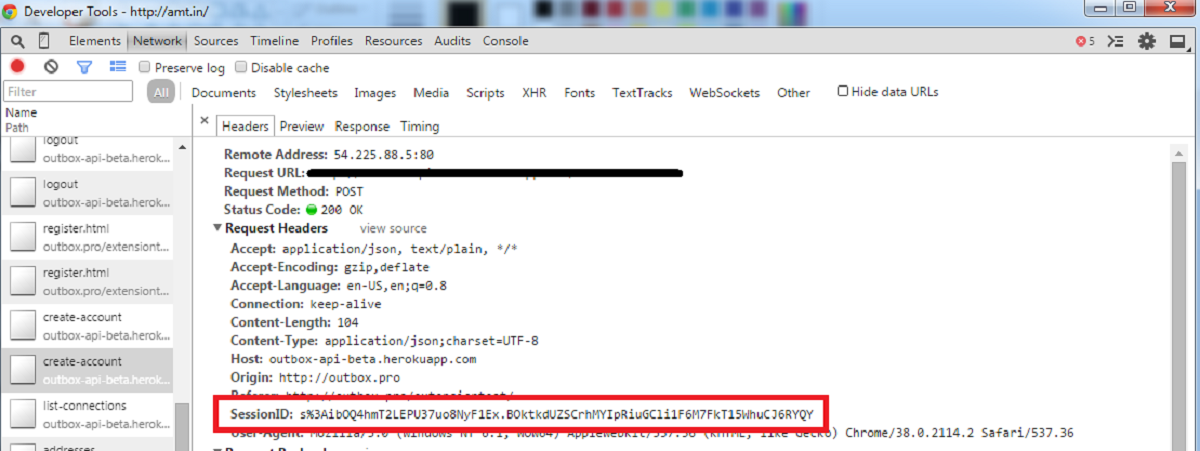
Within the server-side script, we will first check if the user is logged in or if the cart is being stored as a session. This will determine how we store and retrieve the cart information. If the user is logged in, we can use their unique user ID to associate the cart items with their account.
After validating and processing the input, we can then insert the selected product and its quantity into the cart table in the database. This can be done using SQL queries such as INSERT or UPDATE.
Once the item has been successfully added to the cart, we can provide feedback to the user, such as displaying a success message or updating the cart summary. This helps to enhance the user experience by providing immediate feedback on their actions.
By implementing the functionality to add items to the cart, you have now empowered your customers to easily select and include products in their shopping cart. In the next step, we will explore how to update the cart when the user makes changes to the quantity of the items.
Step 5: Update the Cart
After adding items to the cart, it is essential to provide users with the ability to update the quantity of the items or remove them from the cart altogether. In this step, we will focus on implementing the functionality to update the cart based on user actions.
To begin, we need to display the current cart contents to the user. This can be achieved by fetching the cart data from the database and showing it on the shopping cart page. Display the product name, price, quantity, and any other relevant details for each item in the cart.
Next, we need to provide the user with options to update the quantity of each item. This can be done by including a quantity input field or using plus/minus buttons to increase or decrease the quantity. Attach event listeners to these elements to handle the changes in quantity.
When the user updates the quantity, we need to capture this information and send an AJAX request to a server-side script that will update the cart information in the database. This script should validate the input, check if the quantity is valid (greater than zero), and update the cart accordingly.
In the server-side script, we will query the cart table in the database and update the quantity of the selected item based on the user’s input. This can be done using SQL queries like UPDATE. Additionally, if the quantity is set to zero, we will remove the item from the cart completely.
Once the cart has been updated in the database, we can provide visual feedback to the user. This can be done by dynamically updating the quantity displayed on the page, recalculating the subtotal and total price, or showing a success message indicating the changes have been applied.
By implementing the functionality to update the cart, you ensure that users have control over the quantity of items in their cart. This enhances their shopping experience and makes it easier for them to manage their selections. In the next step, we will look at how to remove items from the cart.
Step 6: Remove Items from the Cart
In the shopping cart system, it’s crucial to provide users with the ability to remove items from their cart if they change their mind or no longer wish to purchase a particular product. In this step, we will focus on implementing the functionality to remove items from the cart.
To begin, we need to display the current cart contents to the user. This can be achieved by fetching the cart data from the database and showing it on the shopping cart page, as we did in the previous step.
To allow users to remove items, we can include a “Remove” button or link next to each item in the cart. Attach event listeners to these elements to handle the removal of items.
When the user clicks on the “Remove” button, we need to capture this action and send an AJAX request to a server-side script that will update the cart information in the database. This script should validate the input, check if the item exists in the cart, and remove it accordingly.
In the server-side script, we will query the cart table in the database and delete the selected item from the cart based on the user’s action. This can be done using SQL queries like DELETE.
Once the item has been successfully removed from the cart in the database, we can provide visual feedback to the user. This can be done by dynamically updating the cart contents displayed on the page, recalculating the subtotal and total price, or showing a success message indicating that the item has been removed.
Additionally, we need to ensure that the cart summary reflects the changes made. If the user removes the last item from the cart, we can display a message indicating that the cart is empty and provide options for the user to continue shopping or navigate to other pages.
By implementing the functionality to remove items from the cart, you allow users to easily manage their selections and tailor their shopping experience. In the next step, we will focus on calculating the total price of the items in the cart.
Step 7: Calculate the Total Price
Calculating the total price of the items in the shopping cart is essential for providing users with an accurate summary of their purchases. In this step, we will focus on implementing the functionality to calculate the total price based on the quantity and price of each item in the cart.
To begin, make sure that the cart information is available and displayed on the shopping cart page. This should include the product name, price, and quantity for each item in the cart.
Next, we need to dynamically calculate the subtotal for each item by multiplying the quantity by the price. This can be achieved using JavaScript or jQuery in the client-side code. Iterate through the items in the cart and apply the calculation to each one.
After calculating the subtotal for each item, we can display it alongside the product details on the shopping cart page. Format the subtotal using appropriate currency symbols and decimal places. Remember to update the subtotal whenever the quantity of an item changes.
Once we have calculated the subtotals for all items, we can proceed to calculate the total price by summing up the subtotals. The total price represents the amount the user needs to pay for the items in their cart.
Display the total price prominently on the shopping cart page so that users can easily see the overall cost of their purchases. Format the total price using appropriate currency symbols and decimal places. Update the total price whenever the quantity of any item changes.
Additionally, consider adjusting the total price if you offer any discounts, taxes, or shipping charges based on specific conditions. Apply any relevant calculations or adjustments to the total price to ensure accuracy.
By implementing the functionality to calculate the total price, you provide users with a clear understanding of the overall cost of their purchases. This enhances transparency and helps users make informed decisions. In the next step, we will focus on displaying the contents of the cart to the user.
Step 8: Display the Cart Contents
Displaying the contents of the cart to the user is crucial for providing a comprehensive summary of their selected items. In this step, we will focus on implementing the functionality to display the cart contents on the shopping cart page.
To begin, ensure that the cart information is available and accessible. Retrieve the cart data from the database and store it in a variable or session for easy access.
Next, create a designated section or container on the shopping cart page to display the cart contents. This can be a table, a list, or any layout that allows for clear and organized presentation.
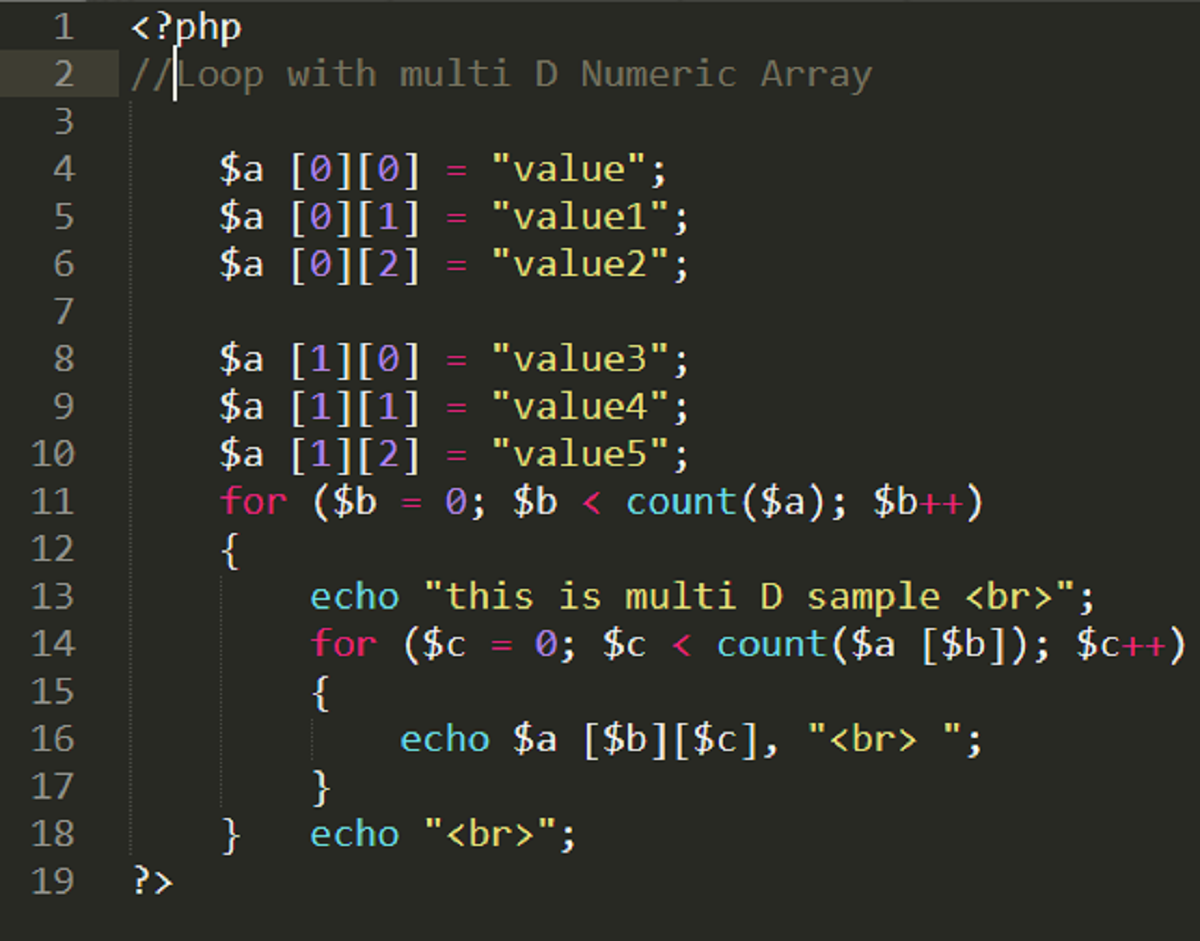
Loop through the items in the cart and dynamically generate the necessary HTML elements to display each item. Include the product name, price, quantity, and any other relevant details.
In addition to displaying the item details, consider including an image of the product to provide a visual representation for the user. You can also add a button or link to each item that allows the user to remove it from the cart, as we implemented in a previous step.
At the end of the displayed cart contents, provide a summary section that includes the subtotal, any applicable taxes, discounts, or shipping charges, and the final total price. Format the prices using appropriate currency symbols and decimal places.
Ensure that the cart contents are updated dynamically when the user adds or removes items, or when the quantity of an item changes. This can be achieved by using JavaScript or jQuery to refresh the cart section of the page asynchronously.
By implementing the functionality to display the cart contents, you provide users with a clear overview of their selected items and their respective details. This enables them to review their choices before proceeding with the checkout process. In the next step, we will explore how to implement the checkout and complete the order.
Step 9: Checkout and Complete the Order
The final step in implementing a shopping cart system is to provide users with a seamless checkout process, allowing them to complete their orders and make the necessary payment. In this step, we will focus on implementing the functionality for the checkout process.
Start by creating a checkout page or section on your website where users can review their cart contents, enter their shipping and billing information, and proceed to payment.
Display a summary of the cart contents, including the list of items, quantities, prices, and the final total. Include a form for users to enter their personal information, such as their name, address, email, and payment details.
Use form validation to ensure that the required fields are filled out correctly. Validate user input for fields like email, phone number, and credit card details, if applicable.
Once the user has filled out the necessary information, you can process the order and complete the transaction. This involves sending the order details, along with the cart contents and user information, to a server-side script that will handle the payment processing, order confirmation, and any additional steps specific to your business.
If you are integrating with a payment gateway, incorporate the necessary APIs and secure protocols to handle the transaction securely. Ensure that sensitive information, such as credit card details, is securely transmitted and stored according to best practices.
After the payment has been processed and the order confirmed, provide the user with a confirmation message or email, detailing the order number, items purchased, and any relevant information such as estimated delivery time or next steps.
Update the database by marking the order as completed and clearing the cart contents for the user. This ensures that future transactions can be tracked and that the cart is ready for new items to be added.
Finally, provide users with options to continue shopping or navigate to other areas of your website. Include links or buttons that allow them to easily go back to browse more products or explore related pages.
By implementing the checkout and order completion process, you enable users to finalize their purchases and have a smooth and efficient shopping experience. Congratulations! You have successfully implemented a fully functional shopping cart system using PHP.+
Conclusion
Implementing a shopping cart system on your website using PHP can greatly enhance the user experience, making it easy for customers to browse, select, and purchase products. Throughout this guide, we have discussed the necessary steps to create a functional shopping cart that allows users to add items, update quantities, remove items, calculate the total price, and complete their orders.
In the first step, we set up the database to store product information and cart contents, ensuring efficient data management. Then, we created the structure of the shopping cart, displaying products and allowing users to add items in Step 2 and Step 3 respectively.
To enhance the functionality, we implemented the ability to update quantities and remove items in Step 4 and Step 5. Additionally, we calculated the total price of the items in the cart in Step 7, providing a transparent overview of the overall cost.
In Step 8, we focused on displaying the cart’s contents to users, creating a clear and organized summary of their selected items. Finally, in Step 9, we completed the shopping experience by implementing the checkout process, allowing users to review their order details, enter their payment information, and finalize their purchase.
By following these steps, you have successfully implemented a robust shopping cart system using PHP, providing a smooth and convenient shopping experience for your customers. Remember to regularly update and maintain your website to ensure optimal performance and security.
Now that you have acquired the necessary skills and knowledge, you can further customize and expand the shopping cart system to meet the specific needs of your business. Consider integrating additional features such as customer accounts, order history, coupon codes, and shipping options to further enhance the functionality and user experience.
Implementing a reliable shopping cart system is an essential step in running a successful e-commerce store or facilitating online transactions. By providing users with a seamless and convenient shopping experience, you can increase customer satisfaction, boost sales, and build a loyal customer base.
Thank you for following this guide, and we hope that it has been valuable in helping you implement a shopping cart system using PHP. Good luck with your e-commerce endeavors!


