Introduction
Welcome to our tutorial on how to add an SD card to your Fire Tablet. If you’re running out of storage space or want to expand the capabilities of your device, adding an SD card can be a great solution. With the extra storage provided by an SD card, you can store more apps, photos, videos, and documents on your Fire Tablet.
In this step-by-step guide, we will walk you through the process of adding an SD card to your Fire Tablet. We will cover everything from checking compatibility to formatting the SD card and configuring the settings. By the end of this tutorial, you’ll be equipped with the knowledge to effortlessly expand the storage capacity of your Fire Tablet.
Please note that the steps outlined in this tutorial are specific to Fire Tablets, such as the Fire 7, Fire HD 8, and Fire HD 10. The process may vary slightly depending on the model and version of the Fire Tablet you own. It’s also important to ensure that your Fire Tablet supports expandable storage before proceeding with the steps.
So, if you’re ready to enhance your Fire Tablet’s storage capacity, let’s dive into the process of adding an SD card!
Step 1: Check Compatibility
Before you begin the process of adding an SD card to your Fire Tablet, it’s important to ensure that your device supports expandable storage. Not all Fire Tablet models come with an SD card slot, so it’s crucial to check the specifications of your device.
To check if your Fire Tablet supports expandable storage, follow these steps:
- Go to the settings of your Fire Tablet by swiping down from the top of the screen and tapping on the “Settings” icon.
- Scroll down and tap on the “Device Options” or “Device” menu, depending on your device’s software version.
- Look for the “Storage” section in the settings menu. If you see the option for “Expandable Storage” or “SD Card”, it means that your Fire Tablet supports the use of an SD card.
If you don’t see the option for expandable storage in the settings menu, it means that your device does not have an SD card slot or does not support the use of external storage.
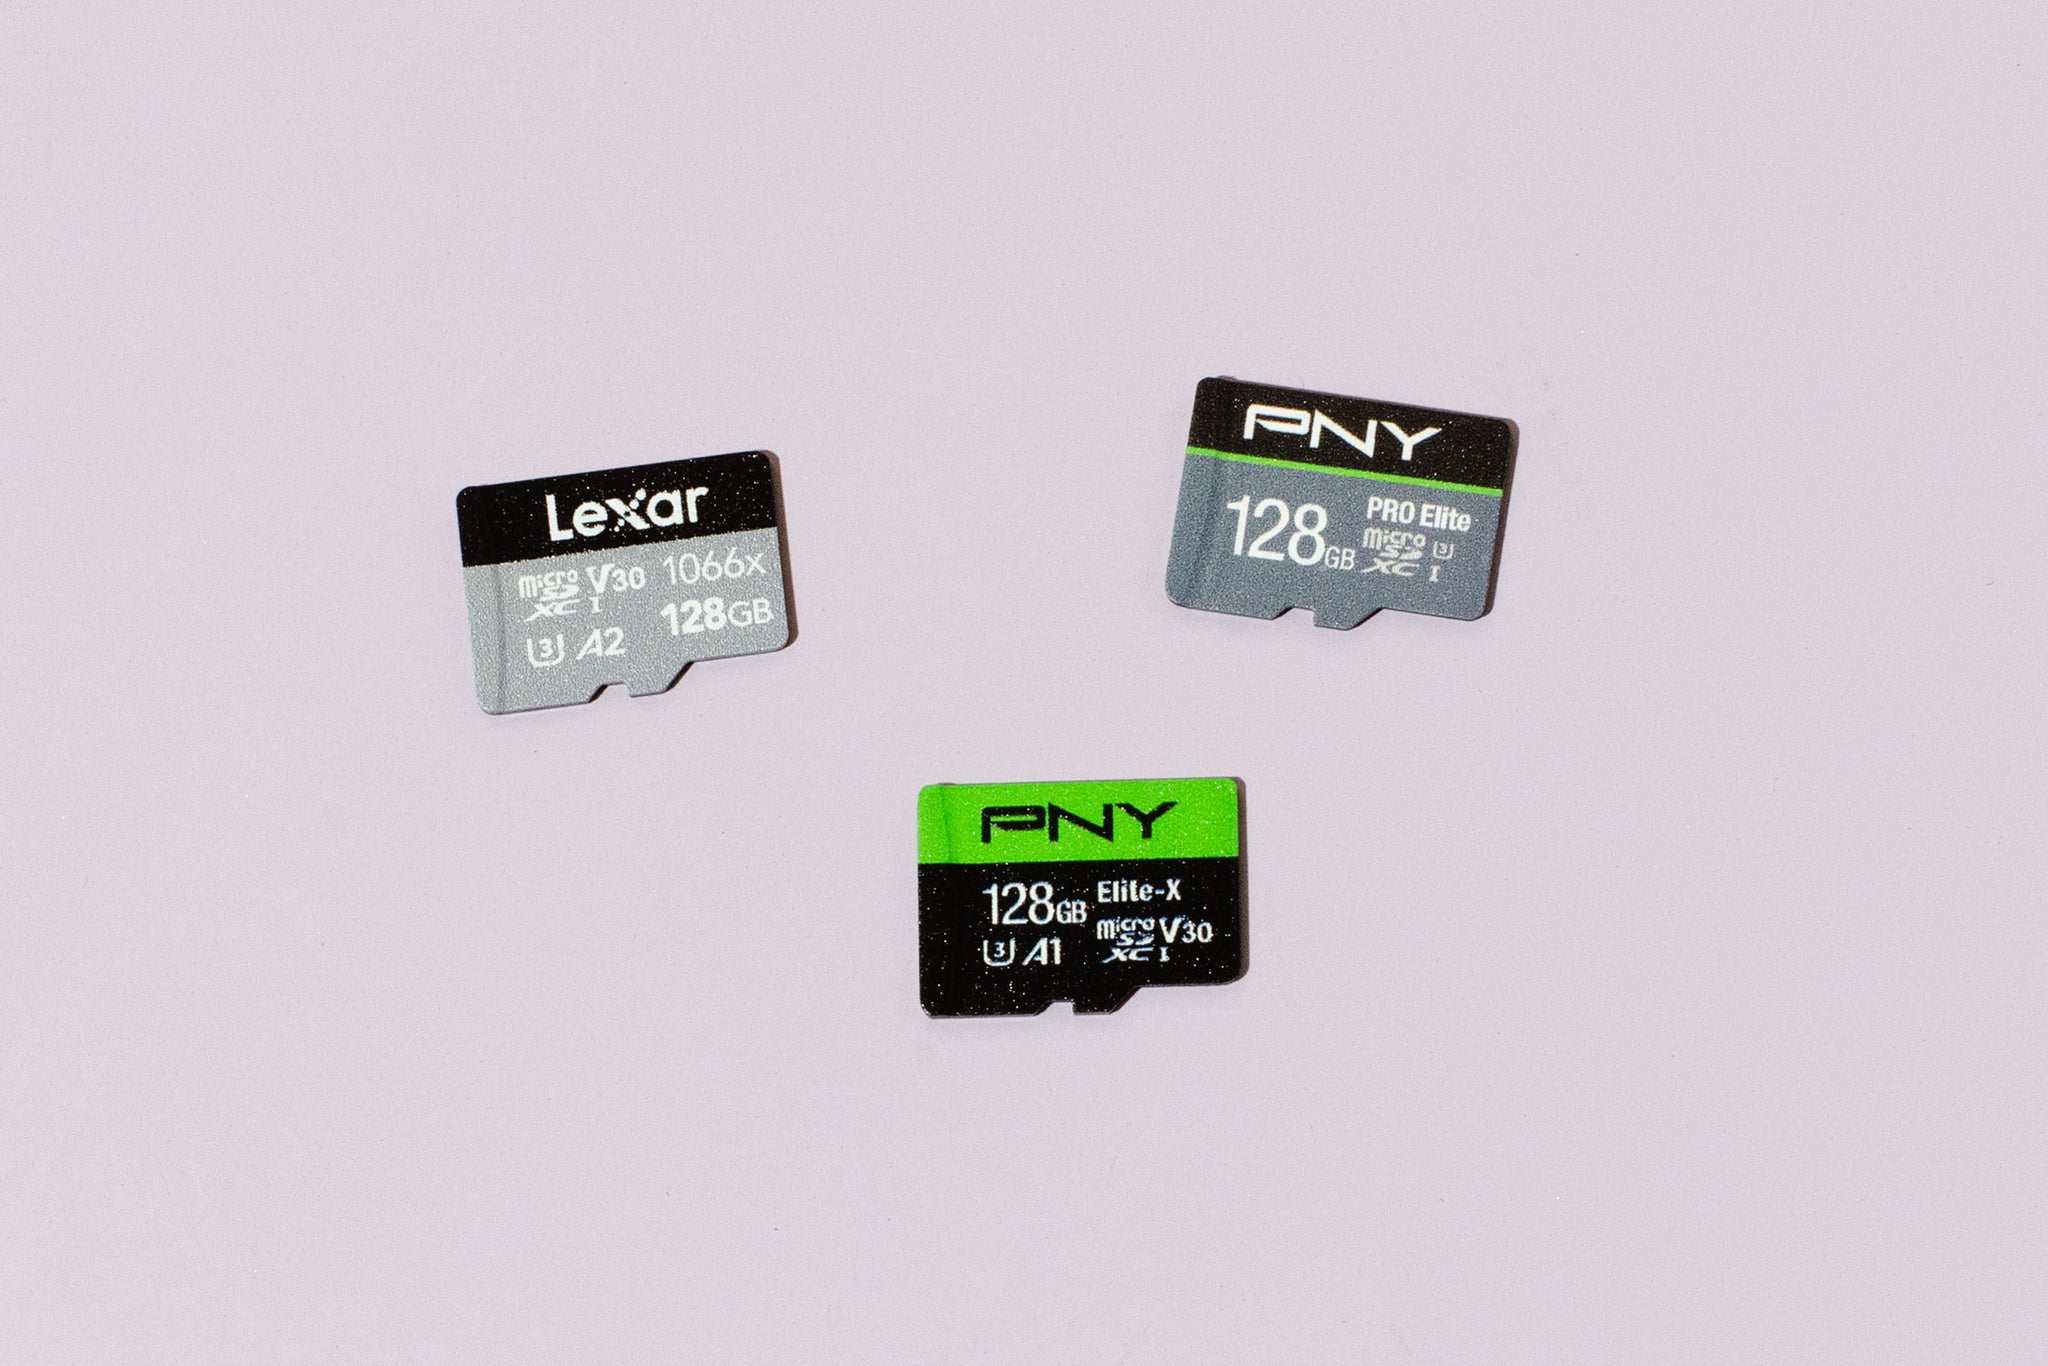
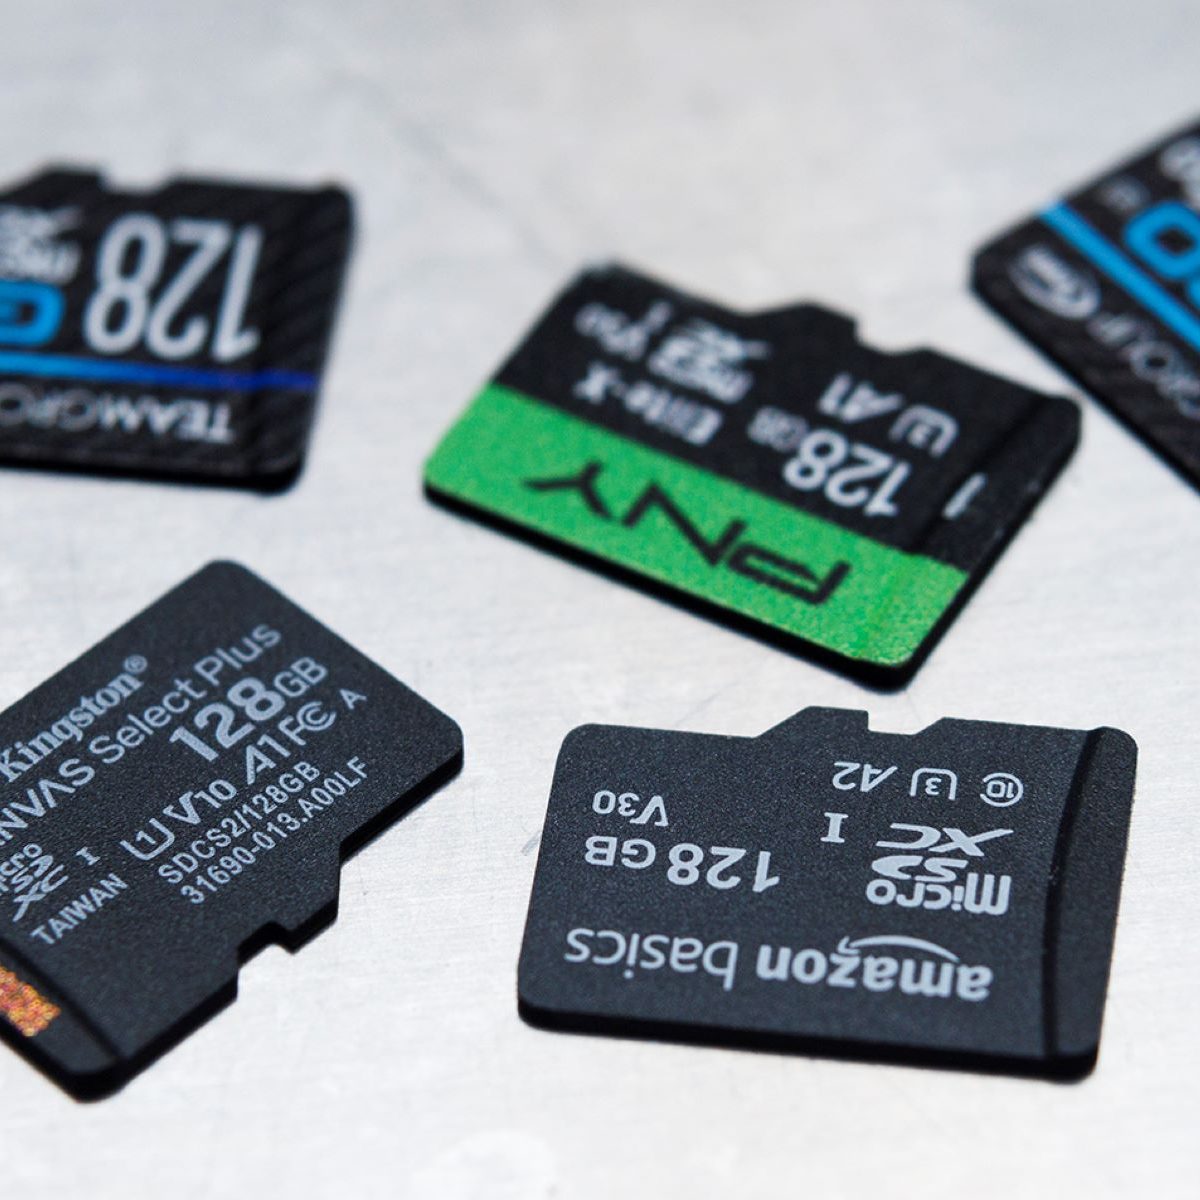
It’s essential to double-check the maximum supported capacity of the SD card for your specific Fire Tablet model. Some older models may have limitations on the maximum size of the SD card they can accommodate. You can typically find this information in the user manual or on Amazon’s official website.
Once you have confirmed that your Fire Tablet supports expandable storage and have determined the maximum supported capacity, you can proceed to the next step of the process.
Step 2: Power Off Your Fire Tablet
Before you begin the physical installation of the SD card, it’s important to power off your Fire Tablet. Turning off your device ensures that no data is being accessed or written during the installation process, reducing the risk of data corruption or errors.
To power off your Fire Tablet, follow these steps:
- Press and hold the power button located either on the top or side of your device.
- A power menu will appear on the screen.
- Tap on the “Power Off” or “Shut Down” option from the menu.
- Wait for a few seconds until the device completely powers off.
Once your Fire Tablet is powered off, you can safely proceed to the next step of the installation process without the risk of damaging the device or the SD card.
Keep in mind that if you have any unsaved data or applications running, it’s a good idea to save and close them before powering off your device to prevent any potential data loss.
We recommend ensuring that your Fire Tablet is fully charged before proceeding to the installation process. This will help prevent any interruptions due to low battery levels during the setup or formatting of the SD card.
Now that your Fire Tablet is powered off, let’s move on to the next step and locate the SD card slot on your device.
Step 3: Locate the MicroSD Card Slot
Now that your Fire Tablet is powered off, it’s time to locate the microSD card slot on your device. The location of the SD card slot may vary depending on the model of your Fire Tablet, so it’s important to carefully follow these instructions.
Here’s how you can locate the microSD card slot:
- Inspect the edges of your Fire Tablet to find the slot. It is usually located either on the top or the side of the device.
- Look for a small flap or cover that can be opened. In some models, the slot might be hidden behind a small plastic cover that you can gently pry open.
- Once you locate the slot, make sure to handle it with care. It is important not to force or bend any components while inserting or removing the SD card.
If you are having trouble locating the microSD card slot on your Fire Tablet, refer to the device’s user manual or visit the manufacturer’s website for specific instructions.
It’s worth noting that some Fire Tablet models have a hybrid slot, which means it can accommodate either a microSD card or a SIM card. In such cases, you’ll need to refer to your device’s user manual or online resources to understand how to properly insert the SD card without interfering with the SIM card functionality.
Now that you have successfully located the microSD card slot on your device, it’s time to proceed to the next step and insert the SD card.
Step 4: Insert the SD Card
With the microSD card slot located on your Fire Tablet, it’s time to insert the SD card. Follow these steps to ensure a successful and secure insertion:
- Take your microSD card and carefully inspect it. Ensure that it is clean, free from dust or debris, and not damaged.
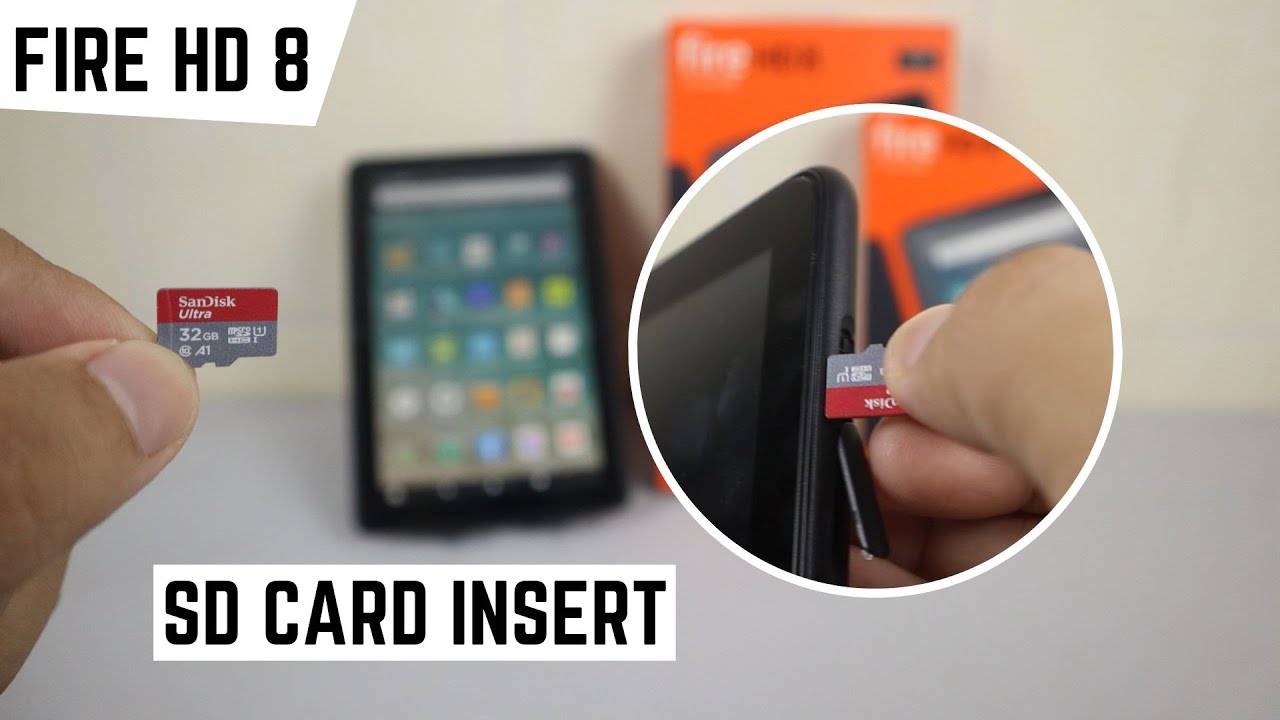
- Hold your Fire Tablet with the screen facing you and gently insert the SD card into the microSD card slot. Make sure to align the gold-colored contacts on the SD card with the pins inside the slot.
- Apply gentle pressure until the SD card is fully inserted into the slot. Be careful not to force it or insert it at an angle, as this can cause damage to the card or the slot.
- Once the SD card is inserted, you may hear a clicking sound or feel a slight resistance. This indicates that the card is securely in place.
- If your Fire Tablet has a plastic cover or flap that you previously opened to access the slot, close it gently to protect the SD card and prevent it from accidentally falling out.
It’s essential to handle the SD card with care to avoid any damage, such as bending or breaking it. Avoid touching the gold contacts, as oil or dirt on your fingers can hinder proper communication between the card and the device.
If you encounter any difficulties while inserting the SD card, remove it and double-check its alignment and condition. Ensure that you are inserting the correct side of the SD card into the slot.
Now that the SD card is securely inserted into the microSD card slot of your Fire Tablet, it’s time to power the device back on and proceed to the next steps.
Step 5: Power On Your Fire Tablet
Now that you have successfully inserted the SD card into the microSD card slot of your Fire Tablet, it’s time to power on your device and ensure that it recognizes the newly added storage.
To power on your Fire Tablet, follow these steps:
- Press and hold the power button located on the top or side of your device.
- Wait for a few seconds until the device powers on. You’ll see the Fire Tablet logo on the screen.
- Once your device has booted up and you’ve reached the home screen, it’s time to check if the SD card is recognized.
To check if the SD card is properly recognized by your Fire Tablet, follow these steps:
- Swipe down from the top of the screen to open the quick settings menu.
- Tap on the “Settings” icon to access the device settings.
- Scroll down and tap on the “Storage” option.
- Under the “Internal Storage” section, you should now see the available space on the SD card listed separately.
If the SD card is detected and appears in the storage settings, congratulations! You have successfully added the SD card to your Fire Tablet and it’s ready to be used for storage expansion.
If the SD card is not recognized, it’s possible that it wasn’t inserted correctly or is not compatible with your device. Try removing and reinserting the SD card, ensuring that it is securely placed in the slot. If the issue persists, consider checking the compatibility of the SD card with your Fire Tablet model or try using a different SD card.
Now that your Fire Tablet is powered on and recognizes the SD card, it’s time to move on to the next step and format the SD card for use.
Step 6: Format the SD Card
After successfully inserting the SD card and powering on your Fire Tablet, the next step is to format the SD card so that it can be properly utilized by your device. Formatting the SD card will erase any existing data on it, so make sure to back up any important files before proceeding.
To format the SD card on your Fire Tablet, follow these steps:
- Swipe down from the top of the screen to open the quick settings menu.
- Tap on the “Settings” icon to access the device settings.
- Scroll down and tap on the “Storage” option.
- Under the “Internal Storage” section, you should see the SD card listed as an available option.
- Tap on the SD card option to open the SD card settings.
- Tap on the three-dot menu icon in the top-right corner of the screen and select “Format as Portable” or “Format as Internal” depending on your preference.
- Read the information about formatting and its implications carefully, then tap on the “Format” button to proceed.
- Wait for the formatting process to complete. This may take a few minutes.
It’s important to note that formatting the SD card as “Portable” allows you to use it for storing files and media that can be accessed by other devices. On the other hand, formatting it as “Internal” will merge the SD card storage with the internal storage of your Fire Tablet, increasing the available space for apps and system files.
Once the formatting process is complete, your SD card is now ready to be used as additional storage on your Fire Tablet. You can start moving files, installing apps, and enjoying the expanded storage capacity.
Now that the SD card is formatted, let’s move on to the final step and configure the SD card settings for optimal usage.
Step 7: Configure SD Card Settings
After formatting the SD card and successfully adding it to your Fire Tablet, it’s important to configure the SD card settings to optimize its usage and ensure a seamless experience. Here are some key settings to consider:
- Default App Installation: By default, your Fire Tablet will install new apps on the internal storage. To change this and set the SD card as the default installation location, follow these steps:
– Go to the “Settings” menu on your device
– Tap on “Apps & Notifications” or “Applications”
– Select “Default Apps”
– Tap on “Storage” and choose “SD Card” - Camera and Downloads: You can configure your Fire Tablet to save photos and downloads directly to the SD card. To set the SD card as the default storage location for the camera and downloads, follow these steps:
– Go to the “Camera” or “Gallery” app on your device
– Open the camera settings (usually represented by a gear icon)
– Look for the storage option and select “SD Card”
– For downloads, go to the web browser app or the download manager app settings and choose the SD card as the default download location. - App Storage: You can manually move installed apps from the internal storage to the SD card to free up space. Follow these steps to move apps:
– Go to the “Settings” menu on your device
– Tap on “Apps & Notifications” or “Applications”
– Choose the app you want to move to the SD card
– Select “Storage” and tap on “Change” or “Move to SD Card”
By configuring these settings, you can make the most of the SD card storage and ensure that your Fire Tablet operates efficiently.
It’s important to remember that the SD card may have limitations compared to the internal storage of your Fire Tablet in terms of speed and performance. As a result, some resource-intensive apps or games may run better when installed on the internal storage.
Additionally, always keep in mind that removing the SD card from your Fire Tablet without unmounting it properly can lead to data corruption. To safely remove the SD card, go to the “Settings” menu, tap on “Storage,” and select the option to eject or unmount the SD card before physically removing it.
Congratulations! You have successfully configured the SD card settings on your Fire Tablet. Now you can enjoy the expanded storage capacity and better organize your files, apps, and media.
Conclusion
Adding an SD card to your Fire Tablet is a simple and effective way to expand its storage capacity and enhance its capabilities. With the extra space provided by the SD card, you can store more apps, photos, videos, and documents, allowing you to make the most of your device.
In this step-by-step guide, we have covered the entire process of adding an SD card to your Fire Tablet. We started by checking the compatibility of your device to ensure it supports expandable storage. Then, we powered off the tablet and located the microSD card slot. After inserting the SD card, we powered on the tablet and formatted the SD card for optimal usage. Finally, we configured the SD card settings to optimize its functionality.
Remember to handle the SD card with care, ensuring proper alignment and avoiding any physical damage. Make sure to back up any important data before formatting the SD card, as this process erases all existing files on it. Additionally, regularly eject or unmount the SD card before physically removing it from the device to avoid data corruption.
Now that you have successfully added and configured the SD card on your Fire Tablet, you can enjoy the benefits of expanded storage capacity. Whether you use it for storing media files, installing apps, or keeping important documents, the SD card will enhance your device’s functionality and provide you with more flexibility in managing your digital content.
Thank you for following our guide, and we hope that this tutorial has been helpful in expanding the storage capabilities of your Fire Tablet!