Introduction
Welcome to our guide on how to add RAM to your laptop! If you’ve noticed that your laptop is running slow or struggling to handle multiple tasks, upgrading its RAM (Random Access Memory) can significantly improve its performance. RAM is an essential component of your laptop that stores and provides quick access to data that your computer needs to run programs and perform tasks efficiently. By increasing the amount of RAM, you can enhance your laptop’s multitasking capabilities, speed up software applications, and reduce lag.
In this comprehensive guide, we will walk you through the process of adding RAM to your laptop. Whether you’re a beginner or have some technical knowledge, we’ve got you covered. We will help you determine your laptop’s current RAM capacity, guide you in choosing the right RAM for your specific model, and provide step-by-step instructions on how to install it properly.
Before we dive into the details, it’s important to note that adding RAM to your laptop is relatively straightforward and can be done without professional assistance. However, it’s crucial to follow the instructions carefully and be mindful of static electricity, which can damage components. If you’re not confident in performing the upgrade yourself, we recommend seeking help from a professional technician.
So, if you’re ready to give your laptop a performance boost, let’s get started on upgrading its RAM!
The Importance of Adding RAM to Your Laptop
Adding RAM to your laptop can significantly enhance its overall performance and improve your computing experience. RAM is a crucial component that allows your laptop to handle multiple tasks simultaneously and store temporary data that programs need to run efficiently. Here are a few key reasons why adding RAM is essential:
- Increased multitasking capabilities: As you use your laptop, you may have multiple applications and browser tabs open simultaneously. Insufficient RAM can lead to sluggish performance and delays when switching between tasks. By adding more RAM, your laptop will have more space to store temporary data, allowing it to handle multiple tasks smoothly.
- Improved software performance: RAM works closely with your laptop’s processor to execute software applications. Insufficient RAM can cause software to load slowly, freeze, or crash altogether. Adding more RAM ensures that your laptop has ample memory to handle resource-intensive applications, resulting in faster load times and smoother operation.
- Enhanced gaming experience: If you’re a gamer, adding RAM is essential for a smooth gaming experience. Many modern games require a significant amount of RAM to run optimally. Insufficient RAM can lead to lag, stuttering, and lower frame rates, impacting your gameplay. By upgrading your laptop’s RAM, you can enjoy games with higher graphics settings and improved performance.
- Better system responsiveness: RAM plays a crucial role in storing data for quick access. When you launch an application or open a file, it is loaded into RAM for faster retrieval. Insufficient RAM can slow down data retrieval, resulting in delays and decreased system responsiveness. Adding more RAM allows your laptop to store more data, reducing load times and making your laptop more responsive.
- Future-proofing your laptop: As technology advances, software applications tend to become more resource-intensive. Adding RAM to your laptop ensures that it can meet the demands of future software updates and remain compatible with the latest technology. It’s a cost-effective way to extend the lifespan of your laptop without having to invest in a new one.
Overall, adding RAM to your laptop is an excellent investment that can improve its performance, enhance multitasking capabilities, and provide a better computing experience. In the following sections, we will guide you through the process of determining your laptop’s RAM capacity, selecting the right RAM, and adding it to your laptop properly.
Checking Your Laptop’s RAM Capacity
Before adding RAM to your laptop, it’s important to determine the current RAM capacity of your device. This will help you understand how much additional RAM you can add and ensure compatibility with your laptop’s specifications. Here are a few methods to check your laptop’s RAM capacity:
- System Information: The easiest way to check your laptop’s RAM capacity is by using the built-in System Information tool. On Windows, press the Windows key + R, type “msinfo32” in the Run dialog, and hit Enter. This will open the System Information window. Under the “System Summary” section, you’ll find the “Installed Physical Memory” field, which shows your current RAM capacity in megabytes (MB) or gigabytes (GB).
- Task Manager (Windows): Another method is to use the Task Manager. Right-click on the taskbar and select “Task Manager” from the context menu. In the Task Manager window, go to the “Performance” tab, then click on “Memory” in the left-side panel. You’ll see the total amount of RAM displayed under “Physical Memory (MB).”
- About This Mac (MacOS): If you’re using a MacBook or Mac computer, click on the Apple menu in the top-left corner and select “About This Mac.” In the window that appears, click on the “Memory” tab. Here, you’ll find the total amount of RAM installed in your Mac, displayed in gigabytes (GB).
- Third-Party Software: There are also third-party software tools available that provide detailed information about your laptop’s hardware, including RAM capacity. CPU-Z and Speccy are popular options for both Windows and MacOS. These tools provide comprehensive information about your laptop’s RAM, including the module type, frequency, and capacity.
Once you’ve determined your laptop’s RAM capacity, you can decide how much additional RAM you want to add. It’s essential to check if your laptop has expandable RAM slots and the maximum amount of RAM it can support. This information can typically be found in your laptop’s user manual or by visiting the manufacturer’s website.
With the knowledge of your laptop’s current RAM capacity, you can now move on to selecting the right RAM for your laptop, which we’ll explore in the next section.
Choosing the Right RAM for Your Laptop
When it comes to selecting the right RAM for your laptop, there are a few important factors to consider. By ensuring compatibility and choosing the appropriate specifications, you can guarantee a smooth and successful RAM upgrade. Here’s what you should keep in mind:
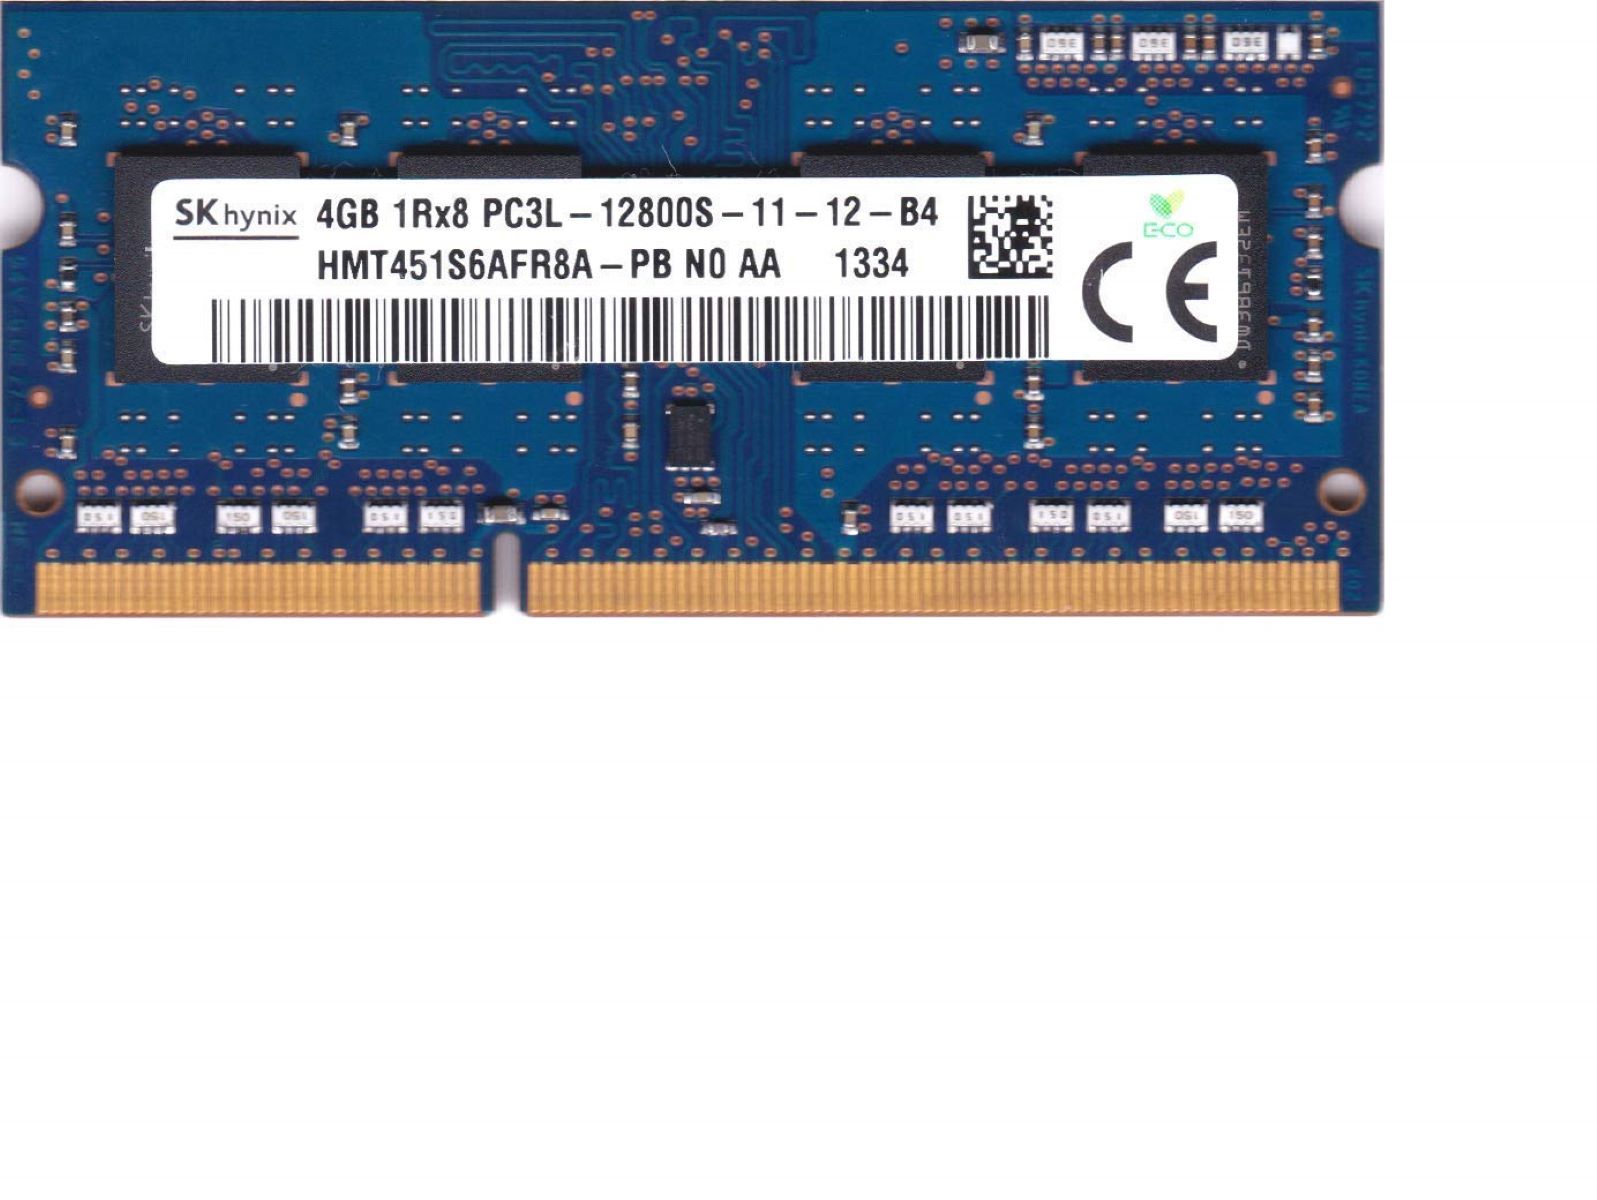
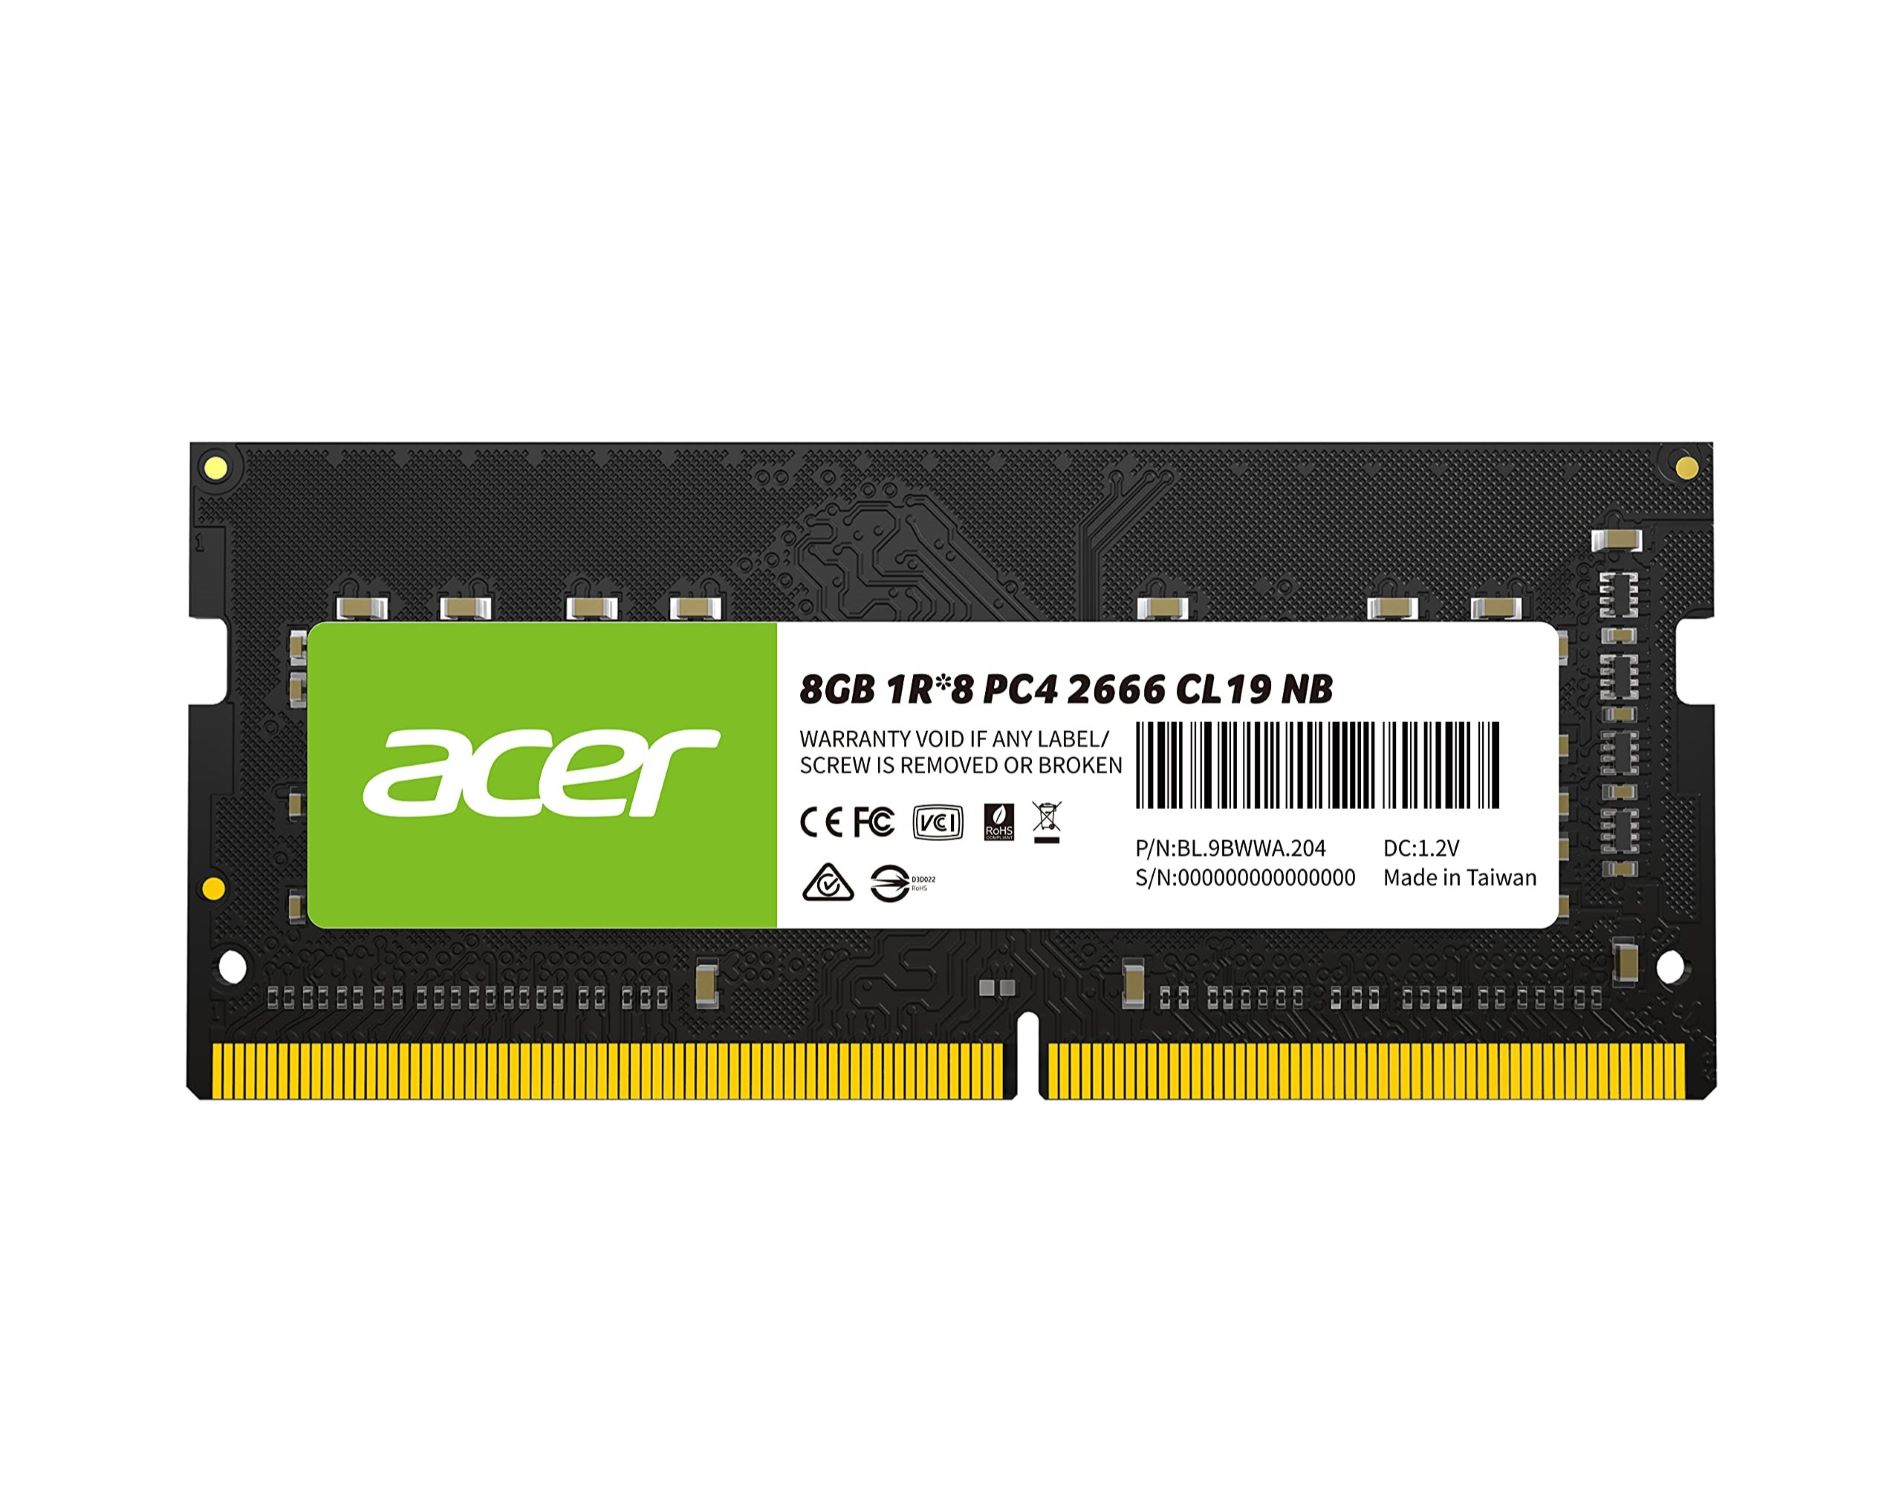
- RAM Type: The first step is to determine the type of RAM your laptop requires. The most common types are DDR3 and DDR4. Check your laptop’s specifications or user manual to find out which type is compatible. It’s crucial to note that DDR4 RAM is not backward compatible with DDR3 slots, so make sure you choose the correct type for your laptop.
- RAM Capacity: Based on your laptop’s current RAM capacity and your computing needs, decide how much additional RAM you want to add. Keep in mind that laptops often have limited upgradeability, so it’s important to check the maximum capacity your laptop can support. Some laptops have soldered RAM, meaning it cannot be upgraded.
- RAM Speed: RAM speed, also known as the frequency, affects the data transfer rate and performance of your laptop. It is measured in megahertz (MHz). While higher speeds offer better performance, it’s important to ensure that the RAM speed you choose is compatible with your laptop’s motherboard. Check your laptop’s specifications to find the supported RAM speed.
- Form Factor: The form factor refers to the physical size and shape of the RAM module. Common form factors for laptops are SODIMM (Small Outline Dual In-Line Memory Module) and MicroDIMM (Micro Dual In-Line Memory Module). Ensure that you choose the form factor that is compatible with your laptop’s RAM slots.
- Latency: RAM latency, often represented by a series of numbers like CL16-18-18-38, indicates the time it takes for the RAM to respond to a request. Lower latency values generally result in faster response times. However, the impact of latency on overall performance is minimal compared to other factors.
- Brand and Reliability: Opt for reputable brands when purchasing RAM for your laptop. Quality manufacturers provide better compatibility, reliability, and technical support. Popular brands include Kingston, Crucial, Corsair, and Samsung.
Once you have gathered this information, you can search for RAM modules that meet your laptop’s specifications. Many online retailers and computer hardware stores allow you to filter results based on compatibility and other specifications. Select the RAM module that best fits your needs and budget.
Now that you have chosen the right RAM for your laptop, it’s time to move on to the next steps: preparing to add RAM and the actual installation process, which we will cover in the following sections.
Preparing to Add RAM to Your Laptop
Before diving into the process of adding RAM to your laptop, it’s important to make a few preparations to ensure a smooth upgrade experience. By following these steps, you can minimize the chances of encountering any issues and ensure a successful installation:
- Read the Manual: Consult your laptop’s user manual or visit the manufacturer’s website for specific instructions on adding or upgrading RAM. Different laptop models may have unique requirements or restrictions, so it’s important to familiarize yourself with the guidelines provided by the manufacturer.
- Gather Necessary Tools: You’ll need a few tools to safely and effectively add RAM to your laptop. These tools typically include a screwdriver (usually Phillips or Torx) to remove the access panel and OEM specifications of the RAM in terms of type, speed, and capacity. Refer to your laptop’s documentation to confirm the necessary tools and RAM specifications.
- Prepare Your Workspace: Find a clean, well-lit, and static-free workspace to perform the RAM installation. Static electricity can damage components, so it’s best to work on a non-carpeted surface and use an anti-static wrist strap or mat if available. Remember to ground yourself by touching a metal object before handling any computer parts.
- Power Off and Disconnect: Before opening your laptop, ensure that it is powered off and unplugged from any power source. This is essential for your safety and to prevent any damage to the laptop or RAM modules during the installation process.
- Backup Your Data: While adding RAM generally doesn’t involve data loss, it’s always a good idea to backup important files and documents before making any hardware changes. This way, you’ll have peace of mind knowing that your data is safe and can be easily restored if needed.
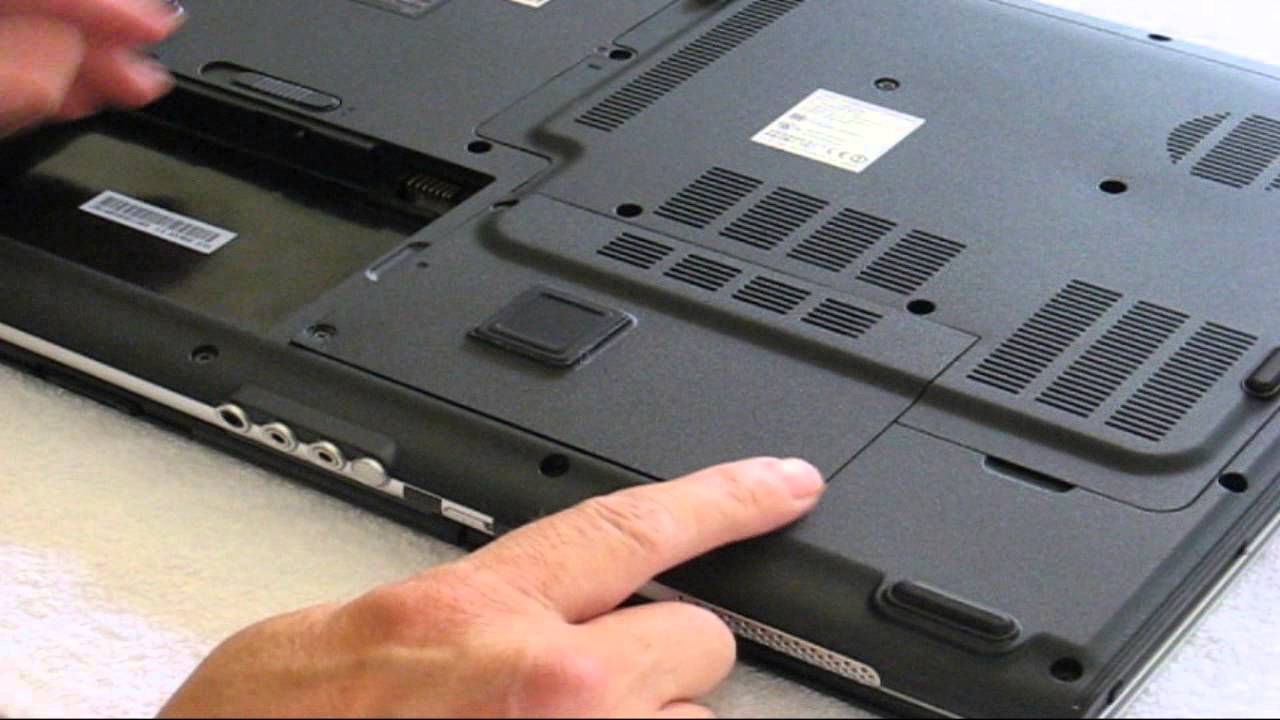
- Identify RAM Slots: Locate the RAM slots on your laptop. They are usually accessible by removing a panel on the bottom or under the keyboard. Refer to your laptop’s user manual or online resources to identify the precise location of the RAM slots.
By following these preparatory steps, you will be well-equipped with the necessary knowledge and tools to proceed with the RAM installation. In the next section, we will guide you through the step-by-step process of adding RAM to your laptop.
How to Add RAM to Your Laptop
Adding RAM to your laptop is a relatively straightforward process. Follow these step-by-step instructions to successfully install additional RAM:
- Power Off and Disconnect: Ensure that your laptop is powered off and disconnected from any power source. This is crucial for safety and to avoid any potential electrical damage during the installation process.
- Access RAM Slots: Locate the RAM slots on your laptop. They are typically located on the bottom of the laptop or under the keyboard. Depending on the model, you may need to remove a panel or unscrew a cover to access the RAM slots. Refer to your laptop’s user manual or online resources for guidance.
- Remove Existing RAM (If Applicable): If you’re replacing existing RAM modules, gently press the clips on the sides of the module to release it from the slot. Carefully remove it by pulling it out at an angle. Keep the removed RAM modules in a safe place in case you need them in the future. Skip this step if you’re installing additional RAM without replacing the existing modules.
- Insert the New RAM: Take your new RAM module and align it with the empty slot. Make sure the notches or pins on the module match the slots in the RAM slot. Gently press the module down until it clicks into place. Apply equal pressure on both ends to ensure a secure connection.
- Secure the RAM Module: Once the RAM module is inserted correctly, push it downwards towards the motherboard until it is firmly seated. The clips on the sides should automatically snap into place and secure the RAM module. Ensure that the module is correctly aligned and not at an angle.
- Repeat for Multiple Modules: If you’re installing more than one RAM module, repeat steps 3 to 5 for each module, ensuring they are inserted into the appropriate slots according to your laptop’s specifications.
- Replace the Panel: If you had to remove a panel or cover to access the RAM slots, securely fasten it back into place. Use the appropriate screws and ensure that it is tightened properly but not overly tightened to avoid damaging the panel or components.
- Power Up Your Laptop: Once the RAM installation is complete, reconnect your laptop to the power source and power it on. The laptop should detect the new RAM automatically during the boot-up process.
After following these steps, your laptop should now have the additional RAM installed and ready to enhance its performance. To verify that the new RAM is recognized and functioning properly, you can check the system information or use diagnostic tools such as CPU-Z or Speccy.
Congratulations! You have successfully added RAM to your laptop. In the next section, we will address common issues that may arise during this process and provide troubleshooting tips to help you resolve them.
Common Issues and Troubleshooting
While adding RAM to your laptop is usually a straightforward process, you may encounter a few common issues along the way. Here are some potential problems and troubleshooting tips:
- RAM Not Recognized: If your laptop fails to recognize the newly installed RAM, ensure that it is properly inserted and securely seated in the RAM slot. Try removing and reinserting the RAM modules to make sure they are making proper contact. Also, check if you have exceeded the maximum supported RAM capacity of your laptop.
- Incompatible RAM: Ensure that the RAM you have purchased is compatible with your laptop’s specifications. Check if you have the correct type, capacity, speed, and form factor. Double-check your laptop’s documentation to verify the supported RAM specifications.
- BIOS Update: In some cases, you may need to update your laptop’s BIOS to support newly installed RAM modules. Visit the manufacturer’s website and search for any available BIOS updates specifically addressing RAM compatibility issues. Follow the instructions provided by the manufacturer for updating your laptop’s BIOS.
- Mismatched RAM Modules: If you are adding RAM in addition to existing modules, ensure that the new RAM matches the specifications of the existing modules. Misalignment or mismatched specifications can cause compatibility issues and lead to system instability. It’s best to use matching modules whenever possible.
- Static Electricity Damage: Protect your laptop’s internal components from static electricity by grounding yourself before handling any hardware. Use an anti-static wrist strap or mat if available. Avoid working on carpeted surfaces and ensure that you are working in a clean, static-free environment.
- Seek Professional Assistance: If you encounter persistent issues or are unsure of how to resolve a specific problem, it may be best to seek assistance from a professional technician or contact the laptop manufacturer’s support. They will be able to provide tailored guidance for your specific laptop model.
By following these troubleshooting tips, you can address and resolve common issues that may arise during the RAM installation process. Remember to exercise caution and refer to your laptop’s documentation or seek professional assistance when encountering significant problems.
In the next section, we will provide some valuable tips to maximize the performance of your newly added RAM and ensure that you get the most out of your laptop’s enhanced capabilities.
Tips for Maximizing the Performance of Your New RAM
Congratulations on successfully adding new RAM to your laptop! To ensure that you make the most of your upgraded RAM and maximize your laptop’s performance, here are some valuable tips:
- Restart Your Laptop: After installing new RAM, it’s a good idea to restart your laptop. This allows the system to fully recognize and utilize the new RAM modules.
- Update Device Drivers: Ensure that your laptop’s device drivers are up to date. Outdated drivers can hinder performance and prevent your laptop from fully utilizing the benefits of the new RAM. Visit the manufacturer’s website or use a driver update utility to check for and install the latest driver updates.
- Manage Startup Programs: Disable unnecessary startup programs that can consume valuable system resources. This will free up memory and improve the overall performance of your laptop. Access the Task Manager or System Configuration utility to manage your startup programs.
- Keep Your System Clean: Regularly clean up temporary files, cache, and other unnecessary files from your laptop. These files can accumulate over time and consume RAM resources. Use built-in utilities like Disk Cleanup (Windows) or third-party software to perform regular system cleanups.
- Optimize Virtual Memory: Adjust your laptop’s virtual memory settings to ensure efficient utilization of RAM. Virtual memory is a portion of your hard drive or SSD that acts as an extension of physical RAM. By optimizing virtual memory settings, you can enhance performance. Consult your laptop’s documentation or online resources for instructions on adjusting virtual memory settings.
- Run System Maintenance: Perform regular system maintenance tasks like disk defragmentation (for traditional hard drives) or TRIM optimization (for SSDs). These tasks can help improve overall system performance and ensure that your newly added RAM operates optimally.
- Monitor Resource Usage: Keep an eye on your laptop’s resource usage to identify any bottlenecks or performance issues. Task Manager (Windows) or Activity Monitor (Mac) can provide insights into CPU, memory, and disk usage. This information can help you identify any applications or processes that may be consuming excess resources.
- Upgrade Other Components: While adding more RAM can boost your laptop’s performance, it’s important to consider other limiting factors. If your laptop’s processor or storage drive is outdated or slow, upgrading these components as well can provide a more significant performance improvement.
- Avoid Resource-Intensive Apps: Be mindful of resource-intensive applications and limit their usage if necessary. Applications like video editing software, graphic design tools, and games can put a strain on your laptop’s resources. Closing unnecessary applications while running such demanding programs can help preserve system performance.
- Regularly Restart Your Laptop: Restarting your laptop periodically can help refresh system resources and clear any temporary files or processes that may be consuming memory. This simple step can assist in maintaining optimal performance over time.
By following these tips, you can maximize the benefits of your new RAM and enhance the overall performance of your laptop. Remember to stay proactive with system maintenance and regularly monitor resource usage to address any performance issues that may arise. Enjoy the improved multitasking capabilities and faster performance!
Conclusion
Congratulations on successfully completing the RAM upgrade for your laptop! By following the steps outlined in this guide, you have unlocked the potential for improved multitasking capabilities, faster software performance, and an enhanced computing experience.
We started by highlighting the importance of adding RAM to your laptop and how it can significantly impact its overall performance. We then explored how to check your laptop’s RAM capacity and select the right RAM modules that are compatible with your specific model.
Next, we discussed the importance of proper preparation before adding RAM, including gathering necessary tools and creating a suitable workspace. We then provided a step-by-step guide on how to add RAM to your laptop, ensuring that the modules are securely inserted and in alignment with the motherboard. Additionally, we addressed common issues and troubleshooting tips to help you overcome any challenges that may arise during the installation process.
Finally, to maximize the performance of your new RAM, we shared valuable tips such as updating device drivers, optimizing virtual memory, managing startup programs, and monitoring resource usage. These tips will help you make the most out of your laptop’s enhanced capabilities.
Remember, if you ever need further assistance or encounter any persistent issues, it’s always advisable to consult your laptop’s user manual, seek help from a professional technician, or contact your laptop manufacturer’s support team.
Thank you for choosing our guide to add RAM to your laptop. We hope that this resource has been informative and helpful to you. Enjoy the improved performance and increased productivity that the additional RAM brings to your laptop!