Introduction
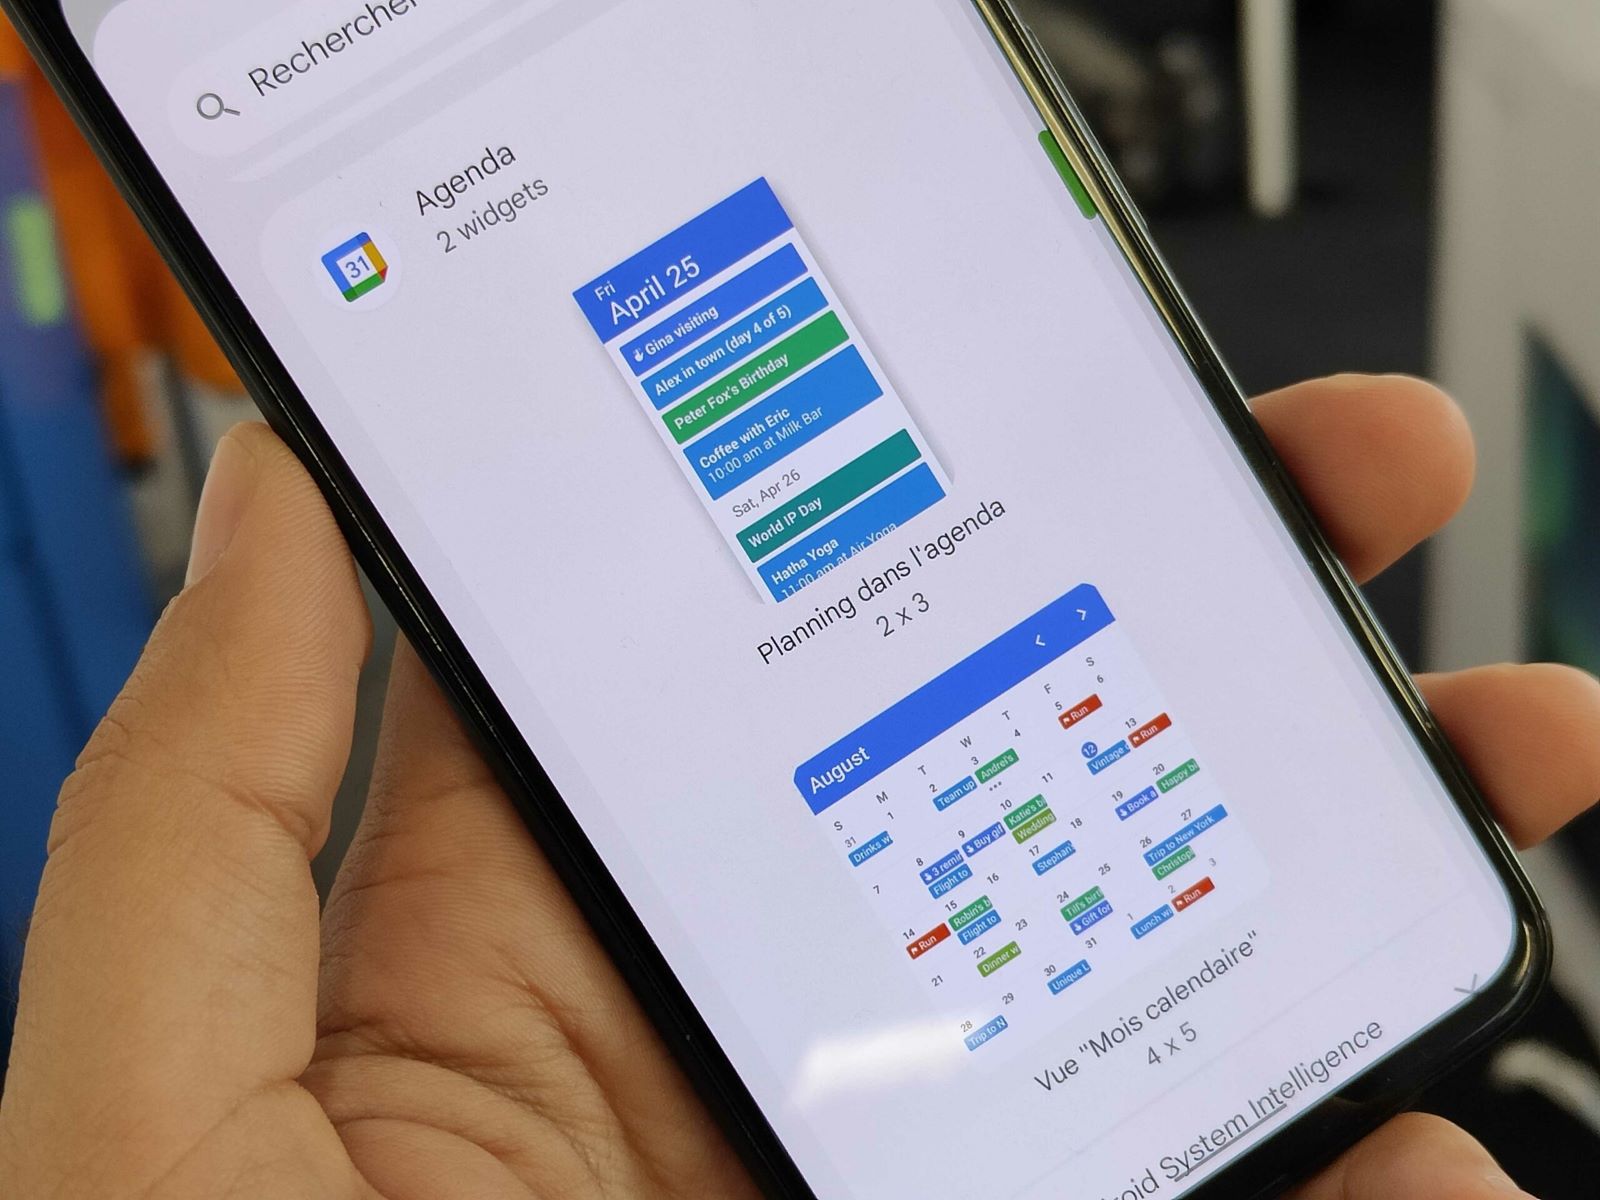
Adding a Google Calendar widget to your website or blog can provide visitors with an easy way to view upcoming events, appointments, or important dates. Whether you are a business owner looking to showcase your schedule or a blogger wanting to share your personal events, integrating a Google Calendar widget can provide both functionality and visual appeal.
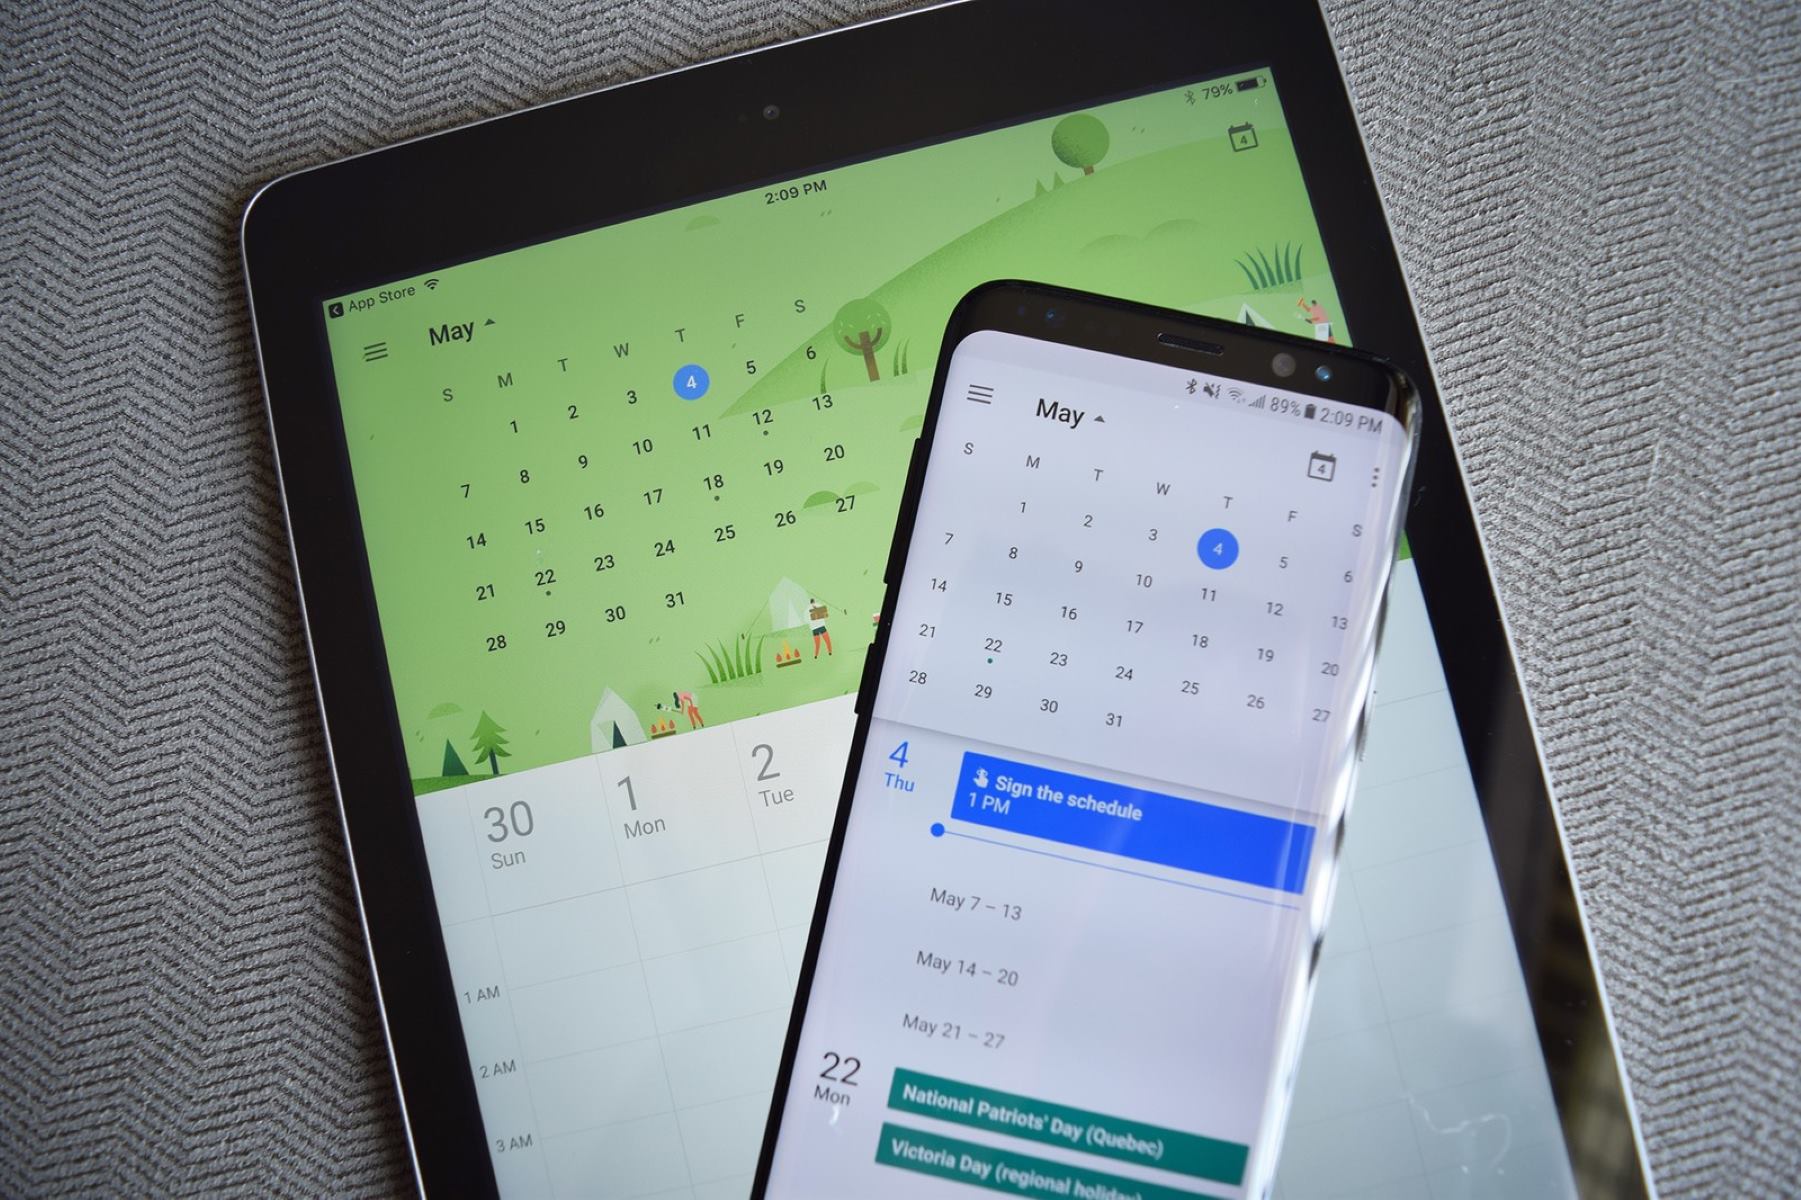
With the Google Calendar widget, you can display a simplified version of your calendar on your website, allowing users to quickly see upcoming events without having to navigate away from your site. This not only improves user experience but also enhances the overall professionalism of your online presence.
Fortunately, adding a Google Calendar widget to your website is a straightforward process that requires minimal technical expertise. In this guide, we will walk you through the step-by-step process of accessing, customizing, generating code, and adding the Google Calendar widget to your website or blog. Additionally, we’ll provide tips on adjusting the widget’s settings to ensure it seamlessly integrates with your site’s design and meets your specific needs. So let’s dive in and start harnessing the power of Google Calendar to enhance your online presence!
Step 1: Accessing the Google Calendar Widget
The first step in adding a Google Calendar widget to your website is to access the widget itself. To do this, you will need to have a Google account set up and be logged in.
1. Open your web browser and go to https://calendar.google.com.
2. Sign in with your Google account credentials. If you don’t have a Google account, you can create one by clicking on the “Create account” button.
3. Once you are logged in, you will be taken to the Google Calendar dashboard.
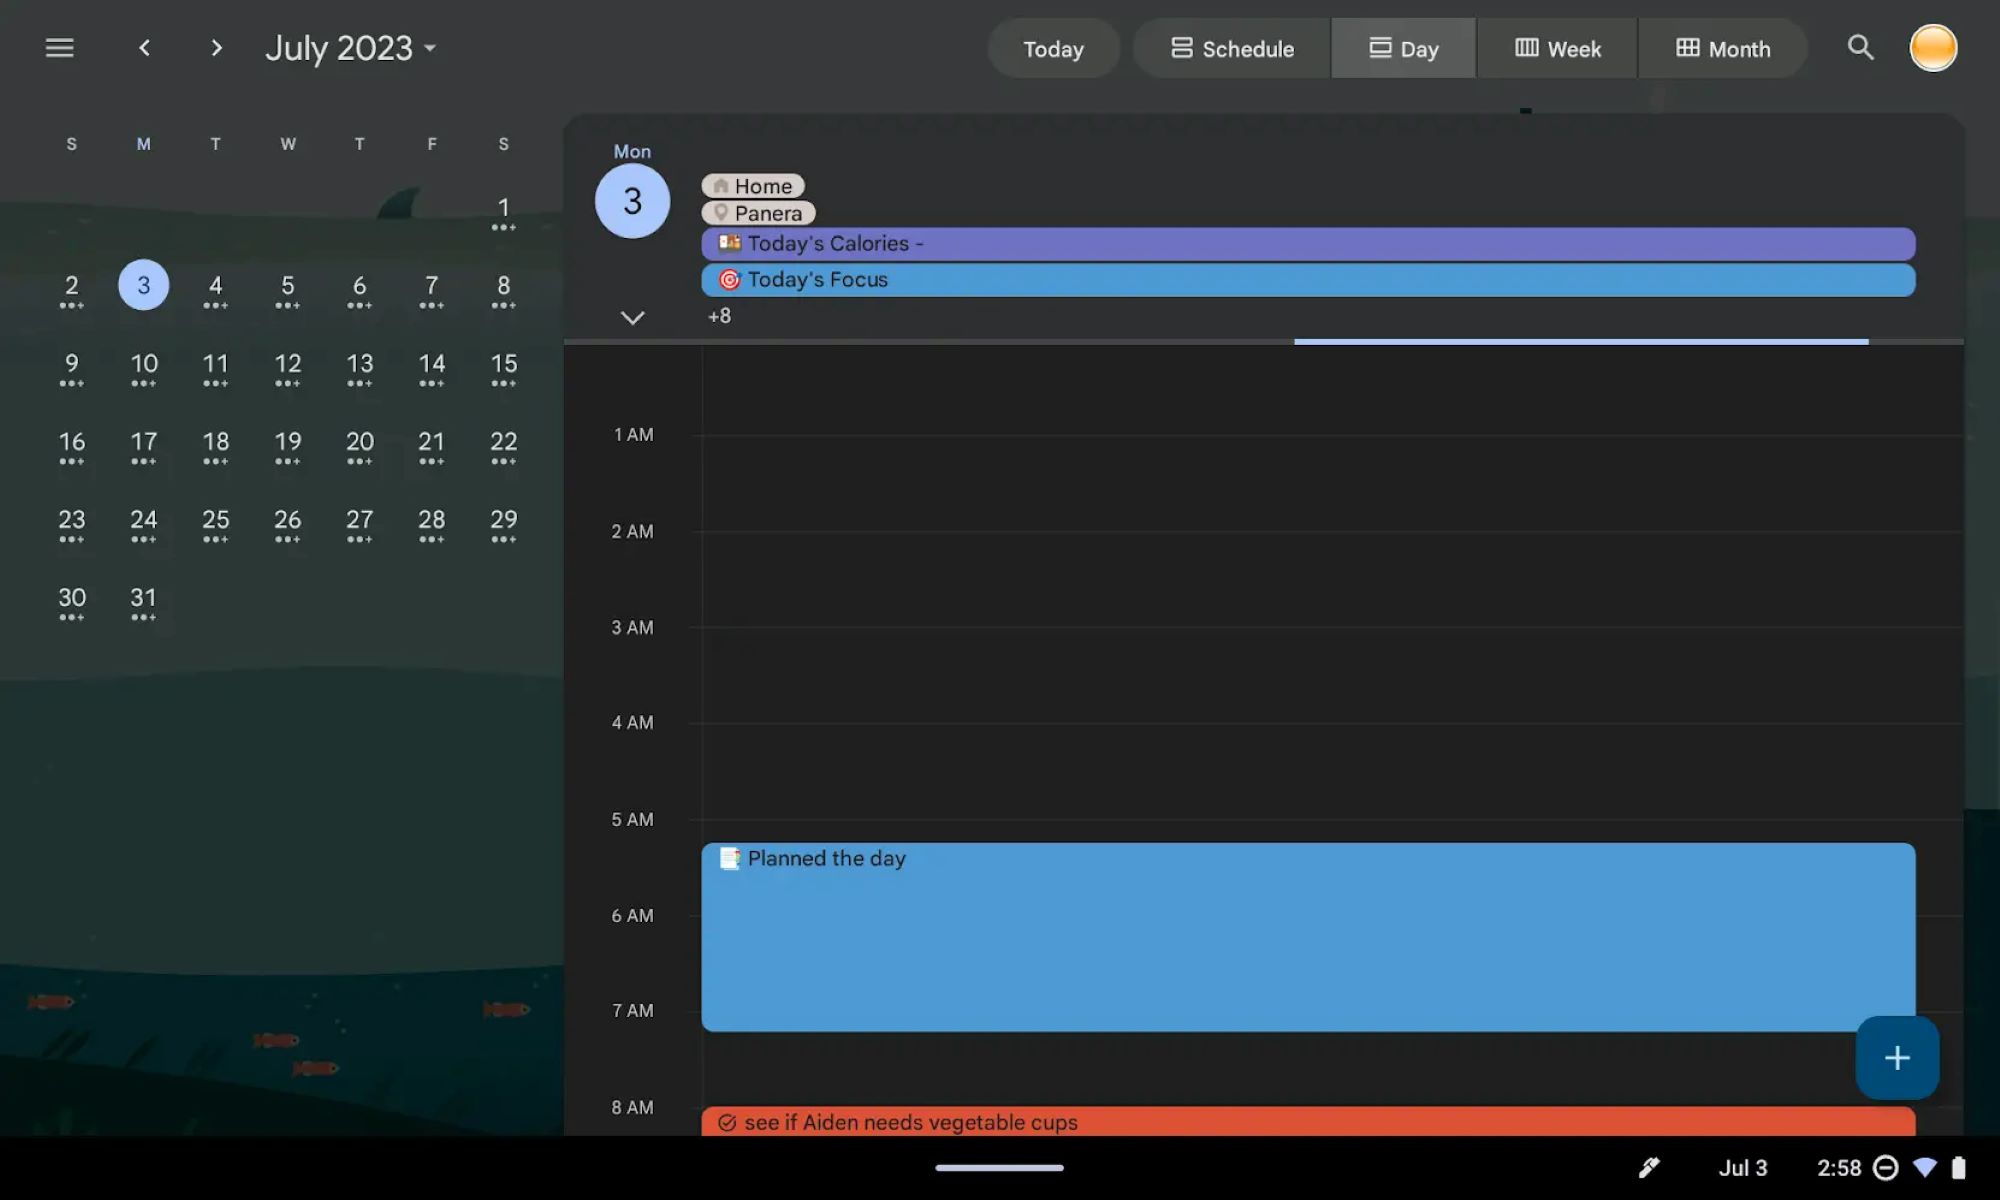
4. On the left side of the screen, under the “My calendars” section, locate the calendar that you want to display as a widget on your website. If you don’t have a calendar set up yet, you can create one by clicking on the “+” icon next to “Add a friend’s calendar”.
5. Once you have selected or created the calendar you want to display, click on the gear icon in the top-right corner to open the settings menu.
6. From the settings menu, click on “Settings”.
7. In the settings page, navigate to the “Integrate calendar” section.
8. Look for the “Embed code” option and click on “Customize”.
9. This will open an overlay window with customization options for the calendar widget. Here, you can adjust the size, color scheme, and other display settings to match your website’s design.
10. Once you are satisfied with the customization, click on the “Update HTML” button.
11. The Google Calendar widget code will be automatically generated and displayed in a text box. You can copy this code to proceed to the next step.
Now that you have accessed the Google Calendar widget and customized its appearance, it’s time to move on to the next step: Adding the widget code to your website or blog.
Step 2: Customizing the Google Calendar Widget
Now that you have accessed the Google Calendar widget, it’s time to customize its appearance to seamlessly integrate it into your website. This step allows you to tailor the widget’s size, color scheme, and other visual aspects to match your website’s design.
1. In the overlay window that appears after clicking “Customize” in the previous step, you will find various customization options.
2. The first option is the “Title” field, where you can enter a title for your calendar widget. This title will be displayed at the top of the widget on your website.
3. Below the title field, you will find the “Size” dropdown menu. The dropdown menu provides preset options for the size of the widget, ranging from small to large. Choose the size that best suits your website layout and preferences.
4. The next option is the “Color” dropdown menu, which allows you to select the color scheme for your widget. You can choose from a range of pre-defined color options or use a custom color by selecting the “Custom” option and entering a specific color code.
5. Below the color options, you will find the “View” dropdown menu. This allows you to select the default view mode for your widget, such as “Month”, “Week”, or “Agenda”. Choose the view that provides the most relevant information to your website visitors.
6. Next, you have the “Language” dropdown menu, which allows you to set the language for your widget’s display. Select the language that is most appropriate for your target audience.
7. There is also an option to enable or disable previously created events from displaying on the widget by toggling the “Include past events” checkbox.
8. As you make changes in the customization options, you will see a live preview of the widget on the right side of the overlay window. This allows you to visualize how the widget will look on your website as you make adjustments.
9. Once you are satisfied with the customization, click the “Update HTML” button.
10. The Google Calendar widget code in the text box will be automatically updated to reflect your customization choices.
By customizing the Google Calendar widget, you can ensure that it meshes well with your website’s overall design and enhances the user experience. Now that you have successfully customized the widget, let’s move on to the next step: Generating the code for the Google Calendar widget.
Step 3: Generating the Code for the Google Calendar Widget
After customizing the appearance of your Google Calendar widget, the next step is to generate the code that you will need to add the widget to your website or blog. Follow these steps to generate the code:
1. In the overlay window where you customized the widget, locate the “Update HTML” button at the bottom and click on it.
2. The Google Calendar widget code will be automatically updated to reflect your customization choices.
3. The code will be displayed in a text box labeled “Embed code.” This is the code that you will need to add to your website or blog to display the widget.
4. To copy the code, click on the “Copy” button next to the text box. This will automatically copy the code to your clipboard.
5. You can also click on the “Reset” button if you want to start customizing the widget from scratch or make changes to your previous customizations.
Now that you have generated the code for the Google Calendar widget, you are ready to proceed to the next step: adding the code to your website or blog. This will allow you to display the widget and share your calendar information with your visitors.
Step 4: Adding the Code to Your Website or Blog
Now that you have generated the code for your Google Calendar widget, it’s time to add it to your website or blog. Follow these steps to seamlessly integrate the widget into your web pages:
1. Open the HTML editor or content management system (CMS) where you want to add the widget. This could be the backend of your website, a blogging platform, or any other platform that allows you to edit HTML code.
2. Navigate to the section or page where you want the Google Calendar widget to appear. This could be a sidebar, footer, or a specific content area.
3. In the HTML editor, find the location where you want to insert the widget code. You can either create a new HTML element specifically for the widget or place it within an existing HTML element.
4. Once you have located the desired location, paste the copied widget code into the HTML editor. You can do this by right-clicking and selecting “Paste” or using the keyboard shortcut Ctrl+V (Windows) or Command+V (Mac).
5. After pasting the code, make sure to save or publish the changes to your website or blog. This will allow the Google Calendar widget to appear on the live version of your site.
6. Preview your website or blog to ensure that the Google Calendar widget is displaying correctly and functioning as intended. If you encounter any issues, double-check the code placement and make any necessary adjustments.
By adding the Google Calendar widget code to your website or blog, you will make your calendar easily accessible to your visitors and provide them with valuable information about your upcoming events and appointments. Now that you have successfully added the widget, let’s move on to the final step: adjusting the Google Calendar widget settings.
Step 5: Adjusting the Google Calendar Widget Settings
After adding the Google Calendar widget to your website or blog, it’s important to adjust the widget settings to ensure it functions seamlessly and meets your specific needs. Here’s how you can modify the widget settings:
1. To access the Google Calendar widget settings, navigate back to the Google Calendar dashboard by visiting https://calendar.google.com and signing in with your Google account if necessary.
2. On the left side of the screen, under the “My calendars” section, find and select the calendar associated with the widget you added to your website.
3. In the top-right corner, click on the gear icon to open the settings menu, then select “Settings” from the dropdown menu.
4. In the settings page, you will find various options to customize your calendar’s settings. These settings are specific to the calendar itself, but some settings may affect the appearance and functionality of the widget on your website.
5. Explore the different settings available to customize your calendar further. You can modify the default event duration, adjust the timezone, and configure notification preferences, among other options.
6. As you make changes to the settings, make sure to click the “Save” button at the bottom of the page to apply the changes.
7. Once you have adjusted the desired settings, revisit your website or blog to see how the widget functions and ensure it aligns with your expectations.
By adjusting the Google Calendar widget settings, you can tailor its functionality to best suit your needs and provide a seamless experience for your website visitors. Take the time to explore and experiment with the various settings to optimize the widget’s performance.
With the completion of this final step, you have successfully added and customized the Google Calendar widget on your website or blog. The widget will now enhance the user experience, allowing visitors to easily view and keep track of your upcoming events. Congratulations on integrating this valuable tool into your online presence!
Conclusion
Integrating a Google Calendar widget onto your website or blog can greatly enhance its functionality and user experience. By following the step-by-step guide outlined in this article, you have learned how to access the Google Calendar widget, customize its appearance, generate the necessary code, add it to your website or blog, and adjust its settings.
With the widget in place, visitors to your website can easily view and keep track of your upcoming events, appointments, or important dates without leaving your site. This not only provides a convenient way for them to stay informed but also adds a touch of professionalism to your online presence.
Remember to customize the widget’s appearance to match your website’s design and branding. By adjusting the size, color scheme, and other display settings, you can seamlessly integrate the Google Calendar widget into your site and create a cohesive user experience.
Furthermore, take advantage of the various settings available within Google Calendar to further customize your calendar and widget. These settings allow you to tailor the functionality of the widget to meet your specific needs and preferences.
By adding a Google Calendar widget to your website or blog, you provide valuable information to your visitors, keeping them informed about your schedule and upcoming events. This not only improves the user experience but also helps to establish your credibility and professionalism.
So, don’t hesitate to enhance your website or blog by incorporating a Google Calendar widget. Follow the steps outlined in this guide, unleash your creativity to seamlessly integrate the widget, and provide a valuable resource for your website visitors. Start harnessing the power of Google Calendar today and take your online presence to the next level!


