Introduction
Switching from the internet to an HDMI connection on your OLED TV can be a straightforward process that allows you to enjoy content from your devices on the big screen. Whether you want to watch movies from your Blu-ray player, play video games on your console, or connect your laptop for a presentation, changing the input source to HDMI opens up a world of possibilities.
OLED TVs offer stunning picture quality and vibrant colors, making them a popular choice for home entertainment. With their slim design and advanced technology, these TVs can enhance your viewing experience. However, navigating through the settings and inputs can be a bit confusing for some users. If you’re unsure of how to switch your OLED TV from the internet to HDMI, don’t worry – this guide will walk you through the simple steps involved.
In this article, we will provide a step-by-step guide to help you make the switch effortlessly. Whether you’re using a remote control with buttons labeled “Input” or “Source” or accessing the settings through a menu on your OLED TV, the instructions will remain the same. By following these instructions, you’ll be able to switch to the HDMI input and start enjoying your favorite content in no time.
Step 1: Power on your OLED TV
The first step in switching your OLED TV from the internet to HDMI is to ensure that it’s properly powered on. Locate the power button on your TV or remote control and press it to turn on the television. Wait for a few moments as the TV boots up and the screen comes to life. It’s essential to have the TV powered on before proceeding to the next steps.
If you’re using a remote control, the power button is usually labeled with a symbol resembling a circle with a vertical line in the middle. Pressing this button will turn on the TV. Some TVs also have a power button on the side or bottom panel. Look for the power button on either the TV itself or the remote control, depending on which one you prefer to use.
As the TV powers on, you may see a manufacturer logo or a welcome message displayed on the screen. This is normal and indicates that the television is starting up. Once the screen is fully lit, you’re ready to move on to the next step. It’s important to ensure that the TV has successfully powered on before proceeding to the input selection process.
Step 2: Press the “Input” or “Source” button on your remote
Once your OLED TV is powered on, the next step is to find and press the “Input” or “Source” button on your remote control. The location and labeling of this button may vary depending on the brand and model of your TV. Look for a button on your remote control that is specifically designated for changing the input source.
The “Input” or “Source” button is usually marked with an arrow pointing into a TV or with a rectangle and an arrow pointing into it. Pressing this button will bring up a menu or a list of available input sources on your TV screen. This is where you’ll be able to select the HDMI input, which will allow you to connect and display content from your external devices.
If your remote control doesn’t have a dedicated “Input” or “Source” button, don’t worry. Some remote controls integrate these functions into a more extensive menu, accessible by pressing the “Menu” button. Navigate through this menu using the arrow keys on your remote control until you find the input selection option. Select it to proceed to the next step.
It’s important to note that it may take a few moments for the input selection menu to appear on your TV screen after pressing the “Input” or “Source” button. Be patient and allow your TV to respond. Once the menu appears, you’re ready to move on to the next step, where you’ll select the HDMI input to connect your desired device.
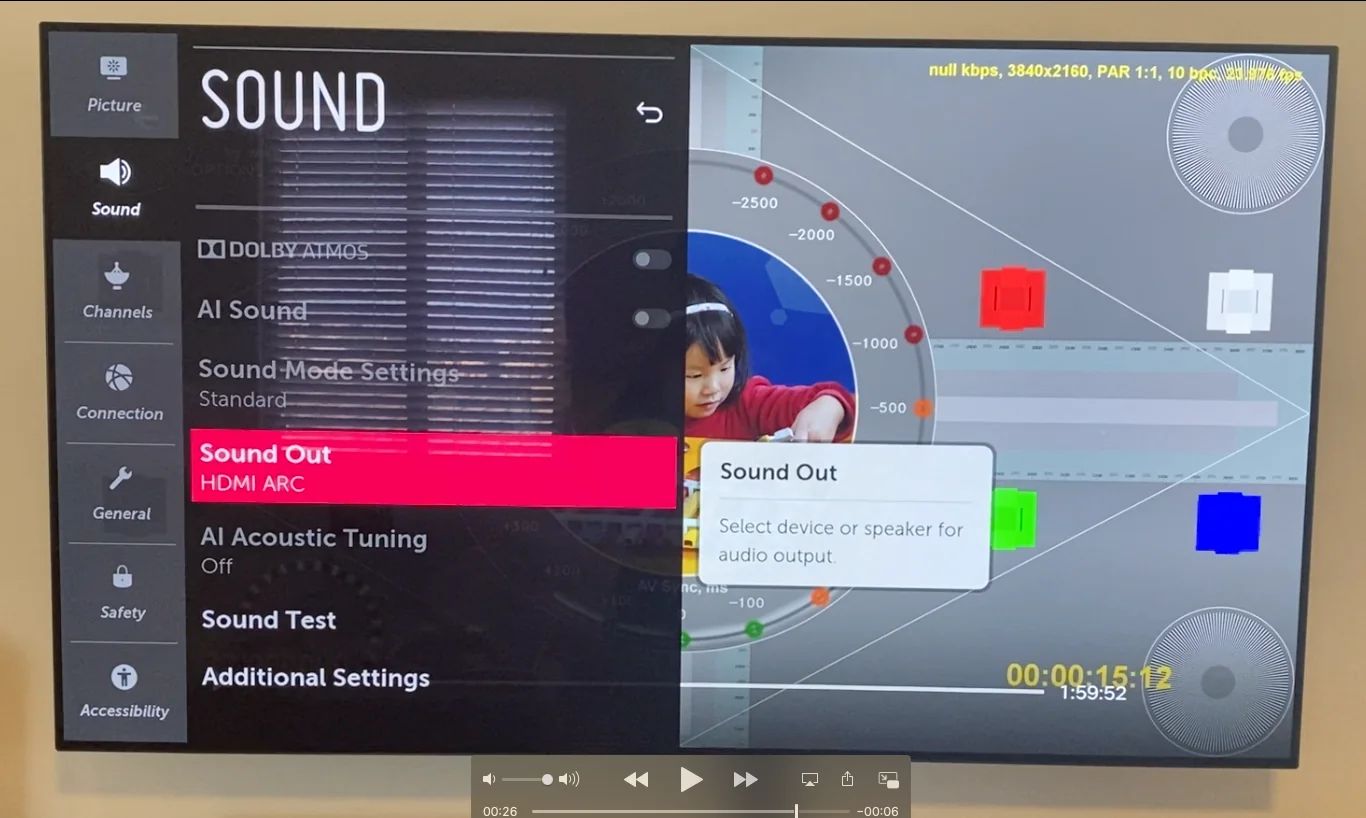
Step 3: Select the HDMI input option
After pressing the “Input” or “Source” button on your remote control, a menu or list of input sources will appear on your OLED TV screen. Use the arrow keys on your remote control to navigate through the options until you find the HDMI input. In most cases, the HDMI inputs are labeled as “HDMI 1,” “HDMI 2,” and so on, depending on the number of HDMI ports available on your TV.
Highlight the HDMI input option by using the arrow keys on your remote control. Once the HDMI input is selected, you can press the “Enter” or “OK” button on your remote control to confirm your choice. The TV will then switch to the selected HDMI input, preparing it to receive video and audio signals from your connected device.
If you have multiple HDMI ports on your TV and have connected your device to a specific HDMI port, make sure to select the corresponding HDMI input option. This will ensure that the TV displays the content from the correct device. It’s essential to choose the correct HDMI input option to establish a successful connection between your device and the TV.
Once you have selected the HDMI input option, your OLED TV will switch to that input and will be ready to receive the content from your device. The TV screen may briefly display a “No Signal” message or show a blank screen until the device is fully connected and powered on. Proceed to the next step to complete the connection process.
Step 4: Connect your device to the HDMI port
Now that you have selected the HDMI input on your OLED TV, it’s time to connect your device to the corresponding HDMI port. Locate the HDMI port on the back or side panel of your TV and plug in the HDMI cable securely. Ensure that both ends of the cable are firmly inserted into the HDMI port on your TV and the HDMI output port on your device.
HDMI cables are widely available and come in different lengths to suit your needs. They are designed to transmit both high-definition video and audio signals, providing a superior viewing experience. If you have multiple HDMI ports on your TV, it’s important to connect your device to the correct HDMI port that corresponds to the input option you selected in the previous step.
Once the HDMI cable is connected, give it a gentle tug to ensure it’s secure. Make sure there are no loose connections that could disrupt the signal transmission. If necessary, tighten the cable or try a different HDMI cable to troubleshoot any connection issues.
It’s worth noting that some devices may require additional steps to establish a proper HDMI connection. For example, gaming consoles may have specific display settings that need to be adjusted to match the capabilities of your TV. Consult the device’s user manual or online resources for any device-specific instructions related to HDMI connection and settings.
With the HDMI cable securely connected, you’re one step closer to enjoying content from your device on the big screen of your OLED TV. Proceed to the next step to verify the HDMI connection and make any necessary adjustments.
Step 5: Verify the HDMI connection on your OLED TV
After connecting your device to the HDMI port on your OLED TV, it’s important to verify that the HDMI connection has been successfully established. This will ensure that you can enjoy your content without any interruptions or display issues. To verify the HDMI connection, follow the steps below:
- Ensure that both your TV and the connected device are powered on.
- On your OLED TV remote control, locate the “Input” or “Source” button and press it to bring up the input selection menu.
- Navigate through the menu and select the HDMI input option that corresponds to the HDMI port you connected your device to.
- Wait for a few moments as the TV switches to the selected HDMI input. The content from your device should now be displayed on the TV screen.
- Check the TV screen to verify that the content is being displayed correctly. Look for any visual distortions, color issues, or display errors.
- Adjust the display settings on your device if needed. Some devices may require adjustments such as resolution, aspect ratio, or refresh rate to ensure optimal viewing quality.
If the HDMI connection is successful, you should be able to enjoy your content on the big screen of your OLED TV. However, if you encounter any issues or the content does not display correctly, double-check the HDMI cable connections and ensure that the device is properly configured for HDMI output.
In some cases, you may need to consult the user manual or online resources for troubleshooting steps specific to your device or TV model. Alternatively, you can try connecting the device to a different HDMI port on your TV to rule out any potential port-related issues.
Once you have verified and confirmed the HDMI connection on your OLED TV, you’re all set to enjoy your favorite movies, games, presentations, and more on the larger screen. Sit back, relax, and immerse yourself in the ultimate viewing experience that your OLED TV has to offer!
Conclusion
Switching your OLED TV from the internet to HDMI is a simple process that allows you to connect and enjoy content from your external devices on the big screen. By following the step-by-step guide outlined in this article, you can effortlessly make the switch and enhance your viewing experience.
Remember to power on your OLED TV and press the “Input” or “Source” button on your remote to access the input selection menu. Select the HDMI input option that corresponds to the HDMI port your device is connected to. Verify the HDMI connection by checking the display on your TV and adjusting the settings if necessary.
Properly connecting and selecting the HDMI input is crucial to ensure optimal performance and a seamless viewing experience. If you encounter any issues, check the HDMI cable connections and consult device-specific instructions or online resources for troubleshooting guidance.
With your OLED TV switched to the HDMI input, you can now enjoy a wide range of content from your devices, including movies, games, presentations, and more. Immerse yourself in the stunning picture quality and vibrant colors that your OLED TV offers, and make the most out of your home entertainment setup.
Whether you’re connecting a Blu-ray player, gaming console, laptop, or any other HDMI-enabled device, the ability to switch your OLED TV to HDMI opens up endless possibilities for entertainment and productivity. Explore the capabilities of your TV and enjoy the convenience of having all your content displayed on a visually impressive screen.
So, go ahead and switch your OLED TV to HDMI, sit back, and enjoy the incredible viewing experience that only an OLED screen can provide. Elevate your entertainment and make the most out of your digital devices with seamless connectivity and stunning visuals on your OLED TV.