Introduction
Welcome to this comprehensive guide on how to change the hard drive in your ASUS Ultrabook. Whether you’re looking to upgrade to a larger storage capacity or replacing a faulty drive, this step-by-step tutorial will walk you through the process with ease.
As technology continues to advance, storage needs are constantly evolving. A larger hard drive can provide you with more space to store your files, programs, and multimedia. Additionally, upgrading to a solid-state drive (SSD) can significantly improve the performance and speed of your Ultrabook. Regardless of the reason, changing the hard drive is a straightforward procedure that can be done in the comfort of your own home.
Before we begin, it’s important to note that different ASUS Ultrabook models may have slight variations in their design and internal components. Therefore, while the general process stays the same, it is always advisable to consult your specific model’s user manual or the ASUS support website for any model-specific instructions or potential warranty concerns.
Now, let’s gather the necessary tools and take the necessary precautions before diving into the process of changing the hard drive in your ASUS Ultrabook.
Tools Needed
Before you start replacing the hard drive in your ASUS Ultrabook, make sure you have the following tools on hand:
- Small screwdriver set: You will need a variety of Phillips and flathead screwdrivers to remove the screws that secure the bottom cover of your Ultrabook.
- Anti-static wrist strap: This will help protect the internal components of your Ultrabook from electrostatic discharge (ESD) and prevent any accidental damage while working on it.
- External storage device: You will need an external storage device, such as a USB flash drive or an external hard drive, to back up your important files before replacing the hard drive.
- Replacement hard drive: Depending on your needs, choose a suitable replacement hard drive. You can opt for a traditional hard disk drive (HDD) for higher storage capacity or a faster solid-state drive (SSD) for improved performance.
- Operating system installation media: If you are installing a new hard drive, you will need the original installation media for your operating system or a bootable USB drive with the operating system files.
Having these tools ready before you begin will help you perform the hard drive replacement smoothly and efficiently.
Now that you have gathered the necessary tools, let’s move on to the precautions you should take before proceeding with the hard drive replacement process.
Precautions
Before you start changing the hard drive in your ASUS Ultrabook, it is important to take the following precautions to ensure a safe and successful replacement:
- Back up your data: Before making any changes to your Ultrabook’s hard drive, it is crucial to back up all your important files and data. This will help you avoid any data loss in case of an unexpected error or mishap during the replacement process.
- Power off and unplug: Make sure to power off your Ultrabook and unplug it from any power source before starting the replacement. This will eliminate the risk of electric shock and protect your device from any power-related damage.
- Work in a static-free environment: Static electricity can damage sensitive electronic components in your Ultrabook. To prevent any static discharge, work on a non-static surface and wear an anti-static wrist strap throughout the replacement process.
- Handle components with care: The internal components of your Ultrabook are delicate. When removing or installing the hard drive, handle it with caution and avoid applying excessive force or putting pressure on any components.
- Follow proper grounding procedures: Before handling any internal components, discharge any static electricity in your body by touching a grounded metal object or using an anti-static mat. This will help prevent accidental damage to the internal circuitry.
- Refer to the user manual: ASUS provides detailed user manuals for their Ultrabook models. Consult the user manual specific to your model for any additional precautions or guidance before proceeding with the hard drive replacement.
By following these precautions, you can minimize the risk of damage to your Ultrabook and ensure a smooth and successful hard drive replacement process.
Now that you are aware of the precautions, let’s move on to the step-by-step guide to changing the hard drive in your ASUS Ultrabook.
Step 1: Powering Down the Ultrabook
The first step in changing the hard drive in your ASUS Ultrabook is to power it down completely. Follow these instructions:
- Save all your work and close any open applications or files.
- Click on the Windows Start button and select the power icon.
- Choose the “Shut down” option from the menu and wait for your Ultrabook to power off.
- Once the Ultrabook has shut down, unplug it from any power source.
It is crucial to ensure that your Ultrabook is completely powered down and disconnected from any power source to avoid any risk of electrical shock and to protect the internal components during the replacement process.
Now that your Ultrabook is powered down, we can proceed to the next step, which involves removing the bottom cover of the Ultrabook.
Step 2: Removing the Bottom Cover
Now that your ASUS Ultrabook is powered down, it’s time to remove the bottom cover to gain access to the internal components. Follow these steps:
- Place your Ultrabook on a clean and static-free surface.
- Take your small screwdriver set and locate the screws that secure the bottom cover. These screws are usually marked with an icon that looks like a cylinder.
- Using the appropriate Phillips or flathead screwdriver, carefully unscrew and remove all the screws holding the bottom cover in place. Keep the screws in a safe place, as you will need them when reassembling the Ultrabook.
- Once all the screws are removed, gently pry open the bottom cover using a plastic spudger or your fingertips. Start from one corner and gradually work your way around the edges until the cover is completely detached.
- Set the bottom cover aside in a safe and clean location.
It is important to handle the bottom cover with care and avoid exerting excessive force, as you don’t want to damage any of the internal components. If you encounter any resistance while removing the bottom cover, double-check for any remaining screws you may have missed and remove them before attempting to remove the cover again.
With the bottom cover removed, the next step is to disconnect the battery to ensure your safety and protect the internal components during the hard drive replacement process.
Step 3: Disconnecting the Battery
Before proceeding with the hard drive replacement in your ASUS Ultrabook, it is crucial to disconnect the battery to ensure your safety and prevent any potential damage to the internal components. Follow these steps to disconnect the battery:
- Locate the battery connector on the motherboard. It is usually a small white or black plastic connector with wires connected to it.
- Using your fingertips, gently press the sides of the battery connector to release it. Be careful not to pull on the wires or use excessive force.
- Once the battery connector is released, carefully lift it away from the motherboard to disconnect the battery.
- Set the disconnected battery connector aside in a safe location where it won’t get tangled or damaged.
Disconnecting the battery is an important precautionary step to protect yourself from electric shock and prevent any accidental short circuits while working on the internal components of your Ultrabook. It is also important to note that some newer Ultrabook models may have batteries that are not meant to be user-replaceable. In such cases, it is advisable to consult the user manual or seek professional assistance for battery disconnection.
Now that the battery is safely disconnected, we can move on to the next step: removing the existing hard drive from your ASUS Ultrabook.
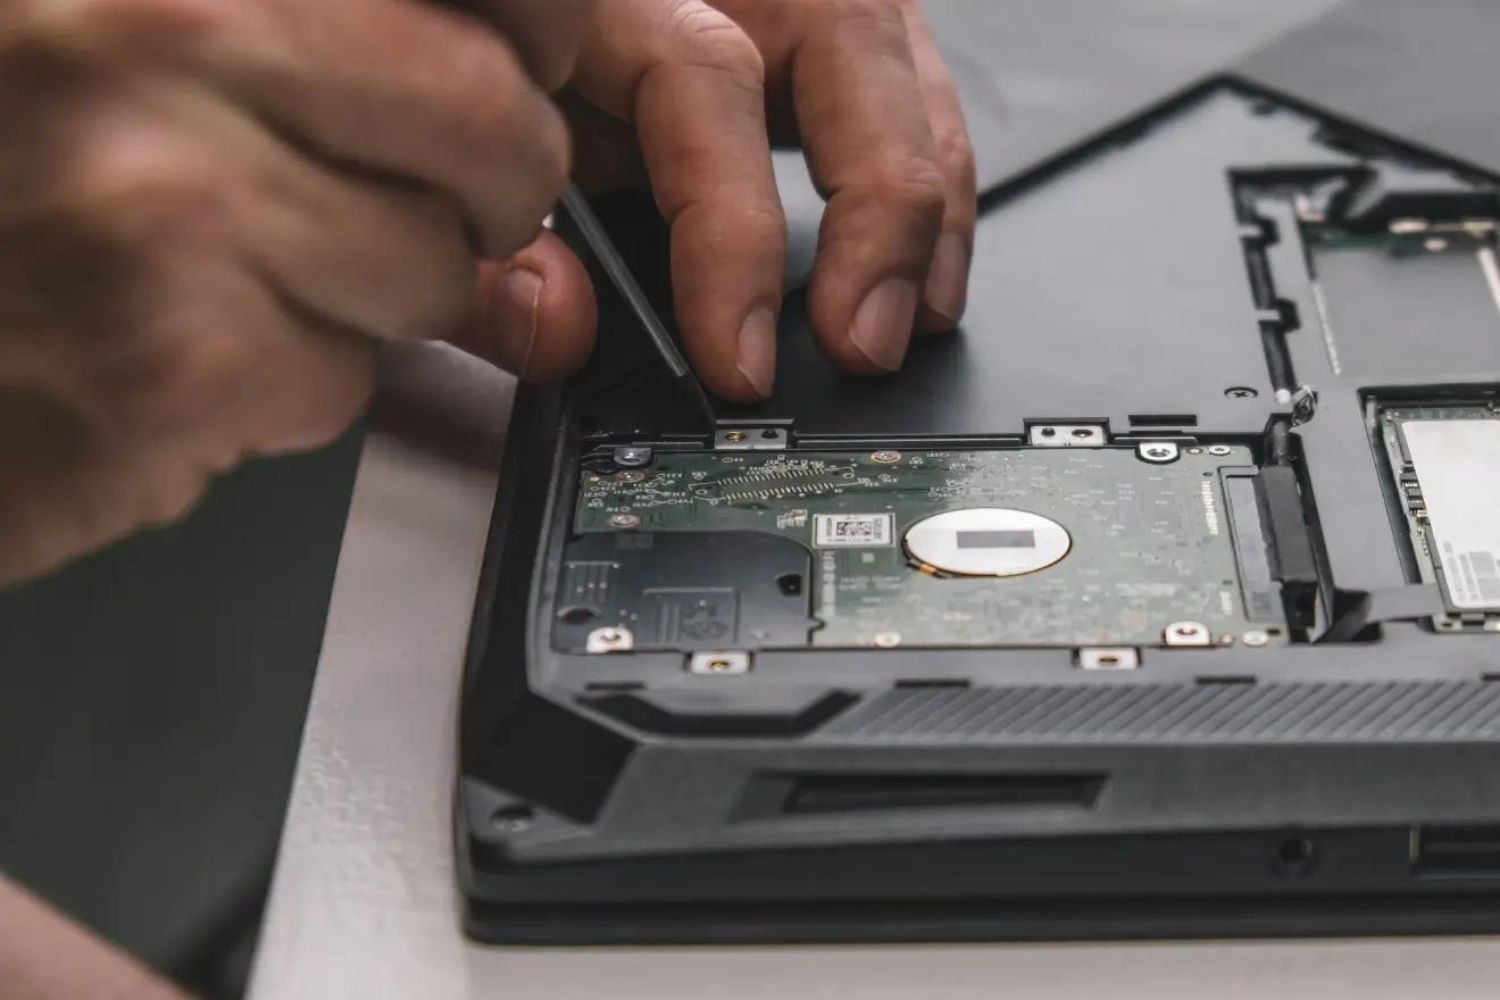
Step 4: Removing the Hard Drive
With the battery safely disconnected, it’s time to remove the existing hard drive from your ASUS Ultrabook. Follow these steps:
- Locate the hard drive inside your Ultrabook.
- Identify the cables connected to the hard drive, including the data cable and power cable. Carefully detach these cables by gently pulling on the connectors. Take note of the cable positions to ensure proper reinstallation later.
- If your Ultrabook has mounting brackets or screws holding the hard drive in place, use your screwdriver to remove them.
- Gently slide out the existing hard drive from its bay or slot. Be cautious not to damage any other internal components during the removal process.
Make sure to handle the hard drive with care to avoid any drops, shocks, or accidental damage. If you plan to reuse the existing hard drive, store it in a safe and static-free environment to prevent any potential data loss or damage.
Now that the old hard drive has been successfully removed, we can proceed to the next step: installing the new hard drive in your ASUS Ultrabook.
Step 5: Installing the New Hard Drive
Now that the old hard drive has been removed, it’s time to install the new hard drive in your ASUS Ultrabook. Follow these steps:
- Take the new hard drive, ensuring it is compatible with your Ultrabook model.
- Align the new hard drive in the empty bay or slot, ensuring it fits securely.
- If your Ultrabook has mounting brackets or screws, use them to secure the new hard drive in place.
- Reconnect the cables to the new hard drive, ensuring that they are securely attached. The data cable connects to the corresponding port on the hard drive, and the power cable connects to the power port.
Make sure that the cables are correctly oriented and fully inserted into their respective ports. Improperly connected cables can lead to data transfer issues or the drive not being detected by the system.
With the new hard drive securely installed and the cables properly connected, we can move on to the next step: reconnecting the battery.
Step 6: Reconnecting the Battery
After installing the new hard drive in your ASUS Ultrabook, it’s time to reconnect the battery to power up the device. Follow these steps:
- Locate the battery connector that you disconnected in Step 3.
- Align the battery connector with its corresponding port on the motherboard.
- Gently press down on the sides of the battery connector until it securely snaps into place. Ensure that it is properly seated and that there are no loose connections.
Double-check that the battery connector is fully inserted and the securing mechanism is engaged. A properly connected battery ensures the power supply to your Ultrabook and enables it to function correctly.
Now that the battery is reconnected, we can proceed to the next step: replacing the bottom cover of your ASUS Ultrabook.
Step 7: Replacing the Bottom Cover
With the new hard drive installed and the battery reconnected, it’s time to put the bottom cover back on your ASUS Ultrabook. Follow these steps:
- Take the bottom cover that you removed in Step 2.
- Align the bottom cover with the screw holes on the Ultrabook’s chassis.
- Gently press down on the edges of the cover to secure it in place.
- Using your small screwdriver set, reinsert and tighten all the screws that you removed earlier. Make sure each screw is securely fastened, but avoid overtightening as it may cause damage to the screw holes.
Ensure that the bottom cover is properly aligned and fully secured to avoid any gaps or loose connections. A properly fitted cover provides protection to the internal components and ensures the overall integrity of your Ultrabook.
Now that the bottom cover is back in place, we are almost done. Let’s move on to the final step: powering on your ASUS Ultrabook with the new hard drive.
Step 8: Powering On the Ultrabook
With the bottom cover securely in place, it’s time to power on your ASUS Ultrabook and ensure that the new hard drive is functioning properly. Follow these steps:
- Plug your Ultrabook into a power source.
- Press the power button to turn on your Ultrabook.
- Wait for the system to boot up. This may take a few moments as the operating system detects and initializes the new hard drive.
- If you are using a newly installed hard drive, you will likely need to install the operating system. Insert the original installation media or bootable USB drive with the operating system files and follow the on-screen instructions to proceed with the installation.
- Once the operating system is up and running, check if the new hard drive is correctly recognized in the system. You can verify this through the device manager or the disk management utility, depending on your operating system.
If the new hard drive is detected and functioning properly, congratulations! You have successfully changed the hard drive in your ASUS Ultrabook. Enjoy the increased storage capacity or improved performance that the new hard drive brings to your device.
If, for any reason, the new hard drive is not detected or you encounter any issues during the boot-up process, double-check the connections and ensure that everything is properly installed. If you are unable to resolve the issue, it is recommended to seek professional assistance or consult the ASUS support website for further troubleshooting guidance.
Now that your Ultrabook is up and running with the new hard drive, make sure to keep regular backups of your important data to prevent any potential loss in the future. Enjoy your new storage capacity and improved performance!
Conclusion
Congratulations! You have successfully learned how to change the hard drive in your ASUS Ultrabook. By following the step-by-step guide outlined in this article, you were able to upgrade your storage capacity or replace a faulty hard drive with ease.
Remember, always take the necessary precautions before working on any electronic device. Backing up your data, powering down the Ultrabook, and ensuring a static-free environment are crucial steps to protect your device and yourself from any potential harm.
With the right tools and careful handling, you were able to remove the bottom cover, disconnect the battery, remove the old hard drive, install the new hard drive, reconnect the battery, and replace the bottom cover. You then powered on your Ultrabook, checked for proper functionality, and completed the process.
Changing the hard drive in your ASUS Ultrabook can bring significant benefits, such as increased storage capacity or improved performance with a solid-state drive. It can also extend the lifespan of your device, allowing you to enjoy it for years to come.
As always, it is important to consult your specific model’s user manual or the ASUS support website for any model-specific instructions or warranty concerns before attempting any hardware changes.
Thank you for following this guide, and we hope it has been helpful in your journey to upgrade or replace the hard drive in your ASUS Ultrabook. Enjoy your enhanced storage and improved performance!