Introduction
When it comes to browsing the web on your iPad using Safari, your browsing history can reveal a lot about your online activities. Whether you want to maintain your privacy, free up storage space, or simply declutter your browsing experience, knowing how to delete your browsing history is essential. By clearing your history, you can remove traces of the websites you've visited, searches you've conducted, and cookies stored on your device. This not only helps protect your privacy but also ensures that your browsing experience remains smooth and efficient.
In this guide, we'll walk you through the step-by-step process of deleting your browsing history on Safari for iPad. Whether you're using an iPad, iPad Mini, or iPad Pro, the process remains consistent across these devices. By following these simple instructions, you can easily clear your browsing history and maintain a clean, private, and optimized browsing experience on your iPad.
Now, let's dive into the specifics of how to delete your browsing history on Safari for iPad, ensuring that you can navigate the process with ease and confidence.
Step 1: Open Safari
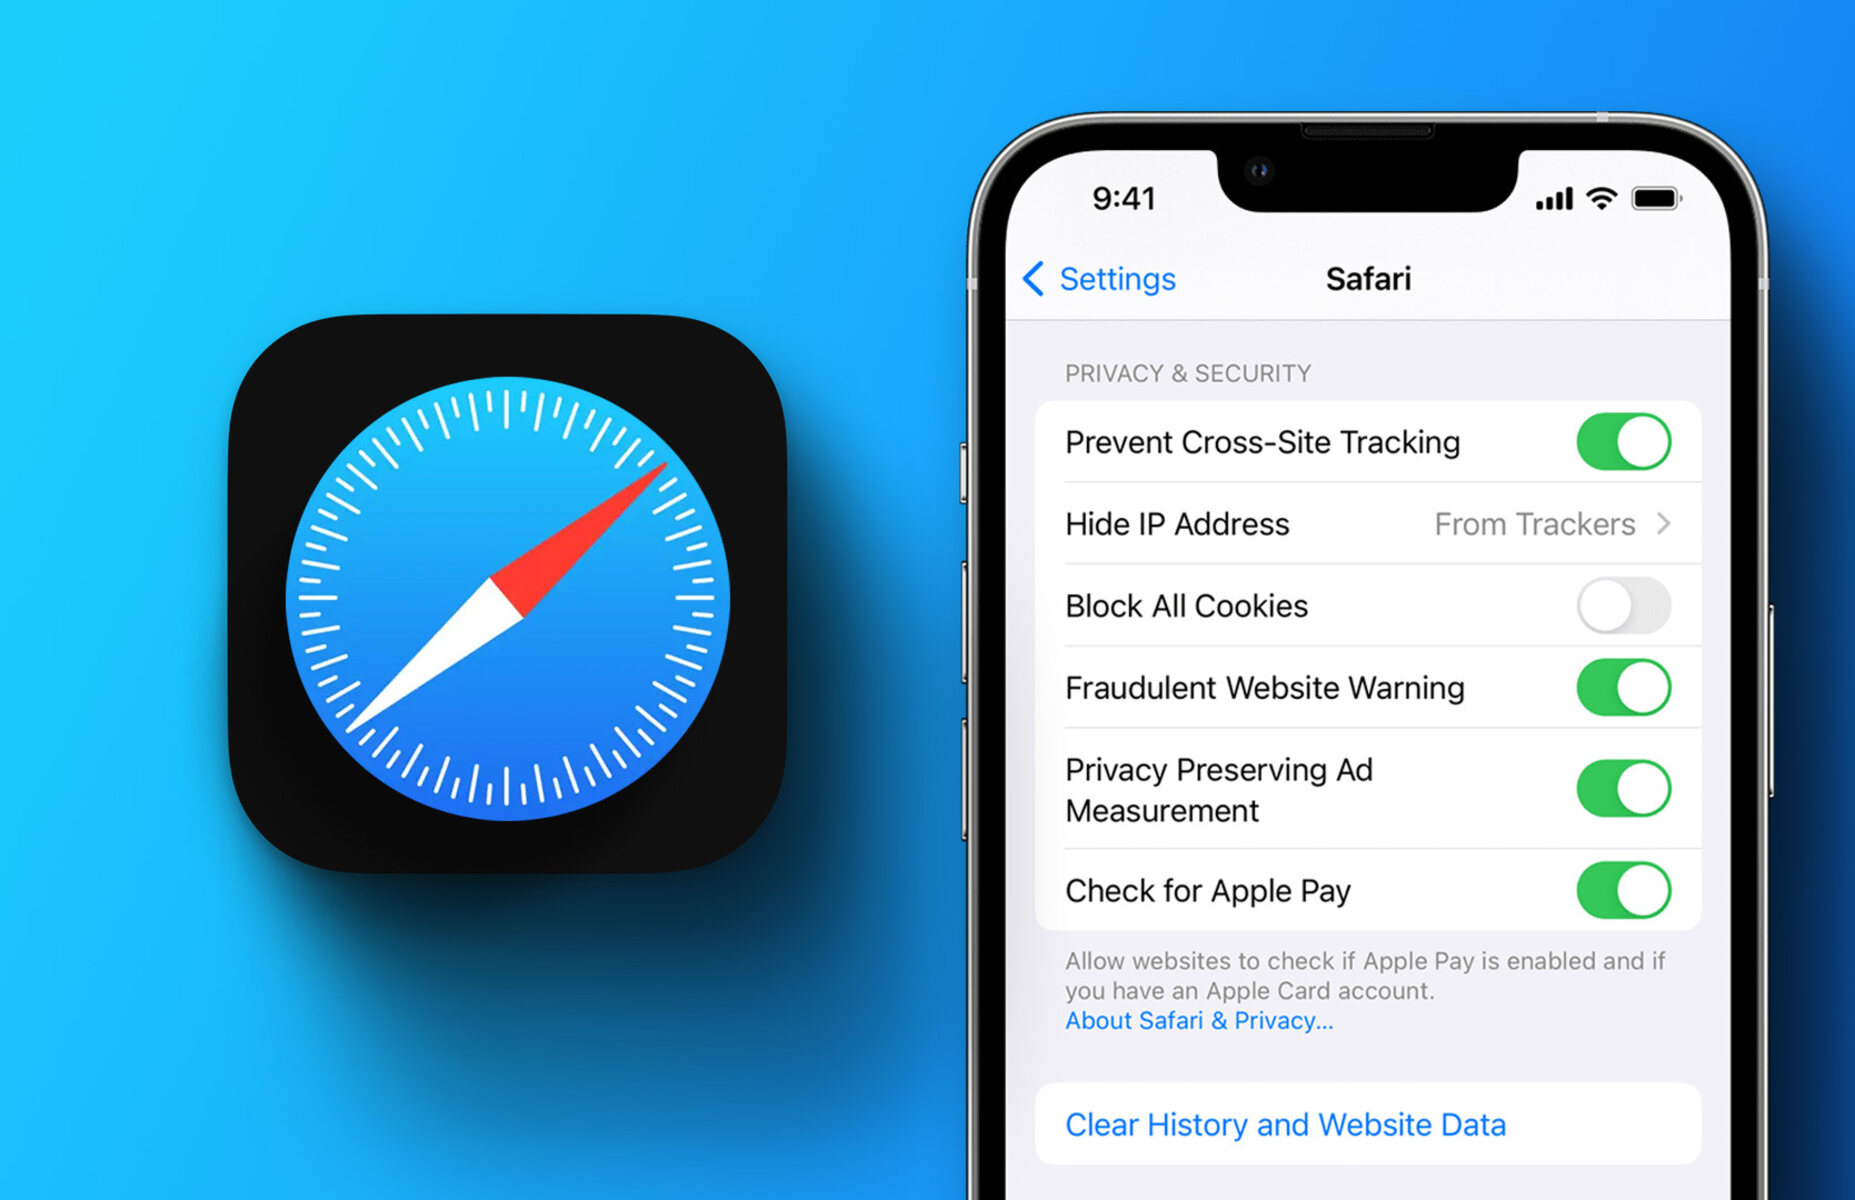
To begin the process of deleting your browsing history on Safari for iPad, you'll first need to open the Safari app. The Safari icon, which resembles a compass, is typically located on your iPad's home screen. Tapping on this icon will launch the Safari browser, allowing you to access its various features and settings.
Upon opening Safari, you'll be greeted by the browser's interface, which includes the address bar at the top where you can enter website URLs or conduct searches. Additionally, you'll find the navigation buttons, bookmarks, and tabs that enable seamless browsing.
Once Safari is open, you're ready to proceed to the next step of accessing your browsing history and initiating the deletion process. By navigating through the browser's settings and options, you can effectively manage your browsing history and maintain the privacy and efficiency of your online activities.
With Safari now open on your iPad, you're one step closer to clearing your browsing history and ensuring a clean and optimized browsing experience. This simple yet crucial step sets the stage for the subsequent actions that will enable you to take full control of your browsing history and privacy settings.
Now that Safari is open, let's move on to the next step of accessing your browsing history and initiating the deletion process. This will allow you to effectively manage your browsing history and maintain the privacy and efficiency of your online activities.
Step 2: Access the History
Once Safari is open on your iPad, accessing your browsing history is a straightforward process. At the top of the Safari interface, you'll notice the address bar, where you typically enter website URLs or conduct searches. To access your browsing history, you'll need to tap on the address bar, which will prompt a menu to appear. This menu will display your frequently visited sites, favorites, and a list of your browsing history.
Upon tapping the address bar, you'll see a list of your frequently visited websites, which provides quick access to your most-visited online destinations. Additionally, you'll find your favorites, allowing you to easily navigate to websites you've designated as favorites for convenient access. However, for the purpose of deleting your browsing history, you'll want to focus on accessing the full history list.
To access your complete browsing history, simply scroll down within the menu that appears after tapping the address bar. As you scroll, you'll notice the "History" option, which, when selected, will reveal your entire browsing history in chronological order. This comprehensive list includes the websites you've visited during your browsing sessions, enabling you to review and manage your browsing history effectively.
By accessing your browsing history through this menu, you gain visibility into your recent online activities and can proceed with the next crucial step of clearing your history. This seamless access to your browsing history empowers you to maintain control over your online privacy and ensure that your browsing experience remains optimized and clutter-free.
With your browsing history now accessible within Safari, you're ready to proceed to the next step of clearing your history and safeguarding your privacy. This simple yet essential action will enable you to maintain a clean and efficient browsing experience on your iPad, ensuring that your online activities remain private and secure.
Step 3: Clear Browsing History
After accessing your browsing history within Safari on your iPad, the next crucial step is to clear this history effectively. By clearing your browsing history, you can remove traces of the websites you've visited, searches you've conducted, and cookies stored on your device. This not only helps protect your privacy but also ensures that your browsing experience remains smooth and efficient.
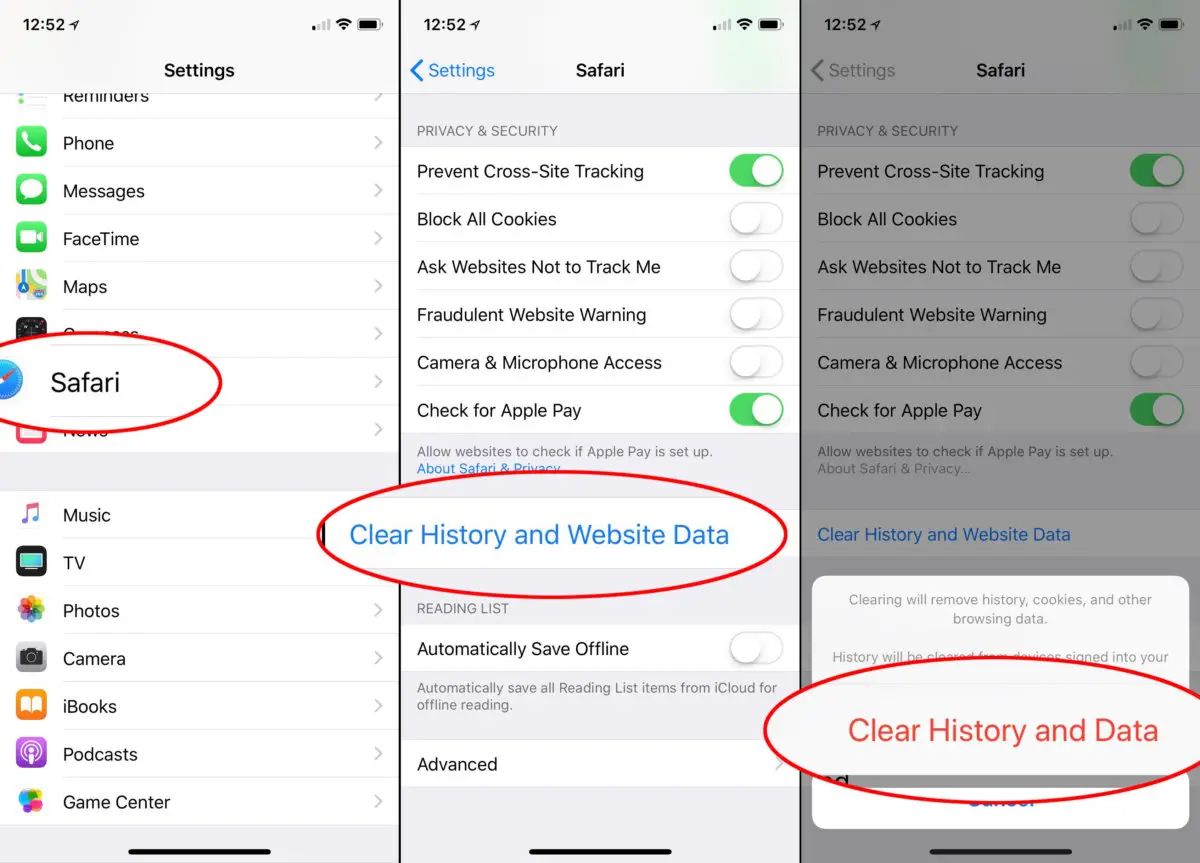
To clear your browsing history, you'll need to navigate to the history section within Safari. Once you've accessed your browsing history, tap the "Clear" button located at the bottom right corner of the history list. Upon tapping this button, a prompt will appear, presenting you with various options for clearing your browsing history.
In this prompt, you'll have the option to clear your browsing history for specific time periods, such as the last hour, today, today and yesterday, or all time. This flexibility allows you to tailor the deletion process to your specific needs, ensuring that you can remove the desired browsing history while retaining any relevant information from other time periods.
Selecting the time period for which you'd like to clear your browsing history is a simple and intuitive process. By choosing the appropriate option from the prompt, you can effectively remove the specified browsing history from your iPad, maintaining your privacy and optimizing your browsing experience.
Once you've selected the desired time period, tap the "Clear History" option to initiate the deletion process. Safari will then proceed to clear your browsing history based on your selection, ensuring that the specified browsing data is permanently removed from your device.
By clearing your browsing history in this manner, you can confidently manage your online privacy and maintain a clutter-free browsing experience on your iPad. This straightforward process empowers you to take control of your browsing history, ensuring that your online activities remain private and secure.
With your browsing history now cleared, you've successfully taken a proactive step towards safeguarding your privacy and optimizing your browsing experience on Safari for iPad. This simple yet essential action enables you to maintain a clean and efficient browsing experience, ensuring that your online activities remain private and secure.
Step 4: Confirm Deletion
After clearing your browsing history in Safari on your iPad, it's important to confirm the deletion to ensure that your browsing data has been effectively removed. This confirmation step provides peace of mind, assuring you that your privacy has been safeguarded and your browsing experience remains optimized.
Upon clearing your browsing history and selecting the desired time period for deletion, Safari will prompt you to confirm the action. This confirmation message serves as a final checkpoint before the deletion process is initiated, allowing you to review your decision and ensure that you're comfortable with the removal of your browsing history.
When prompted to confirm the deletion, you'll typically encounter a message that outlines the specifics of the deletion action. This message may include details such as the time period for which the browsing history will be cleared and a reminder of the implications of this action. It's important to review this information carefully to verify that the intended browsing history will be removed.
Once you've reviewed the confirmation message and are ready to proceed with the deletion, simply tap the "Clear History" or "Clear Browsing Data" option, depending on the specific prompt presented by Safari. By confirming this action, you signal to Safari that you are committed to removing the specified browsing history from your device.
Upon confirming the deletion, Safari will proceed to clear your browsing history based on your selection, ensuring that the specified browsing data is permanently removed from your iPad. This seamless process provides reassurance that your privacy has been upheld and that your browsing experience remains free from unnecessary clutter.
By confirming the deletion of your browsing history, you complete the essential process of managing your online privacy and optimizing your browsing experience on Safari for iPad. This final step solidifies your proactive approach to maintaining a clean and efficient browsing experience, ensuring that your online activities remain private and secure.
With the deletion of your browsing history confirmed, you can navigate the web with confidence, knowing that your privacy has been prioritized and your browsing experience remains streamlined. This simple yet crucial action empowers you to take control of your browsing history, ensuring that your online activities remain private and secure.
Conclusion
In conclusion, managing your browsing history on Safari for iPad is a fundamental aspect of maintaining your online privacy and optimizing your browsing experience. By following the step-by-step process outlined in this guide, you've gained valuable insights into how to delete your browsing history effectively, ensuring that your online activities remain private and secure.
Clearing your browsing history on Safari empowers you to remove traces of the websites you've visited, searches you've conducted, and cookies stored on your device. This proactive approach not only safeguards your privacy but also contributes to a clutter-free and efficient browsing experience on your iPad.
By opening Safari and accessing your browsing history, you've taken the first crucial steps towards managing your online privacy. Navigating through the browser's settings and options has allowed you to gain visibility into your recent online activities, providing you with the necessary foundation for initiating the deletion process.
Clearing your browsing history within Safari is a seamless and intuitive process, offering flexibility in choosing the time period for which you'd like to remove your browsing data. Whether you opt to clear the history for the last hour, today, today and yesterday, or all time, the process is designed to cater to your specific needs, ensuring that you can maintain relevant information while removing unnecessary browsing history.
Confirming the deletion of your browsing history serves as a final checkpoint, providing reassurance that your privacy has been upheld and your browsing experience remains optimized. This essential step solidifies your proactive approach to managing your online privacy, ensuring that your online activities remain private and secure.
By following these steps, you've successfully taken control of your browsing history, maintaining a clean and efficient browsing experience on Safari for iPad. This proactive approach not only protects your privacy but also contributes to a seamless and clutter-free browsing experience, allowing you to navigate the web with confidence.
In essence, the ability to delete your browsing history on Safari for iPad empowers you to maintain control over your online privacy and ensure that your browsing experience remains optimized. By following these simple yet essential steps, you've demonstrated a proactive commitment to safeguarding your privacy and maintaining a streamlined browsing experience on your iPad.


