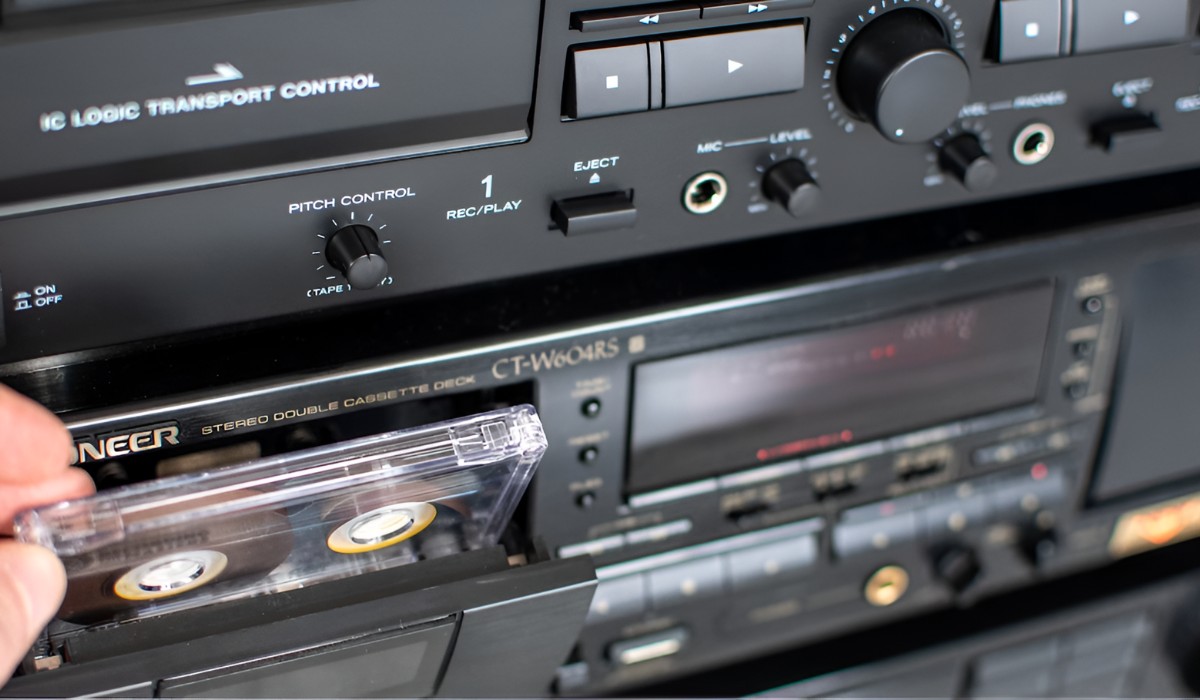
To connect a cassette deck to an AV receiver, you only need one RCA stereo cable and a clear view of the back panels on both devices. The entire physical hookup takes under five minutes, and the receiver’s input selection does the rest, so you can start playing your old tapes through your modern speakers almost immediately.
What you need to connect a cassette deck to an AV receiver
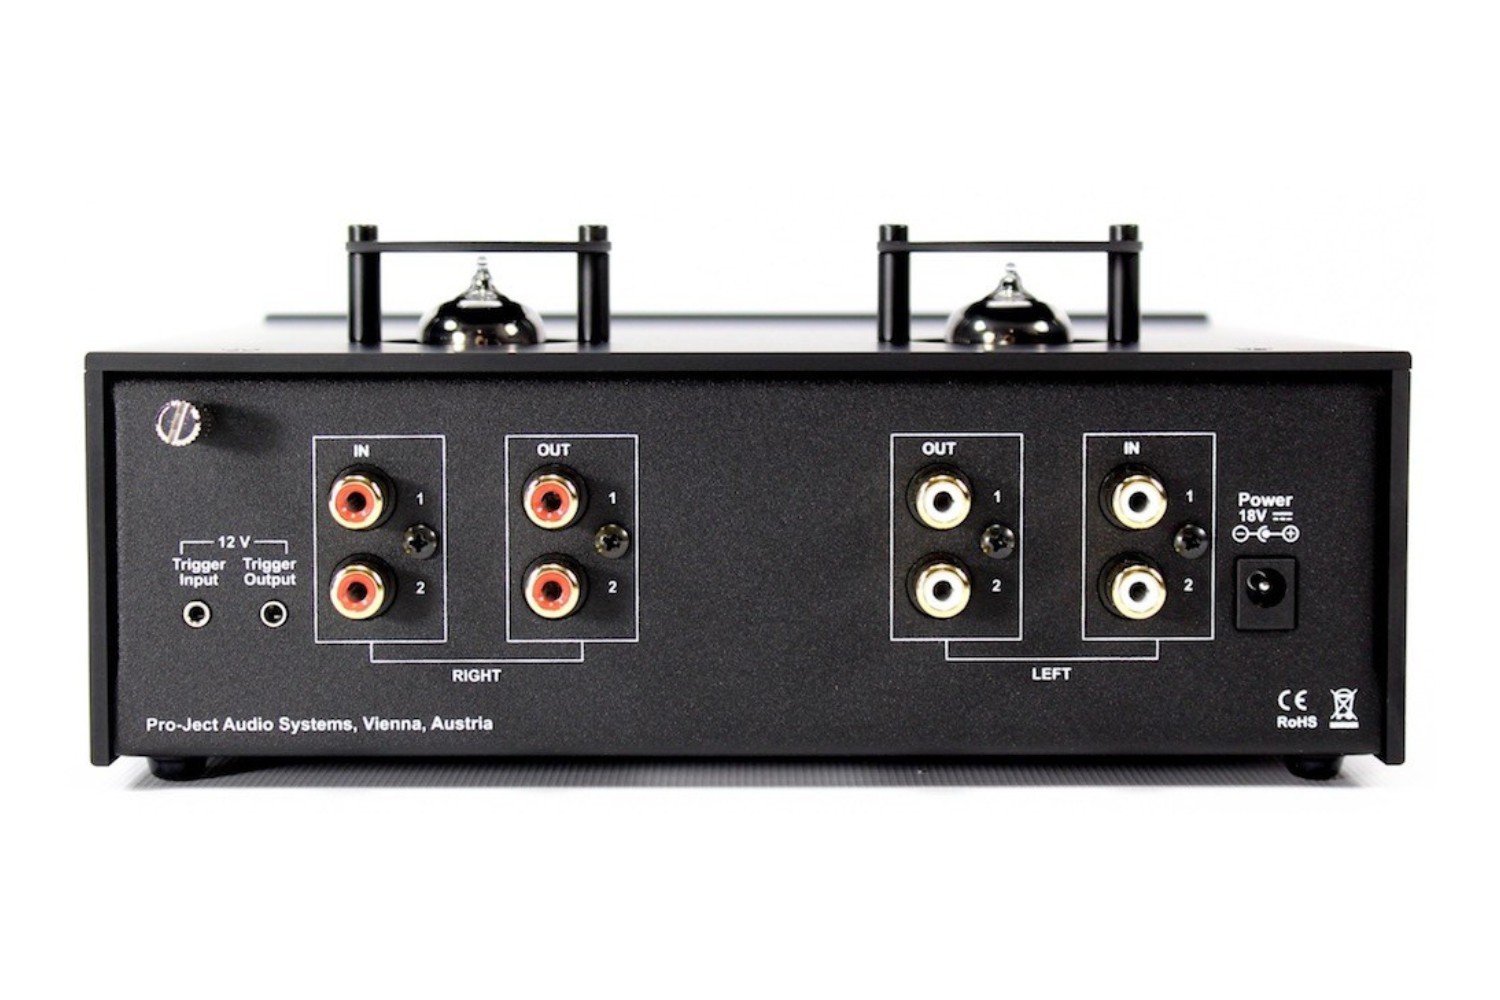
Before touching any cables, gather a single pair of RCA cables, the red and white plugs you likely already own from other audio gear. These carry the analog left and right channels your cassette deck outputs. On the cassette deck itself, locate the set of RCA jacks labeled “Line Out,” “Audio Out,” or simply “Out.” They are almost always on the rear panel, though some portable decks place them on the side. The output jacks are the ones that send the deck’s playback signal outward.
On the AV receiver, you need an unused analog input. Any of these works perfectly. Also check that your receiver has a free pair of speaker terminals or an active subwoofer output, because the cassette deck does not amplify anything on its own; it only sends a low-level signal.
How to connect your cassette deck to your AV receiver
With the cables and ports identified, the physical connection is a three-step process that requires no tools and no special adapters.
- Plug the red RCA plug into the cassette deck’s right-channel output jack (usually marked “R” or colored red) and the white plug into the left-channel output jack (marked “L” or colored white). Push each plug in firmly until you feel it click or seat fully.
- Take the other end of the same cable and plug the red connector into the AV receiver’s right-channel input for your chosen source (e.g., the “R” jack under “CD” or “AUX”), and the white connector into the corresponding left-channel input. Match the colors exactly, swapping left and right will not damage anything, but it will reverse the stereo image.
- Press each plug gently to ensure it is fully seated. If your receiver has binding posts instead of RCA jacks for some inputs, you will need an RCA-to-bare-wire adapter, but that is rare on modern receivers. For the vast majority of setups, a simple push-fit RCA connection is secure enough.
Once both ends are connected, you are done with the wiring. There is no need to connect a ground wire, no need to set dip switches, and no need to power cycle anything. The cassette deck draws its own power from its own AC cord, and the receiver does not send any voltage back through the RCA cable.
Configuring your AV receiver for cassette playback
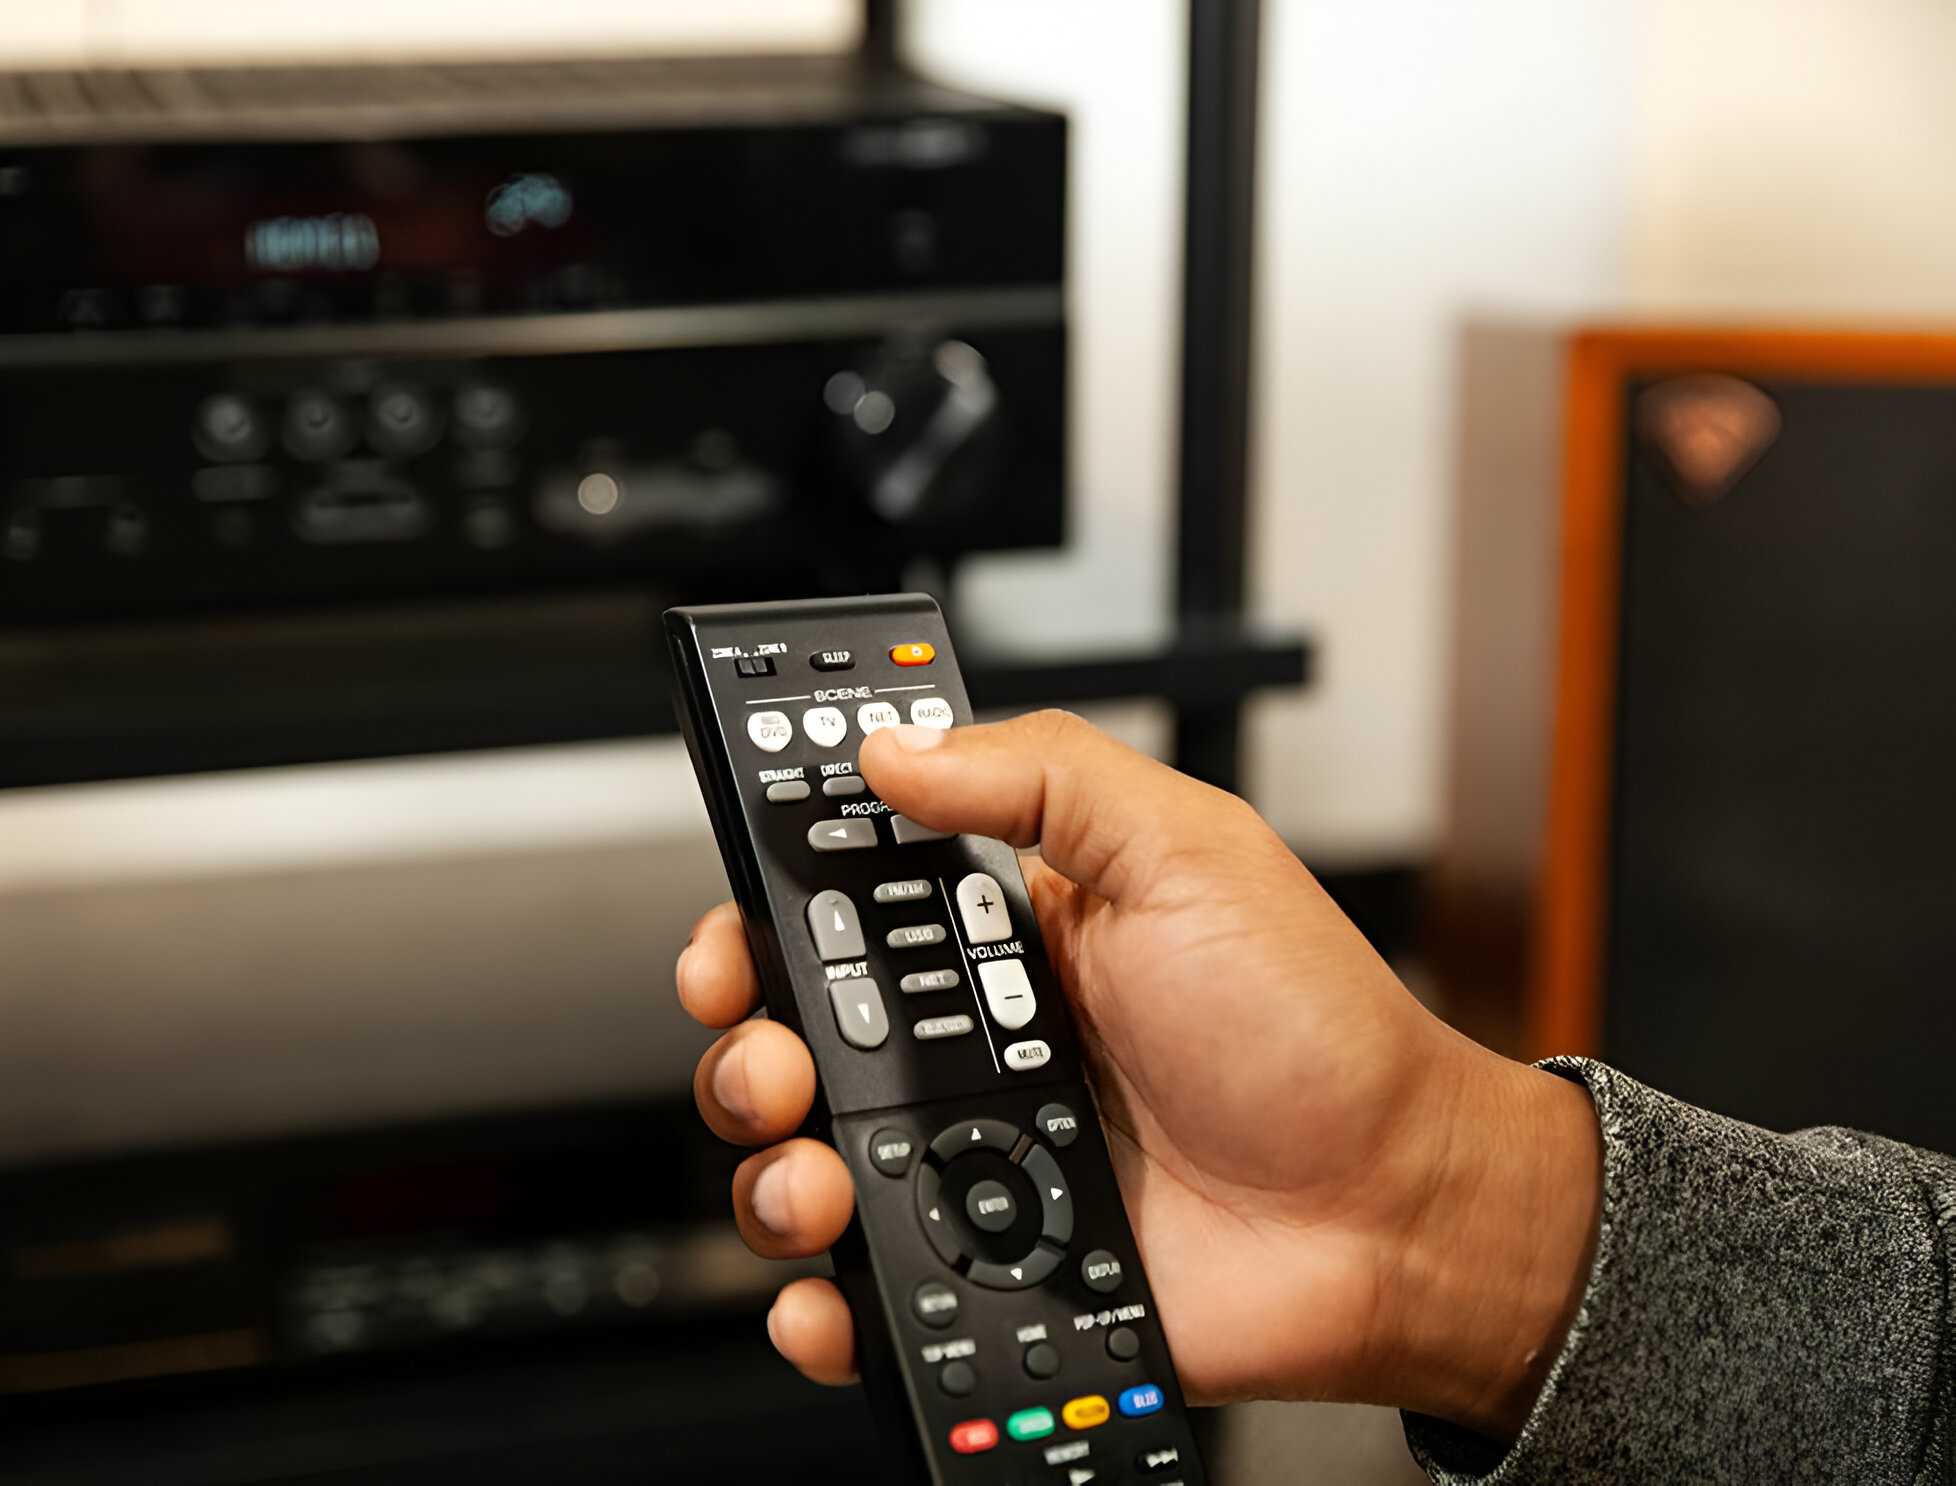
After the physical connection, the receiver needs to know which input to listen to. If your receiver has an on-screen menu, you can also select the input there. Some receivers label inputs with icons; choose the one that matches the physical jack you plugged into.
Next, check the receiver’s sound mode. This bypasses any digital processing or surround upmixing, which can add artificial reverb or delay to the tape’s natural sound. Also confirm that the receiver’s volume is set to a low level before you press play on the deck, then raise it gradually to a comfortable listening level.
You can fine-tune later if the tape sounds quieter or louder than other sources, but most receivers match levels automatically. The cassette deck’s own output level knob, if it has one, should be set to about three-quarters of full rotation, this gives a strong signal without overdriving the receiver’s input stage.
Troubleshooting: No sound or bad sound quality
If you press play and hear nothing, the most common cause is a simple input mismatch. Also verify that the cassette deck is not in pause mode and that the tape is actually moving. If the deck’s meters or LED indicators show signal but the speakers are silent, try a different analog input on the receiver.
Humming or buzzing usually points to a grounding issue or a bad cable. Replace the RCA cable with a known-good one, and make sure the plugs are fully inserted. If the hum persists, try plugging the cassette deck and the receiver into the same power strip or wall outlet, different outlets can create a ground loop. Do not cut the ground prong off the deck’s power cord; instead, use a three-prong to two-prong adapter only if the deck has a two-prong plug and the hum is severe.
Distorted or muffled sound almost always means you have plugged the cassette deck into the Phono input. A phono stage applies a specific equalization curve and extra gain that will make a line-level cassette deck sound harsh, thin, or overly loud with clipped peaks. Move the RCA cable to a CD, AUX, or other line-level input, and the distortion should disappear immediately. If the sound is still muffled after switching inputs, clean the cassette deck’s playback heads with a cotton swab dipped in isopropyl alcohol, dirty heads are the leading cause of dull tape playback.
If one channel is silent, swap the red and white plugs at one end only. If the dead channel moves to the other side, the cable is faulty. If the dead channel stays on the same side, the problem is inside the cassette deck or the receiver, and you should test the deck with a different amplifier to isolate which component is at fault. Finally, if the tape plays too fast or too slow, that is a mechanical issue with the deck’s motor, not a connection problem, and it will require belt replacement or motor servicing.
With the RCA cable properly routed from the deck’s output to a line-level input on the receiver, the input selected correctly, and the receiver set to stereo mode, your cassette deck will play through your AV receiver exactly as intended. The warm analog signal from the tape travels directly to the receiver’s amplifier and out to your speakers, giving you the full nostalgic sound without any digital conversion or added processing.
\nRelated reading: How To Connect Fire TV Cube To An AV Receiver, How To Use Sonos With AV Receiver, and How To Reset A Yamaha AV Receiver.