Introduction
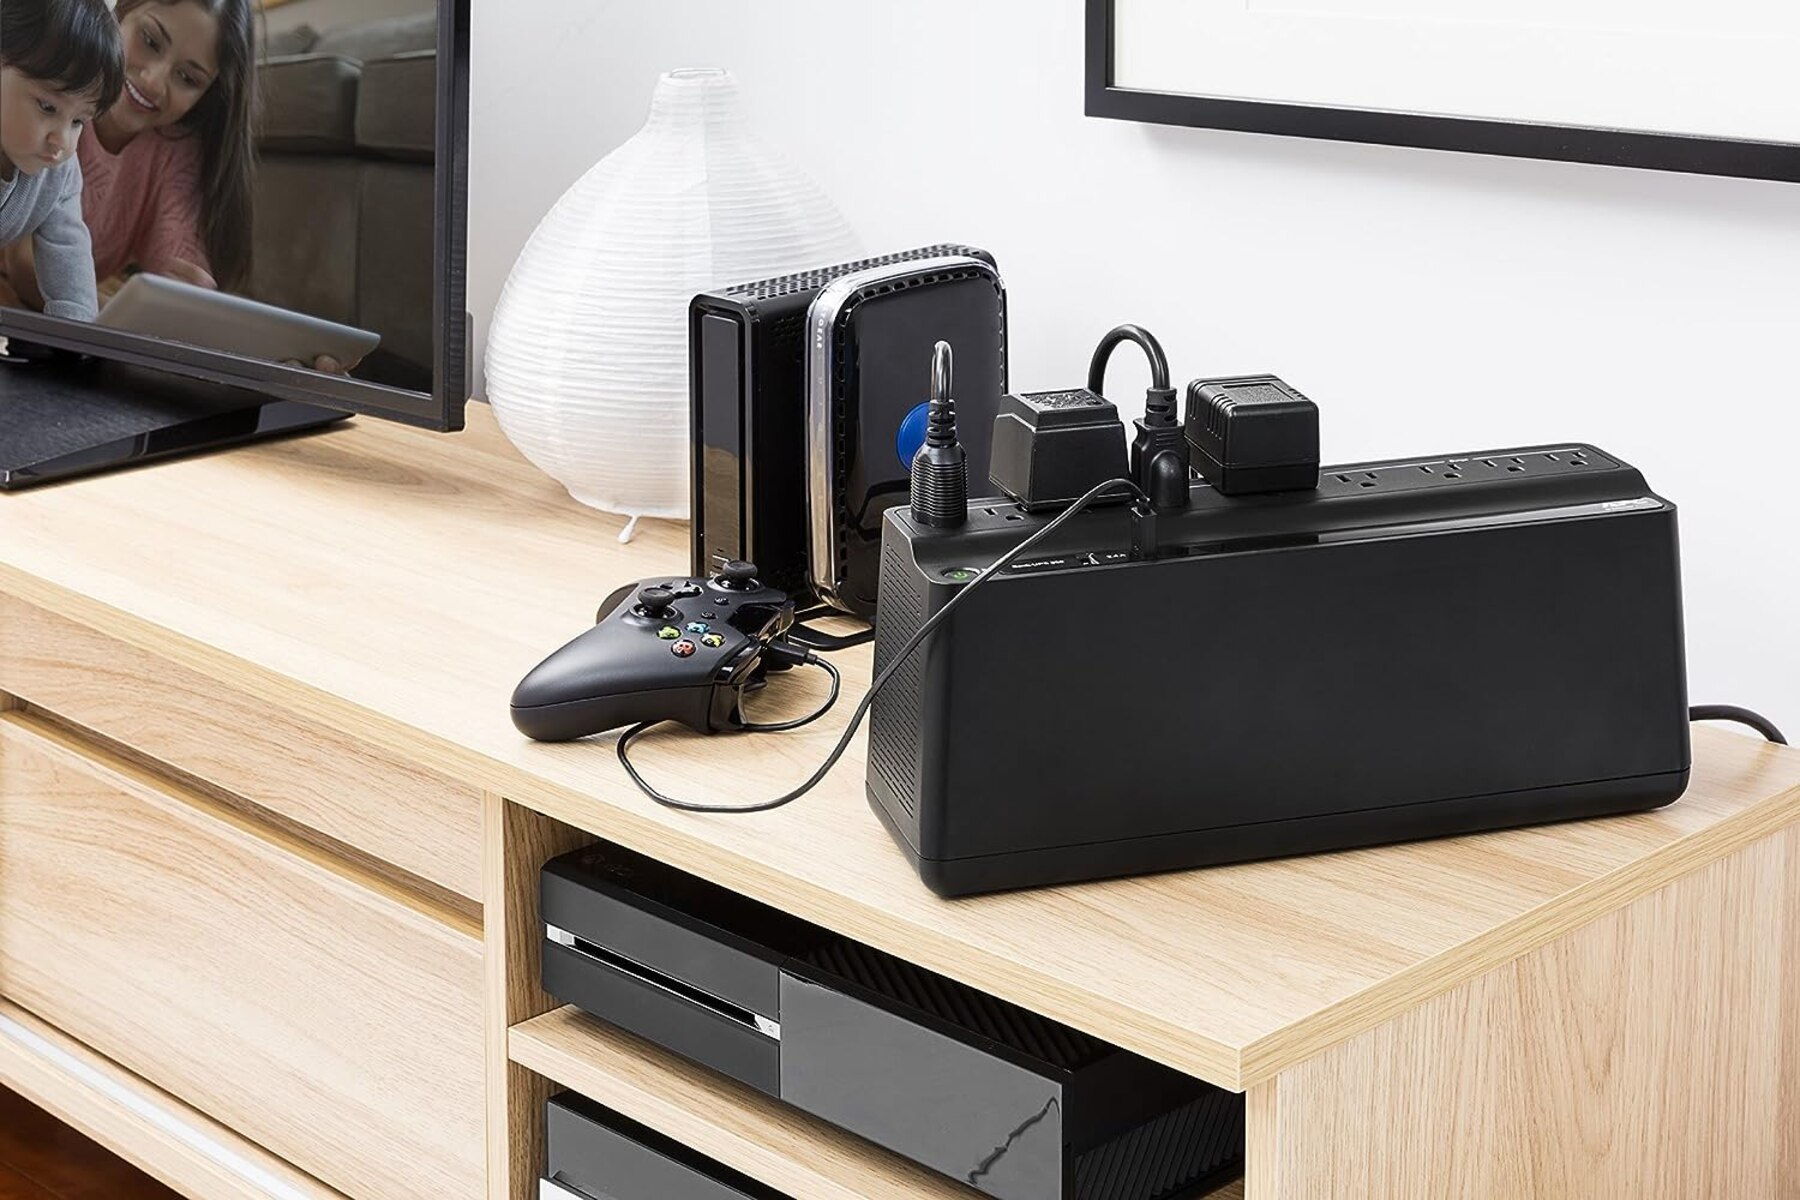
Welcome to our step-by-step guide on how to replace the V7 550VA Desktop UPS battery. The UPS (Uninterruptible Power Supply) is a crucial device that provides backup power in case of power outages or fluctuations, ensuring the safety and continued operation of your connected devices.
Over time, the UPS battery may start to degrade, reducing its capacity and overall performance. In such cases, it becomes essential to replace the battery to maintain the UPS functionality. This guide will walk you through the process of replacing the battery in your V7 550VA Desktop UPS, empowering you to take control and keep your devices protected.
Before we begin, it is important to note that safety should always be your top priority. Make sure to follow the safety precautions mentioned in the next section before starting the battery replacement process. Additionally, ensure you have the necessary tools and a replacement battery compatible with your V7 550VA Desktop UPS.
Now, let’s dive into the step-by-step process of replacing the battery in your V7 550VA Desktop UPS, ensuring uninterrupted power supply for your valuable electronic devices.
Safety Precautions
Before you begin replacing the battery in your V7 550VA Desktop UPS, it is crucial to adhere to the following safety precautions:
- Turn off the UPS and unplug all connected devices: Before working on the UPS or its battery, make sure to power off the UPS and disconnect all devices connected to it. This will prevent any accidental power surge or damage during the replacement process.
- Work in a well-ventilated area: The battery replacement process may involve opening the UPS casing, which can release gases. Make sure you are working in a well-ventilated area to avoid inhaling any potentially harmful fumes.
- Wear protective gear: To protect yourself during the battery replacement process, wear safety gloves and goggles. This will prevent any accidental injury from sharp edges or exposure to battery acid.
- Read the UPS manual: Familiarize yourself with the manufacturer’s instructions and warnings provided in the UPS manual. This will ensure you are aware of any specific precautions or guidelines for your V7 550VA Desktop UPS model.
- Ensure proper disposal of the old battery: The old UPS battery should be handled and disposed of correctly. Contact local authorities or recycling centers to learn about the proper disposal process for batteries in your area.
- Avoid short circuiting: During the battery replacement, make sure to prevent any metal objects from accidentally touching the battery terminals or other components. Short circuits can cause damage to the UPS or pose a safety risk.
By following these safety precautions, you can minimize risks while replacing the battery in your V7 550VA Desktop UPS. Your safety and the safety of your devices should always remain a top priority throughout the entire process.
Step 1: Power off the UPS and unplug all connected devices
The first step in replacing the battery in your V7 550VA Desktop UPS is to ensure that the UPS is powered off and all connected devices are unplugged. This step is crucial to avoid any potential electrical hazards during the battery replacement process. Follow these instructions to safely proceed:
- Turn off the UPS: Locate the power button on your V7 550VA Desktop UPS and press it to turn off the unit. Wait for a few seconds to ensure that it is completely powered off.
- Unplug all connected devices: Carefully unplug all devices that are connected to your UPS, such as computers, monitors, printers, or routers. This will prevent any accidental power surges or damage to the devices.
- Disconnect the UPS from the power source: Locate the power cord connected to the UPS and unplug it from the wall outlet or power strip. This will completely isolate the UPS from the power source.
Double-check that the UPS is no longer receiving any power by ensuring that the LED lights and display are turned off. It is important to proceed with caution and verify that all connected devices are disconnected. This will reduce the risk of electric shock or damage to the UPS or your devices.
By following these instructions, you have successfully completed the first step of the battery replacement process. Now you can continue with the necessary steps to safely replace the battery in your V7 550VA Desktop UPS.
Step 2: Remove the screws and open the UPS casing
Once you have powered off the UPS and disconnected all devices, you can proceed to open the UPS casing. This step will provide access to the battery compartment for easy replacement. Follow these instructions to safely open the casing:
- Gather the necessary tools: Before proceeding, ensure you have a screwdriver that is compatible with the screws used in the casing of your V7 550VA Desktop UPS.
- Locate the screws: Look for the screws on the back or sides of the UPS casing. These screws hold the casing together and need to be removed to access the battery compartment.
- Use the screwdriver to remove the screws: Insert the screwdriver into the head of each screw and turn counter-clockwise to loosen and remove them. Place the screws in a safe location to avoid losing them.
- Open the UPS casing: Carefully lift or slide off the UPS casing to expose the internal components. Take your time and be gentle to avoid any damage to the casing or other parts inside.
Once the casing is removed, you will have a clear view of the battery compartment and other internal components of the UPS. Before proceeding to the next step, take a moment to inspect the inside of the UPS for any signs of damage or loose connections. If you notice anything unusual, consult the manufacturer’s manual or seek professional assistance.
By successfully removing the screws and opening the UPS casing, you have completed the second step of the battery replacement process. Now, you can move on to the following steps to safely replace the battery in your V7 550VA Desktop UPS.
Step 3: Disconnect the old battery
Now that you have opened the UPS casing, it’s time to disconnect the old battery from the UPS. Follow these step-by-step instructions to safely disconnect the old battery:
- Identify the old battery: Within the UPS casing, locate the old battery. It is usually a rectangular or square-shaped unit connected to the UPS circuit board and secured in place.
- Unplug the battery connector: Look for the battery connector, which is a cable or set of cables connected to the battery terminals. Gently unplug the connector from the battery, taking care not to damage the cables or terminals.
- Remove any securing mechanisms: Depending on the model of your V7 550VA Desktop UPS, there may be securing mechanisms holding the battery in place. Common securing mechanisms include screws, brackets, or clips. Remove these mechanisms to free the old battery.
- Handle the old battery with care: The old battery can be heavy and contain hazardous substances. Use caution when handling it. If the battery has a handle, grasp it securely and lift it out of the battery compartment. If there is no handle, carefully lift the battery using both hands.
- Place the old battery in a safe location: Once the old battery is disconnected, set it aside in a safe and designated area. Remember that old batteries require proper disposal due to their toxic content, so be sure to follow your local regulations for battery recycling.
With the old battery successfully disconnected and removed from the UPS, you’re ready to move on to the next step in the battery replacement process. Ensure that the battery compartment is clean and free from any debris before proceeding to install the new battery.
By following these steps, you have completed the third step of replacing the battery in your V7 550VA Desktop UPS. Proceed to the next section to prepare the new battery for installation.
Step 4: Prepare the new battery for installation
Now that the old battery has been disconnected and removed, it’s time to prepare the new battery for installation in your V7 550VA Desktop UPS. Follow these instructions to ensure a smooth and successful installation:
- Inspect the new battery: Carefully examine the new battery to ensure there are no visible damages or leaks. Check for any packaging materials that need to be removed before installation.
- Verify compatibility: Double-check that the new battery is compatible with your V7 550VA Desktop UPS model. Refer to the manufacturer’s instructions, product specifications, or consult with a professional if you are uncertain.
- Remove any protective covers: If the new battery has any protective covers or film, remove them before installation. These covers are typically placed to prevent accidental discharge during shipping.
- Ensure proper orientation: Take note of the correct orientation of the new battery. There are usually labels or markings on the battery indicating the positive (+) and negative (-) terminals. Make sure these align with the corresponding terminals in the battery compartment.
- Handle the new battery with care: Just like with the old battery, handle the new battery with caution. Use both hands to lift and position the battery without exerting excessive force.
- Place the new battery in the battery compartment: Carefully slide or lower the new battery into the designated space in the battery compartment. Ensure that it fits securely and snugly.
It’s important to follow these steps to properly prepare the new battery for installation in your V7 550VA Desktop UPS. Prepare the new battery in a clean and well-lit area to avoid any accidental damage or mishandling.
With the new battery successfully prepared, you are now ready to proceed to the next step: connecting the new battery to the UPS. This will ensure the UPS can provide backup power to your connected devices seamlessly.
Step 5: Connect the new battery to the UPS
Now that the new battery is prepared, it’s time to connect it to your V7 550VA Desktop UPS. Follow these step-by-step instructions to ensure a secure and successful connection:
- Locate the battery connector: Identify the battery connector on the UPS circuit board. It is usually a set of cables or a plug that needs to be connected to the terminals on the new battery.
- Align the terminals: Take note of the positive (+) and negative (-) labels on the battery connector and the corresponding terminals on the new battery. Ensure that the terminals align properly for a correct connection.
- Insert the battery connector: Carefully plug the battery connector into the terminals on the new battery. Make sure it is inserted securely, minimizing any loose connections or potential power interruptions.
- Ensure a snug fit: After connecting the battery, gently tug on the battery connector to confirm it is securely fastened to the terminals. A snug fit will reduce the risk of accidental disconnection during UPS operation.
- Double-check your connections: Take a moment to inspect the battery connector and terminals to ensure that no wires are loose or exposed. Properly seated connections are essential for the UPS to detect and utilize the new battery.
By following these steps, you have successfully connected the new battery to your V7 550VA Desktop UPS. A secure and stable connection is crucial to ensure the battery can provide the necessary backup power without interruptions or malfunctions.
Now that the new battery is properly connected, you can proceed with the next step: closing the UPS casing and securing it with screws. This will protect the internal components and complete the battery replacement process for your V7 550VA Desktop UPS.
Step 6: Close the UPS casing and secure it with screws
After successfully connecting the new battery to your V7 550VA Desktop UPS, it’s time to close the UPS casing and secure it with screws. Follow these instructions to ensure a proper closure and secure fit:
- Align the casing: Carefully position the UPS casing to align it with the edges of the UPS unit. Take your time to ensure a proper fit and avoid any misalignment.
- Hold the casing firmly: With one hand, hold the casing in place to prevent it from moving while you secure it with screws. This will help maintain the integrity of the UPS and protect the internal components.
- Retrieve the screws: Locate the screws that were removed earlier when opening the UPS casing. Ensure that all screws are accounted for and in good condition.
- Insert and tighten the screws: Insert each screw into its designated hole on the casing and turn them clockwise using a screwdriver. Tighten the screws firmly, but avoid overtightening, as it may damage the casing or strip the screw threads.
- Verify the casing closure: Double-check that the casing is securely closed and there are no gaps or loose sections. A snug and secure closure will protect the UPS internals and ensure proper functioning.
By following these steps, you have successfully closed the UPS casing and secured it with screws. This step is crucial to protect the internal components of the UPS and maintain the integrity of the battery replacement.
Now that the casing is closed and securely fastened, you are ready for the final step: plugging in the UPS and powering it on. This will test the functionality of the newly installed battery and restore backup power to your connected devices.
Step 7: Plug in the UPS and power it on
With the UPS casing securely closed and the battery successfully replaced, it’s time to plug in the UPS and power it on. Follow these step-by-step instructions to complete the battery replacement process:
- Locate the power cord: Find the power cord that came with your V7 550VA Desktop UPS. It is typically a three-pronged cable with one end designed to plug into the UPS unit.
- Connect the power cord: Insert the power cord into the designated power input on the back of the UPS unit. Make sure the plug is inserted fully and securely to ensure a stable connection.
- Plug in the power cord: Locate an appropriate power outlet or surge protector and plug in the other end of the power cord. Ensure that the outlet is functioning correctly and has a stable power supply.
- Power on the UPS: Locate the power button on the V7 550VA Desktop UPS and press it to turn on the unit. After a few moments, the UPS will begin to power up, and the LED lights or display should indicate its operational status.
- Perform a self-test (optional): Some UPS models have a self-test feature that checks the functionality of the UPS and battery. Consult the manufacturer’s manual to see if your UPS has this feature and follow the instructions to perform the self-test, if desired.
- Verify UPS functionality: Monitor the UPS to ensure that it is functioning correctly. Check for any error messages on the display and listen for any abnormal sounds that could indicate a problem. If you notice anything unusual, consult the manufacturer’s manual or contact their customer support for assistance.
By following these steps, you have successfully replaced the battery in your V7 550VA Desktop UPS and powered it back on. The UPS should now be providing backup power to your connected devices, ensuring their safety and uninterrupted operation during power outages or fluctuations.
Remember to periodically check the UPS and test the battery to ensure it continues to function properly. The manufacturer’s manual or their customer support can provide additional guidance on maintenance and testing.
Congratulations on successfully replacing the battery in your V7 550VA Desktop UPS! Enjoy the peace of mind that comes with having a reliable power backup solution for your electronic devices.
Conclusion
Replacing the battery in your V7 550VA Desktop UPS is an essential maintenance task that ensures the continued functionality and protection of your electronic devices. By following the step-by-step guide provided in this article, you have learned how to safely replace the battery in your UPS, from powering off and disconnecting devices to opening the casing, disconnecting the old battery, preparing and connecting the new battery, closing the casing, and finally, plugging in and powering on the UPS.
Throughout the process, it is crucial to prioritize safety by following the recommended precautions, such as working in a well-ventilated area, wearing protective gear, and handling batteries with care.
With the new battery properly installed, your V7 550VA Desktop UPS can now provide reliable backup power during power outages or fluctuations, ensuring the uninterrupted operation of your valuable electronic devices.
Remember to periodically test and maintain your UPS to ensure its continued functionality. Consult the manufacturer’s manual or reach out to their customer support for any specific instructions or recommendations.
Thank you for reading our guide on how to replace the V7 550VA Desktop UPS battery. We hope that this article has empowered you to confidently perform the battery replacement process and safeguard your electronic devices against power-related disruptions.