Common Causes of Low Mic Volume
Low microphone volume can be a frustrating issue, especially for those who rely on clear and crisp audio during virtual meetings, gaming sessions, or content creation. Several factors can contribute to this problem, leading to muffled or inaudible sound transmission. Understanding the common causes of low mic volume is the first step in troubleshooting and resolving this issue effectively.
-
Hardware Malfunctions: A common culprit behind low mic volume is hardware malfunctions. Over time, physical wear and tear can affect the microphone's ability to capture sound effectively. Additionally, loose connections or damaged cables can impede the transmission of audio signals, resulting in diminished volume levels.
-
Software Configuration: Incorrect software settings or outdated drivers can significantly impact mic volume. In some cases, the default settings within the operating system or specific applications may not be optimized for the microphone, leading to subpar performance.
-
Environmental Factors: Background noise and environmental factors can also contribute to low mic volume. If the microphone is not equipped with effective noise-canceling features, ambient sounds can interfere with the clarity and volume of the transmitted audio.
-
Physical Obstructions: Physical obstructions near the microphone, such as dust or debris, can obstruct sound waves and diminish the overall volume. Even a small blockage can have a noticeable impact on mic performance.
-
Compatibility Issues: Using a microphone with incompatible devices or software can result in low volume output. Compatibility issues between the microphone, audio interface, and recording software can lead to suboptimal performance.
Understanding these common causes of low mic volume is crucial in identifying the root of the problem. By recognizing these factors, individuals can take targeted steps to address the issue and restore optimal microphone performance. In the following sections, we will delve into troubleshooting steps to effectively address low mic volume issues, empowering users to overcome these challenges and enjoy clear, impactful audio transmission.
Troubleshooting Steps for Razer Mic Volume Issues
When encountering low mic volume issues with Razer microphones, it's essential to embark on a systematic troubleshooting process to identify and rectify the underlying causes. By following these comprehensive steps, users can effectively address mic volume woes and restore optimal audio performance.
-
Inspecting Physical Integrity: Begin by inspecting the physical integrity of the microphone and its connections. Check for any visible damage to the microphone, cable, or connectors. Ensure that all connections are secure and free from debris or obstructions. Addressing any physical issues can significantly improve mic performance.
-
Testing on Multiple Devices: To isolate the problem, test the Razer microphone on multiple devices. Connect it to different computers or gaming consoles to determine if the low volume issue is consistent across various platforms. This step helps identify whether the problem lies with the microphone itself or the specific device being used.
-
Updating Razer Synapse Software: Ensure that the Razer Synapse software, which provides configuration options for Razer peripherals, is up to date. Check for any available updates and install them to ensure that the microphone is operating with the latest software enhancements and compatibility fixes.
-
Adjusting Mic Volume Settings in Windows: Navigate to the sound settings in the Windows operating system and adjust the microphone volume levels. Ensure that the microphone is not muted and that the input volume is appropriately configured to capture clear and audible audio. Additionally, explore advanced settings to fine-tune mic sensitivity and eliminate background noise.
-
Checking for Driver Updates: Verify that the device drivers for the Razer microphone are updated. Outdated or corrupted drivers can impede mic performance, leading to low volume output. Visit the Razer support website to download and install the latest drivers for the specific microphone model.
-
Utilizing Razer Support Resources: If the low mic volume issue persists, consider reaching out to Razer's customer support for further assistance. Razer's support team can provide personalized guidance, troubleshooting tips, and potential solutions tailored to the specific microphone model and associated software.
By diligently following these troubleshooting steps, users can effectively address low mic volume issues with Razer microphones. This proactive approach enables individuals to identify and resolve underlying causes, ensuring that their Razer microphone delivers clear, crisp, and impactful audio for gaming, content creation, and virtual communication.
Adjusting Mic Volume Settings in Windows
When encountering low mic volume issues with a Razer microphone on a Windows system, adjusting the mic volume settings can significantly improve audio performance. By navigating through the sound settings in Windows, users can fine-tune the microphone input levels, eliminate background noise, and ensure that the mic captures clear and audible audio.
To begin the mic volume adjustment process, users can access the sound settings by right-clicking on the speaker icon in the system tray and selecting "Open Sound settings." Alternatively, they can access the sound settings through the Control Panel or the Windows Settings app.
Once in the sound settings, users should navigate to the "Input" or "Recording" tab, depending on the version of Windows being used. Here, they can locate the Razer microphone from the list of available input devices. By selecting the microphone and clicking on "Device properties" or "Additional device properties," users can access the advanced settings for the microphone.
Within the microphone properties, users can adjust the input volume to optimize the mic sensitivity. By sliding the volume bar or using the provided slider, users can increase or decrease the input volume based on their preferences. It's essential to ensure that the microphone is not muted and that the input volume is appropriately configured to capture clear and audible audio.
Furthermore, users can explore advanced settings, such as microphone enhancements, to fine-tune mic sensitivity and eliminate background noise. Features such as noise suppression and acoustic echo cancellation can enhance the overall audio quality by reducing unwanted ambient sounds and echo effects.
For a more granular adjustment of mic volume and sensitivity, users can navigate to the "Sound control panel" and access the properties of the Razer microphone. Here, they can fine-tune additional settings, including levels, enhancements, and custom effects, to tailor the mic performance to their specific requirements.
By diligently adjusting mic volume settings in Windows, users can optimize the performance of their Razer microphone, ensuring that it delivers clear, crisp, and impactful audio for gaming, content creation, and virtual communication. This proactive approach empowers users to take control of their mic volume levels, ultimately enhancing their overall audio experience on Windows-based systems.
Checking Hardware Connections
Ensuring the integrity of hardware connections is paramount when troubleshooting low mic volume issues with Razer microphones. A thorough inspection of the physical components and connections can reveal potential issues that may be impeding the microphone's performance.
Begin by examining the physical integrity of the Razer microphone, its associated cables, and connectors. Inspect the microphone for any visible signs of damage or wear that may affect its functionality. Additionally, check the cable for any fraying, kinks, or other forms of damage that could compromise the transmission of audio signals.
Next, verify that the microphone is securely connected to the appropriate input port on the computer or audio interface. A loose or improperly connected cable can result in intermittent audio transmission or diminished volume levels. Ensure that the connection is snug and free from any obstructions that could interfere with the signal.
If the Razer microphone utilizes a detachable or interchangeable cable, consider testing the microphone with an alternative cable to rule out any potential issues with the original cable.
In the case of USB microphones, ensure that the USB port being used is fully functional. Try connecting the microphone to different USB ports on the computer to determine if the low volume issue persists across multiple connections.
Additionally, if the Razer microphone is integrated with a headset or other peripherals, inspect the connections between the microphone and the associated devices. Verify that all connections are secure and free from debris or damage that could impact the audio transmission.
By meticulously checking hardware connections, users can identify and address any physical issues that may be contributing to low mic volume. This proactive approach ensures that the Razer microphone is operating under optimal conditions, allowing users to enjoy clear, impactful audio without the hindrance of hardware-related issues.
Incorporating these hardware connection checks into the troubleshooting process can significantly contribute to resolving low mic volume issues, providing users with a comprehensive approach to addressing potential physical factors that may impact microphone performance.
Updating Razer Synapse Software
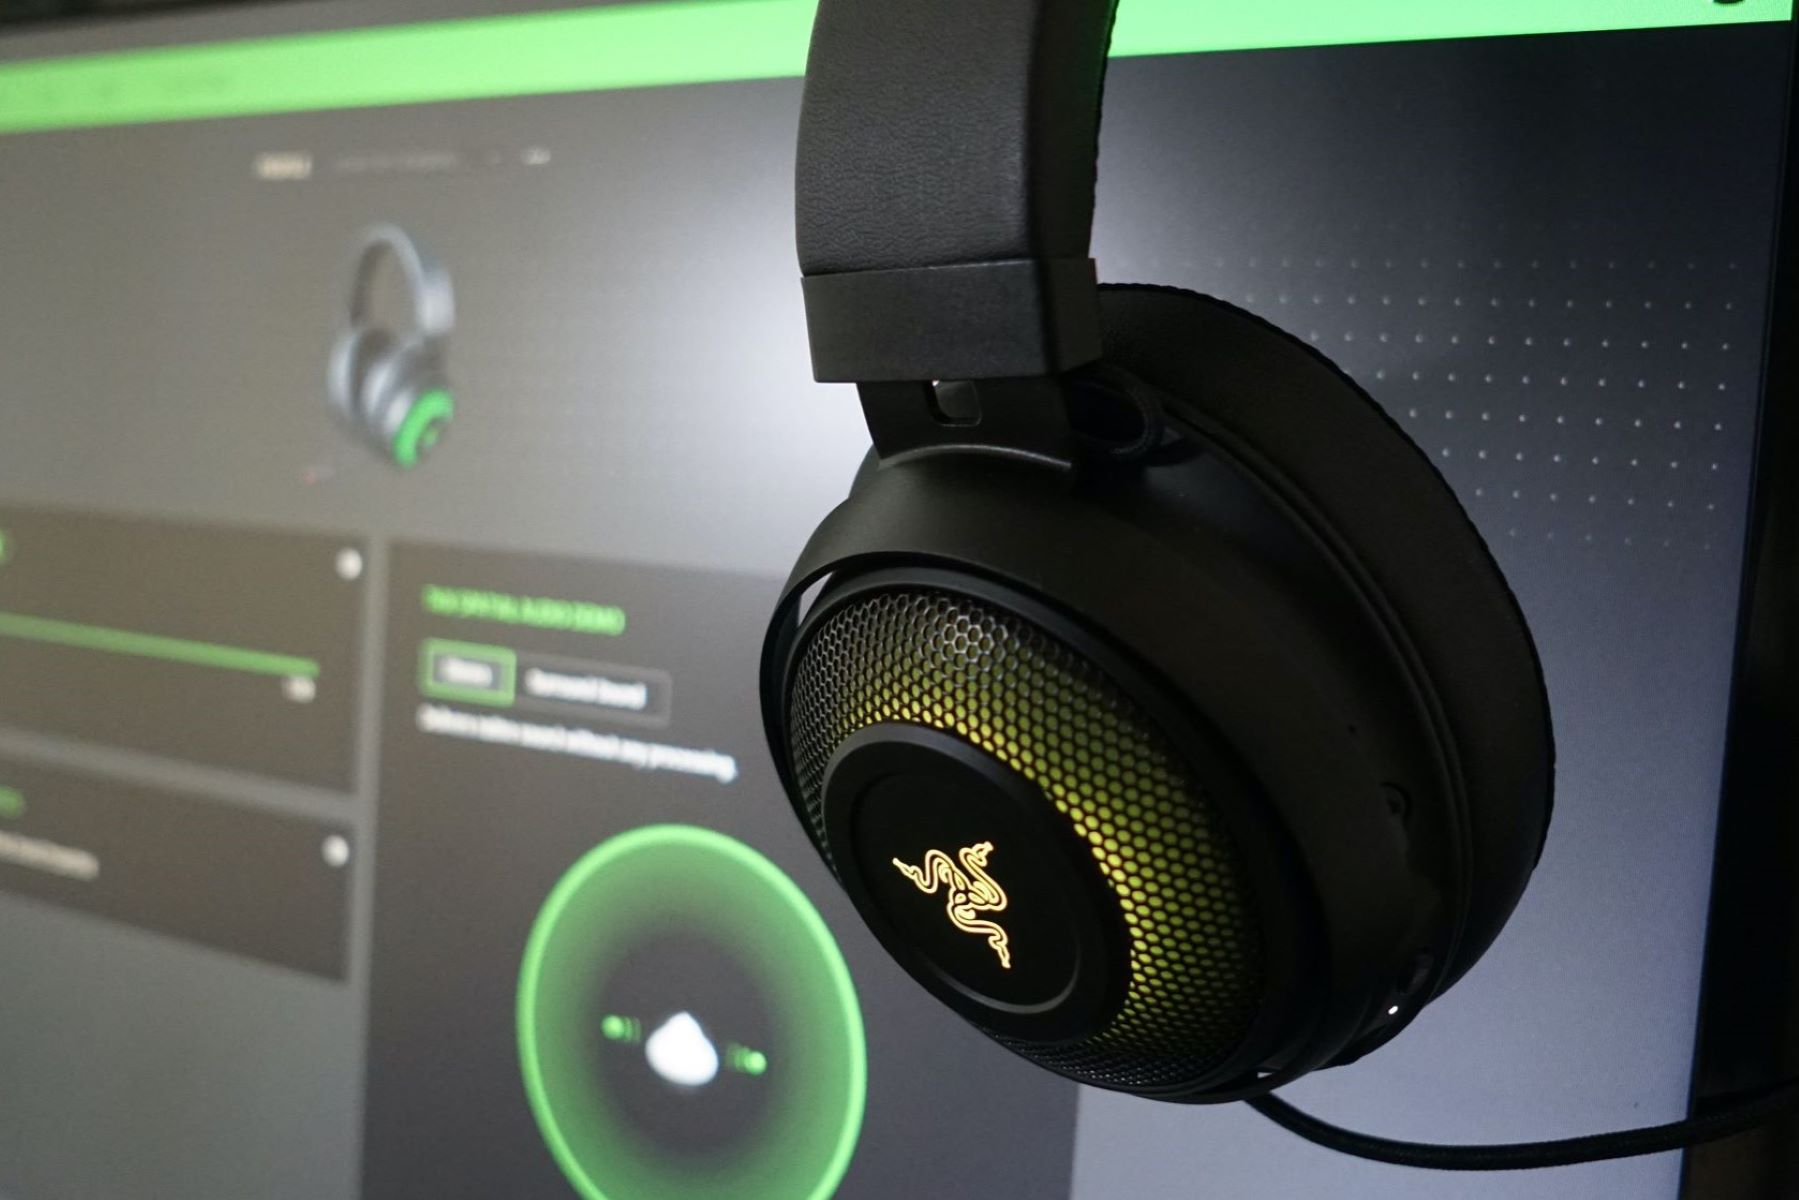
Ensuring that the Razer Synapse software is up to date is a crucial step in addressing low mic volume issues with Razer microphones. Razer Synapse serves as a centralized hub for configuring and customizing Razer peripherals, providing users with a range of options to optimize their devices' performance. By updating the Razer Synapse software, users can leverage the latest enhancements, compatibility fixes, and firmware updates to maximize the functionality of their Razer microphone.
To initiate the update process, users can launch the Razer Synapse software on their computer and navigate to the settings or preferences section. Within the settings menu, there is typically an option to check for updates or automatically update the software. By selecting this option, Razer Synapse will connect to the Razer servers and check for any available updates for the installed peripherals, including the Razer microphone.
Alternatively, users can visit the official Razer website and access the support section, where they can download the latest version of the Razer Synapse software. This approach is particularly useful if the automatic update feature within the software is not functioning as expected or if users prefer to manually manage software updates.
Once the updated version of Razer Synapse is installed, users can launch the software and ensure that the Razer microphone is recognized and properly configured within the application. It is essential to review the microphone settings within Razer Synapse, as the updated software may introduce new features or options that can directly impact the microphone's performance and volume levels.
In addition to software updates, Razer Synapse may also provide firmware updates for Razer peripherals, including microphones. Firmware updates can address underlying issues, enhance compatibility with the operating system, and introduce performance optimizations that directly impact microphone functionality.
By keeping Razer Synapse up to date, users can harness the full potential of their Razer microphone, leveraging the latest software enhancements and firmware updates to address low mic volume issues effectively. This proactive approach ensures that the microphone operates with optimal performance and compatibility, empowering users to enjoy clear, crisp, and impactful audio across various applications and use cases.
Testing Mic on Different Devices
Testing the Razer microphone on different devices is a crucial step in troubleshooting low mic volume issues. By connecting the microphone to various devices such as computers, gaming consoles, or mobile devices, users can gain valuable insights into the consistency of the low volume problem and isolate potential factors contributing to the issue.
When testing the Razer microphone on different devices, it's essential to use a diverse range of platforms and applications to assess its performance. By connecting the microphone to a computer, users can evaluate its functionality across different operating systems, such as Windows, macOS, or Linux. This comprehensive approach helps determine if the low mic volume issue is specific to a particular operating system or if it persists across multiple platforms.
Furthermore, testing the microphone on gaming consoles, such as Xbox or PlayStation, provides valuable data on its compatibility and performance within gaming environments. Users can assess the microphone's volume levels while communicating with other players, ensuring that it delivers clear and audible audio during online gaming sessions.
In addition to traditional computing and gaming devices, testing the Razer microphone on mobile devices, such as smartphones or tablets, offers insights into its performance in mobile communication and content creation scenarios. By connecting the microphone to mobile devices and utilizing communication apps or recording software, users can evaluate its volume levels and audio quality in a mobile context.
During the testing process, users should pay close attention to any variations in mic volume across different devices. If the low volume issue persists consistently across multiple platforms, it indicates that the problem may be related to the microphone itself or its settings, rather than the specific device being used. Conversely, if the volume issue is isolated to a particular device or operating system, it suggests that compatibility or configuration factors may be contributing to the problem.
By systematically testing the Razer microphone on different devices and platforms, users can gather valuable data to inform their troubleshooting efforts. This approach provides a comprehensive understanding of the microphone's performance in diverse scenarios, empowering users to make informed decisions and take targeted steps to address low mic volume issues effectively.


