Introduction
Integrating game controller support in Unity 5 can significantly enhance the user experience and broaden the accessibility of your game. By enabling players to use a game controller, you open up new possibilities for interaction and immersion. This guide will walk you through the process of setting up and implementing game controller support in Unity 5, allowing you to seamlessly integrate this feature into your game.
Whether you’re developing a console game or simply want to offer controller support for PC players, Unity 5 provides robust tools for implementing and customizing controller inputs. With the increasing popularity of game controllers across various platforms, accommodating this input method can make your game more appealing to a wider audience.
From configuring the game controller to mapping inputs and testing the functionality, this tutorial will cover each step in detail, providing you with the knowledge and skills to implement game controller support effectively. By the end of this guide, you’ll be equipped to create a more immersive and accessible gaming experience for your players.
Setting Up the Game Controller
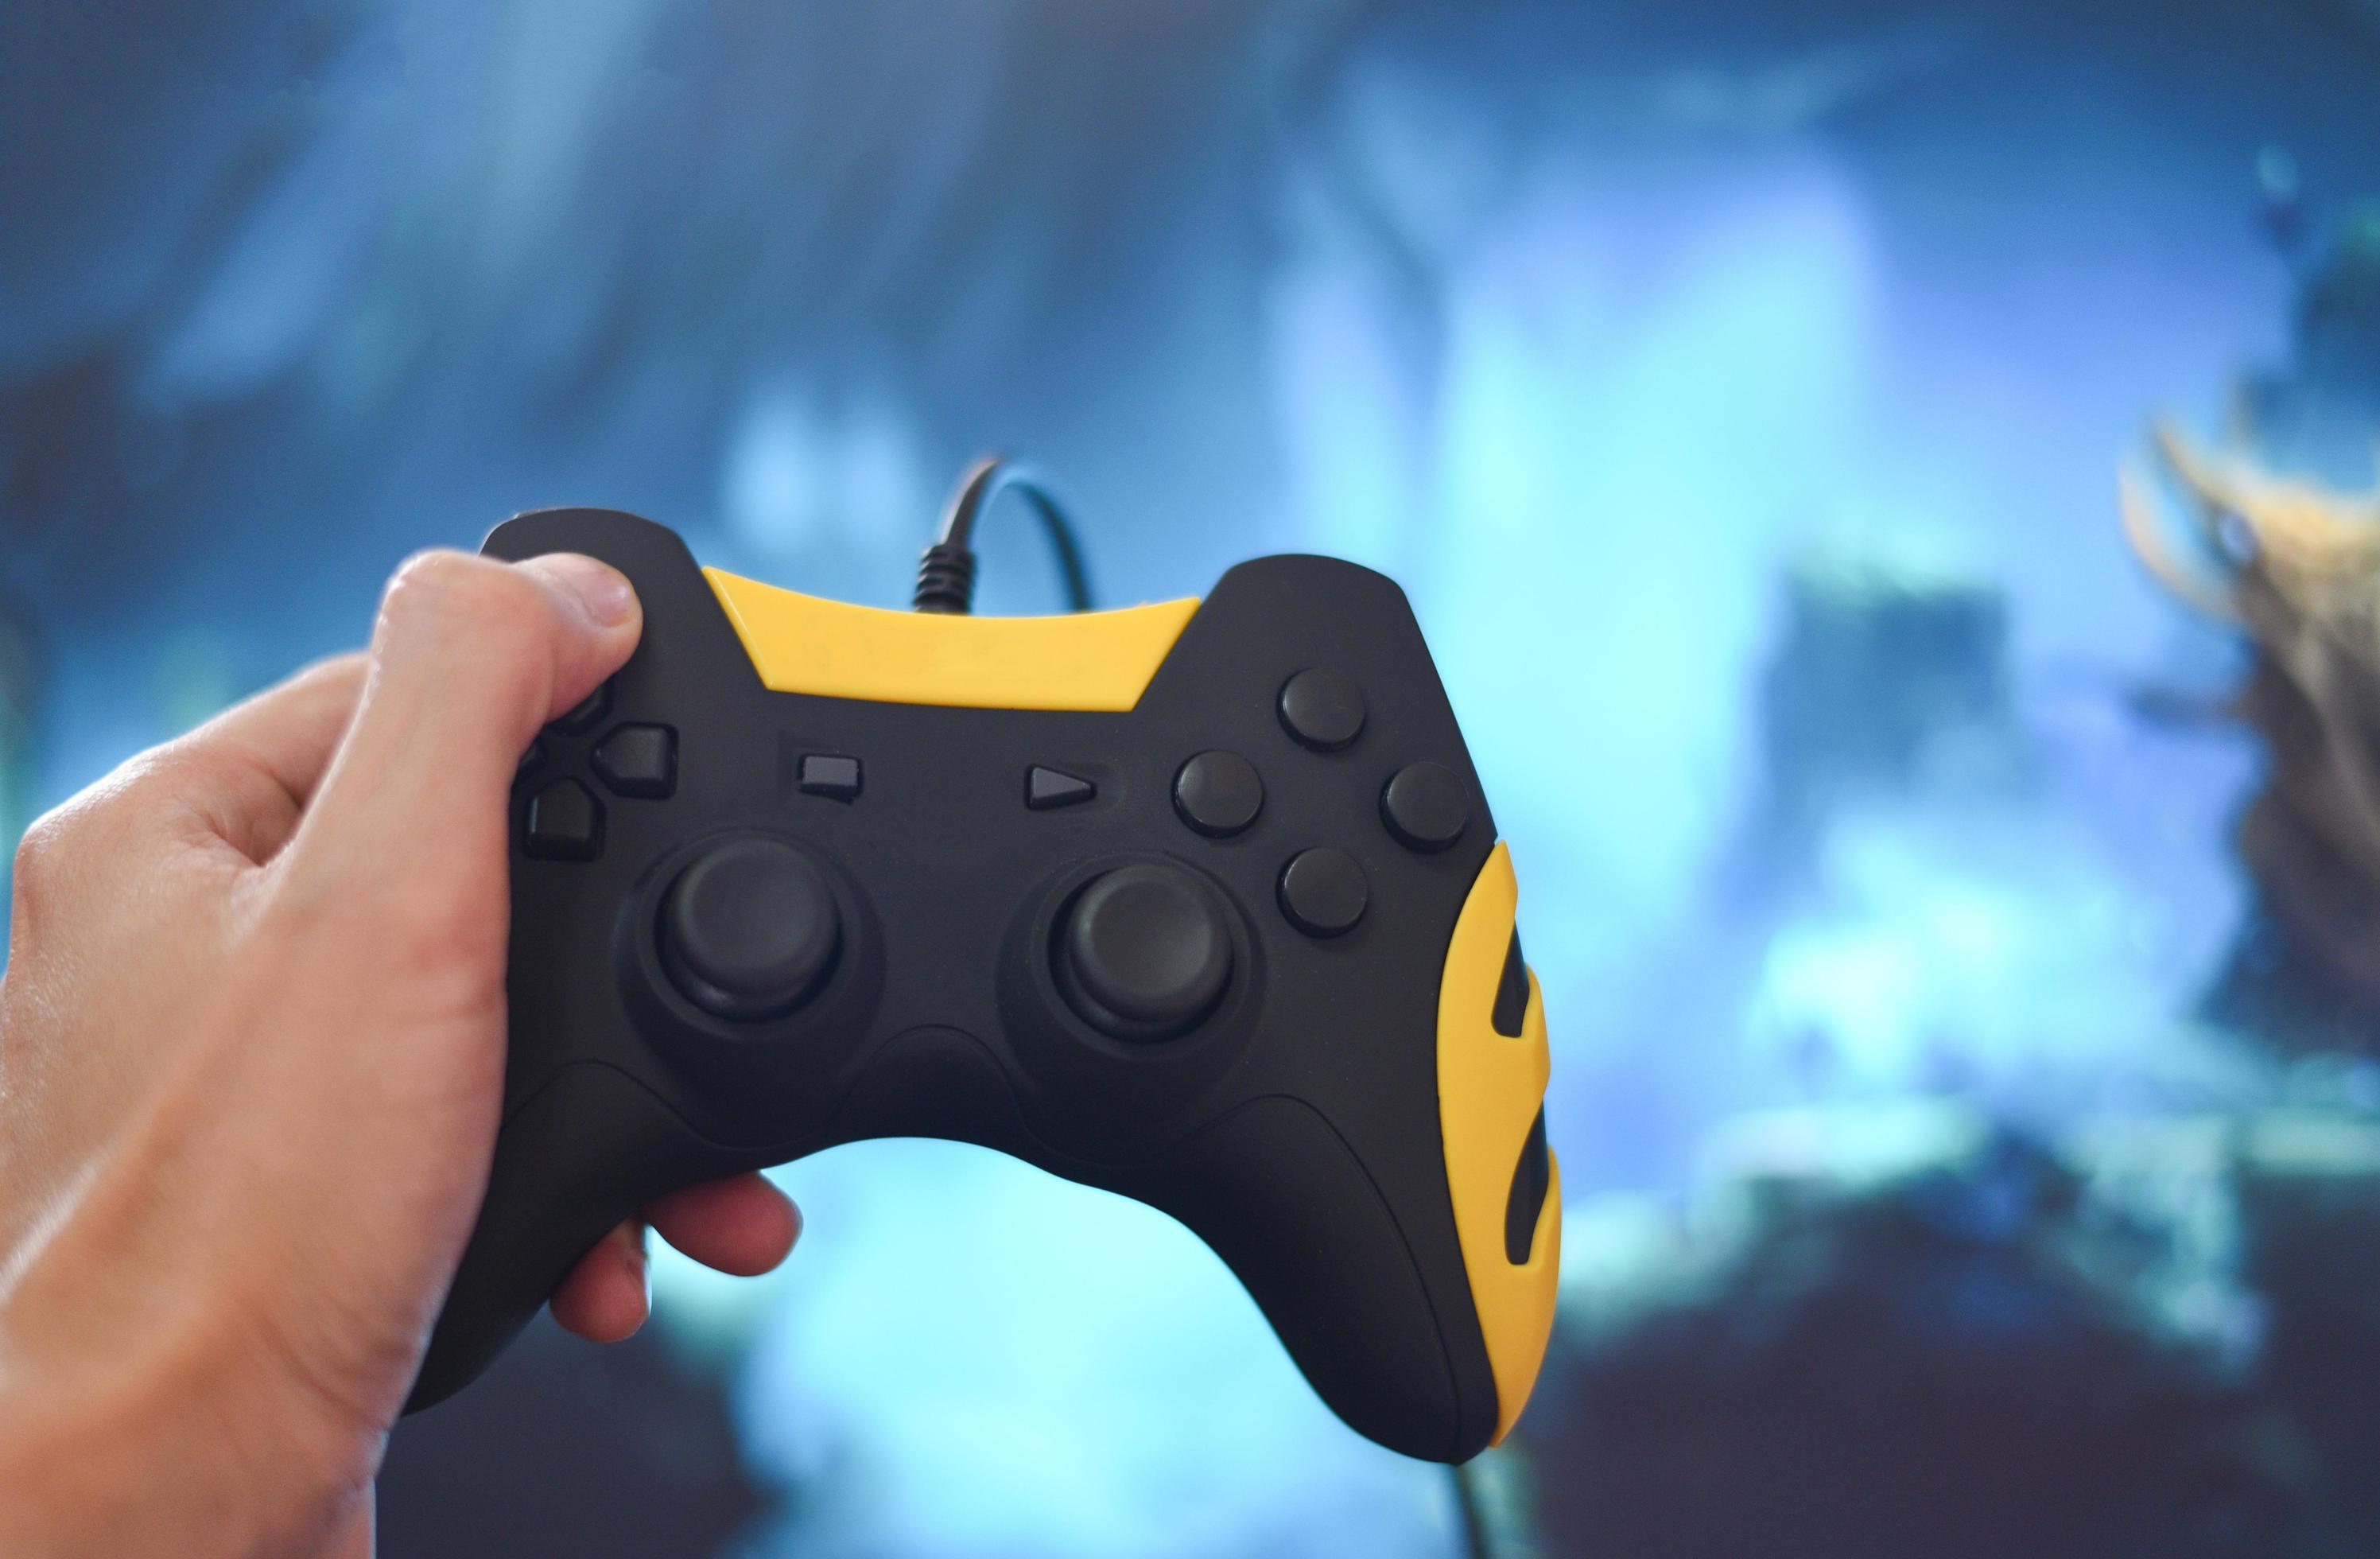
Before implementing game controller support in Unity 5, it’s essential to ensure that the controller is properly set up and recognized by the game engine. This involves connecting the controller to the target platform, whether it’s a PC, console, or mobile device. Once connected, Unity 5 provides a straightforward process for configuring the game controller.
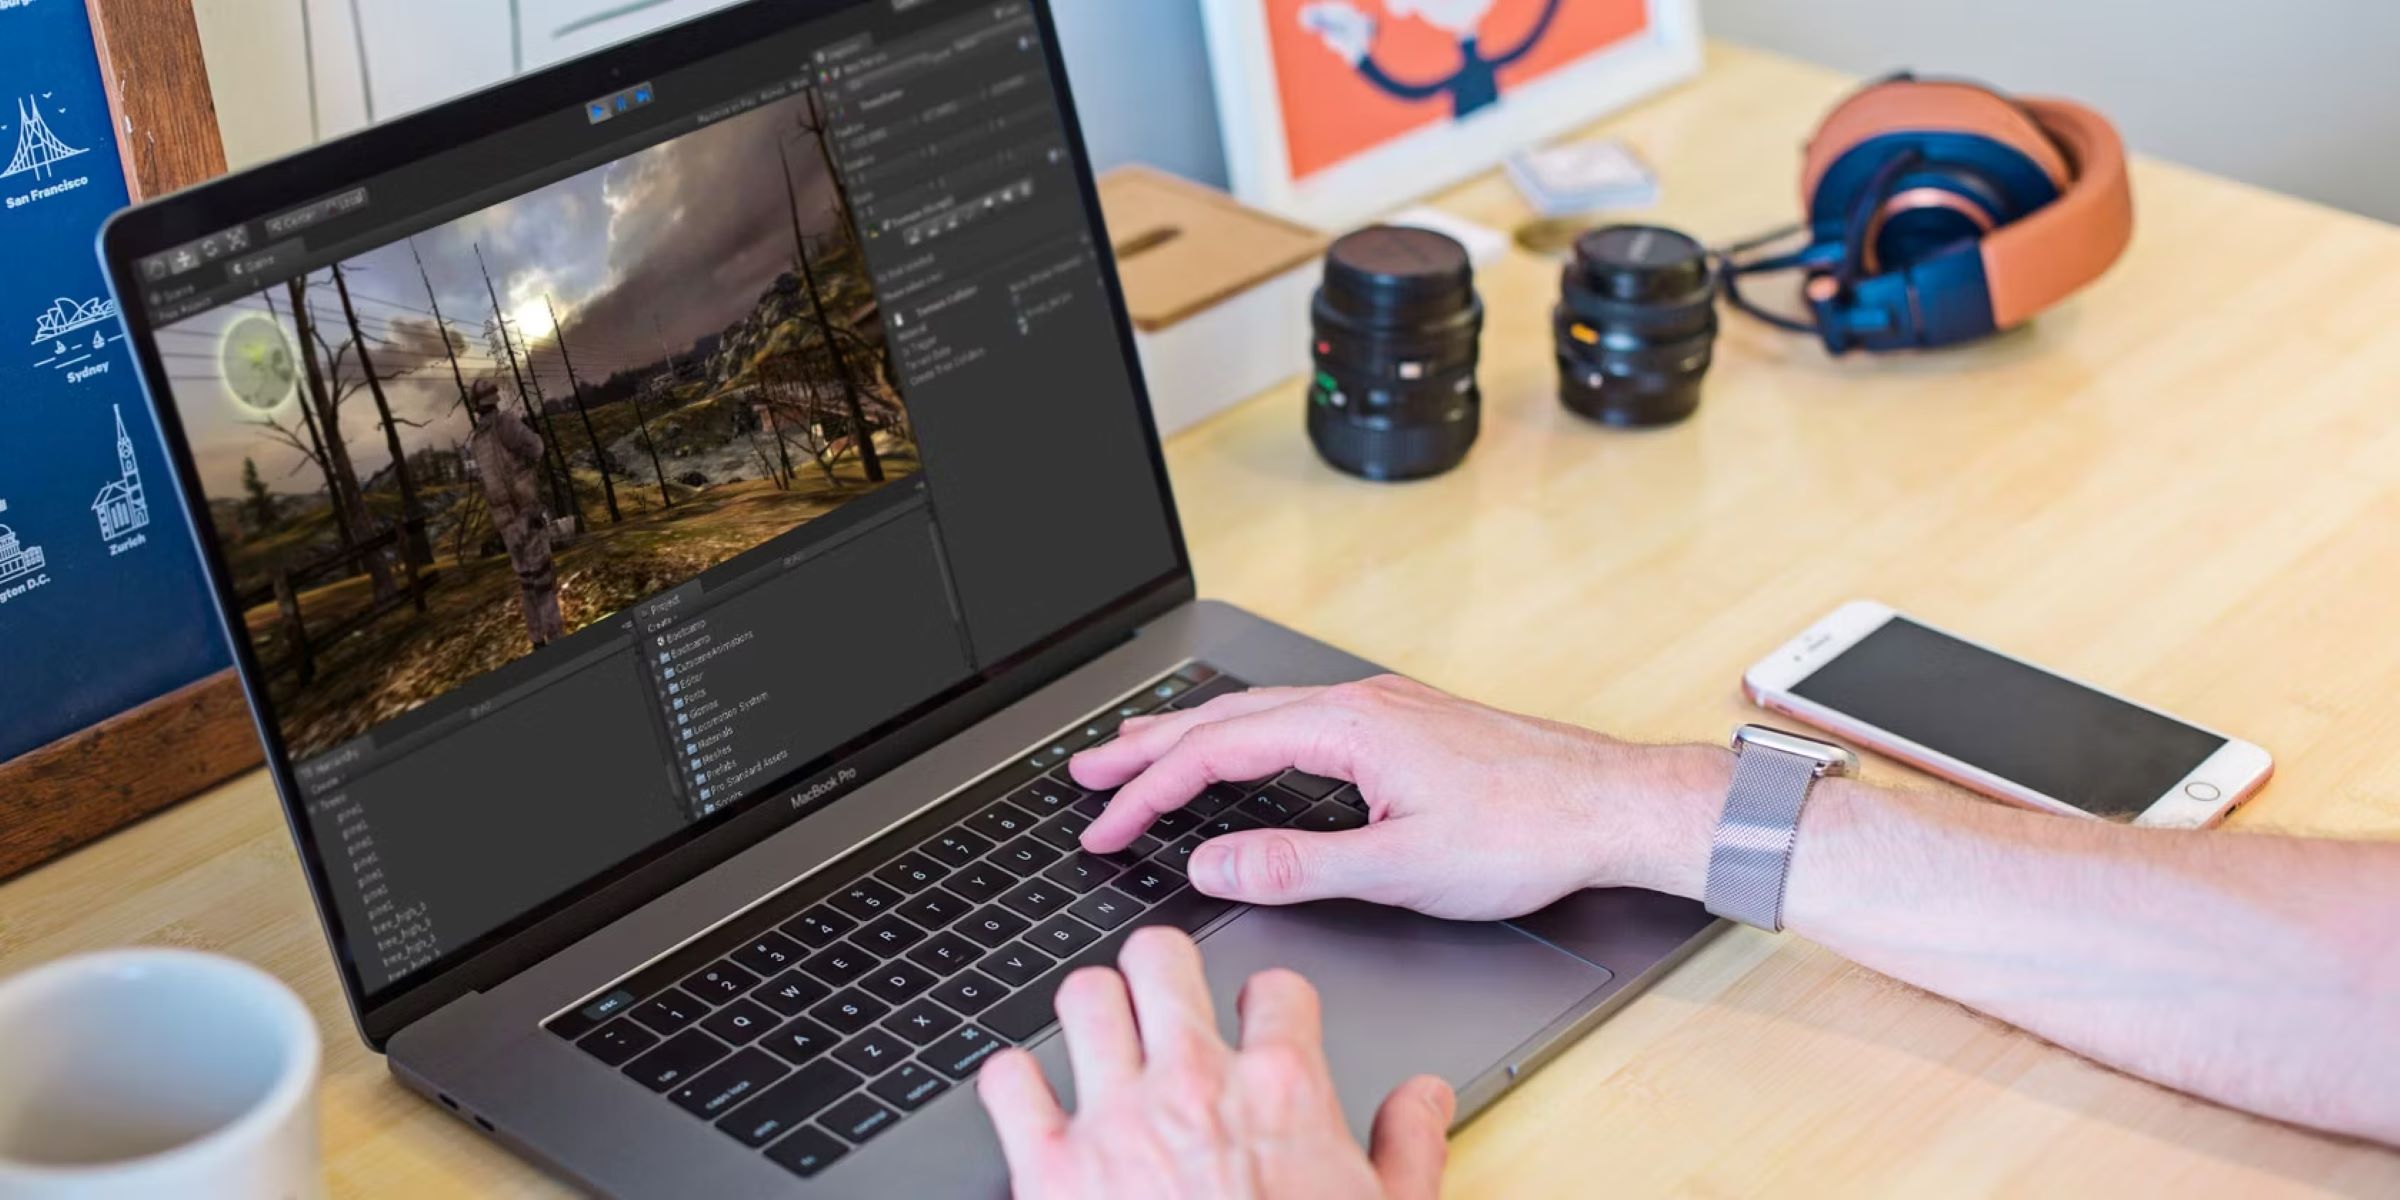
To begin, connect the game controller to the target platform using a compatible USB cable or wireless connection. Ensure that the controller is powered on and recognized by the platform. In Unity 5, navigate to the Input Manager to configure the controller inputs. Here, you can define the axes, buttons, and other input parameters associated with the game controller.
Unity’s Input Manager allows for the creation of custom input configurations, enabling you to map specific controller inputs to game actions. This flexibility is crucial for tailoring the controller support to your game’s unique mechanics and interactions. By setting up the game controller in this manner, you can define how the controller inputs correspond to in-game actions, such as movement, combat, or menu navigation.
Additionally, Unity 5 supports a wide range of game controllers, including popular models from major manufacturers. This broad compatibility ensures that your game can accommodate various controller types, providing a seamless experience for players regardless of their preferred device.
By following the steps outlined in this section, you can establish a solid foundation for integrating game controller support in Unity 5. With the controller properly set up and recognized by the game engine, you’ll be ready to proceed to the next crucial stage: mapping controller inputs to in-game actions.
Mapping Controller Inputs
Once the game controller is set up and recognized by Unity 5, the next step is to map its inputs to specific in-game actions. This process involves defining how the controller’s buttons, triggers, joysticks, and other input elements correspond to the various interactions and mechanics within your game.
Unity’s Input Manager provides a user-friendly interface for mapping controller inputs. You can assign axes and buttons to corresponding actions, allowing for precise control customization. For example, you can map the joystick’s X and Y axes to character movement, trigger buttons to weapon attacks, and face buttons to menu navigation or special abilities.
When mapping controller inputs, consider the ergonomics and natural flow of gameplay. Intuitive input mappings can enhance the player’s experience by making interactions feel seamless and responsive. Additionally, take into account the diverse range of game controllers that players may use, ensuring that your input mappings are adaptable to different controller layouts and configurations.
It’s important to provide players with the ability to customize their controller inputs, allowing them to tailor the controls to their preferences. Unity 5 supports customizable input settings, enabling players to remap buttons and adjust sensitivity to suit their playstyle. By offering this level of control, you can enhance accessibility and inclusivity within your game.
Furthermore, Unity 5 allows for input abstraction, which means that the same in-game action can be triggered by different controller inputs. This abstraction facilitates cross-platform compatibility and simplifies the integration of multiple controller types, streamlining the development process and ensuring a consistent gameplay experience across different devices.
By meticulously mapping controller inputs in Unity 5, you can create a cohesive and intuitive control scheme that aligns with your game’s mechanics and enhances the overall player experience. With the inputs accurately mapped, you’ll be ready to proceed to the implementation of controller support within your game.
Implementing Controller Support in Unity 5
With the game controller set up and its inputs mapped to in-game actions, the next crucial step is to implement controller support within your Unity 5 project. This involves integrating the mapped controller inputs into the game’s mechanics, UI interactions, and overall user experience.
Unity 5 offers a range of tools and APIs for implementing controller support. By leveraging Unity’s scripting capabilities, you can create scripts that interpret the mapped controller inputs and translate them into meaningful gameplay actions. These scripts can be attached to game objects to enable responsive and dynamic controller-based interactions.
When implementing controller support, it’s essential to consider the diverse range of game controllers that players may use. Unity’s input system supports various controller types, including gamepads, joysticks, and specialized controllers. By ensuring compatibility with different input devices, you can provide a consistent and enjoyable experience for all players.
Additionally, Unity 5 allows for the creation of controller-specific UI elements, such as button prompts and navigation indicators tailored to game controller input. These elements enhance the visual feedback for controller users, ensuring that they can easily navigate menus, interact with in-game interfaces, and perform actions seamlessly using their controllers.
Furthermore, Unity’s event system enables the integration of controller inputs into the game’s event-driven architecture. This allows for responsive and efficient handling of controller actions, ensuring that player inputs are accurately interpreted and translated into engaging gameplay experiences.
By implementing controller support in Unity 5, you can enrich your game with a versatile and accessible input method, catering to the preferences of a broad audience. Whether you’re developing for console platforms, PC, or mobile devices, integrating controller support can elevate the overall quality and appeal of your game, providing players with a seamless and immersive gaming experience.
Testing the Game Controller
Once the game controller support has been implemented in Unity 5, thorough testing is essential to ensure that the controller inputs function as intended and provide a seamless gaming experience. Testing the game controller involves validating its responsiveness, accuracy, and compatibility across different platforms and devices.
Unity 5 provides built-in tools for testing game controller inputs, allowing developers to simulate controller interactions within the Unity Editor. This enables comprehensive testing of controller functionality without the need for external hardware, streamlining the debugging and refinement process.
During testing, it’s crucial to assess the responsiveness of the controller inputs, ensuring that actions triggered by the controller, such as character movement, combat maneuvers, and menu navigation, are executed accurately and promptly. By evaluating the responsiveness of the controller inputs, developers can fine-tune the input mappings and script logic to optimize the player’s experience.
Compatibility testing is another key aspect of validating game controller support. This involves testing the game controller across different platforms, operating systems, and device configurations to ensure consistent behavior and performance. By conducting thorough compatibility testing, developers can identify and address any platform-specific issues related to controller support.
Furthermore, user testing with a diverse group of players using various game controllers can provide valuable insights into the effectiveness and intuitiveness of the controller support. Gathering feedback from players who use different controller types and have varying levels of gaming experience can uncover potential usability issues and inform iterative improvements to the controller integration.
Unity’s profiling and debugging tools can be leveraged to analyze the performance impact of controller inputs on the game’s overall performance. By monitoring input-related metrics and performance data, developers can optimize the controller support to minimize input latency and ensure smooth, consistent gameplay.
Thorough testing of the game controller in Unity 5 is essential to fine-tune the controller support and deliver a polished, enjoyable gaming experience for players. By rigorously evaluating the responsiveness, compatibility, and performance of the controller inputs, developers can refine the integration and ensure that players can seamlessly engage with the game using their preferred controllers.
Conclusion
Integrating game controller support in Unity 5 is a valuable enhancement that can significantly broaden the accessibility and appeal of your game. By following the steps outlined in this guide, you can seamlessly incorporate game controller inputs, providing players with an immersive and intuitive gaming experience.
Setting up the game controller in Unity 5 lays the groundwork for mapping controller inputs to in-game actions. This process ensures that the controller is properly recognized by the game engine and ready for input customization. By configuring the controller inputs in Unity’s Input Manager, you can tailor the control scheme to align with your game’s mechanics and interactions, enhancing the overall user experience.
Mapping controller inputs involves defining how the controller’s buttons, triggers, and joysticks correspond to specific in-game actions. By creating intuitive and adaptable input mappings, you can ensure that players can seamlessly engage with the game using their preferred controllers, regardless of the device they’re using.
Implementing controller support in Unity 5 involves integrating the mapped controller inputs into the game’s mechanics and user interface. By leveraging Unity’s scripting capabilities and input system, you can create responsive and dynamic controller-based interactions, enriching the gameplay experience for players using game controllers.
Thorough testing of the game controller functionality is essential to validate its responsiveness, accuracy, and compatibility. By rigorously testing the controller inputs and gathering feedback from a diverse group of players, you can refine the controller support and ensure a polished, enjoyable gaming experience for all players.
By embracing game controller support in Unity 5, you can create a more inclusive and engaging gaming experience, catering to the diverse preferences of players across different platforms and devices. Whether you’re developing for console, PC, or mobile platforms, integrating game controller support can elevate the accessibility and appeal of your game, fostering a deeper connection with your audience.


