Introduction
Introduction
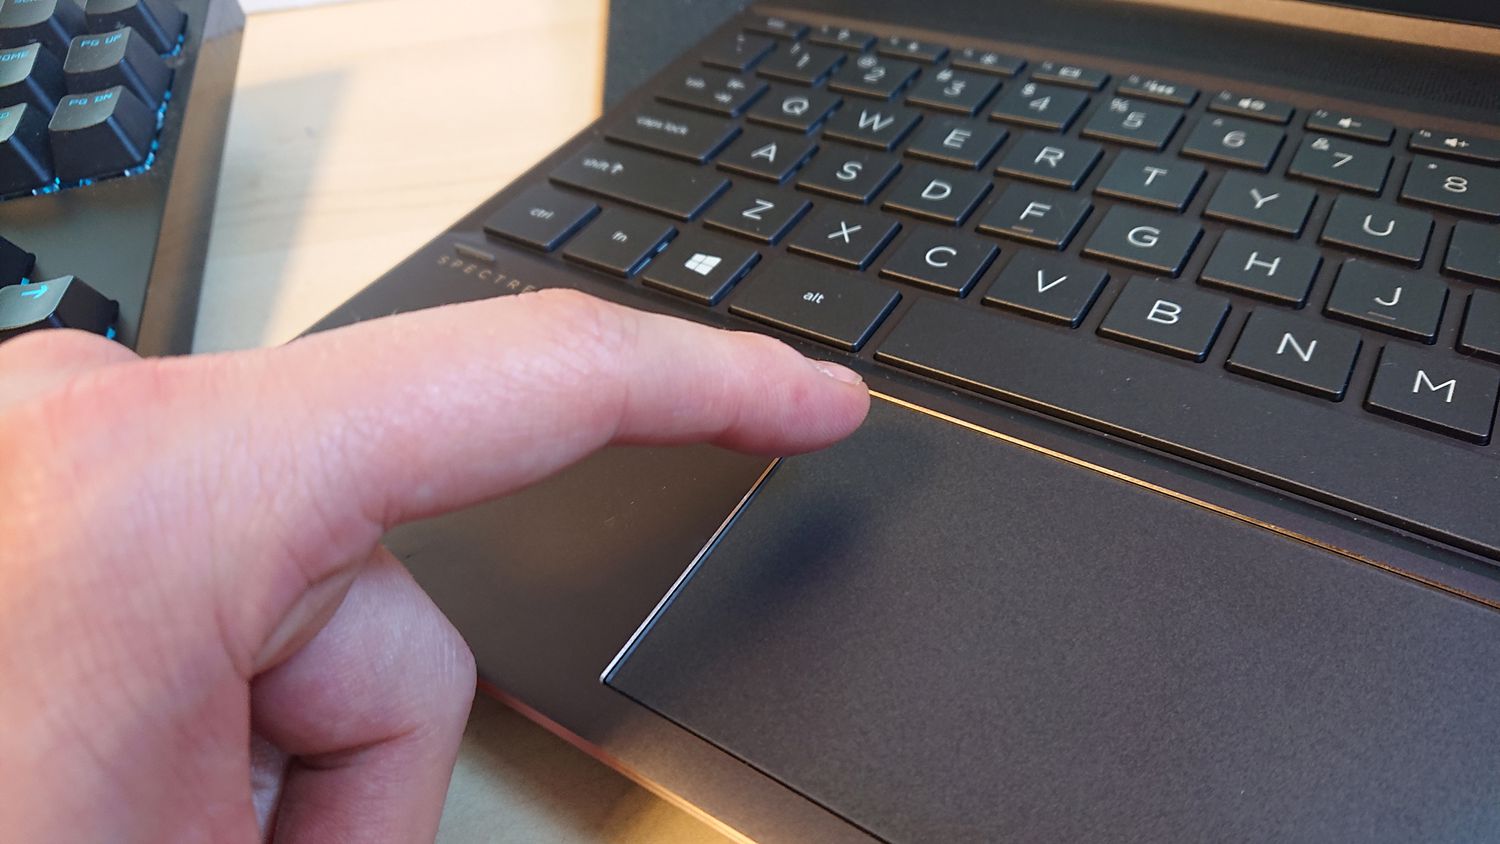
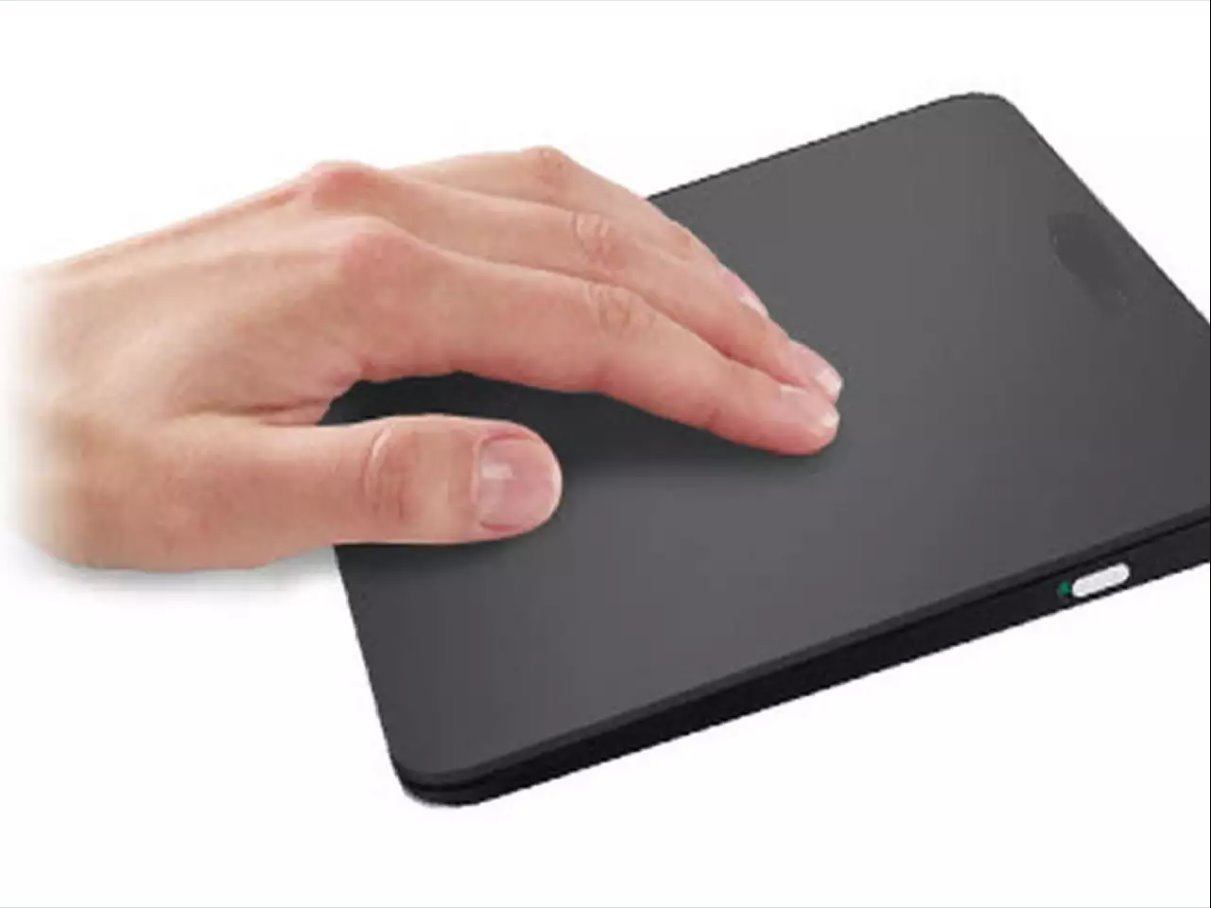
If you've ever found yourself inadvertently zooming in or out while using your laptop's mouse pad, you're not alone. The zoom feature, while useful in certain scenarios, can be a nuisance when it activates unexpectedly. Fortunately, Windows 10 offers a simple solution to disable this function, allowing you to regain control over your mouse pad's behavior. Whether you're working on a project, browsing the web, or simply navigating your desktop, knowing how to turn off zoom on your laptop's mouse pad in Windows 10 can significantly improve your user experience.
In this guide, we'll walk you through the step-by-step process of disabling the zoom feature on your laptop's mouse pad. By following these instructions, you can customize your mouse pad settings to better suit your preferences and avoid any unintentional zooming. Whether you're a seasoned Windows user or just getting acquainted with the system, this tutorial will equip you with the knowledge to navigate the settings and make the necessary adjustments with ease.
So, if you're ready to take control of your laptop's mouse pad and bid farewell to accidental zooming, let's dive into the simple yet effective methods to turn off the zoom feature in Windows 10.
Step 1: Open Settings
First and foremost, you'll need to access the Settings app on your Windows 10 laptop. The Settings app serves as a centralized location for managing various system preferences and configurations, making it the ideal starting point for adjusting your mouse pad settings.
To open the Settings app, you can utilize several methods. One common approach is to click on the “Start” button, typically located in the bottom-left corner of the screen, and then select the gear-shaped icon, which represents the Settings app. Alternatively, you can press the “Windows key + I” on your keyboard to launch the Settings app directly.
Upon opening the Settings app, you will be greeted by a user-friendly interface that provides access to a wide array of system settings and customization options. This intuitive layout makes it easy to navigate through different categories and locate the specific settings you wish to modify.
By initiating the process with the simple task of opening the Settings app, you are one step closer to gaining control over your laptop’s mouse pad functionality. With the Settings app at your disposal, you can seamlessly progress to the subsequent steps and proceed with customizing your mouse pad settings to disable the zoom feature.
Step 2: Click on Devices
Once you have successfully accessed the Settings app, the next step is to navigate to the “Devices” section, where you can manage the hardware-related settings for your Windows 10 laptop. Clicking on the “Devices” category within the Settings app will grant you access to a range of options for configuring and customizing the devices connected to your system, including your laptop’s mouse pad.
Upon selecting the “Devices” category, you will be presented with a comprehensive view of the available device settings and preferences. This section serves as a central hub for managing various hardware components, such as printers, Bluetooth devices, and, most importantly for our current purpose, the mouse pad settings.
Windows 10 offers a user-friendly interface within the “Devices” section, allowing you to effortlessly navigate through the available options and locate the specific settings related to your laptop’s mouse pad. This intuitive layout ensures that you can easily access and modify the relevant configurations without encountering any unnecessary complexity.
By clicking on the “Devices” category within the Settings app, you are taking a pivotal step toward customizing your laptop’s mouse pad behavior. This action sets the stage for the subsequent steps, enabling you to seamlessly progress through the settings and make the necessary adjustments to disable the zoom feature on your mouse pad.
Step 3: Select Mouse
After accessing the “Devices” section within the Settings app, the next crucial step in the process of disabling the zoom feature on your laptop’s mouse pad is to select the “Mouse” option. This step directs you to the specific settings related to the mouse and touchpad, allowing you to customize the behavior and functionality of these input devices according to your preferences.
Upon choosing the “Mouse” option, you will be presented with a dedicated set of configurations tailored to the mouse and touchpad settings. This specialized section provides a streamlined approach to managing the intricacies of these input devices, empowering you to make precise adjustments that align with your usage patterns and desired user experience.
Windows 10 offers a seamless transition to the “Mouse” settings, ensuring that you can easily locate and access the relevant options without encountering any unnecessary complexity. This user-friendly interface enhances the overall accessibility of the settings, enabling you to navigate through the configurations with confidence and efficiency.
By selecting the “Mouse” option within the “Devices” section of the Settings app, you are poised to delve into the specific settings that govern your laptop’s mouse pad behavior. This pivotal step sets the stage for the subsequent actions, allowing you to proceed with the process of disabling the zoom feature and regaining full control over your mouse pad’s functionality.
Step 4: Disable Zoom Feature
With the “Mouse” settings accessible, you can now proceed to disable the zoom feature on your laptop’s mouse pad. This final step in the process empowers you to take control of the zoom functionality and prevent any unintended zooming actions while using the mouse pad.
Within the “Mouse” settings, you will encounter the specific options related to the touchpad configurations. Look for the settings that pertain to the zoom feature, which may be labeled as “Pinch to Zoom” or a similar designation, depending on your laptop’s manufacturer and touchpad hardware. Once you have located the relevant option, proceed to disable or turn off this feature to prevent any accidental zooming caused by touchpad gestures.
Windows 10 provides a straightforward approach to modifying these touchpad settings, ensuring that you can easily navigate through the available options and make the necessary adjustments with ease. The intuitive layout of the “Mouse” settings streamlines the process of disabling the zoom feature, allowing you to tailor the touchpad behavior to suit your specific preferences.
By disabling the zoom feature within the “Mouse” settings, you are effectively eliminating the potential for unintended zooming actions when using your laptop’s mouse pad. This proactive measure equips you with the ability to customize the touchpad functionality according to your usage habits, thereby enhancing your overall user experience and productivity.
Conclusion
Congratulations! By following the step-by-step guide outlined above, you have successfully learned how to turn off the zoom feature on your laptop’s mouse pad in Windows 10. This newfound knowledge empowers you to take control of your touchpad settings and prevent any unintended zooming actions, ultimately enhancing your user experience and productivity.
Through the systematic process of accessing the Settings app, navigating to the “Devices” section, selecting the “Mouse” option, and disabling the zoom feature, you have gained valuable insights into customizing your laptop’s touchpad behavior. These simple yet effective steps have equipped you with the ability to modify the touchpad settings according to your preferences, ensuring a seamless and personalized user experience.
By familiarizing yourself with these essential configurations, you can now navigate through your daily tasks, projects, and browsing activities with confidence, knowing that the zoom feature on your laptop’s mouse pad is under your control. This newfound mastery over your touchpad settings empowers you to work, create, and interact with your Windows 10 laptop in a manner that aligns with your unique preferences and usage patterns.
As you continue to explore the diverse capabilities of your Windows 10 system, remember that the Settings app serves as a central hub for managing various configurations and preferences. Whether it’s customizing hardware settings, adjusting display preferences, or fine-tuning system configurations, the intuitive interface of the Settings app offers a user-friendly platform for tailoring your Windows experience to suit your individual needs.
With your enhanced understanding of how to disable the zoom feature on your laptop’s mouse pad, you are well-equipped to navigate the settings of your Windows 10 system with confidence and precision. By leveraging these insights, you can further optimize your user experience and maximize the potential of your laptop’s touchpad, ensuring a seamless and personalized interaction with your Windows 10 device.


