Introduction
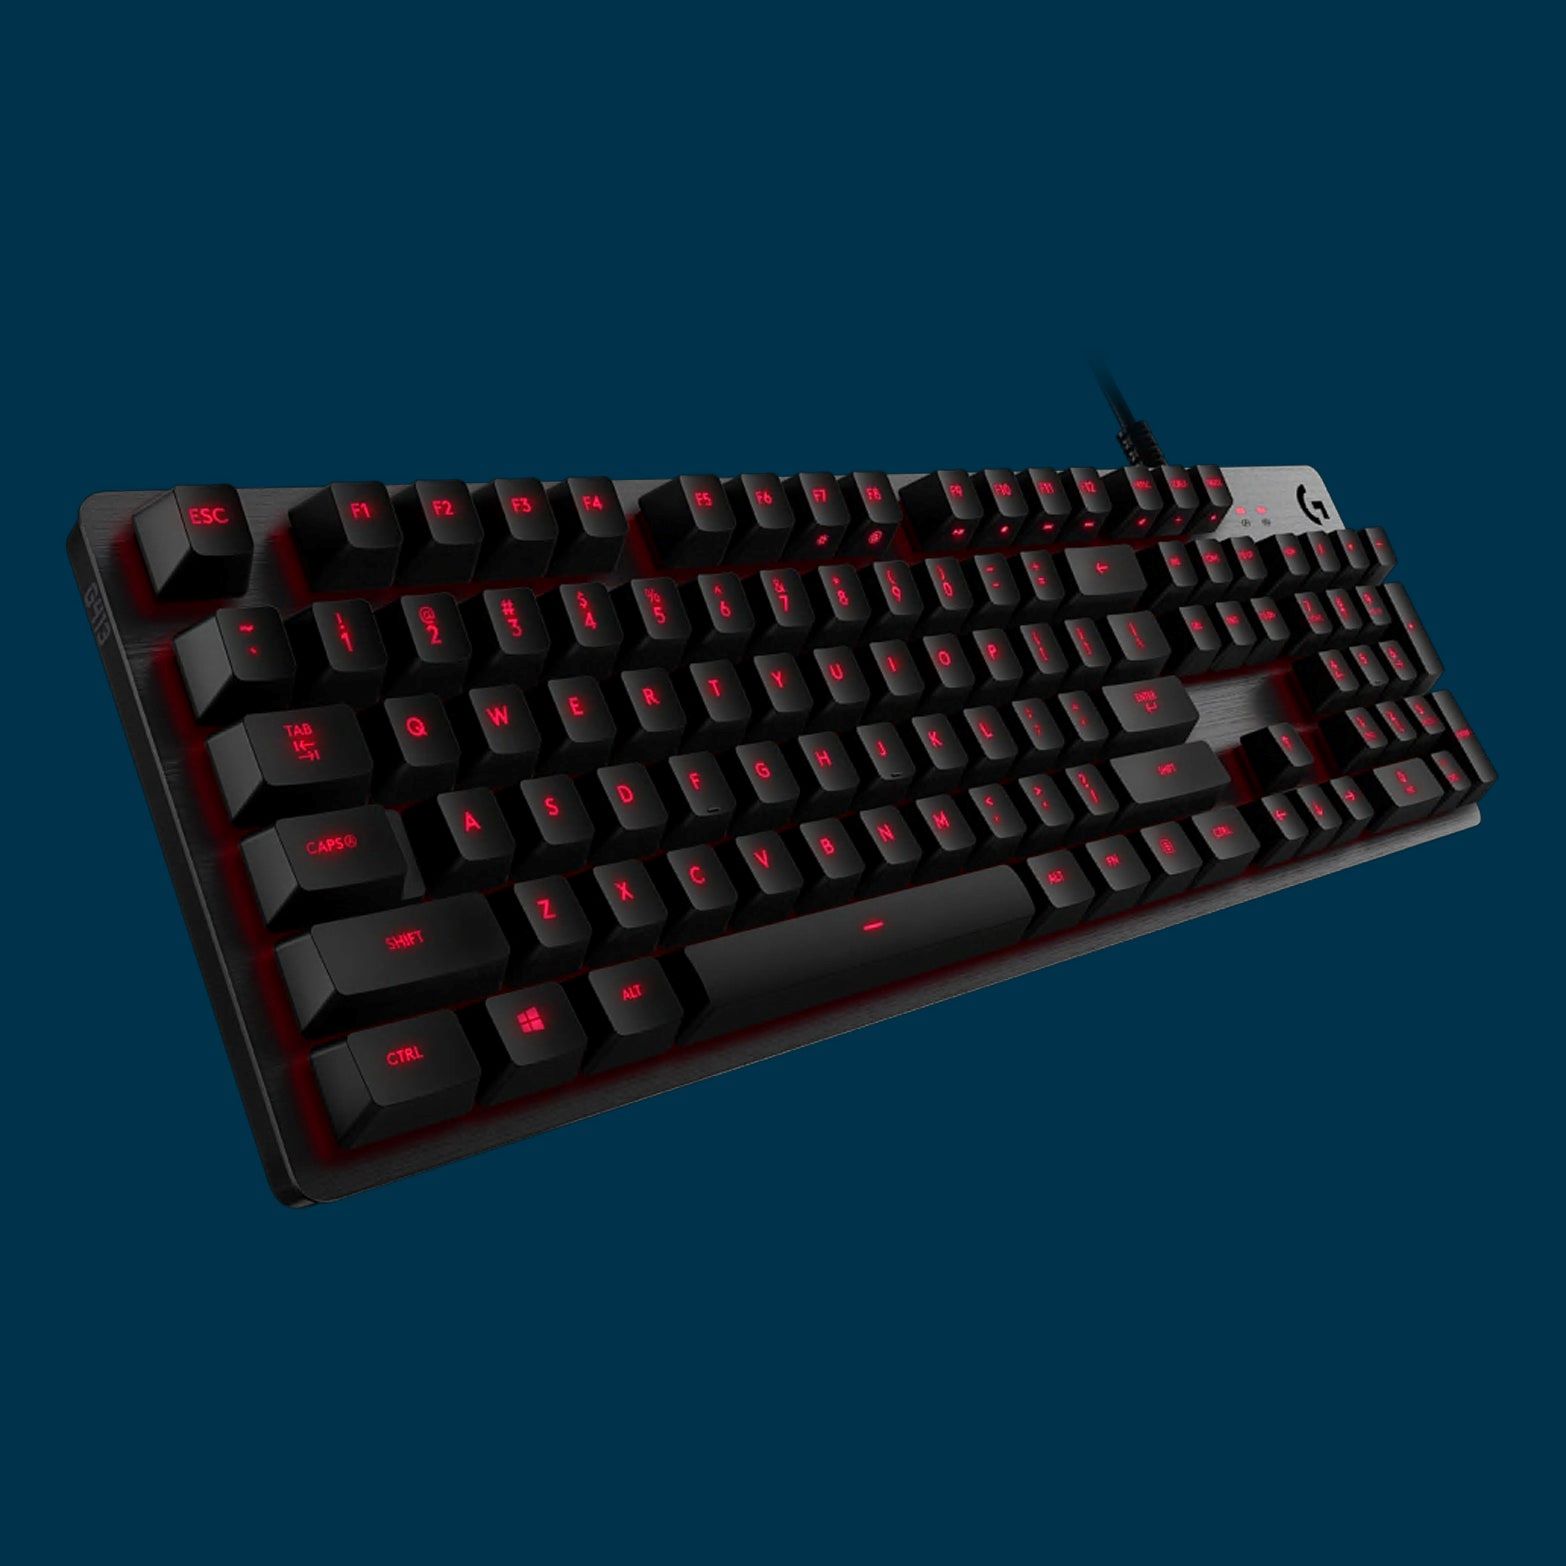
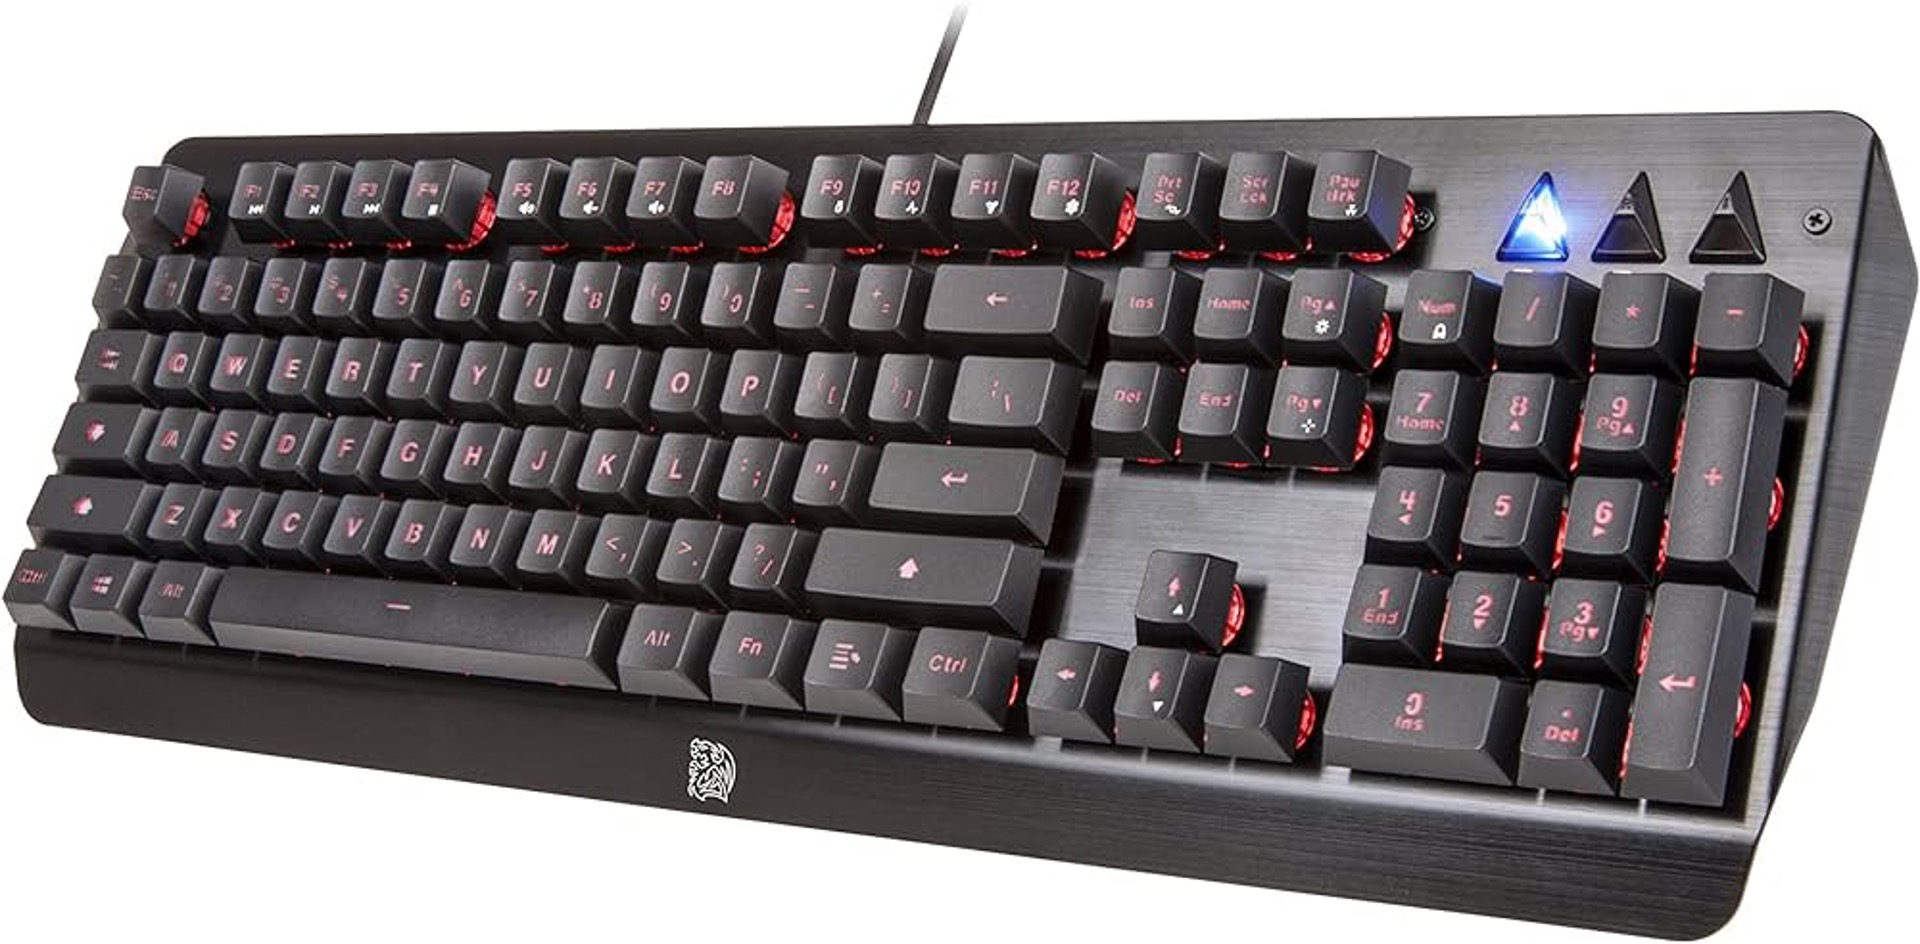
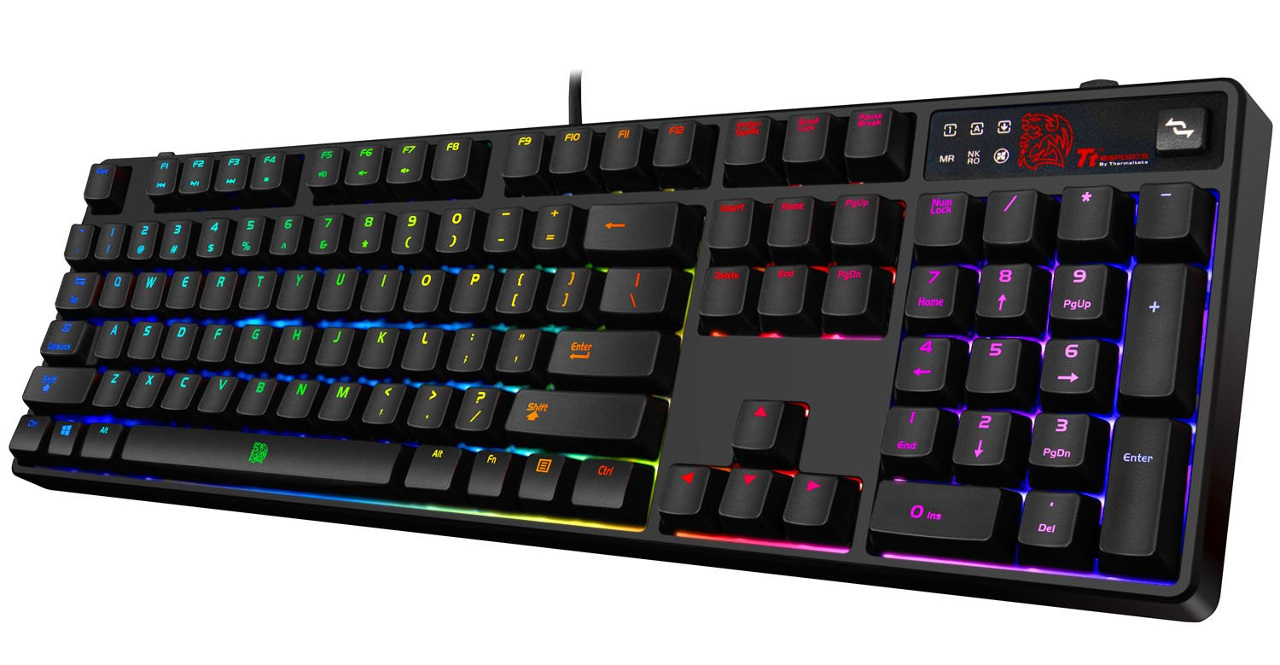
The Thermaltake Tt Esports Poseidon Z Illuminated Mechanical Gaming Keyboard is renowned for its exceptional build quality, tactile switches, and customizable backlighting. Its vibrant illumination not only enhances the gaming experience but also adds a touch of aesthetic appeal to any gaming setup. However, there may come a time when you wish to change the lights on this keyboard to suit your preferences or to address any technical issues. This guide will walk you through the process, ensuring that you can effortlessly customize the backlighting to your liking.
The process of changing the lights on the Thermaltake Tt Esports Poseidon Z Illuminated Mechanical Gaming Keyboard is straightforward and can be accomplished with minimal tools and expertise. By following the steps outlined in this guide, you will be able to seamlessly adjust the keyboard's lighting settings, allowing you to personalize your gaming environment and optimize your overall gaming experience.
Whether you are a seasoned gamer seeking to revamp your gaming setup or a novice looking to explore the customization options of this keyboard, this guide will equip you with the knowledge and confidence to make the desired changes. With a few simple tools and a clear understanding of the steps involved, you can easily modify the lighting on your Thermaltake Tt Esports Poseidon Z Illuminated Mechanical Gaming Keyboard to align with your unique style and preferences. Let's dive into the tools you will need to embark on this illuminating journey.
Tools Needed for Changing Lights
Before embarking on the process of changing the lights on the Thermaltake Tt Esports Poseidon Z Illuminated Mechanical Gaming Keyboard, it is essential to gather the necessary tools to ensure a smooth and efficient experience. The following tools are recommended for this task:
- Screwdriver: A small Phillips head screwdriver will be required to access the internal components of the keyboard. This tool will facilitate the removal of the keyboard’s casing, allowing you to safely access the lighting components.
- Soft Cloth: Having a soft, lint-free cloth on hand is advisable to gently clean the keyboard and remove any dust or debris that may have accumulated during the process. This will help maintain the keyboard’s pristine appearance and ensure optimal performance.
- Replacement LEDs (if necessary): In the event that individual LEDs need to be replaced, having a set of compatible replacement LEDs on standby will streamline the process and minimize downtime.
- Tweezers or Small Pliers: These precision tools can be useful for handling small components and delicately maneuvering the LEDs within the keyboard. They provide the dexterity required to manipulate the lighting elements with precision and care.
- Cleaner or Compressed Air: To ensure the keyboard’s longevity and functionality, having a keyboard-safe cleaner or compressed air can help dislodge any stubborn dirt or debris that may be obstructing the lighting elements or affecting the keyboard’s performance.
By assembling these essential tools, you will be well-prepared to tackle the task of changing the lights on the Thermaltake Tt Esports Poseidon Z Illuminated Mechanical Gaming Keyboard. With these tools at your disposal, you can proceed with confidence, knowing that you have everything necessary to navigate the process smoothly and effectively.
Steps to Change Lights on Thermaltake Tt Esports Poseidon Z Illuminated Mechanical Gaming Keyboard
Changing the lights on the Thermaltake Tt Esports Poseidon Z Illuminated Mechanical Gaming Keyboard involves a series of straightforward steps that can be easily executed with the appropriate tools and a clear understanding of the keyboard’s internal components. Follow the steps below to customize the lighting to your preference:
- Prepare the Workspace: Begin by clearing a well-lit and spacious area to work on the keyboard. This will provide ample room to maneuver and organize the tools required for the task, ensuring a comfortable and efficient workspace.
- Disconnect the Keyboard: To ensure safety and prevent any electrical mishaps, disconnect the keyboard from the computer and any power source. This will eliminate the risk of electrical shock and allow you to work on the keyboard without interference.
- Remove the Keycaps: Carefully remove the keycaps from the keyboard using a keycap puller or a gentle twisting motion. Set the keycaps aside in a secure location to prevent misplacement.
- Open the Casing: Using a small Phillips head screwdriver, remove the screws securing the keyboard’s casing. Gently lift the casing to expose the keyboard’s internal components, including the LED lighting system.
- Access the LEDs: Locate the LEDs within the keyboard. Depending on the specific model, the LEDs may be individually mounted or integrated into a lighting module. Exercise caution when handling the LEDs to avoid damage or dislodgement.
- Replace or Customize LEDs: If the objective is to replace individual LEDs or customize the lighting color, carefully remove the existing LEDs using tweezers or small pliers. Ensure that the replacement LEDs, if applicable, are compatible with the keyboard and insert them securely into the designated slots.
- Reassemble the Keyboard: Once the desired changes to the lighting have been made, reassemble the keyboard by securing the casing with the screws and reattaching the keycaps. Take care to align the keycaps correctly to maintain the keyboard’s functionality.
- Test the Lighting: Reconnect the keyboard to the computer and power source, and test the lighting to ensure that the changes have been successfully implemented. Adjust the settings as needed to achieve the desired illumination.
- Clean and Maintain: Use a soft cloth and keyboard-safe cleaner to gently clean the keyboard, removing any fingerprints or residues that may have accumulated during the process. This will help preserve the keyboard’s appearance and functionality.
By following these sequential steps, you can effectively change the lights on the Thermaltake Tt Esports Poseidon Z Illuminated Mechanical Gaming Keyboard, allowing you to personalize the keyboard’s lighting to complement your gaming setup and preferences.