Introduction
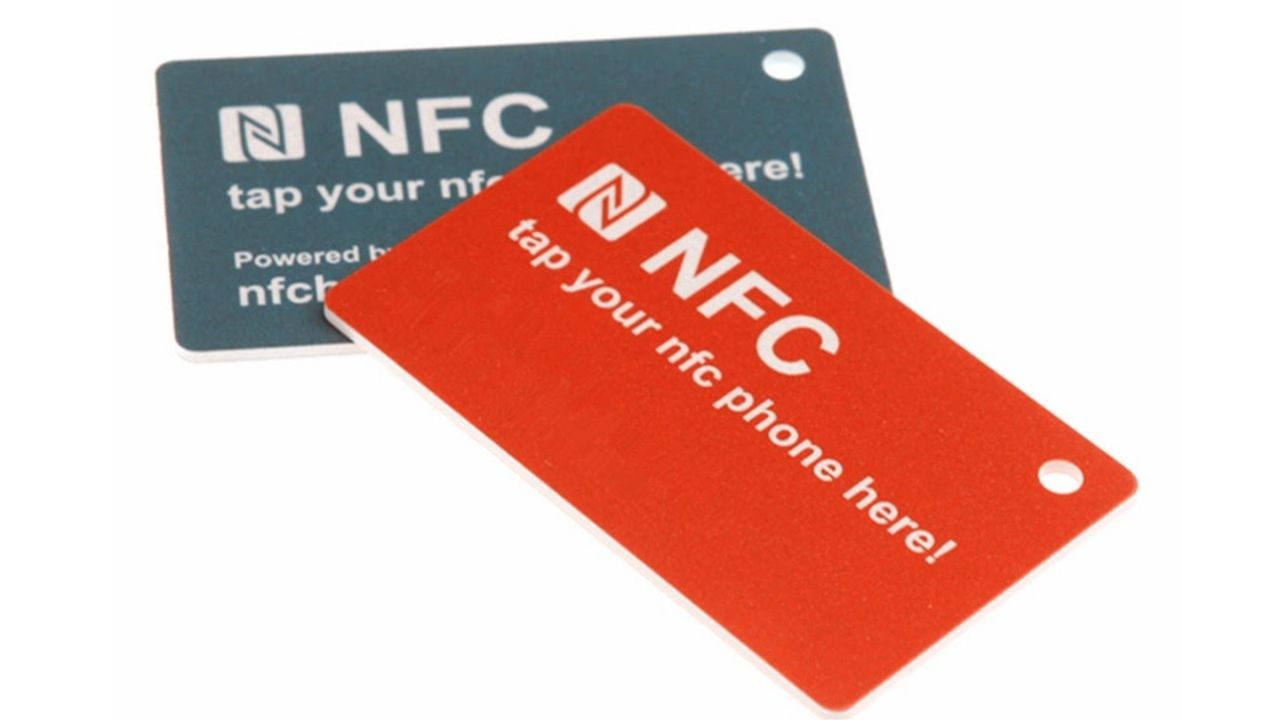
Welcome to the world of NFC cards! In this guide, we will take you through the process of making your very own NFC card. Exciting, isn’t it? NFC, which stands for Near Field Communication, is a technology that allows communication between devices when they are in close proximity.
Nowadays, NFC technology is widely used in various applications, from contactless payments and identification to smart home automation. With an NFC card, you can unlock doors, transfer data, share information, and so much more, all with just a simple tap.
So, why make your own NFC card? The answer is simple – customization. By creating your own NFC card, you have full control over its design, functionality, and even the information it carries. Whether you want to create a personalized access card for your office, a custom loyalty card for your business, or a unique gift card for a special occasion, the possibilities are endless.
But before we dive into the materials and steps required to make an NFC card, let’s briefly go over the basics of NFC technology and how it works.
What is NFC?
NFC, or Near Field Communication, is a short-range wireless technology that enables communication between devices when they are within a few centimeters of each other. It uses radio frequency identification (RFID) to establish a connection and exchange data between the devices.
NFC has gained popularity due to its ease of use and versatility. It is compatible with a wide range of devices, including smartphones, tablets, and even wearable devices. NFC operates on high-frequency radio waves, typically 13.56 megahertz, and allows for two-way communication between devices.
One of the key features of NFC is its ability to enable contactless communication, which means that devices can exchange data without the need for physical contact or pairing processes. This makes NFC ideal for quick and convenient transactions, transfers, and interactions.
NFC operates in two modes: active and passive. In active mode, both devices generate a radio frequency field to enable communication. In passive mode, one device generates the field while the other device responds to it. This mode is commonly used for contactless payment systems and access control applications.
NFC technology is used in a variety of applications, including mobile payments, ticketing systems, access control, data transfer, and smart interactions with everyday objects. With a simple tap or wave, NFC allows you to make payments, access buildings, board public transportation, share files and links, and much more.
Overall, NFC technology offers a convenient and secure way to interact with devices and carry out various tasks. Its widespread adoption in smartphones and other devices makes it a practical and accessible technology for everyday use.
Why Make an NFC Card?
With the increasing popularity of NFC technology, you may be wondering why you should bother making your own NFC card when you can easily purchase pre-made ones. Well, here are a few reasons why making your own NFC card can be a worthwhile endeavor:
- Customization: By making your own NFC card, you have the freedom to customize it according to your preferences. You can choose the design, shape, and color of the card to make it truly personalized. Whether you want a card that reflects your personality, matches your brand, or complements a specific theme, the possibilities are endless.
- Functionality: When you make your own NFC card, you have control over its functionality. You can program the NFC chip to perform specific tasks or carry out certain functions. For example, you can program it to act as an access card, a digital business card, or even a portable media player. The ability to tailor the card’s functionality to your specific needs and use cases is a major advantage.
- Cost-Efficiency: Making your own NFC card can be a cost-effective option, especially if you plan on creating multiple cards. While pre-made NFC cards may seem affordable initially, the cost can add up if you require a large quantity. By purchasing NFC chips and materials in bulk, you can significantly reduce the overall cost of making the cards.
- Flexibility: When you make your own NFC card, you have the flexibility to update or modify its content as needed. Unlike pre-made NFC cards that may have fixed information or limited programmability, DIY cards allow you to change the stored data to adapt to new requirements or preferences. This flexibility ensures that your NFC card remains relevant and useful in the long run.
- Creative Expression: Making your own NFC card is an opportunity for creative expression. You can let your imagination run wild and design a card that stands out from the crowd. Whether you want to showcase your artistic skills, promote your brand, or create a memorable gift, a DIY NFC card allows you to unleash your creativity.
Remember, making an NFC card is not just about the final product; it’s also about the journey and the satisfaction of creating something unique. So, if you’re up for the challenge and eager to harness the power of NFC technology, making your own NFC card could be the perfect project for you.
Materials Needed
Before you embark on the journey of making your own NFC card, it’s essential to gather the necessary materials. Here’s a list of items you’ll need to get started:
- NFC Chip: The heart of your NFC card is the NFC chip. It’s the component that enables communication and stores the data. Make sure to choose a reliable and compatible NFC chip that suits your requirements.
- Blank Card: You’ll need a blank card to serve as the physical platform for your NFC chip. The card can be made of various materials such as plastic, paper, or even fabric, depending on your preference.
- NFC Reader/Writer: To program the NFC chip and interact with your NFC card, you’ll need an NFC reader/writer. This device connects to your computer or smartphone and allows you to read, write, and modify the data on the NFC chip.
- Software or App: Depending on the NFC reader/writer you choose, you may need specific software or an app to facilitate the programming and customization of your NFC card. Make sure to check the compatibility and availability of the required software or app.
- Computer or Smartphone: A computer or smartphone is necessary to connect and communicate with the NFC reader/writer. It serves as the user interface through which you can program and control the NFC chip.
- Design Materials: If you want to personalize the physical appearance of your NFC card, you may need design materials such as markers, paints, stickers, or any other art supplies. These will add that extra touch of creativity to your custom-made card.
Make sure you have all the materials ready before you begin the process of making your NFC card. This will ensure a smooth and hassle-free experience. Additionally, be sure to research and understand the specifications and requirements of the NFC chip you intend to use, as different chips may have specific software or programming considerations.
Now that you have gathered all the necessary materials, it’s time to dive into the steps of making your own NFC card. But before we jump into the hands-on process, make sure you have a clear understanding of the type of NFC card you want to create and its intended purpose. This will help you make informed decisions during the card creation process.
Step 1: Choosing the Type of NFC Card
Before you start creating your own NFC card, it’s important to determine the type of card you want to make. The type of NFC card you choose will depend on its intended purpose and the functionality you require. Here are a few commonly used types of NFC cards:
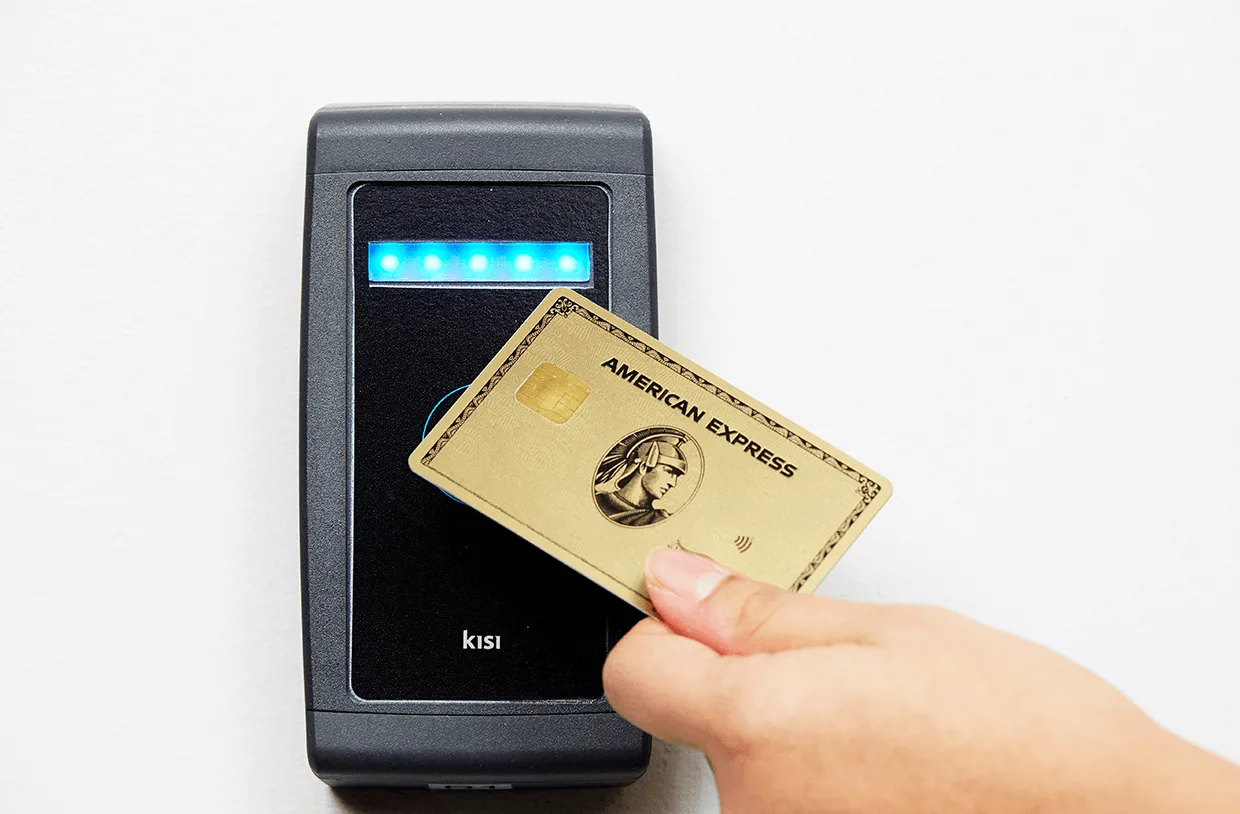
- Access Card: If you want to create an NFC card for access control purposes, such as accessing your office building or apartment complex, you’ll need an access card. These cards typically store information like employee or resident identification data and can be programmed to grant or restrict access to certain areas.
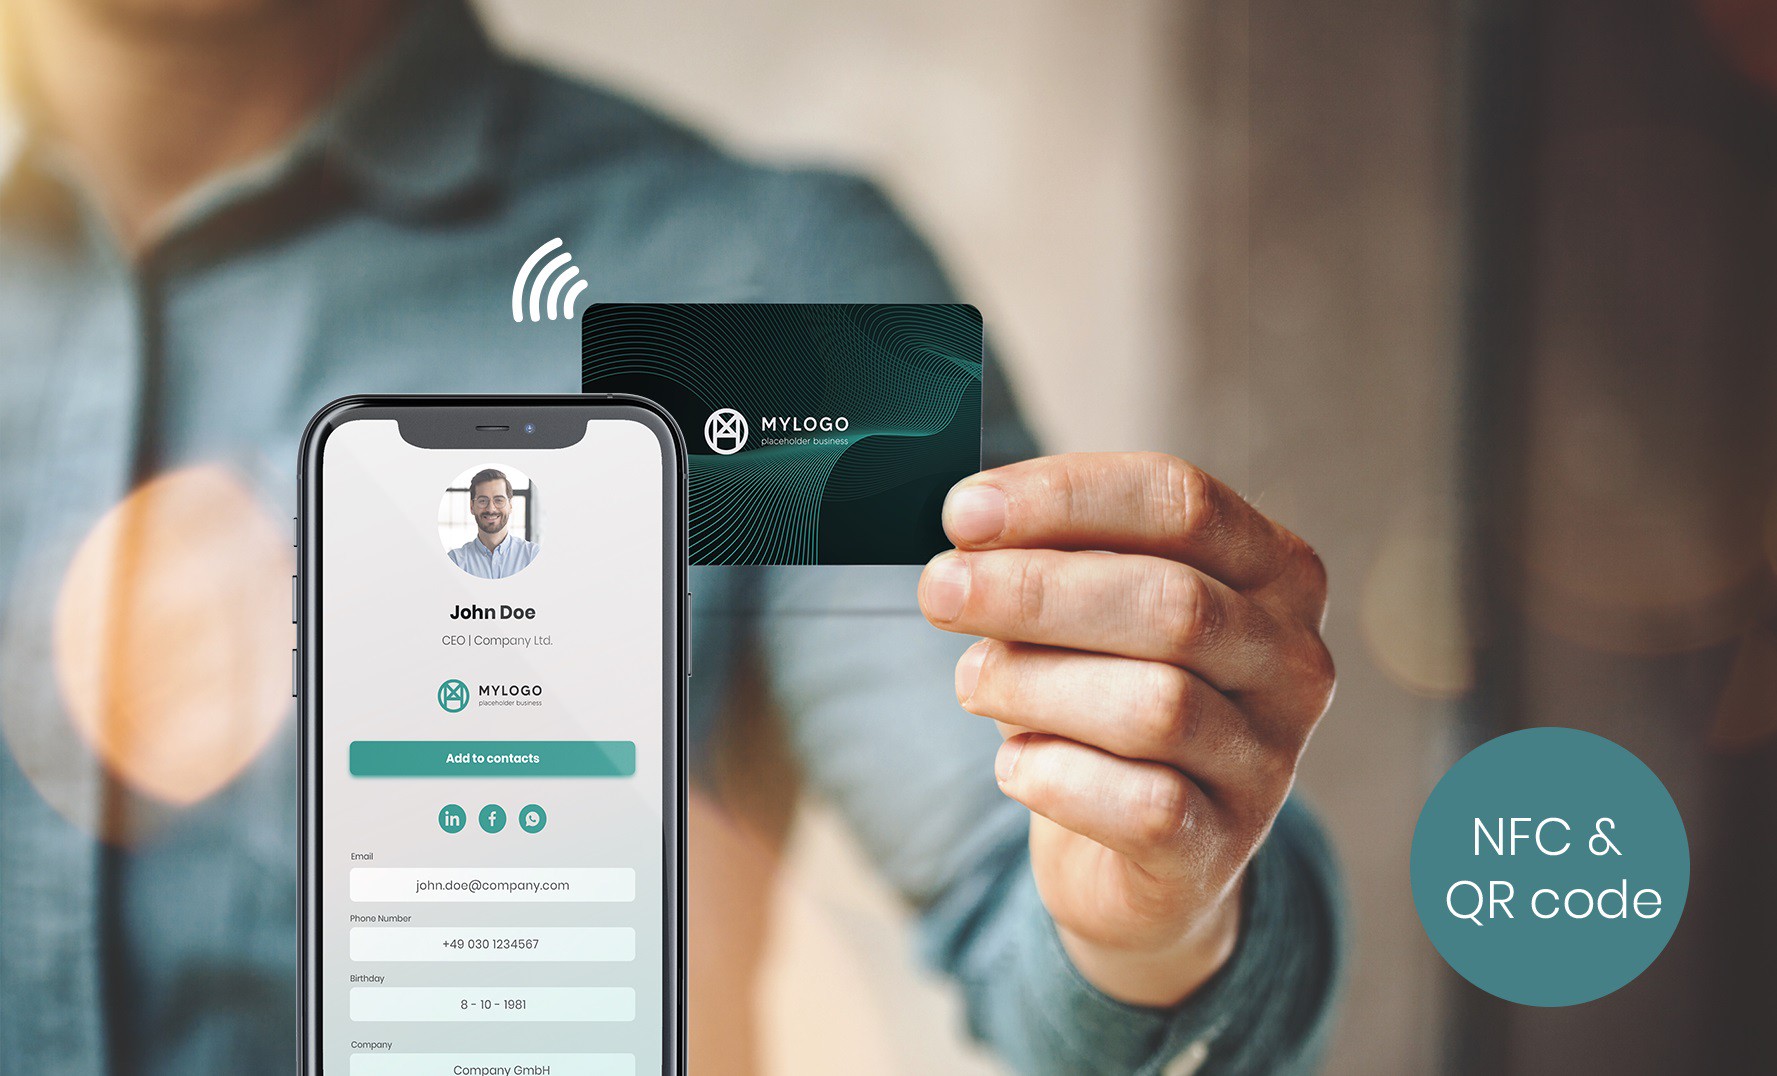
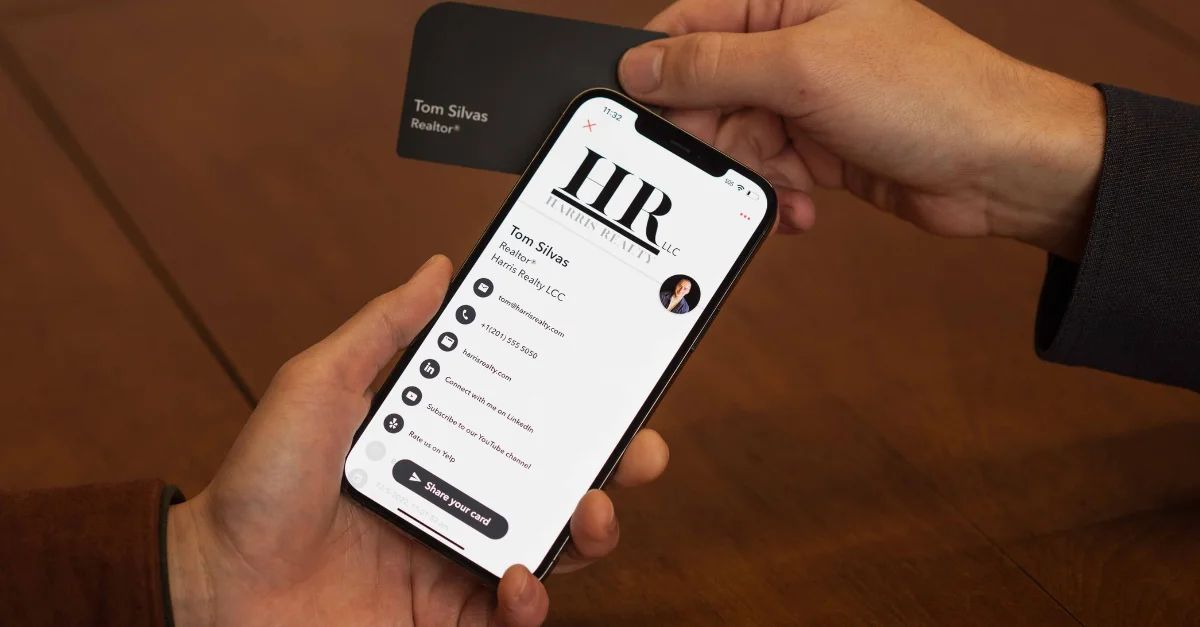
- Business Card: A popular choice for professionals, an NFC business card allows you to share your contact information digitally. By simply tapping the card against an NFC-enabled device, such as a smartphone, the recipient can instantly access your contact details and store them directly into their address book.
- Loyalty Card: Many businesses utilize NFC loyalty cards to reward and incentivize customer loyalty. With an NFC loyalty card, customers can tap their card at the point of purchase to earn points, discounts, or other special offers.
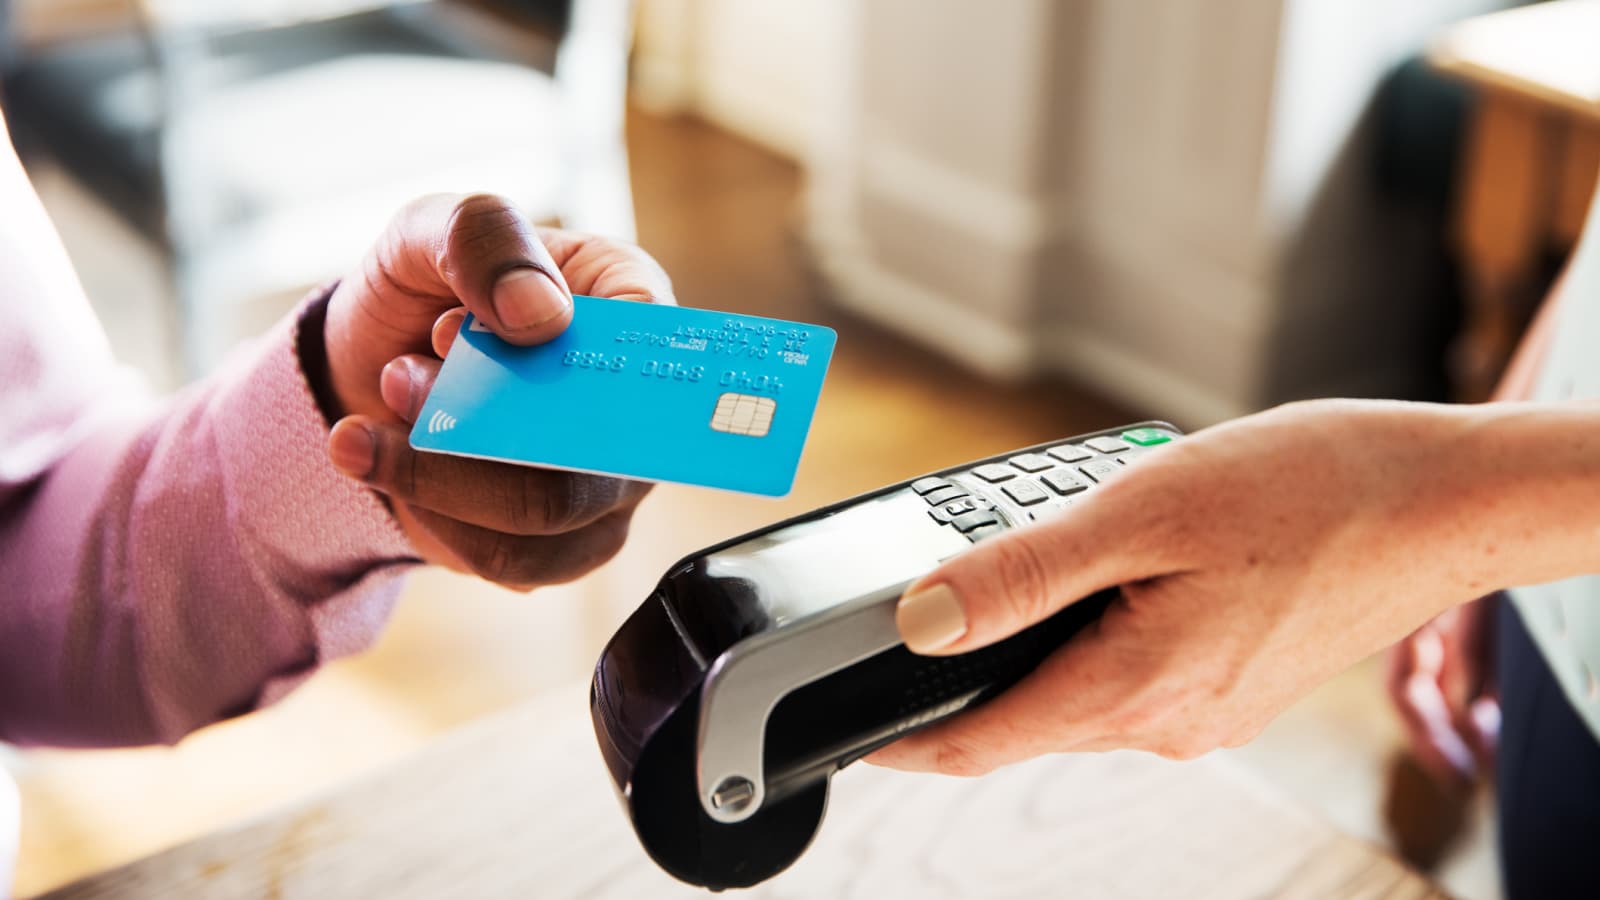
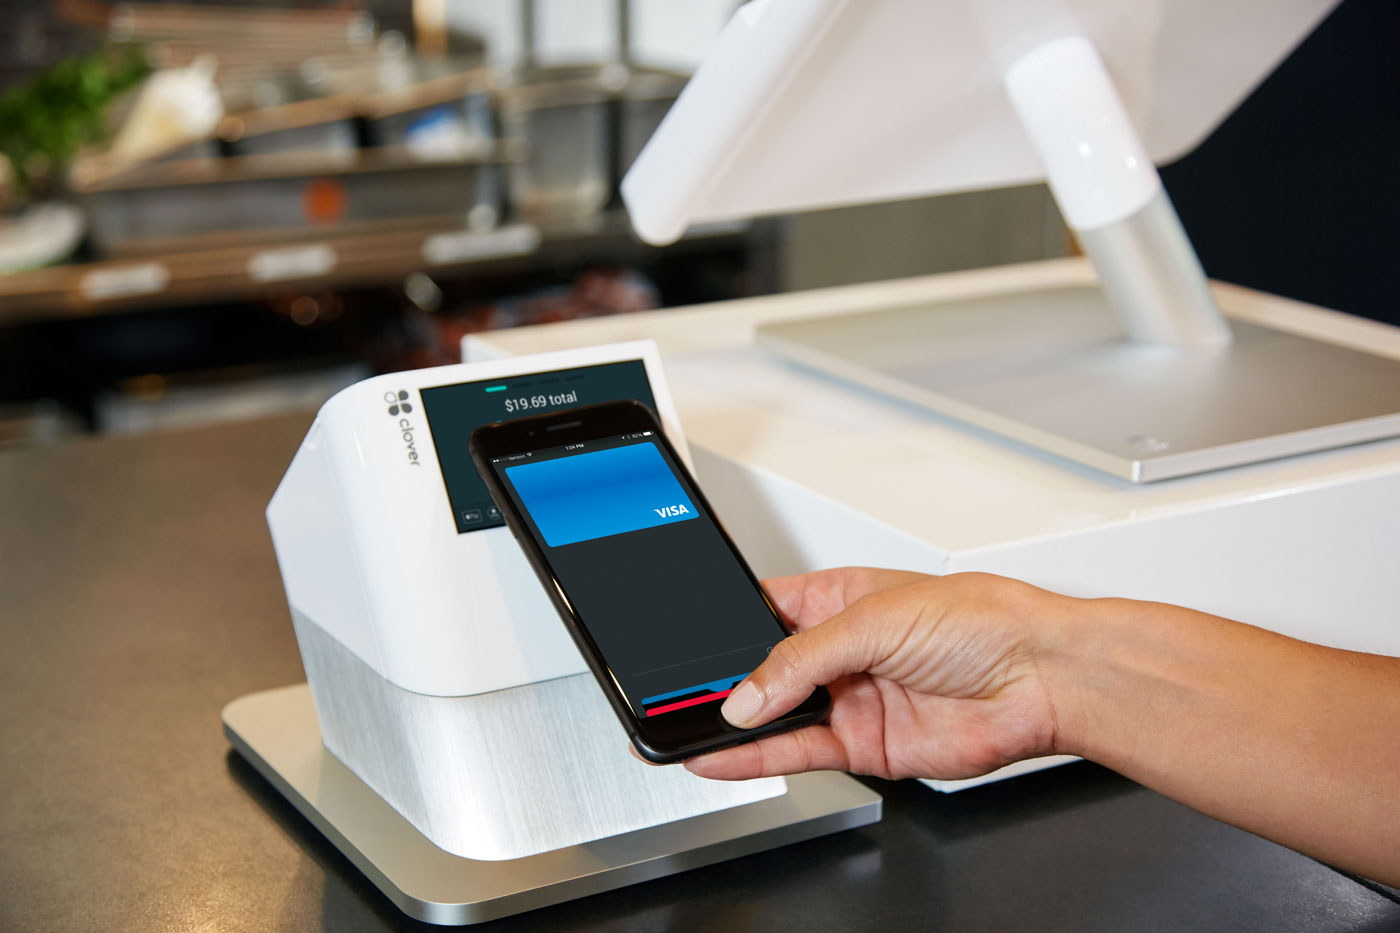
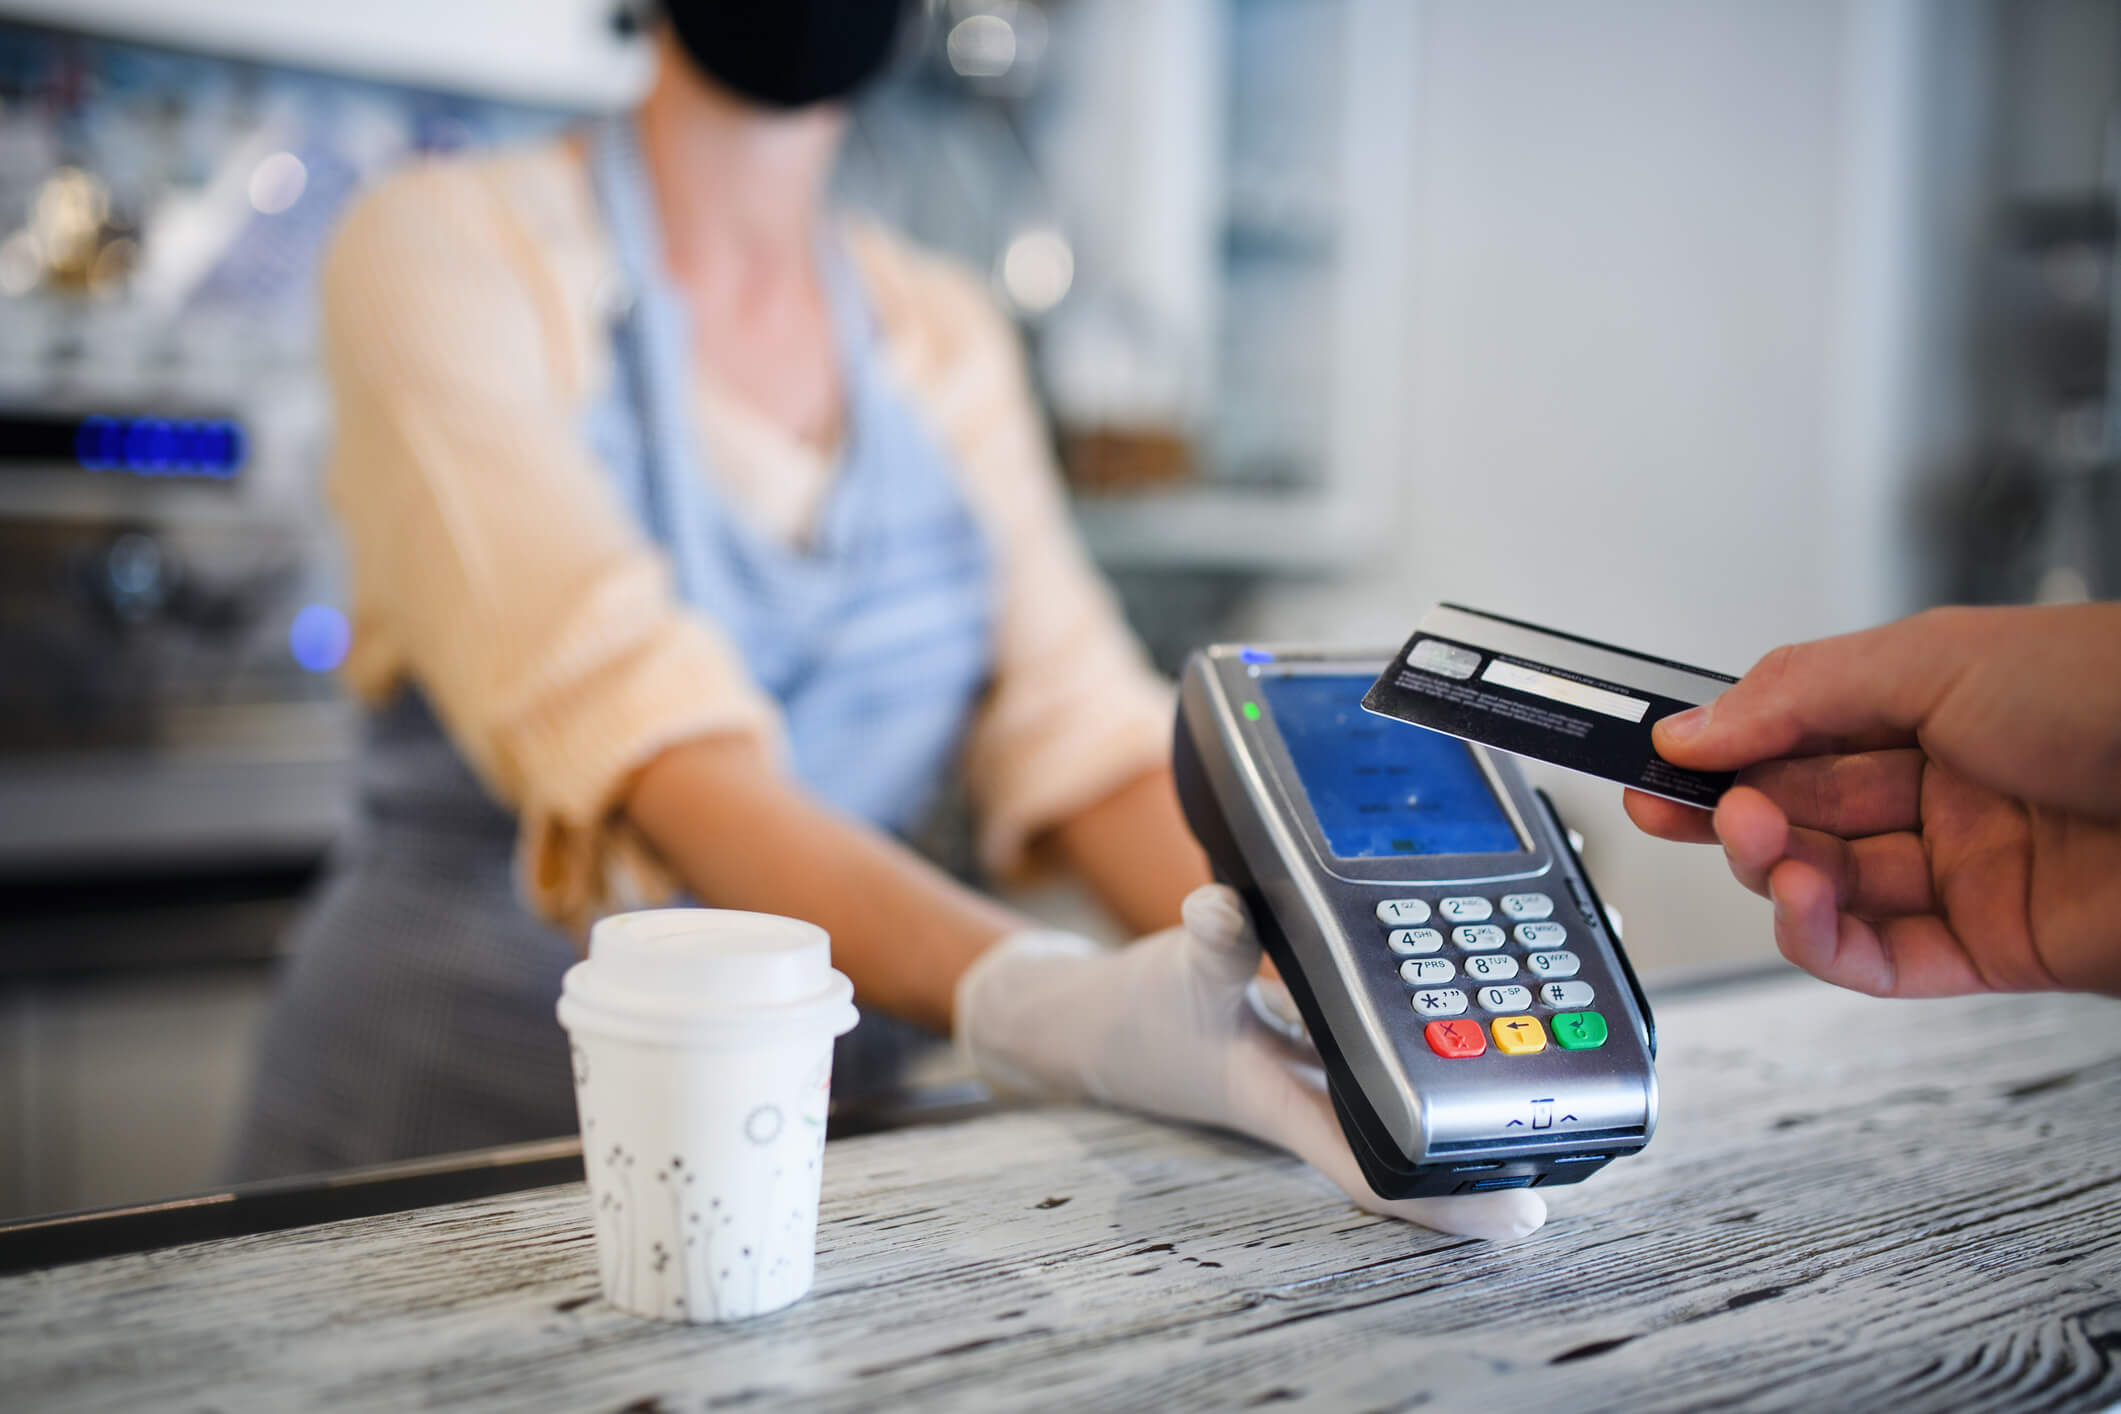
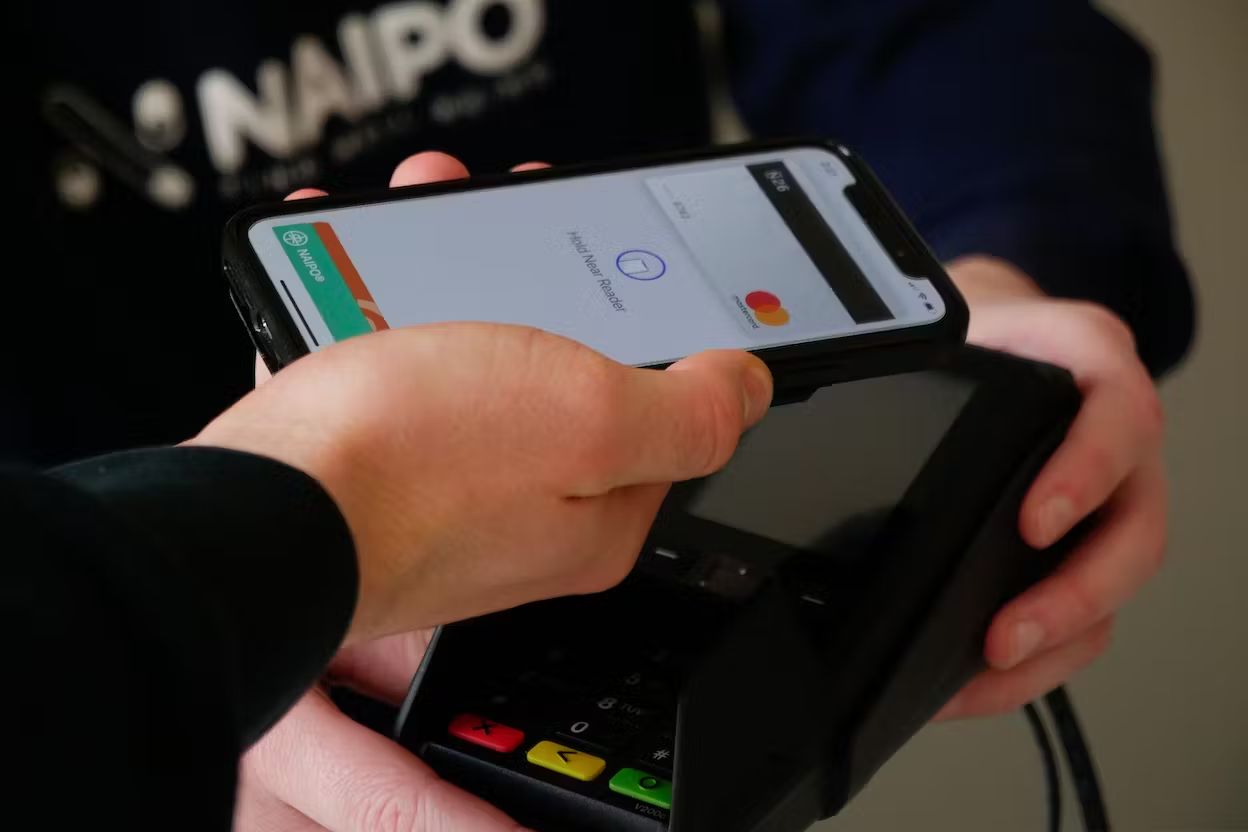
- Payment Card: NFC technology has revolutionized the way we make payments. NFC payment cards, also known as contactless payment cards, allow users to make secure transactions by tapping their card against NFC-enabled payment terminals. These cards are typically associated with a user’s bank account or a digital payment service like Apple Pay or Google Pay.
- Smart Home Card: If you have a smart home system, you can use an NFC card to control various aspects of your home with a simple tap. For example, you can program an NFC card to turn on/off lights, adjust temperature settings, or activate home security measures.
Consider the purpose and functionality you want for your NFC card and choose the appropriate type. This will help you determine the necessary programming and customization requirements later on.
Once you have decided on the type of NFC card you want to create, you are ready to move on to the next step—gathering the required components.
Step 2: Gathering the Required Components
Now that you have determined the type of NFC card you want to create, it’s time to gather all the necessary components. Here is a list of the essential items you’ll need:
- NFC Chip: Choose an NFC chip that is compatible with the type of NFC card you have decided to create. There are different types of NFC chips available, such as NTAG series (NTAG213, NTAG215, NTAG216) or MIFARE series (MIFARE Classic, MIFARE Ultralight, MIFARE DESFire). Select the chip that meets your requirements in terms of storage capacity and functionality.
- Blank Card: Purchase blank cards that are suitable for your chosen NFC chip. The card can be made of PVC, PET, or other suitable materials. Ensure that the card is of good quality and has an adhesive backing if you plan to attach the NFC chip to the card.
- Smartphone or NFC Reader/Writer: You will need a smartphone with NFC capability or an NFC reader/writer device to program and interact with the NFC chip. Check the specifications of your smartphone or choose a compatible NFC reader/writer device that supports the NFC chip you have selected.
- Software or App: Depending on the NFC reader/writer you are using, you may need specific software or an app to program the NFC chip. Download and install the required software or app on your computer or smartphone.
- Design Materials: If you want to personalize the physical appearance of your NFC card, gather design materials such as markers, stickers, or any other art supplies. This will allow you to add a creative touch to your custom-made card.
Make sure you have acquired all the necessary components before proceeding to the next steps. It’s essential to ensure compatibility between the NFC chip, the blank card, and the programming device. Also, familiarize yourself with the instructions and guidelines provided by the chip manufacturer and the NFC reader/writer device manufacturer to ensure a smooth and successful implementation.
With all the required components in hand, you are now ready to move on to the next step—preparing the card for the NFC chip installation.
Step 3: Preparing the Card
Now that you have gathered all the necessary components, it’s time to prepare the card for the installation of the NFC chip. Follow these steps to ensure a proper and secure attachment:
- Clean the Card: Before attaching the NFC chip, clean the surface of the card. Use a soft cloth or alcohol wipe to remove any dust, dirt, or residue. This will ensure a clean and smooth surface for attaching the chip.
- Positioning the NFC Chip: Determine the ideal location on the card to attach the NFC chip. This could be on the front or back of the card, depending on your preference. You may want to consider the design and functionality of the card when deciding on the positioning.
- Attach NFC Chip: Peel off the adhesive backing of the NFC chip and carefully attach it to the designated area on the card. Press down firmly to ensure a secure and stable attachment. Be careful not to touch the antenna or the sensitive components of the chip during this process.
- Verify Attachment: Once the NFC chip is attached, double-check to ensure it is securely bonded to the card. Gently press around the edges of the chip to confirm its stability and adherence to the card surface.
- Protective Cover (Optional): If you want additional protection for the NFC chip, you can apply a clear protective cover over it. This will safeguard the chip from scratching or damage and prolong its lifespan.
By following these steps, you will have successfully prepared the card for the installation of the NFC chip. Take your time and ensure the chip is firmly attached to the card, as any loose or improper attachment may affect the functionality of the NFC card.
Now that the card is ready, you can proceed to the next step—programming the NFC chip to add the desired functionality and data.
Step 4: Programming the NFC Chip
With the card prepared, it’s time to program the NFC chip to give it the desired functionality and data. Follow these steps to program the NFC chip:
- Connect NFC Reader/Writer: Connect your NFC reader/writer device to your computer or smartphone, depending on the type of device you are using. Ensure that the device is properly connected and recognized by your computer or smartphone.
- Open Programming Software/App: Launch the programming software or app that is compatible with your NFC reader/writer device. This software/app will allow you to communicate with and program the NFC chip.
- Select the NFC Chip: Within the programming software/app, select the type of NFC chip you are using. This ensures that the programming commands and options are tailored to your specific chip model.
- Program the Chip: Use the programming software/app to program the NFC chip with the desired functionality and data. This can include actions such as storing contact information, creating links to websites or social profiles, or even triggering specific commands when the card is tapped.
- Test the Programmed Chip: Once you have finished programming the NFC chip, perform a test to ensure that the programmed functionality and data are working as intended. Use an NFC-enabled device, such as a smartphone, to interact with the card and verify that the programmed actions are being triggered correctly.
- Modify and Update (Optional): If you are not satisfied with the initial programming or want to update the data on the NFC chip in the future, you can use the programming software/app to modify or add new information as needed.
Remember to follow the instructions provided by the NFC reader/writer device manufacturer and the programming software/app to ensure proper programming and functionality of the NFC chip. Take your time to understand the options and commands available within the software/app to maximize the potential of your NFC card.
Once the NFC chip is successfully programmed and tested, you can move on to the next step—testing and verifying the functionality of the NFC card.
Step 5: Testing the NFC Card
After programming the NFC chip, it’s important to test and verify the functionality of your NFC card. Follow these steps to ensure that your NFC card is working correctly:
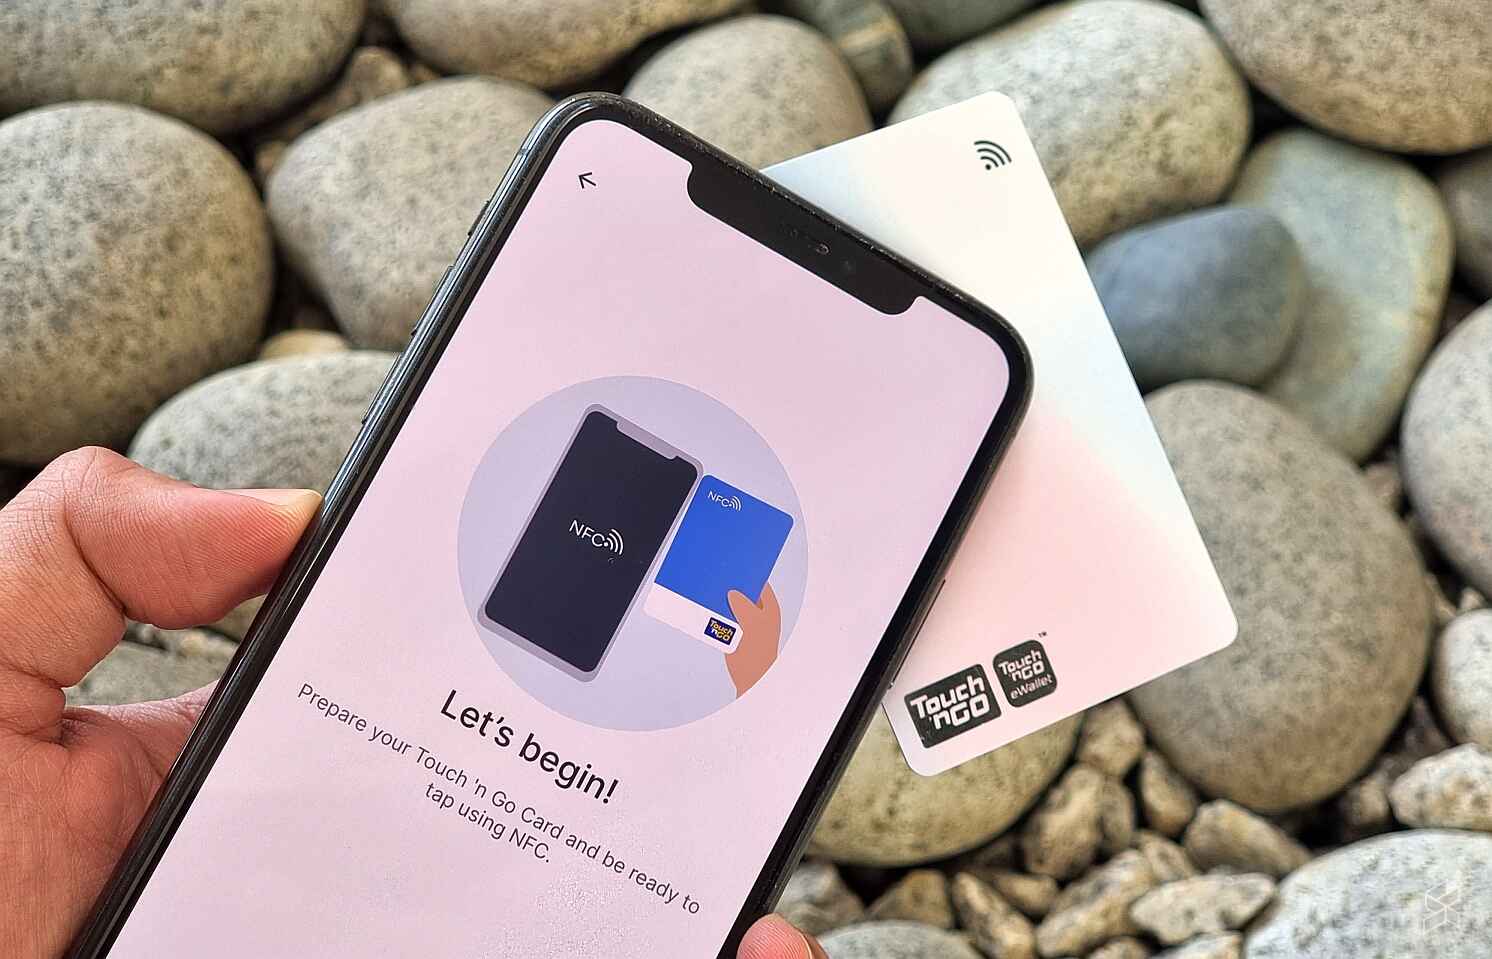
- Prepare an NFC-Enabled Device: Get an NFC-enabled device ready for testing, such as a smartphone or tablet. Ensure that the NFC feature is enabled on the device.
- Place the NFC Card Near the Device: Position the NFC card within the range of the NFC-enabled device. Typically, NFC communication occurs within a few centimeters, so hold the card close to the device.
- Tap or Bring Card in Contact: Tap the NFC card against the device or bring it into contact with the NFC antenna area, depending on the device’s design. Ensure that there is sufficient contact or proximity for the NFC chip to establish a communication link.
- Observe the Response: Pay attention to the response from the NFC-enabled device after tapping or bringing the card in contact. It may display information, trigger a specific action, or prompt you for further interaction.
- Verify the Desired Functionality: Ensure that the desired functionality of the NFC card is being performed correctly. For example, if it’s an access card, verify that it grants or restricts access as intended. If it’s a business card, check if the contact information is being properly shared.
- Repeat the Test: Perform multiple tests with different NFC-enabled devices, if possible, to ensure compatibility and consistent functionality across various platforms.
If the NFC card is not functioning as expected during testing, double-check the programming and data on the NFC chip. Make any necessary modifications or troubleshoot any potential issues. Also, ensure that the NFC-enabled device you are using is compatible with the NFC card.
By thoroughly testing the NFC card, you can verify that it functions correctly and meets your requirements. This step is crucial to ensure the reliability and usability of your custom-made NFC card.
Once the NFC card has been successfully tested, it’s time to move on to the final step—protecting and personalizing the card.
Step 6: Protecting and Personalizing the Card
After testing the functionality of your NFC card, it’s time to protect and personalize it to ensure durability and add a unique touch. Follow these steps to protect and personalize your NFC card:
- Protective Coating: Apply a protective coating over the NFC chip and the surface of the card. This can be a clear adhesive film or a laminate sheet. This will help prevent scratches, dirt, and moisture from damaging the card and prolong its lifespan.
- Design and Customization: Get creative and personalize the physical appearance of your NFC card. Use markers, stickers, or any other art supplies to add designs, logos, or any other elements that reflect your style or purpose for the card. Make sure to strike a balance between aesthetics and functionality.
- Clear Instructions (Optional): If your NFC card requires specific instructions for users to interact with it successfully, consider adding clear instructions. This can be a simple text or visual guide that explains how to tap or use the card effectively.
- Card Holder or Sleeve: Consider using a cardholder or sleeve to protect your NFC card from physical damage and keep it safe when not in use. This will help to maintain its functionality and prevent accidental data erasure.
- Test the Protected and Personalized Card: After protecting and personalizing the NFC card, perform another round of testing to ensure that the functionality and data remain intact. Verify that the protective coating does not interfere with the NFC chip’s communication or hinder the card’s usability.
Remember to choose protective materials and design elements that do not obstruct the NFC chip or interfere with its functionality. It’s important to maintain the integrity of the NFC card while still expressing your creativity and personalizing it to your liking.
By following these steps, you can add an extra layer of protection and make your NFC card unique and visually appealing. Whether you are using it for access control, business purposes, or any other application, a well-protected and personalized NFC card will continue to serve you effectively.
Congratulations! You have successfully completed all the steps to make your own NFC card. Now, enjoy the convenience and functionality that it brings, and let your creativity shine through your custom-made creation.
Conclusion
Congratulations on completing the journey of making your own NFC card! By following the steps outlined in this guide, you have gained the knowledge and skills to create a custom NFC card that suits your needs and preferences.
Throughout the process, you learned about the basics of NFC technology, the benefits of making your own card, and the different types of NFC cards you can create. You also gathered the necessary materials, prepared the card, programmed the NFC chip, tested its functionality, and protected and personalized the card to add your unique touch.
By having a custom-made NFC card, you have the freedom to fully customize its design, functionality, and the information it carries. Whether you use it as an access card, a digital business card, a loyalty card, or any other purpose, your NFC card offers convenience, security, and a touch of personalization.
Remember to keep your NFC card safe and protected and update its data as needed. Should you encounter any issues or desire further modifications, refer to the manufacturer’s instructions or seek additional resources to troubleshoot and enhance the card’s performance.
By embracing the world of NFC technology and creating your own NFC card, you have opened up a whole new realm of possibilities for unlocking doors, sharing information, transferring data, and so much more with just a simple tap.
So go ahead, tap away, and enjoy the seamless and efficient communication that your custom NFC card brings!