Introduction
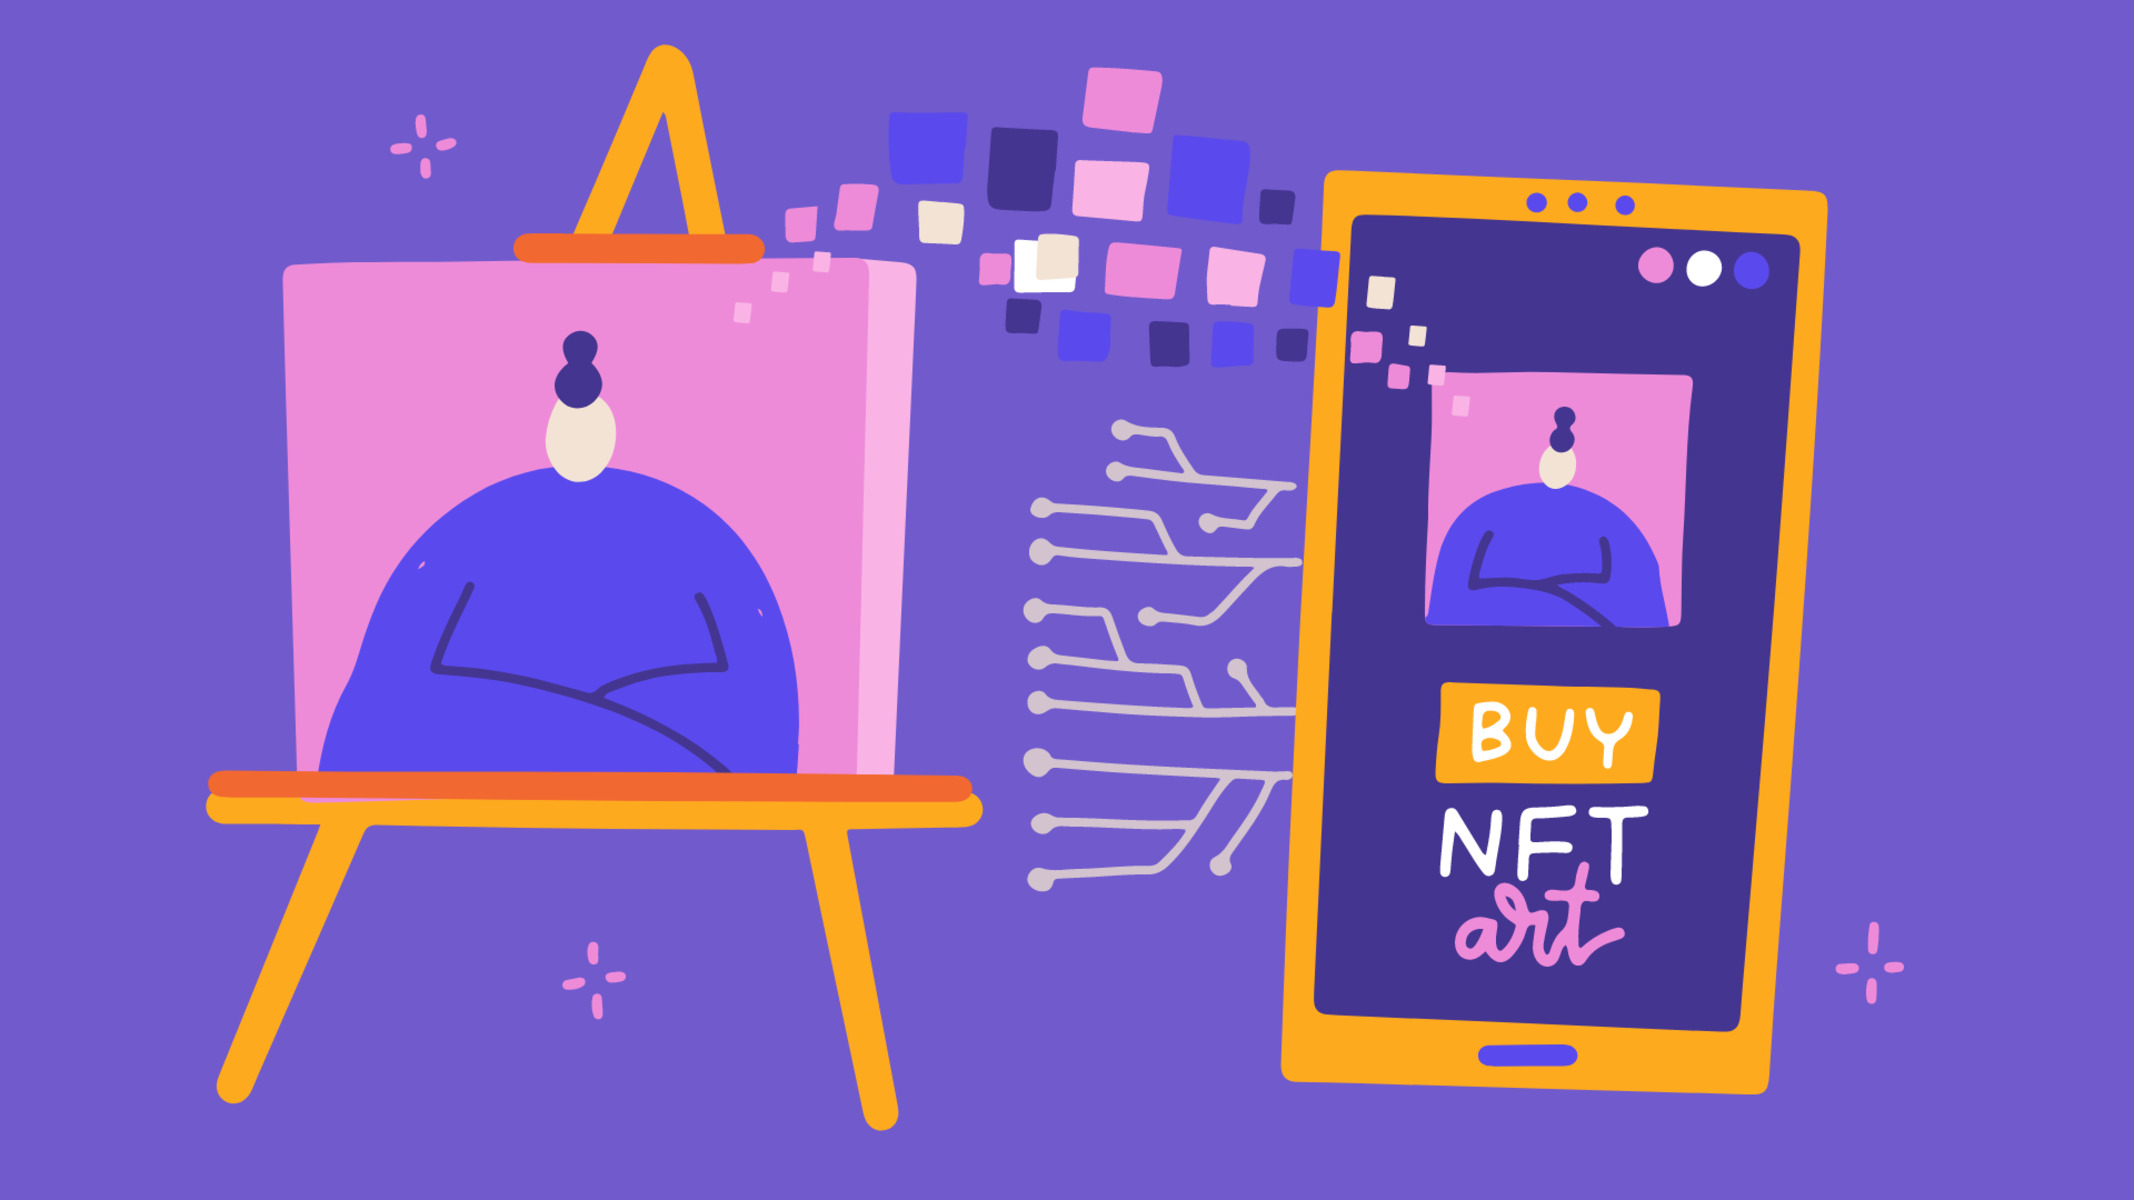
Welcome to the fascinating world of NFTs! If you’ve been following the digital art scene recently, you may have come across the term “NFT” or “Non-Fungible Token.” These unique digital assets have taken the art world by storm, allowing artists to showcase and sell their work in a whole new way.
While static images have dominated the NFT market, there is a growing interest in animated NFTs. These moving artworks bring a new level of creativity and engagement to the NFT space, attracting collectors and enthusiasts alike.
In this guide, we will walk you through the process of creating an animated NFT. We’ll cover everything from choosing your artwork to minting and listing your NFT on a marketplace. So, if you’re ready to delve into the exciting realm of animated NFTs, let’s get started!
Before we begin, it’s important to note that creating an animated NFT requires some artistic skills and technical knowledge. You’ll need to have access to software tools for creating and editing digital animations. Additionally, you’ll need to choose a platform for minting your NFT and a marketplace to sell or auction it. But don’t worry, we’ll guide you through each step of the process.
Creating an animated NFT is a great way for digital artists to showcase their talents, and for collectors to own a unique piece of art that can be enjoyed in a digital format. So, let’s embark on this creative journey and learn how to turn your artwork into a mesmerizing animated NFT!
What is an Animated NFT?
An animated NFT, also known as a Non-Fungible Token, is a digital artwork that combines motion and creativity. Unlike traditional NFTs that are static images, animated NFTs bring visual stories to life through dynamic movements, transitions, and effects.
Just like any other NFT, animated NFTs are unique and cannot be replicated or replaced. Each animated NFT has a specific token ID that is stored on a blockchain, making it traceable and verifiable. This ensures the authenticity and ownership of the artwork, providing a secure and transparent way to buy, sell, and trade digital assets.
Animating an NFT allows artists to express their ideas and narratives in a more dynamic and immersive way. It adds an extra layer of engagement and interaction for the viewers, captivating their attention and evoking emotions through the visual storytelling.
Creating animated NFTs opens up a whole new world of possibilities for artists. They can explore various animation techniques, such as stop motion, 2D or 3D animation, motion graphics, and much more. The animation can be subtle or complex, depending on the artist’s vision and the story they want to convey.
Collectors and art enthusiasts are increasingly drawn to animated NFTs because of their captivating nature. They offer a more dynamic and ever-changing experience compared to static artworks. Collectors can own a piece of art that constantly evolves over time, keeping their interest alive and their collections unique.
Just like with traditional NFTs, ownership of animated NFTs can be easily proven and transferred through blockchain technology. This ensures that artists are duly rewarded for their work and collectors have a secure way to claim ownership of their animated NFTs.
In summary, animated NFTs allow artists to explore the world of motion and bring their creations to life. They provide a more engaging and immersive experience for viewers and collectors, making them an exciting and valuable addition to the NFT market.
Step 1: Choose your artwork
The first step in creating an animated NFT is to select the artwork that you want to bring to life. This can be an existing piece of digital art or an idea that you want to develop specifically for animation.
When choosing your artwork, consider the elements that will make it visually appealing and engaging as an animation. Look for artwork with interesting shapes, vibrant colors, and potential for movement. It’s important to select a piece that resonates with you as an artist and has the potential to captivate your audience.
If you already have a static artwork that you want to animate, think about how it can be transformed into a moving piece. Identify the key elements that you want to animate, such as characters, objects, or background elements. Consider how animation can enhance the storytelling or visual impact of your artwork.
On the other hand, if you’re starting from scratch, brainstorm ideas that lend themselves well to animation. Think about narratives, emotions, or concepts that you want to express through your artwork. Sketch out rough ideas or create storyboards to help visualize how the animation will unfold.
Keep in mind that the duration and complexity of the animation should align with your artistic vision and technical capabilities. While some animations can be short and simple, others may require more advanced techniques and longer durations.
Once you’ve chosen your artwork and have a clear vision for the animation, it’s time to move on to the next step: converting your artwork into a digital format.
Step 2: Convert your artwork into a digital format
After selecting your artwork, the next step in creating an animated NFT is to convert it into a digital format. This is necessary to prepare your artwork for animation and subsequent steps in the NFT creation process.
If you have a physical piece of artwork, such as a painting or a sketch, you will need to first digitize it. You can do this by scanning or photographing the artwork using a high-resolution camera or scanner. Make sure to capture all the details and colors as accurately as possible.
If you already have a digital artwork, such as a digital painting or illustration, you’re one step ahead. Ensure that your digital file is in a high-resolution format, such as a PNG or TIFF, to preserve the quality of the artwork during the animation process.
For traditional artists transitioning into digital art, there are various software tools available for creating and editing digital artwork. These tools offer a wide range of features like layers, brushes, and effects that can help you bring your artwork to life.
Once you have your artwork in a digital format, it’s time to prepare it for animation. Depending on the software you’re using, you may need to separate different elements of your artwork into layers. For example, if you have a character standing in front of a background, you may want to separate them onto different layers to give you more flexibility during the animation process.
Ensure that your layers are organized and labeled clearly, making it easier to manage and animate each element separately.
If you’re starting from scratch or creating a new digital artwork, you can use various digital art tools and software to create the animation directly in a digital format. These tools often provide a wide range of brushes, textures, and animation features to bring your artwork to life.
Remember, the digital format of your artwork will play a crucial role in the quality and fidelity of your animated NFT. Take the time to ensure that your artwork is in its best digital form before moving on to the animation process in the next step.
Step 3: Create a digital animation
Now that you have your artwork in a digital format, it’s time to bring it to life by creating a digital animation. This step is where your creativity as an animator comes into play, as you decide how your artwork will move, transition, and evolve.
There are various software tools available for creating animations, ranging from beginner-friendly applications to professional-grade software. Choose a tool that fits your skill level and meets your animation requirements.
Start by importing your digital artwork into the animation software. If you have separated different elements onto layers, you can easily manipulate and animate them individually. This flexibility allows for more dynamic and intricate animations.
Consider the narrative or story you want to convey through your animated NFT. Plan out the key frames or scenes that will be part of your animation. Storyboarding can be a helpful technique to visualize the progression of your animation and ensure a smooth flow.
Experiment with different animation techniques and effects to add visual interest to your artwork. This can include movements, rotations, scaling, fading, or any other artistic choices that enhance the overall impact of your animation. You can also explore additional features such as sound effects or background music to create a more immersive experience.
Take into account the duration of your animation. Depending on the platform where you plan to showcase your NFT, there may be limitations on the file size or duration. Consider optimizing your animation to meet these requirements without compromising its quality.
Animation is a dynamic and iterative process, so don’t be afraid to make adjustments and refinements as you work. Preview your animation frequently to understand how it looks and flows in motion. Get feedback from peers or fellow artists to gain valuable insights and make necessary improvements.
Finally, once you are satisfied with your digital animation, export it as a video file. Ensure that the format and resolution are suitable for the platform where you plan to mint your NFT.
With your digital animation complete, you’re now ready to move on to the next step: choosing a platform for creating an NFT.
Step 4: Choose a platform for creating an NFT
Once you have created your digital animation, it’s time to choose a platform for creating your NFT. There are several platforms available, each with its own features, fees, and user base. Consider the following factors when deciding on a platform:
1. Blockchain Compatibility: Ensure that the platform supports the blockchain you want to mint your NFT on. Ethereum is the most common blockchain for NFTs, but there are other options like Binance Smart Chain or Flow.
2. Gas Fees: Take into account the gas fees associated with minting your NFT on the chosen platform. These fees can vary depending on the blockchain and the platform itself. Consider the fees in relation to the potential value of your NFT.
3. Platform Reputation: Research the platform’s reputation and user base. Look for feedback from other artists and collectors to gauge the platform’s reliability, user interface, and ease of use.
4. Minting Features: Consider the features provided by the platform for minting NFTs. Some platforms may offer additional customization options, royalty management, or secondary marketplaces to sell your NFTs.
5. Marketplace Integration: Find out if the platform has an integrated marketplace where you can list and sell your NFTs. Having a built-in marketplace can save you time and effort in marketing and promoting your animated NFT.
6. Community and Exposure: Evaluate the platform’s community engagement and reach. Platforms that have an active and supportive community can help boost the visibility of your NFT and attract potential buyers.
7. User Experience: Consider the platform’s user interface and ease of use. A user-friendly platform can simplify the process of creating and listing your NFT, making it more accessible for both artists and collectors.
Take your time to research and compare different platforms. Consider the fees, features, and overall suitability for your animated NFT. Once you have chosen a platform, you can proceed to the next step: minting your NFT.
Step 5: Mint your NFT
After choosing a platform for creating your NFT, the next step is to mint your animated NFT. Minting is the process of creating a unique digital token that represents your artwork on the blockchain.
Follow these steps to mint your NFT:
1. Sign up and Set up Your Wallet: Sign up for an account on the chosen platform and set up your digital wallet. Your wallet will hold your NFTs and allow you to manage and transfer them.
2. Connect Your Wallet to the Platform: Connect your wallet to the platform by following the instructions provided by the platform. This ensures that you can interact with the blockchain and perform transactions.
3. Fill in NFT Details: Provide the necessary details for your animated NFT, such as its title, description, and any additional metadata. This information helps potential buyers understand and engage with your artwork.
4. Upload Your Animation and Artwork: Upload your digital animation and any accompanying artwork or images that represent your NFT. Ensure that the file format and resolution requirements are met according to the platform’s specifications.
5. Set the Token Supply and Royalties: Determine the number of copies or editions of your animated NFT you want to mint. You can choose to create a limited edition or a single edition. Set the desired royalty percentage you want to receive for future sales of your NFT.
6. Pay Minting Fees: Pay any minting fees required by the platform. These fees vary depending on the platform and blockchain you are using. Be aware of the gas fees associated with minting on certain blockchains like Ethereum.
7. Review and Confirm: Carefully review all the details provided for your animated NFT. Ensure that everything is accurate and meets your expectations. Once you are satisfied, confirm the minting process.
8. Wait for Verification: After confirming the minting process, your animated NFT will undergo verification on the blockchain. This process can take varying amounts of time depending on the blockchain and platform used.
Once the minting process is complete and your NFT is verified, it will be assigned a unique token ID on the blockchain. Congratulations, you have successfully minted your animated NFT!
Now that your NFT is minted, the next step is to set your auction or sale parameters and list your NFT on a marketplace. Stay tuned for Step 6 of this guide, where we will delve into the details of these important steps.
Step 6: Set your auction or sale parameters
After successfully minting your animated NFT, it’s time to set the auction or sale parameters for your artwork. This step involves determining the pricing, duration, and other details of how you want to sell or auction your NFT.
Consider the following steps when setting your auction or sale parameters:
1. Pricing: Determine the initial price for your animated NFT. Consider factors such as the demand for your artwork, the quality of your animation, and your reputation as an artist. Pricing your NFT appropriately can attract potential buyers and ensure a fair valuation.
2. Auction Duration: Decide how long you want your auction to run. Common durations range from a few hours to several days or even weeks. A shorter auction may create a sense of urgency, while a longer auction allows for wider exposure and potential bidding.
3. Reserve Price: Consider setting a reserve price, which is the minimum price at which you are willing to sell your animated NFT. If the highest bid does not meet or exceed the reserve price, the NFT will not be sold. This can protect your artwork’s value and prevent it from being undersold.
4. Buy Now Option: Determine whether you want to offer a “Buy Now” option for your NFT. This allows interested buyers to purchase your animated NFT immediately at a fixed price, bypassing the auction process. It can provide an alternative for buyers who prefer instant ownership.
5. Increment Bidding: Decide whether you want to allow bid increments. Incremental bidding sets minimum amounts by which bidders must increase the previous bid. This ensures a fair and regulated bidding process, preventing extremely low bids or insignificant bid increments.
6. Auction Terms: Clearly communicate the terms and conditions of the auction or sale. Include important details such as payment methods, transfer of ownership, and any additional perks or incentives that the buyer will receive with the purchase of your animated NFT.
7. Promotion and Marketing: Consider how you will promote and market your animated NFT during the auction or sale period. Utilize social media platforms, online communities, and email lists to create awareness and generate interest. Engage with potential buyers and answer their questions promptly.
8. Secondary Sales and Royalties: Determine whether you want to include royalty rights for secondary sales of your animated NFT. Royalties allow you to earn a percentage of the sale price each time your NFT is resold, providing ongoing income and incentivizing collectors to invest in your work.
Remember, setting your auction or sale parameters is crucial in determining the success of selling your animated NFT. Take the time to carefully consider the pricing, duration, and other factors that will best suit your artwork and goals as an artist.
With your auction or sale parameters set, the final step is to list your NFT on a marketplace. Stay tuned for Step 7 of this guide, where we will explore how to effectively list and showcase your animated NFT for potential buyers to discover and engage with.
Step 7: List your NFT on a marketplace
Once you have set the auction or sale parameters for your animated NFT, it’s time to list it on a marketplace. A marketplace provides a platform for artists to showcase and sell their NFTs, connecting them with potential buyers and collectors. Here’s how you can effectively list your NFT:
1. Research and Choose a Marketplace: Research different NFT marketplaces and choose one that aligns with your goals and target audience. Consider factors such as user base, fees, reputation, and the level of exposure the marketplace offers.
2. Create an Account: Sign up for an account on the chosen marketplace by following their registration process. Complete any required verification steps to ensure the security and authenticity of your account.
3. Prepare Your NFT for Listing: Gather all the necessary information and assets to list your animated NFT. This includes your digital animation file, accompanying artwork, high-resolution images, description, and any additional metadata required by the marketplace.
4. Write an Engaging NFT Description: Craft a compelling and descriptive description for your animated NFT. Highlight its unique features, the story behind it, and any notable aspects of the animation process. Use keywords and captivating language to catch the attention of potential buyers.
5. Set Up Listing Details: Enter the relevant details for your animated NFT, including its title, edition number (if applicable), price or starting bid, auction duration, and any additional terms or conditions you want to specify.
6. Upload Assets and Metadata: Upload your digital animation file, accompanying artwork, and any other relevant assets to the marketplace. Ensure that the files meet the format and size requirements specified by the marketplace. Provide accurate metadata to further enhance the discoverability and uniqueness of your NFT.
7. Review and Publish: Take the time to review your listing details and assets before hitting the publish button. Double-check for any errors, inconsistencies, or missing information. Once you’re satisfied, publish your listing and make it live on the marketplace.
8. Promote Your NFT: Actively promote your animated NFT within your network and across various channels. Leverage social media platforms, online communities, and art-specific forums to spread the word about your NFT listing. Engage with potential buyers, answer their questions, and provide updates on the progress of your auction or sale.
9. Monitor and Manage: Keep track of the performance of your animated NFT listing on the marketplace. Monitor the number of views, likes, and bids it receives. Adjust your pricing or promotional efforts if necessary to optimize the visibility and saleability of your NFT.
Remember to stay engaged and responsive during the listing period. Regularly check your messages and notifications on the marketplace, as well as any comments or inquiries from potential buyers. Building a connection with your audience can increase the chances of a successful sale.
Congratulations! Your animated NFT is now listed on a marketplace, ready to be discovered and owned by collectors and art enthusiasts. Ensure that you maintain clear communication throughout the transaction process and follow the marketplace’s guidelines for secure and efficient transactions.
By effectively listing your NFT and promoting it to the right audience, you increase the chances of attracting interested buyers who appreciate and value your unique animated artwork.
Conclusion
Congratulations on completing the journey of creating and listing your animated NFT! You’ve learned the steps involved in turning your artwork into a mesmerizing digital animation and bringing it to life as a unique token on the blockchain.
Creating animated NFTs allows artists to explore new realms of creativity and storytelling while captivating collectors with dynamic and immersive artworks. From choosing your artwork and converting it into a digital format to creating the animation and minting the NFT, each step has contributed to the creation of a truly unique and one-of-a-kind digital art piece.
By choosing a suitable platform for minting and listing your NFT, setting auction or sale parameters, and effectively promoting your artwork on marketplaces, you have maximized its visibility and potential for success. Remember to engage with your audience, respond to inquiries, and leverage social media channels to create awareness and generate interest in your animated NFT.
As the world of NFTs continues to evolve and grow, it’s important to stay informed about market trends, upcoming platforms, and new opportunities for showcasing your artwork. Stay connected with the NFT community, explore collaborations, and continuously refine your artistic skills and techniques.
Creating an animated NFT is an exciting journey that allows you to push the boundaries of traditional art. Embrace the possibilities, experiment with different animation techniques, and let your creativity shine.
Whether you’re an established artist or just beginning your journey, the world of animated NFTs offers a vibrant and ever-expanding space for artistic expression and connection. Best of luck in your future endeavors as you continue to explore and contribute to the realm of animated NFTs!


