Introduction
Welcome to the world of digital payments! Cash App has gained popularity as a convenient way to send and receive money, but there may come a time when you no longer need or want to use it. Whether you’re switching to a different payment app or simply want to close your account for personal reasons, we’re here to guide you through the process.
Closing your Cash App account can be done in a few simple steps, but it’s important to be aware of any remaining funds or pending transactions that need to be resolved before closing your account. In this article, we will walk you through the necessary steps to close your Cash App account smoothly.
Before we begin, please note that once your Cash App account is closed, you will no longer be able to access your transaction history or send/receive money through the app. Make sure to consider this carefully before proceeding.
Now, let’s dive into the step-by-step process of closing your Cash App account!
Step 1: Update your Cash App account
Before you begin the process of closing your Cash App account, it’s essential to ensure that all your account information is up to date. This will help minimize any complications or delays during the account closure process.
To update your Cash App account information, follow these steps:
- Open the Cash App on your mobile device.
- Sign in to your account using your email address or phone number.
- Once you’re logged in, tap on the profile icon located at the top-left corner of the screen.
- From the profile menu, select “Personal” or “Business” depending on the type of account you have.
- Review your personal or business information, including your name, address, and contact details.
- If any information needs to be updated or corrected, tap on the respective fields and make the necessary changes.
- Double-check that all the information is accurate and up to date.
- Once you’ve made any necessary updates, tap on the “Save” button to save the changes.
By updating your account information, you ensure that everything is correct and current before initiating the account closure process. This step will help prevent any issues or conflicts that may arise due to outdated or incorrect information.
Now that you’ve updated your Cash App account information, you can proceed to the next step to prepare your account for closure.
Step 2: Make sure you have no pending transactions
Before closing your Cash App account, it’s crucial to ensure that you have no pending transactions that might complicate the closure process or cause any financial issues. This step will help you avoid any unforeseen complications or disputes after closing your account.
Follow these steps to check for any pending transactions:
- Launch the Cash App on your device.
- Sign in using your registered email address or phone number.
- On the home screen, look for the “Activity” tab or icon and tap on it.
- In the activity feed, review all recent transactions to ensure there are no pending or incomplete payments.
- If you find any pending transactions, it’s essential to resolve them before proceeding with closing your account.
- If the pending transaction is to another Cash App user, you can reach out to them directly and ask them to cancel or refund the payment.
- If the pending transaction is to a non-Cash App user, you may need to contact their customer support or reach out to your bank to resolve the issue.
- Once all pending transactions are resolved or canceled, you can proceed to the next step.
By ensuring that there are no pending transactions, you prevent any potential complications or financial discrepancies that could arise after closing your Cash App account. Taking the time to resolve any outstanding payments will help provide a smooth and hassle-free closure experience.
Now that you have reviewed your recent transactions and resolved any pending payments, it’s time to move on to the next step to handle your remaining funds.
Step 3: Transfer remaining funds from your Cash App account
Before closing your Cash App account, it’s crucial to transfer any remaining funds to your linked bank account or cash them out to avoid leaving any money behind. Taking the time to properly handle your funds will ensure a seamless closure process.
Follow these steps to transfer your remaining funds:
- Launch the Cash App on your device.
- Sign in using your registered email address or phone number.
- On the home screen, look for the “Balance” tab or icon and tap on it.
- Review your Cash App balance to determine the amount you wish to transfer.
- Tap on the “Cash Out” option.
- Choose whether you want to transfer the funds to your linked bank account or if you prefer to receive them as cash through a Cash App Cash Card.
- Enter the amount you want to transfer or cash out. Make sure it is not more than your available balance.
- Follow the prompts to complete the transfer or cash out process.
- Verify that the funds have been successfully transferred or cashed out.
By transferring your remaining funds, you ensure that you don’t leave any money behind in your Cash App account. This step helps you avoid any financial loss and allows you to have control over your funds even after closing your account.
Now that you have transferred your remaining funds, it’s time to move on to the final step to close your Cash App account.
Step 4: Close your Cash App account through the app
Now that you have updated your account information, resolved any pending transactions, and transferred your remaining funds, you’re ready to take the final step in closing your Cash App account. This step involves closing your account directly through the Cash App mobile application.
Follow these steps to close your Cash App account:
- Launch the Cash App on your device.
- Sign in using your registered email address or phone number.
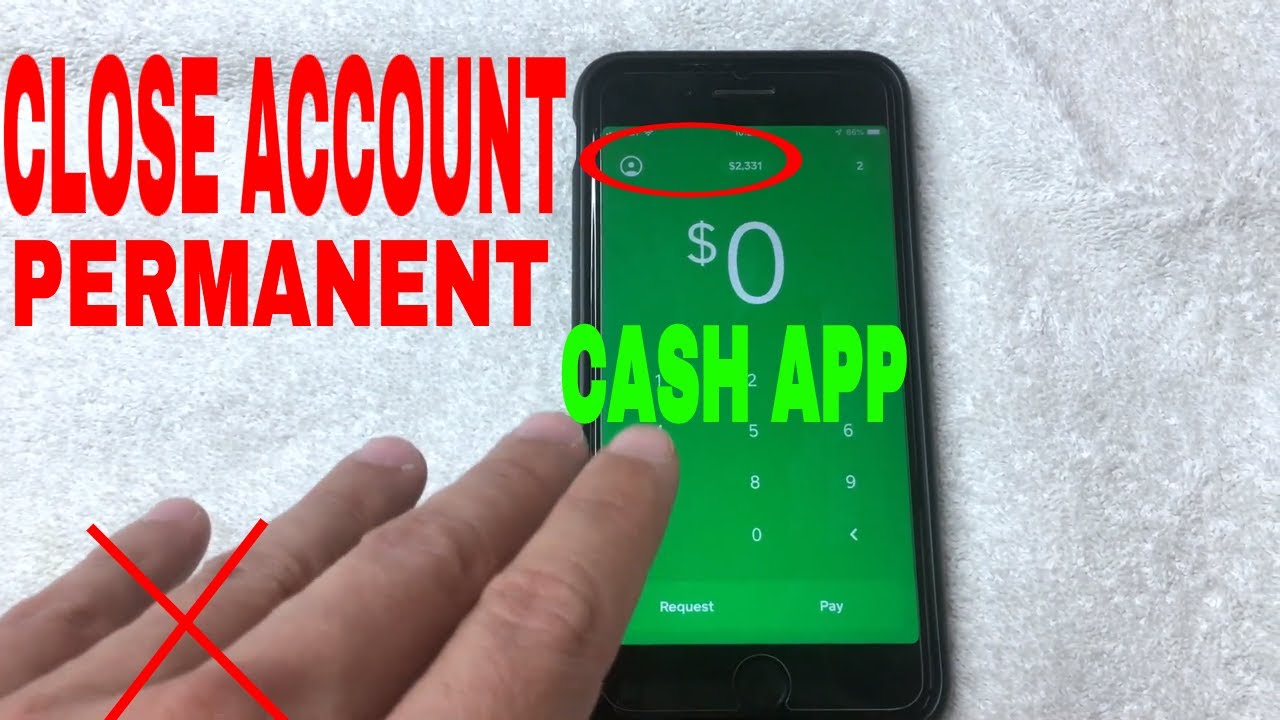
- On the home screen, locate the profile icon at the top-left corner of the screen and tap on it.
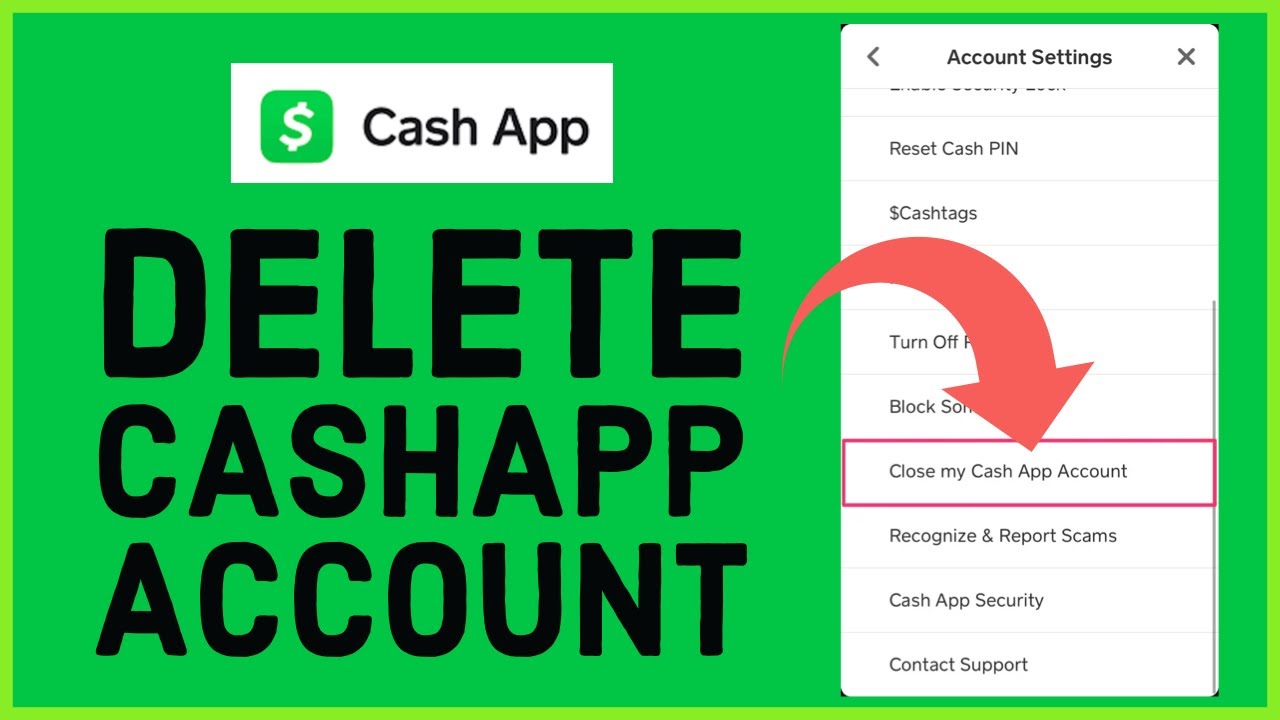
- In the profile menu, scroll down and find the “Support” option or “Cash Support.”
- Tap on “Something Else” or “Account Settings” to access additional options.
- Select “Close My Cash App Account” or a similar option.
- Provide a reason for closing your account when prompted.
- Review any important details or instructions that are displayed.
- Confirm that you want to close your account by following the on-screen instructions.
- Once the closure process is complete, you will receive a confirmation notification.
By following these steps, you can close your Cash App account directly through the app, ensuring a quick and efficient closure. It’s important to note that once your account is closed, you will no longer have access to your transaction history or be able to use the app for sending or receiving money.
Now that you’ve successfully closed your Cash App account, you may have some additional questions or concerns. Let’s move on to the next step to provide you with assistance and support during this process.
Step 5: Reach out to Cash App support for assistance
If you encounter any issues or have questions during the process of closing your Cash App account, don’t hesitate to reach out to Cash App support for assistance. They are there to help guide you through any difficulties you may encounter along the way.
Here’s how you can get in touch with Cash App support:
- Launch the Cash App on your device.
- Sign in using your registered email address or phone number.
- On the home screen, locate the profile icon at the top-left corner of the screen and tap on it.
- In the profile menu, scroll down and find the “Support” option or “Cash Support.”
- Tap on “Something Else” or “Account Settings” to access additional options.
- Select the issue or topic that best matches your concern.
- Review any relevant information or FAQs that may help address your question or issue.
- If you still need assistance, select the option to contact Cash App support directly.
- Choose your preferred method of contact, such as phone, email, or chat support.
- Provide details about your query or concern and wait for a response from the support team.
By reaching out to Cash App support, you can receive personalized assistance tailored to your specific situation. They have the expertise and resources to address any concerns or difficulties you may encounter while closing your account.
Now that you know how to contact Cash App support, you can rest assured knowing that there’s help available if you need it. Let’s wrap up this guide and summarize the steps you’ve taken to close your Cash App account.
Conclusion
Closing your Cash App account may seem like a daunting task, but by following the steps outlined in this guide, you can smoothly navigate through the process. Remember, it’s important to update your account information, resolve any pending transactions, transfer your remaining funds, and then close your account through the app. And if you encounter any issues along the way, don’t hesitate to reach out to Cash App support for assistance.
By taking these steps, you can ensure that your account closure is done efficiently and without any complications. It’s crucial to double-check that all your account information is accurate and up to date, and that you have no pending transactions remaining. Transferring your remaining funds is also important to avoid leaving any money behind in your Cash App account.
Once you’ve completed these steps, you can proceed to close your Cash App account directly through the app. Make sure to carefully follow the on-screen instructions and provide a reason for closing your account when prompted. Upon successful closure, you will receive a confirmation notification.
If you have any questions or need assistance, do not hesitate to reach out to Cash App support. They are there to help you throughout the process and address any concerns or difficulties you might face.
We hope this guide has been helpful in guiding you through the process of closing your Cash App account. Remember, always prioritize your security and privacy when managing your digital payment accounts. Wishing you the best in your financial endeavors!


