Introduction
Welcome to this guide on how to cancel an eCheck on PayPal. PayPal is a widely-used online payment platform that allows users to send and receive money securely. One of the payment options offered by PayPal is the eCheck, which is an electronic form of a traditional paper check. It provides a convenient way to make payments without the need for physical checks or cash.
However, there may be instances where you may need to cancel an eCheck payment. This could be due to a variety of reasons, such as a change in the transaction details, a mistake in the payment amount, or simply a change of mind. Whatever the reason may be, PayPal offers a straightforward process to cancel an eCheck and ensure that the funds are not withdrawn from your account.
In this guide, we will walk you through the steps to cancel an eCheck on PayPal. We will also provide some additional tips on what to do if you are unable to cancel the eCheck successfully. Whether you are a regular PayPal user or are new to the platform, this guide will help you navigate the process smoothly and avoid any inconvenience.
Please note that the cancellation process may vary slightly depending on the device you are using and the version of PayPal you have. However, the basic steps should remain the same, and we will outline them in a clear and concise manner.
So, if you are ready to cancel that eCheck payment and regain control over your funds, let’s get started!
Understanding PayPal’s eCheck
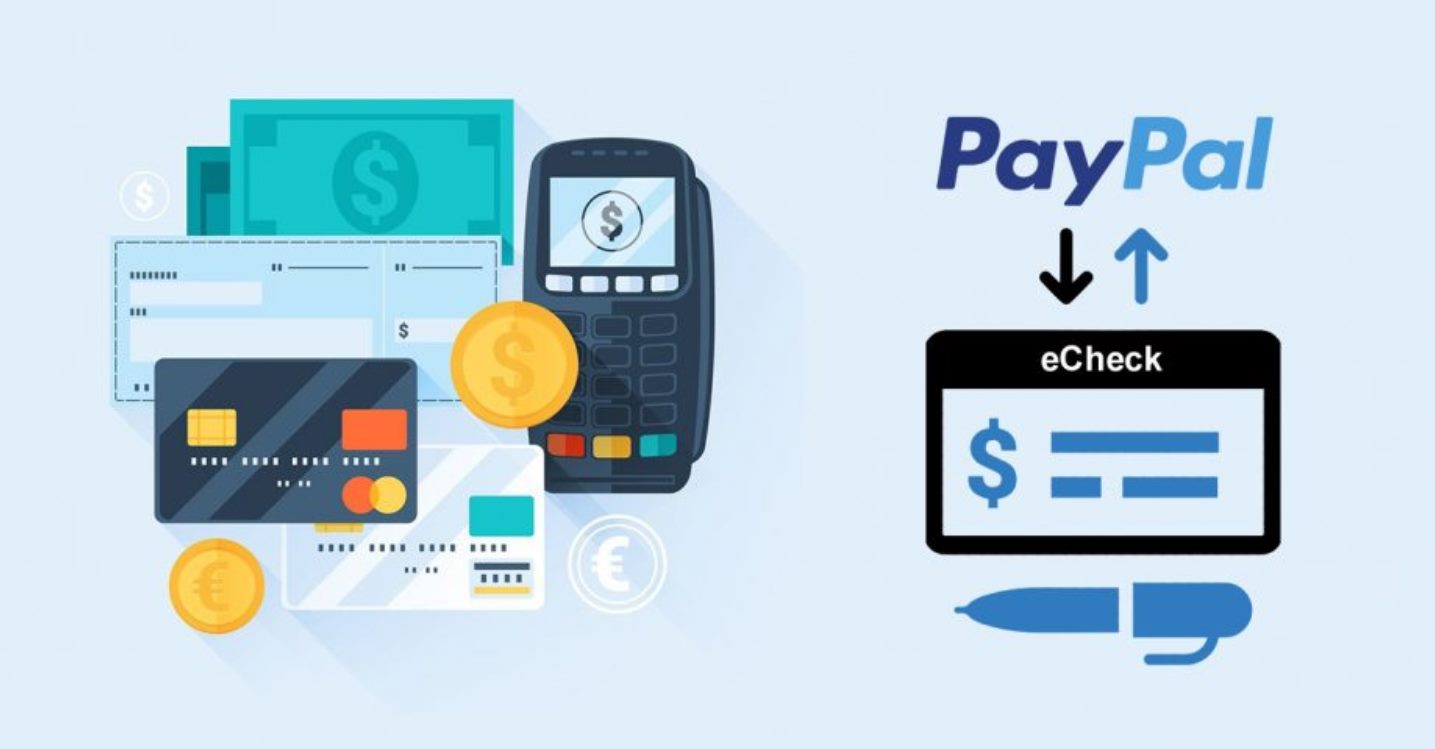
Before we delve into the process of canceling an eCheck on PayPal, let’s first understand what an eCheck is and how it works. An eCheck, short for electronic check, is a digital form of a traditional paper check. Instead of physically writing and mailing a check, you can send payments electronically through PayPal.
When you initiate an eCheck on PayPal, the funds are withdrawn from your linked bank account, just like with a regular check. However, unlike instant payments made with a debit or credit card, eChecks take several days to clear and process. During this time, the funds are in a pending state, and the recipient cannot access them.
Why does PayPal offer eChecks when there are faster payment options available? One reason is that eChecks are advantageous for certain types of transactions. For example, if you are purchasing from an individual seller or a small business that may not have a merchant account, eChecks offer a secure payment method without requiring a credit card or PayPal balance.
Another benefit of using eChecks is that they can be a cost-effective option for both buyers and sellers. Unlike credit card payments that may incur transaction fees, eChecks typically have lower or no fees associated with them. This can be particularly beneficial for high-value transactions or recurring payments.
It is important to note that while eChecks can be convenient and cost-effective, they do have a longer processing time compared to other payment methods. This is because eChecks rely on the Automated Clearing House (ACH) network, which facilitates electronic transfers between financial institutions. The exact processing time may vary, but it typically takes 3-5 business days for an eCheck to clear.
Now that we have a better understanding of what eChecks are and their benefits, let’s move on to the reasons why you might need to cancel an eCheck on PayPal.
Reasons for Canceling an eCheck
There can be various reasons why you might need to cancel an eCheck on PayPal. It’s essential to be aware of these reasons to understand when and why you should initiate the cancellation process. Here are some common scenarios in which canceling an eCheck may be necessary:
- Errors in payment details: Mistakes can happen, and you might have made an error in the payment details while initiating the eCheck. It could be a wrong amount, incorrect recipient information, or any other crucial details that need to be corrected.
- Change in transaction circumstances: Sometimes, the circumstances of a transaction may change unexpectedly. For instance, if you had ordered a product online but later found out that it is out of stock or no longer needed, canceling the eCheck allows you to avoid unnecessary deductions from your bank account.
- Duplicate payment: In certain situations, you may accidentally initiate duplicate eCheck payments for the same transaction. Canceling the duplicate payment prevents the recipient from receiving multiple payments and helps you avoid any financial inconvenience.
- Unauthorized transaction: If you suspect unauthorized activity on your PayPal account or believe that someone has fraudulently initiated an eCheck without your consent, canceling the eCheck is crucial to safeguard your funds and prevent any unauthorized withdrawals from your bank account.
- Changing your mind: Lastly, if you simply change your mind about making the payment, canceling the eCheck allows you to retract the payment request and ensure the funds remain in your account.
Regardless of the reason for canceling an eCheck, it is important to take prompt action to prevent the funds from being withdrawn from your bank account and ensure that the transaction is resolved or reversed properly. Now that we have explored the reasons behind canceling an eCheck, let’s move on to the steps involved in canceling an eCheck on PayPal.
How to Cancel an eCheck on PayPal
If you find yourself needing to cancel an eCheck on PayPal, you’ll be relieved to know that the process is relatively straightforward. Follow the steps below to cancel an eCheck successfully:
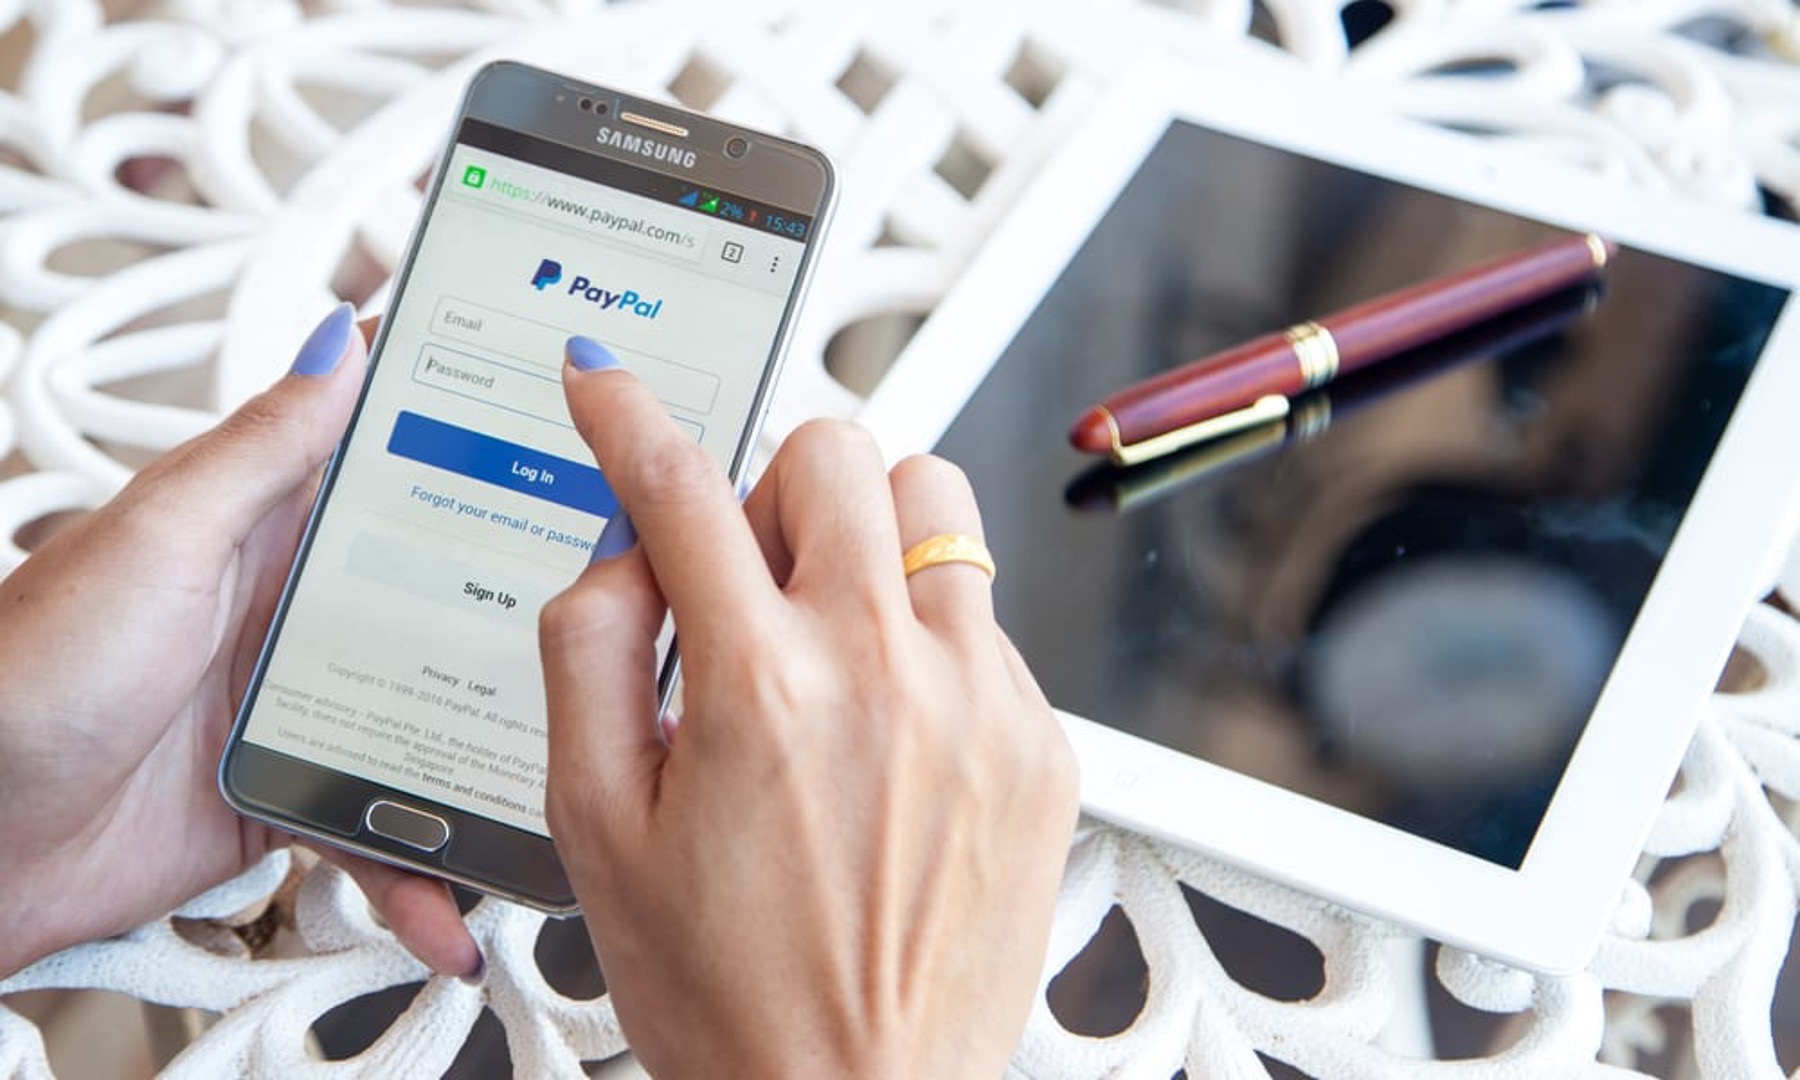
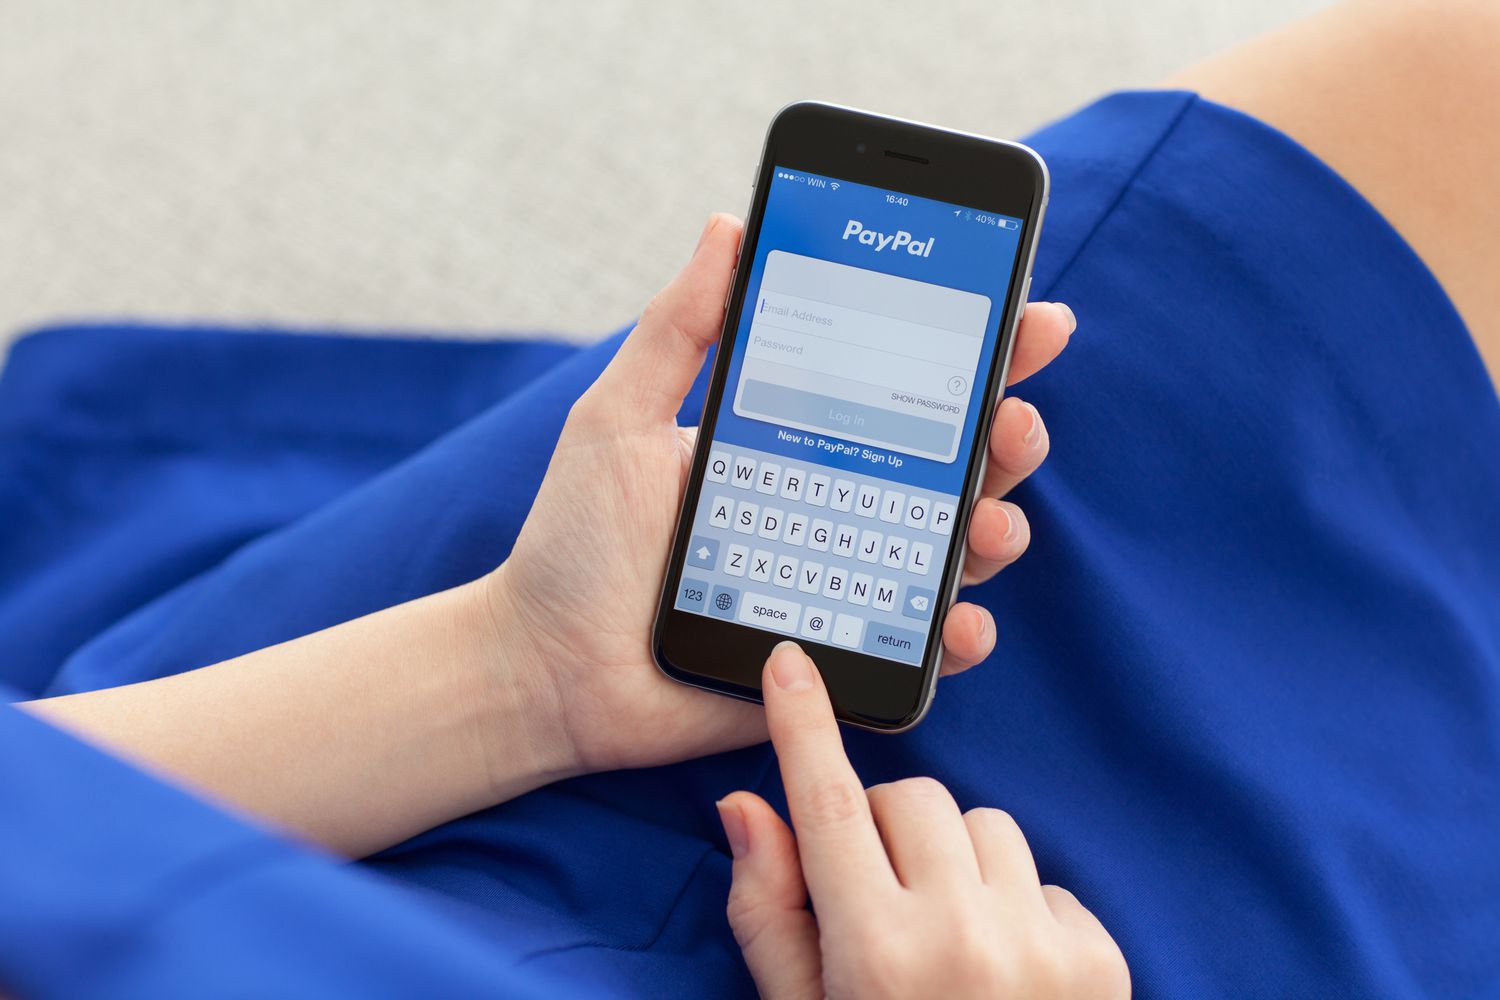
- Step 1: Logging in to your PayPal account: Visit the PayPal website and log in to your account using your username and password. Make sure that you have access to the email address associated with your PayPal account because you may receive important notifications and updates regarding the cancellation of the eCheck.
- Step 2: Navigating to the “Activity” page: After logging in, you’ll be directed to your account overview. Locate and click on the “Activity” or “Summary” tab/menu option. This will take you to the page where you can view your recent transactions and account activity.
- Step 3: Locating the eCheck transaction: On the “Activity” page, you’ll find a list of your recent transactions. Look for the eCheck transaction that you want to cancel. It may be helpful to use the search or filter options to quickly locate the specific transaction.
- Step 4: Canceling the eCheck: Once you have found the relevant eCheck transaction, click on it to view the transaction details. Look for the option to cancel the eCheck and click on it. Follow any additional prompts or instructions provided by PayPal to complete the cancellation process.
It’s important to note that the ability to cancel an eCheck may depend on the status of the transaction. If the eCheck has already been processed or cleared, it may not be possible to cancel it. In such cases, you may need to contact the recipient or PayPal customer support to explore possible options to resolve the issue.
Remember to double-check the cancellation to ensure that it is successful. You may receive a confirmation email from PayPal confirming the cancellation of the eCheck. Keep this email for your records as proof of the cancellation.
If you encounter any difficulties or do not see the option to cancel the eCheck, refer to the next section for steps to take if you are unable to cancel the eCheck successfully.
Step 1: Logging in to your PayPal account
The first step in canceling an eCheck on PayPal is to log in to your PayPal account. Follow the instructions below to access your account:
- Visit the PayPal website: Open your preferred web browser and go to the PayPal website (www.paypal.com).
- Click on “Log In”: On the PayPal homepage, you will find the “Log In” button located at the top right corner of the page. Click on it to proceed to the login page.
- Enter your login credentials: On the login page, you will be prompted to enter your PayPal username and password. Ensure that you enter the correct information to avoid login issues.
- Confirm your login: Once you have entered your login credentials, double-check the information to ensure accuracy. Then, click on the “Log In” button to proceed.
- Verify your account if needed: Depending on your account security settings, PayPal may require you to verify your identity through additional steps. This could involve entering a security code sent to your registered mobile number or email address, answering a security question, or using other verification methods.
- Access your PayPal account: After successfully logging in, you will be redirected to your PayPal account dashboard or summary page. Here, you can view your account balance, recent transactions, and other account details.
It’s important to ensure that you are logging in to the correct PayPal account associated with the eCheck transaction you wish to cancel. Double-check the email address associated with your account to verify its accuracy.
If you encounter any issues logging in or have forgotten your PayPal password, you can utilize the “Having trouble logging in?” or the “Forgot your password?” links provided on the login page. These options will guide you through the necessary steps to regain access to your account.
Once you have successfully logged in to your PayPal account, you are ready to proceed to the next step in canceling the eCheck: navigating to the “Activity” page. Continue reading to learn how to find and locate the “Activity” page on PayPal.
Step 2: Navigating to the “Activity” page
After logging in to your PayPal account, the next step in canceling an eCheck is to navigate to the “Activity” page. Follow the instructions below to find and access this page:
- Account overview: Once you are logged in, you will typically be directed to your account overview page. This page provides a summary of your account balance and recent transactions.
- Locate the “Activity” tab: Look for the “Activity” tab, which is usually located in the navigation menu at the top of the page. It may be labeled as “Activity”, “Transactions”, or “Summary”. Click on this tab to proceed.
- Explore activity options: On the “Activity” page, you will find various options and filters to view and manage your transactions. These options include searching for specific transactions, applying filters based on date or transaction type, and viewing more detailed transaction information.
- Filter or search for eCheck transaction: Depending on the number of transactions in your account, you may need to apply filters or search for the specific eCheck transaction that you wish to cancel. Look for the relevant search or filter options, such as a search bar or drop-down menus, to refine the transaction list.
- Access the transaction details: Once you have located the eCheck transaction, click on it to access the transaction details. This will allow you to view specific information related to the payment and initiate the cancellation process.
Please note that the exact location and appearance of the “Activity” page may vary slightly depending on the version of PayPal you are using and the device you are accessing it from. However, the general steps outlined above should help you find the necessary page to proceed with canceling the eCheck.
Once you have successfully navigated to the “Activity” page and located the eCheck transaction, you are ready to move on to the next step: canceling the eCheck. Continue reading to learn how to cancel the eCheck on PayPal.
Step 3: Locating the eCheck transaction
After navigating to the “Activity” page on PayPal, the next step in canceling an eCheck is to locate the specific eCheck transaction that you want to cancel. Follow the instructions below to find the eCheck transaction:
- Scan the transaction list: On the “Activity” page, you will see a list of your recent transactions. Take a moment to scan through the list to find the eCheck transaction you wish to cancel. You can typically see the transaction date, description, and associated amount in this list.
- Use search or filter options: If you have a long list of transactions or want to narrow down your search, you can utilize the search or filter options provided by PayPal. Look for a search bar or filter dropdown menus, usually located near the top or side of the transaction list.
- Search by date range: PayPal often offers the option to filter transactions by a specific date range. If you remember the approximate date when the eCheck was initiated, you can select the corresponding range to narrow down the search results and locate the eCheck transaction more easily.
- Filter by transaction type: Another useful filter option is to look specifically for “eCheck” transactions. Many versions of PayPal allow you to filter transactions based on their type (such as payment, refund, or eCheck). Select the eCheck type to filter the list and focus only on eCheck transactions.
- Review transaction details: Once you have found the eCheck transaction, click on it to access the detailed transaction view. Here, you will find additional information about the payment, including the recipient’s email or name, transaction ID, and any notes or descriptions associated with the payment.
Take your time to ensure that you have selected the correct eCheck transaction for cancellation. Double-check the transaction details to verify its accuracy. If you are unsure or have any questions related to the transaction, it may be helpful to review past communication or verify with the recipient before proceeding with the cancellation.
With the eCheck transaction located, you are ready to move on to the next and final step: canceling the eCheck on PayPal. Continue reading to learn how to complete this step and successfully cancel the eCheck.
Step 4: Canceling the eCheck
Once you have located the eCheck transaction on PayPal, you are ready to proceed with canceling the eCheck. Follow the instructions below to successfully cancel the eCheck:
- Access the transaction details: Click on the eCheck transaction to open the detailed view. This will display important information related to the payment.
- Look for the cancellation option: Within the transaction details, search for an option or link that allows you to cancel the eCheck. The location of this option may vary depending on the version of PayPal you are using.
- Click on the cancellation option: Once you have found the cancellation option, click on it to initiate the cancellation process. This may trigger a confirmation prompt or require you to provide a reason for canceling the eCheck.
- Follow additional instructions: Depending on PayPal’s interface, you may be asked to confirm your decision or provide additional details before canceling the eCheck. Carefully follow any prompts or instructions provided by PayPal to complete the cancellation process.
- Check for confirmation: After canceling the eCheck, PayPal may provide a confirmation message or send an email to confirm the cancellation. Make sure to check your email inbox and any relevant PayPal notifications to ensure the eCheck cancellation was successful.
It’s important to note that the ability to cancel an eCheck may depend on the status of the transaction. If the eCheck has already cleared or the cancellation option is not available, it may not be possible to cancel it directly through PayPal. In such cases, you should consider contacting the recipient or PayPal customer support for further assistance and explore other possible resolutions.
Remember to keep any confirmation emails or transaction details as evidence of the eCheck cancellation. This documentation may be useful for reference or dispute resolution purposes in the future.
Congratulations! You have successfully canceled your eCheck on PayPal. By following these steps, you have taken control of your funds and resolved the eCheck payment as desired.
If you encounter any difficulties or have questions during the cancellation process, refer to PayPal’s support documentation or reach out to their customer service for assistance. They will be able to guide you through any specific issues or concerns related to canceling an eCheck.
Steps to Take if Unable to Cancel the eCheck
If you encounter any issues or are unable to cancel an eCheck on PayPal using the steps outlined above, don’t panic. There are a few steps you can take to address the situation. Follow this guidance in case you are unable to cancel the eCheck:
- Contact the recipient: Reach out to the recipient of the eCheck payment and explain the situation. Inform them that you have attempted to cancel the eCheck on PayPal but encountered issues. Request their cooperation in resolving the matter, which may involve returning the funds or finding an alternative solution.
- Review PayPal policies: Familiarize yourself with PayPal’s policies regarding eCheck cancellations and dispute resolution. Check if there are any specific guidelines or timelines for raising concerns related to eCheck payments and potential refunds.
- Review transaction protection: If the eCheck payment was for a purchase or service, review PayPal’s Buyer Protection or Seller Protection policies. Depending on the circumstances, you may be eligible for protection against unauthorized or fraudulent transactions.
- Contact PayPal customer support: If you have exhausted other options and are still unable to resolve the issue, get in touch with PayPal customer support for assistance. Explain the situation, provide relevant transaction details, and seek their guidance regarding next steps and possible resolutions.
- Monitor your bank account: Keep an eye on your bank account linked to PayPal. In case the eCheck transaction goes through despite your efforts to cancel it, you may need to contact your bank and explain the situation. They can provide guidance on disputing the transaction and potentially recovering the funds.
Remember to document all communication, including emails or messages exchanged with the recipient and PayPal customer support. This documentation can serve as evidence and support your case if you need to escalate the matter or file a formal complaint.
While it can be frustrating to encounter difficulties in canceling an eCheck, remaining calm and taking proactive steps to resolve the issue will increase your chances of a successful outcome. The recipient and PayPal’s customer support are valuable resources that can assist you in resolving any complications related to the eCheck transaction.
Now that you are aware of the steps to take if unable to cancel the eCheck, let’s move on to the concluding section of this guide.
Conclusion
Canceling an eCheck on PayPal is a simple process that allows you to regain control over your funds. We have outlined the steps to cancel an eCheck, from logging in to your PayPal account to locating the eCheck transaction and successfully canceling it. By following these steps, you can ensure that the eCheck payment is stopped and the funds remain in your account.
However, in situations where you encounter difficulties in canceling the eCheck, it’s important to take proactive steps. Contact the recipient, review PayPal’s policies and protections, and reach out to PayPal’s customer support for assistance. Monitoring your bank account for any unauthorized withdrawals is also crucial.
Remember to keep any confirmation emails and transaction details related to the eCheck cancellation. This documentation can be useful for future reference or dispute resolution purposes.
Overall, understanding how to cancel an eCheck on PayPal empowers you to manage your finances effectively and resolve any payment-related concerns. PayPal’s user-friendly interface and robust customer support ensure a smooth experience, allowing you to navigate the cancellation process with confidence.
We hope this guide has been helpful in providing you with the knowledge and steps needed to cancel an eCheck on PayPal. By following these instructions, you can confidently take control of your eCheck transactions and enjoy the convenience and security provided by PayPal.
Thank you for reading, and we wish you success in canceling your eChecks on PayPal!


