To build a trading bot, you need to code a system that automatically executes trades based on predefined rules, and this guide walks you through the entire process step by step. We'll cover the core architecture, setting up a Python environment, fetching market data, coding a strategy, implementing an execution engine, hard-coding risk management, backtesting, and finally deploying to live markets with proper monitoring.
What you need to build a trading bot
Before writing any code, it's crucial to understand the core architecture of a trading bot. A robust bot is not just a single script; it's a modular system composed of five key components that work together seamlessly. Each module has a specific responsibility, and together they form the complete automated trading system.
- Data Feed: This module connects to a market data API to fetch real-time and historical price data. It provides the raw material (OHLCV - Open, High, Low, Close, Volume) that your strategy engine needs to make decisions.
- Strategy Engine: This is the "brain" of the bot. It contains the trading logic (e.g., a moving average crossover) that analyzes the data from the data feed and generates buy or sell signals based on your predefined rules.
- Execution Engine: When the strategy engine generates a signal, the execution engine takes over. It sends authenticated order requests (market, limit) to the brokerage's API, manages order lifecycle, and ensures the trade is placed correctly.
- Risk Management Module: This is a non-negotiable component. It enforces mandatory rules like stop-loss triggers, position sizing, total exposure caps, and daily loss limits to protect your capital from significant drawdowns.
- Monitoring/Alerting System: This module tracks the bot's performance, order fills, and system health. It sends alerts (email, SMS, push) if something goes wrong or if performance metrics deviate from expected norms.
Setting up a Python virtual environment
To build a trading bot, you need an isolated and clean coding environment. We'll use Python, the most popular language for this task, and create a virtual environment to manage dependencies without clashing with your system-wide packages.
- Install Python: Download it from the official Python website and follow the installation instructions. Verify the installation by opening your terminal or command prompt and running
python --version. - Create a Virtual Environment: Navigate to your project directory in the terminal and run the following command to create an isolated environment named
trading_bot_env:
python -m venv trading_bot_env - Activate the Environment: Activate it to start using it.
- Windows:
trading_bot_env\Scripts\activate - macOS/Linux:
source trading_bot_env/bin/activate
You should see the environment name in your terminal prompt, indicating it's active.
- Windows:
- Install Essential Libraries: With the environment active, install the core libraries for data manipulation and analysis:
pip install pandas numpy matplotlib
These libraries are the foundation for handling time series data and performing calculations for your trading strategy.
Getting live and historical market data
Your trading bot needs a reliable source of market data to function. We'll connect to a brokerage API that provides both real-time and historical data. For this guide, we'll use Alpaca or Binance, both of which offer free API keys for development and paper trading.
- Sign up for an API Key: Create an account on your chosen platform (Alpaca for US stocks, Binance for crypto). Navigate to the API section of your account dashboard and generate a new API key and secret. Store these securely; you'll need them to authenticate your bot.
- Install the API Client: Install the official Python client library for your platform. For Alpaca, use
pip install alpaca-trade-api. For Binance, usepip install python-binance. - Fetch Historical Data: Write a script to pull historical price data. Here's a minimal example using Alpaca to get daily bars for a symbol:
import alpaca_trade_api as tradeapiAPI_KEY = 'your_api_key'
SECRET_KEY = 'your_secret_key'
BASE_URL = 'https://paper-api.alpaca.markets' # Use paper URL for testingapi = tradeapi.REST(API_KEY, SECRET_KEY, BASE_URL, api_version='v2')
# Fetch 100 days of daily bars for Apple
barset = api.get_bars('AAPL', '1Day', limit=100).df
print(barset.tail()) - Stream Real-time Data: For live trading, you'll need real-time data. Both Alpaca and Binance offer WebSocket streaming. You can subscribe to a stream and receive price updates in real-time, which your bot can feed into the strategy engine.
Developing a trading strategy with code
Now we'll translate a simple trading strategy into Python code. We'll use the classic moving average crossover strategy: when the short-term moving average crosses above the long-term moving average, we buy; when it crosses below, we sell.
- Define the Strategy Logic:
- Write the Code: Here's a function that generates signals based on the data:
import pandas as pddef generate_signals(data):
"""Generate buy/sell signals based on moving average crossover."""
data['SMA_20'] = data['close'].rolling(window=20).mean()
data['SMA_50'] = data['close'].rolling(window=50).mean()# Create a signal column: 1 for buy, -1 for sell, 0 for hold
data['signal'] = 0
data.loc[data['SMA_20'] > data['SMA_50'], 'signal'] = 1
data.loc[data['SMA_20'] < data['SMA_50'], 'signal'] = -1# Detect crossovers
data['position'] = data['signal'].diff()
return data - Integrate with Data: Combine this function with the data fetching code to generate signals on historical data. This forms the core logic of your bot's strategy engine.
Implementing the execution engine
Once your strategy generates a signal, the execution engine must place the order. This involves authenticating with the brokerage API and sending the order details.
- Authenticate and Connect: Use the API keys to authenticate. In Alpaca, you already have the
apiobject from the data-fetching step. - Place Orders: When a signal is generated, call the API's order placement method. Here's an example of placing a market buy order for 1 share of AAPL:
if signal == 1:

    api.submit_order(

        symbol='AAPL',

        qty=1,

        side='buy',

        type='market',

        time_in_force='day'

    )

elif signal == -1:

    api.submit_order(

        symbol='AAPL',

        qty=1,

        side='sell',

        type='market',

        time_in_force='day'

) - Order Management: The execution engine should also check the status of orders and handle partial fills or rejections. You can query the API for order status and implement retry logic if needed.
Hard-coding risk management rules
Risk management is the most critical part of any trading bot. You must hard-code these rules into your bot to protect your capital. Here are the essential rules to implement:
- Stop-Loss Triggers: Always place a stop-loss order. For example, set a stop-loss at 2% below the entry price. This ensures you exit the trade automatically if the price moves against you.
stop_price = entry_price * (1 - 0.02) # 2% stop-loss

api.submit_order(symbol='AAPL', qty=1, side='sell', type='stop', stop_price=stop_price) - Position Sizing: Never risk more than 1-2% of your total capital on a single trade. Calculate the position size based on your account equity and the stop-loss distance.
account_equity = float(api.get_account().equity)

risk_amount = account_equity * 0.01 # 1% risk per trade

stop_loss_distance = entry_price - stop_price

position_size = risk_amount / stop_loss_distance - Total Exposure Cap: Limit the total amount of capital used at any one time.
- Daily Loss Limit: If your bot loses more than a certain percentage (e.g., 3%) in a single day, halt trading for the day. This prevents emotional decision-making and catastrophic losses.
Backtesting your bot on historical data
Before risking real money, you must backtest your bot to see how it would have performed in the past. This validates your strategy and helps you optimize parameters.
- Prepare Historical Data: Fetch a large dataset (e.g., 5 years of daily data) for your asset.
- Run the Backtest: Feed this data through your strategy engine and execution logic. Simulate trades, including slippage and commissions, to get realistic results.
- Calculate Performance Metrics: Compute key metrics to evaluate your bot:
- Total Return: The overall profit or loss.
- Win Rate: The percentage of profitable trades.
- Maximum Drawdown: The largest peak-to-trough decline in equity.
- Sharpe Ratio: A measure of risk-adjusted return.
import backtrader as bt # Example backtesting library# ... (setup cerebro and strategy) ...
cerebro.run()
strats = cerebro.getstrategies()
for strat in strats:
print(f'Final Portfolio Value: {strat.broker.getvalue():.2f}') - Optimize: Adjust your strategy parameters (e.g., moving average periods) to improve performance, but be wary of over-optimization. Use out-of-sample data to validate your results.
Running the bot in live markets
After successful backtesting, you're ready to deploy your bot with real capital. Follow this checklist to ensure a smooth launch:
- Start Small: Begin with a small amount of capital that you can afford to lose. This minimizes risk while you verify the bot works in real market conditions.
- Monitor Order Fills: In the first few days, manually monitor every trade the bot places. Check that orders are filled at the expected prices and that there are no execution errors.
- Set Up Performance Alerts: Configure alerts for critical events: when a trade is executed, when the bot hits the daily loss limit, or when there's a connectivity issue. Use email or messaging apps like Telegram for instant notifications.
- Continuous Monitoring: Even with a bot, you need to check its performance regularly. Review trade logs, analyze metrics, and be prepared to pause the bot if market conditions change drastically.
- Avoid Over-Optimization: Resist the urge to tweak your strategy every day. Stick to your plan and only make changes based on sound analysis and sufficient data.
ICT Trading (What Is ICT Trading)
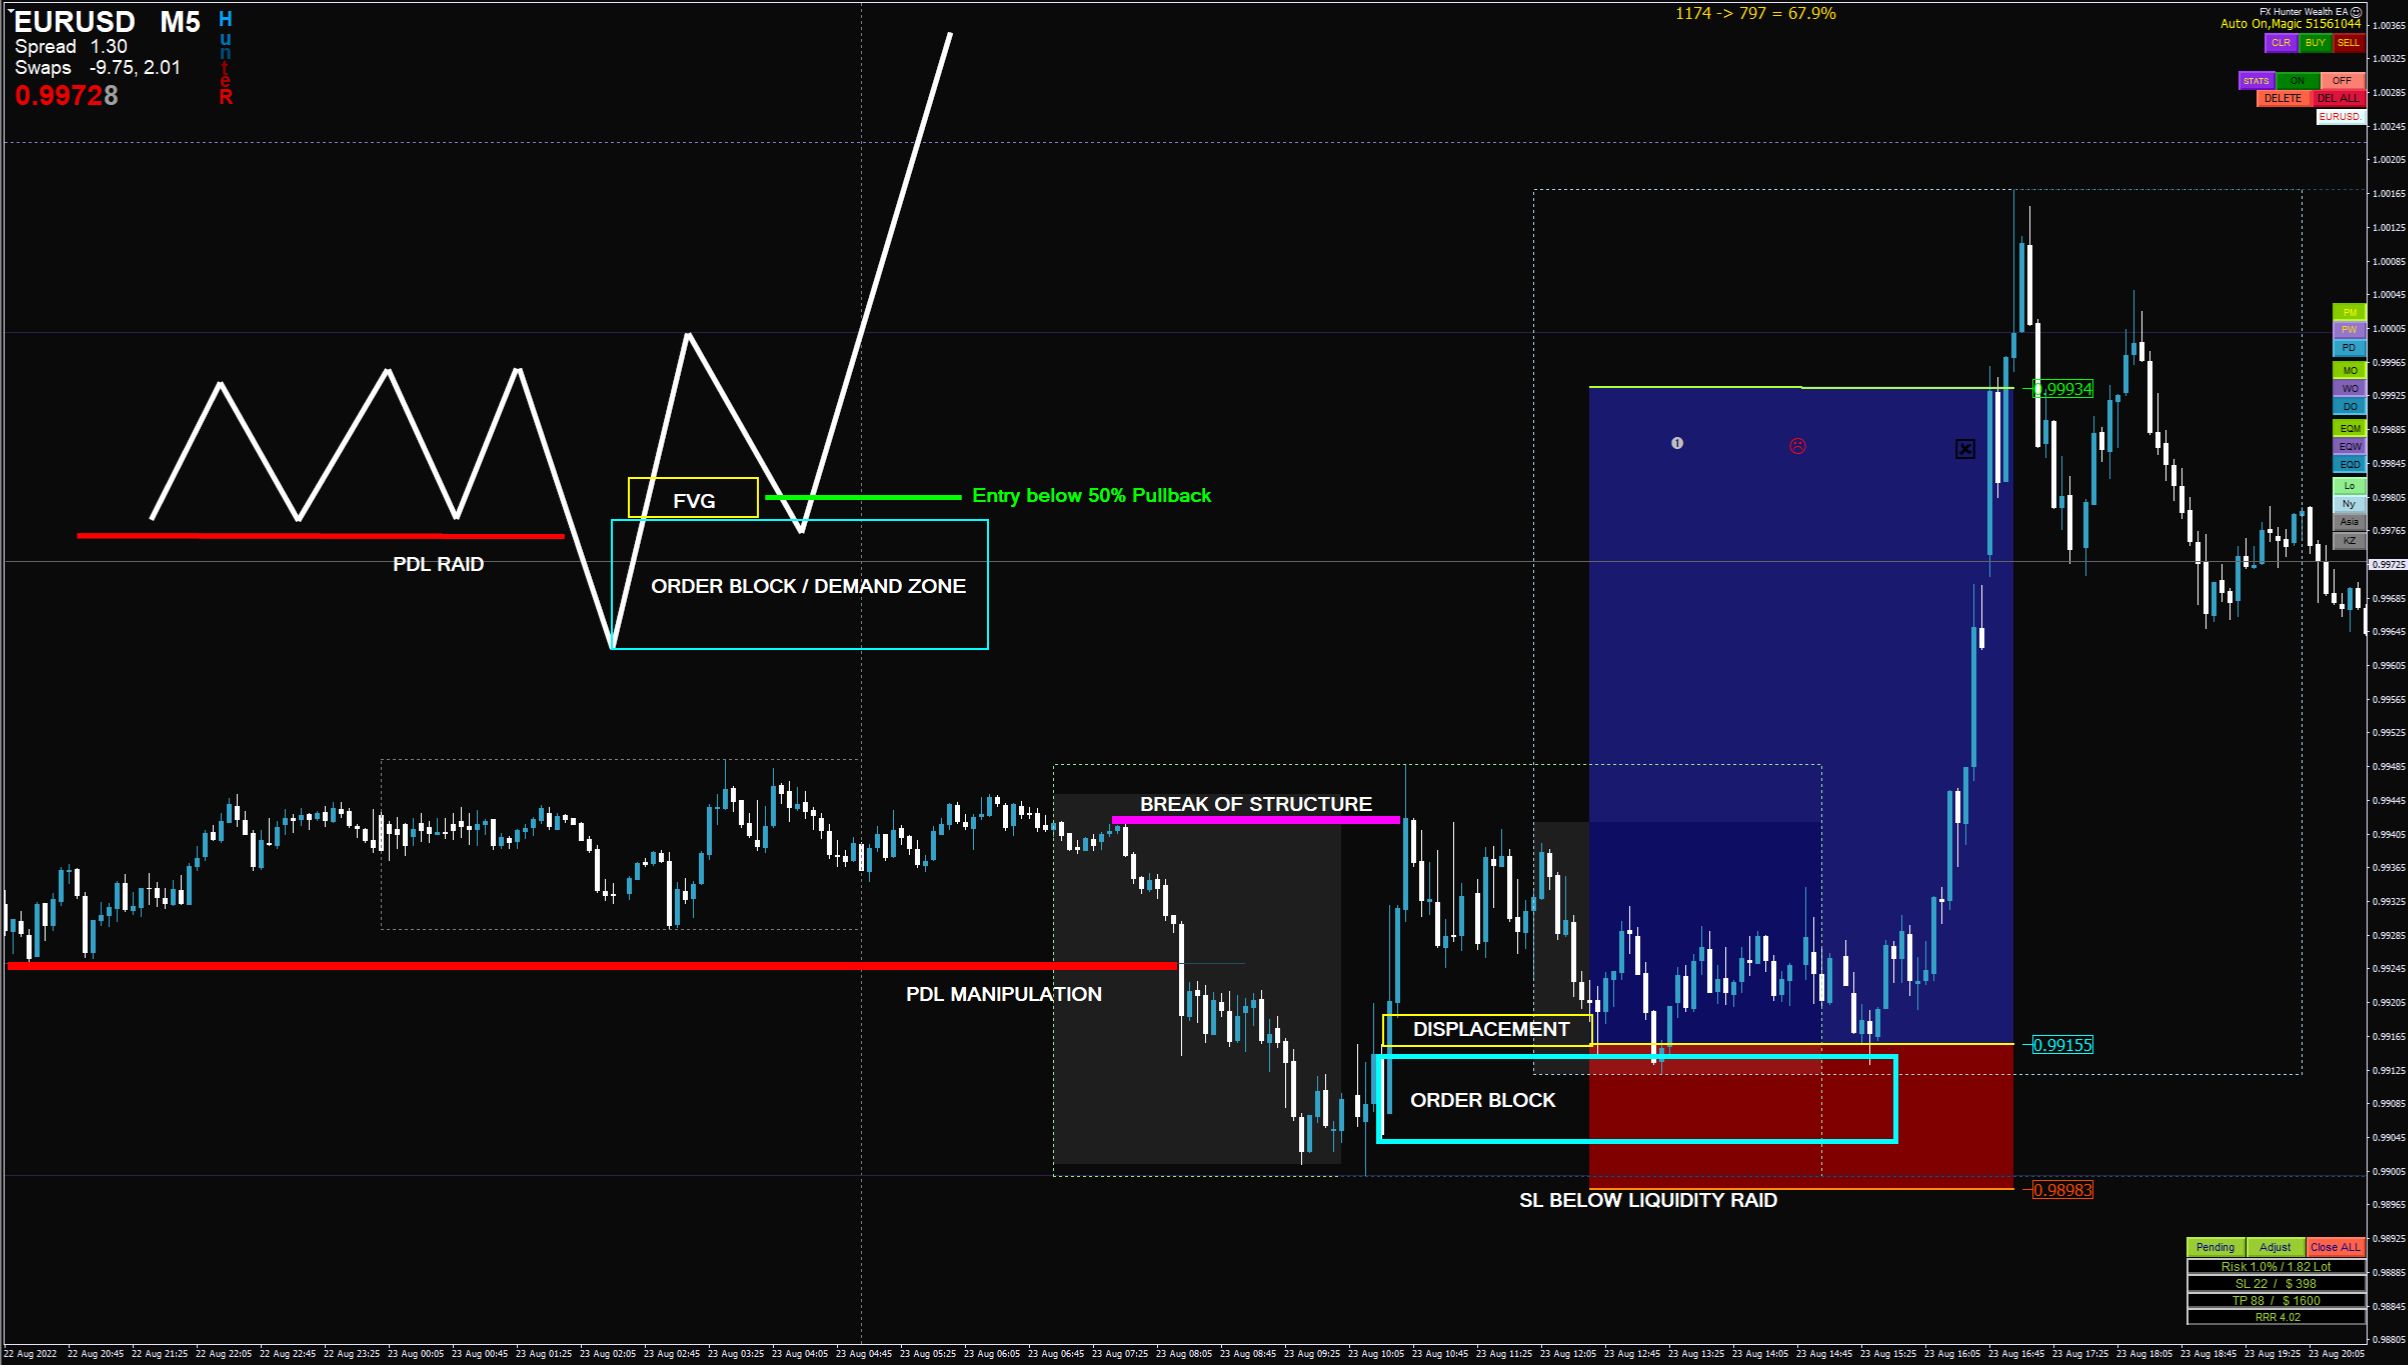
While not the focus of this guide, you might encounter the term "ICT trading" in your research. ICT stands for Inner Circle Trader, a trading methodology that focuses on liquidity, market structure, and order flow. It is a discretionary approach that some traders try to automate, but it's extremely complex to code. This guide focuses on systematic, rules-based strategies that are more suitable for building a trading bot. If you're interested in ICT concepts, understand that they are often used by manual traders to interpret price action, and automating them requires very precise, unambiguous rules.
Building a trading bot is a challenging but rewarding endeavor. By following this step-by-step guide, you can create a bot that operates with discipline, manages risk effectively, and runs 24/7. Remember to always prioritize risk management and continuously monitor your bot's performance to adapt to changing market conditions.
\nRelated reading: What Is A Trading Node and What Is Velocity Investments LLC.