Introduction
Welcome to the fascinating world of microscopy and photography! The integration of a mirrorless camera with a dissecting microscope opens up new possibilities for capturing intricate details and sharing the beauty of the microscopic world. Whether you are a researcher, educator, or hobbyist, the ability to connect a mirrorless camera to a dissecting microscope can greatly enhance your work and provide a visual gateway into the realm of tiny wonders.
In this comprehensive guide, we will explore the step-by-step process of using a mirrorless camera with a dissecting microscope, from understanding the basics of mirrorless cameras to selecting the appropriate adapter and seamlessly attaching the camera to the microscope. Additionally, we will delve into the intricacies of adjusting camera settings, capturing high-quality images, and efficiently saving and sharing your microscopic masterpieces.
By the end of this guide, you will have gained the knowledge and confidence to harness the full potential of your mirrorless camera in conjunction with a dissecting microscope, allowing you to embark on a captivating journey of discovery and documentation.
So, let's embark on this enlightening exploration of merging cutting-edge photography technology with the captivating world of microscopy, as we uncover the seamless integration of a mirrorless camera with a dissecting microscope.
Through the following sections, we will navigate the essential steps and considerations to successfully utilize a mirrorless camera with a dissecting microscope, empowering you to capture and preserve the mesmerizing details of the microcosmos with precision and creativity.
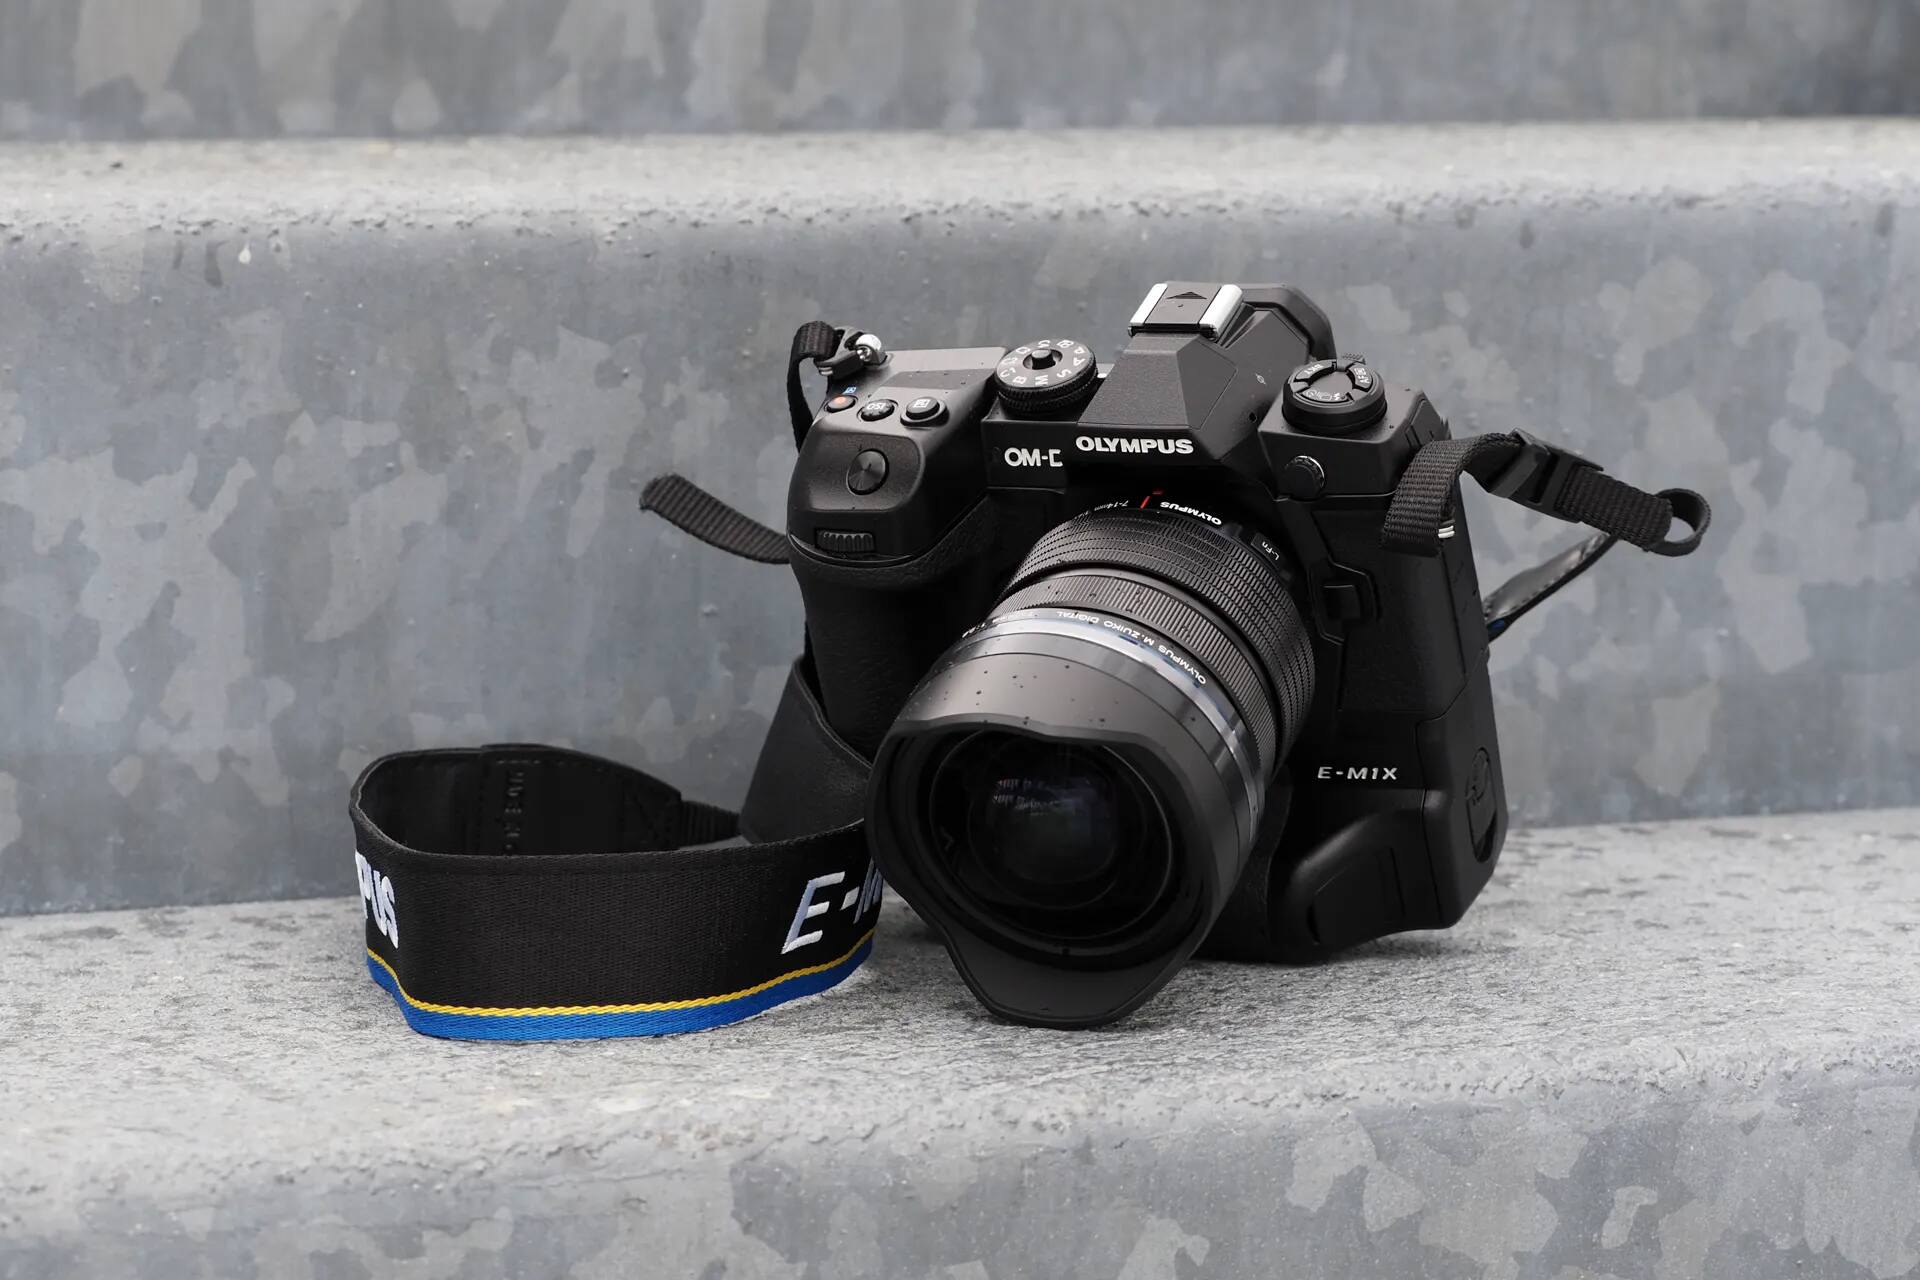
Understanding Mirrorless Cameras
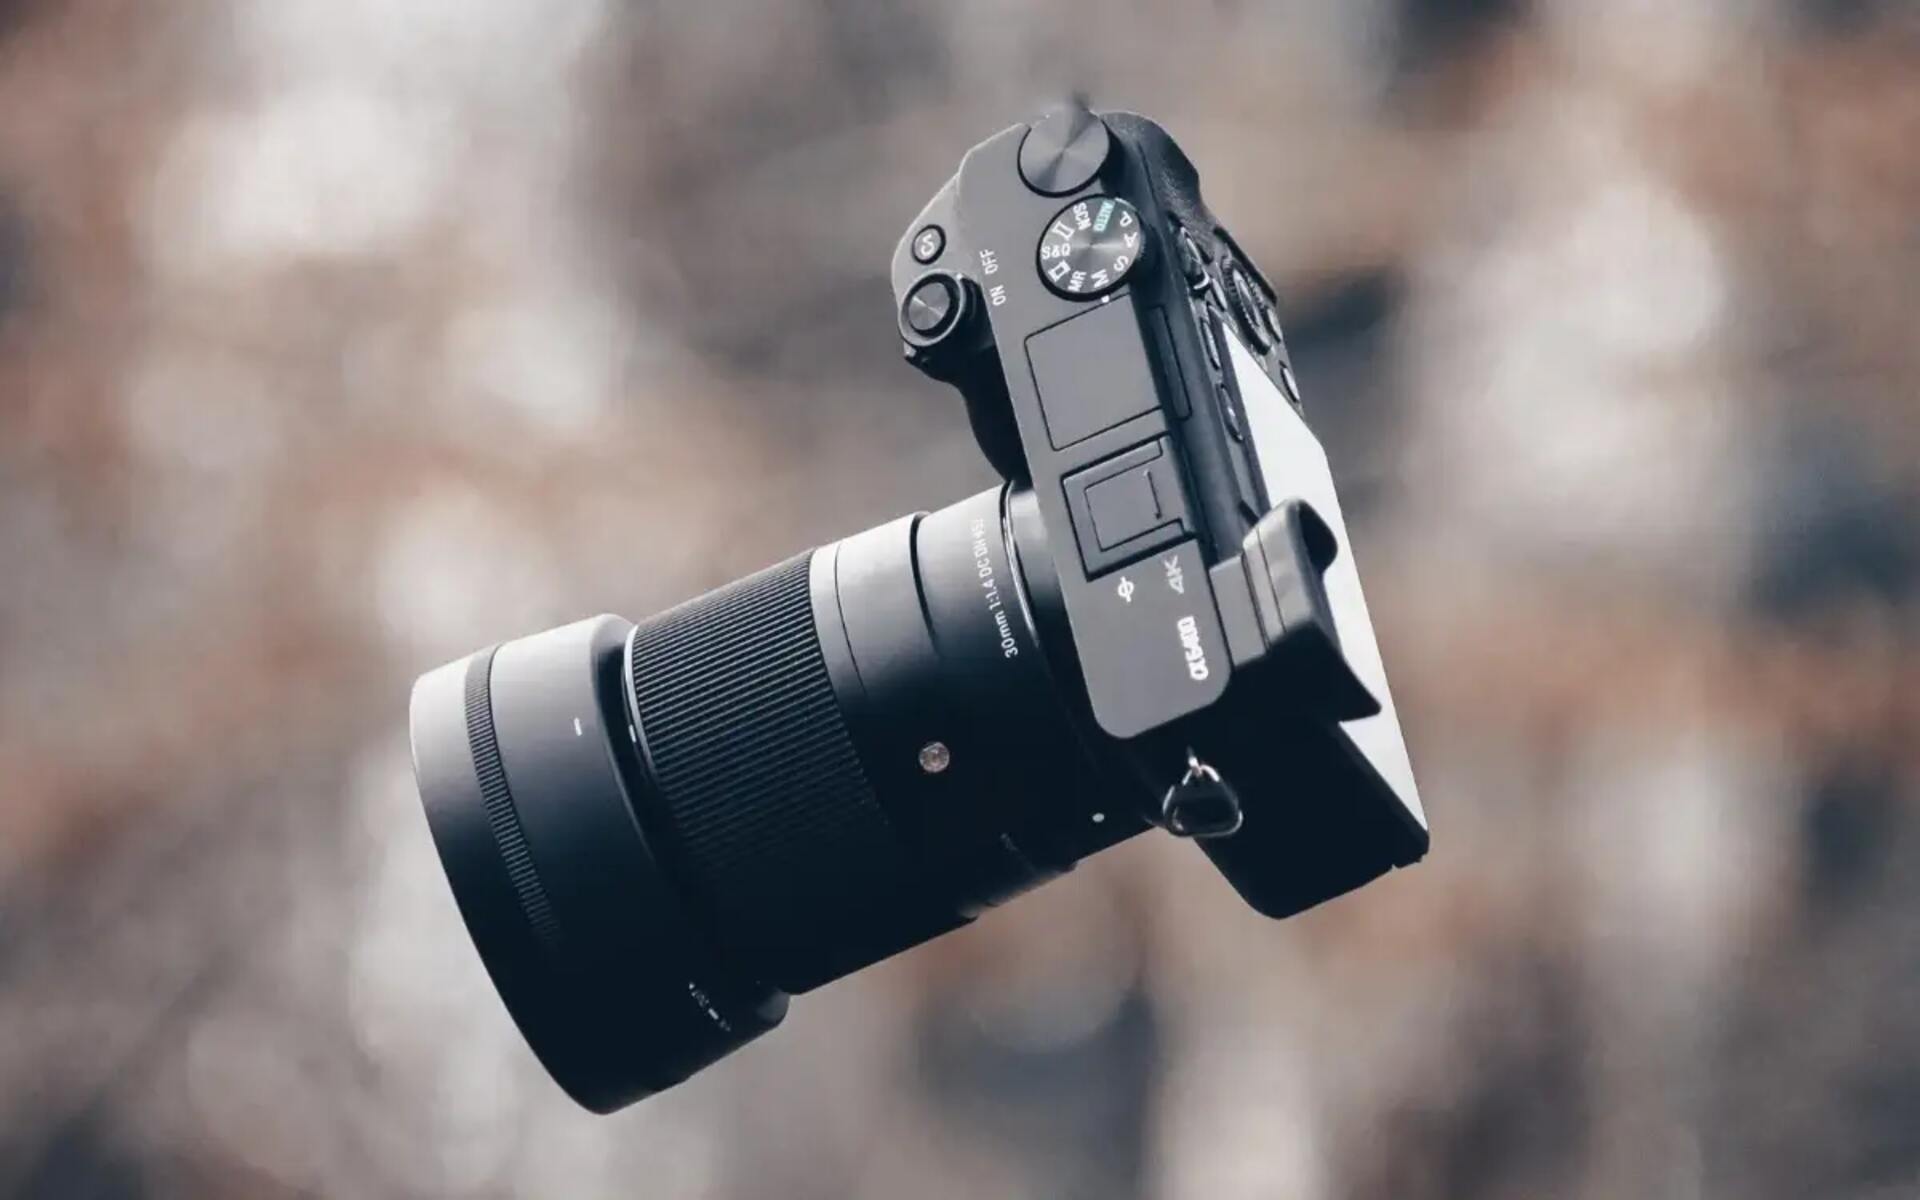
Before delving into the intricacies of connecting a mirrorless camera to a dissecting microscope, it’s essential to grasp the fundamental features and functionalities of mirrorless cameras. Unlike traditional DSLR cameras, mirrorless cameras do not employ a reflex mirror or optical viewfinder. Instead, they utilize an electronic viewfinder or LCD screen to display a real-time preview of the captured image. This compact and lightweight design, coupled with advanced imaging capabilities, makes mirrorless cameras an ideal choice for microphotography.
One of the defining characteristics of mirrorless cameras is their interchangeable lens system, which allows for greater flexibility in adapting to various photography needs, including macro and microphotography. The absence of a mirror box results in a shorter flange distance, enabling the use of a diverse range of lenses and adapters to achieve optimal magnification and focus when paired with a dissecting microscope.
Furthermore, mirrorless cameras boast advanced autofocus systems, high-resolution sensors, and intuitive controls, empowering users to capture intricate details with remarkable clarity and precision. The seamless integration of cutting-edge technology and compact design makes mirrorless cameras a versatile tool for capturing the mesmerizing world of microscopy.
Understanding the unique features and capabilities of mirrorless cameras is crucial for harnessing their full potential when connected to a dissecting microscope. In the subsequent sections, we will explore the seamless process of integrating a mirrorless camera with a dissecting microscope, leveraging its innovative features to capture stunning images of microscopic specimens with unparalleled detail and clarity.
Choosing the Right Adapter
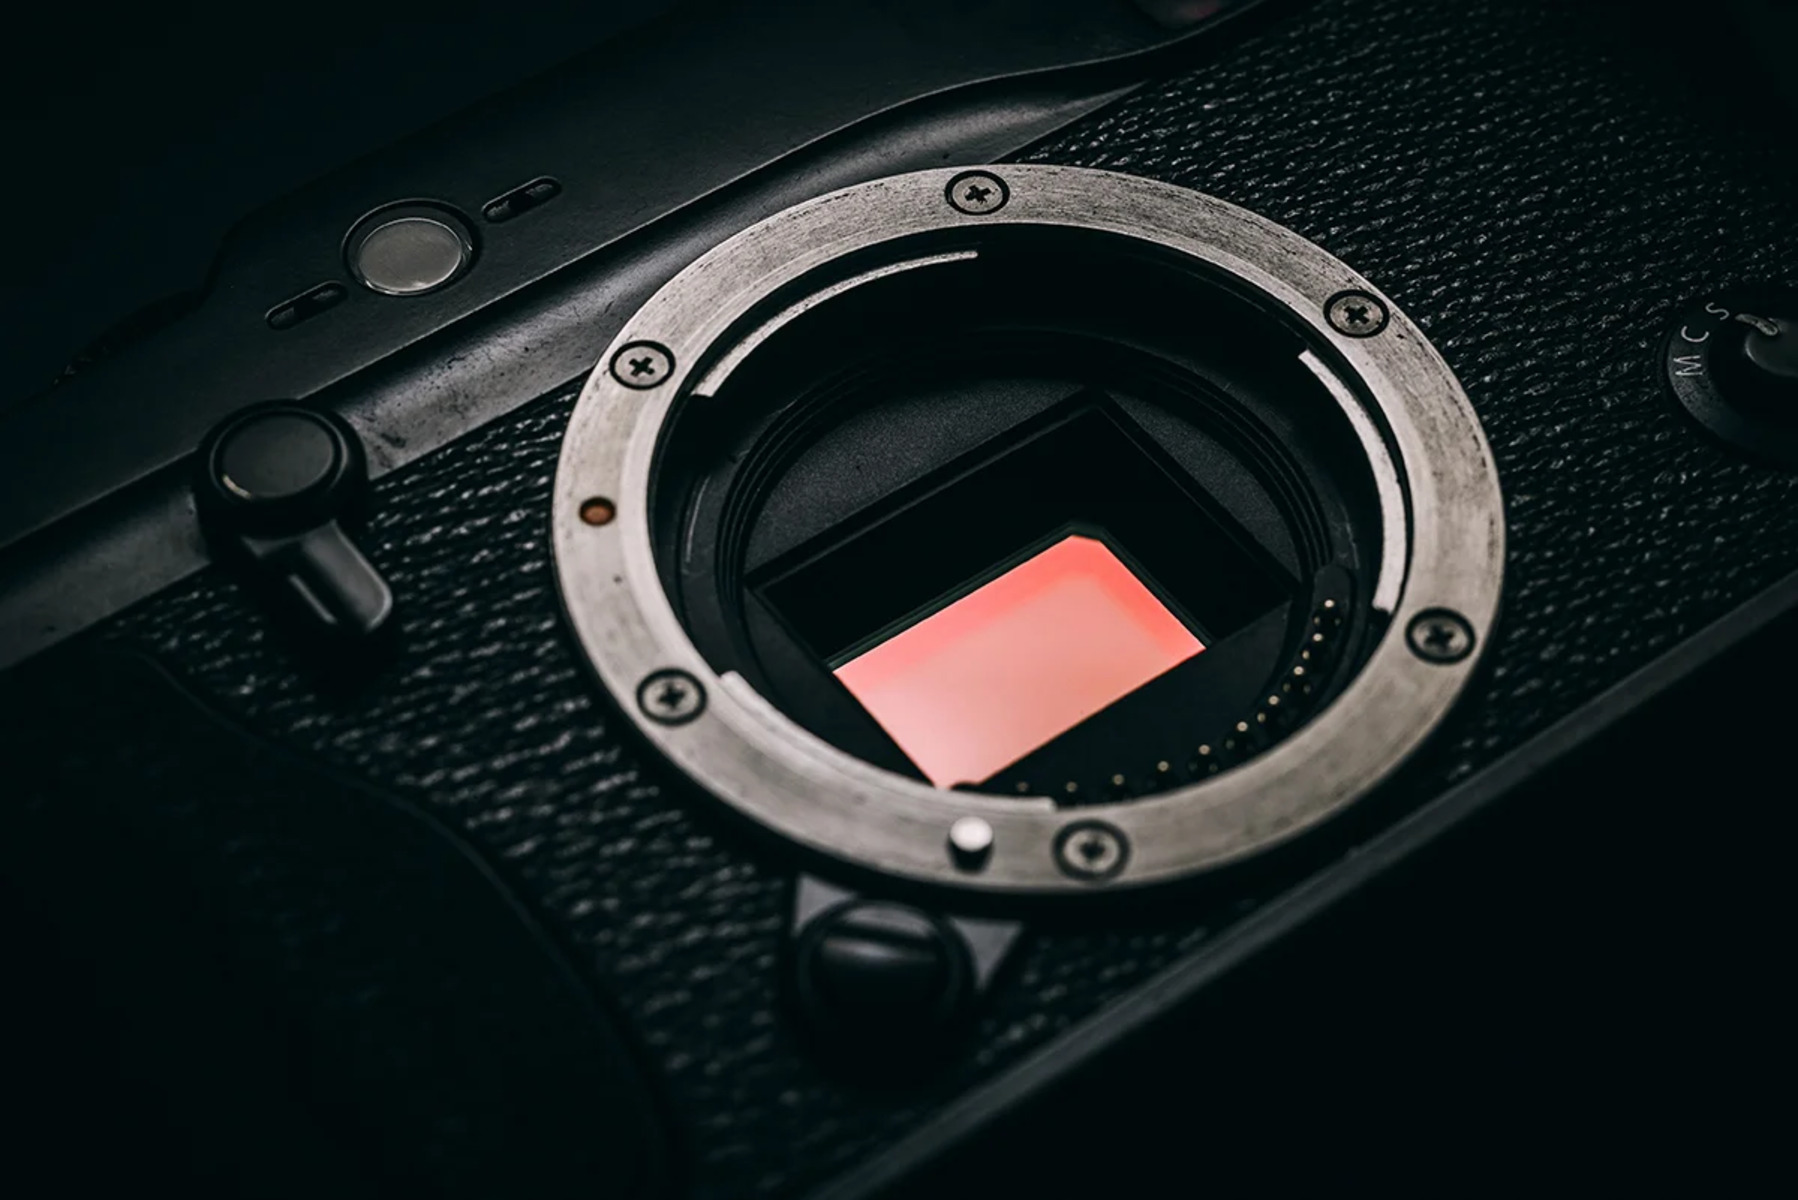
When embarking on the journey of connecting a mirrorless camera to a dissecting microscope, selecting the appropriate adapter is a crucial step in ensuring seamless compatibility and optimal imaging performance. The adapter serves as the bridge between the camera body and the microscope, facilitating a secure and precise attachment while maintaining the necessary alignment for capturing high-quality images.
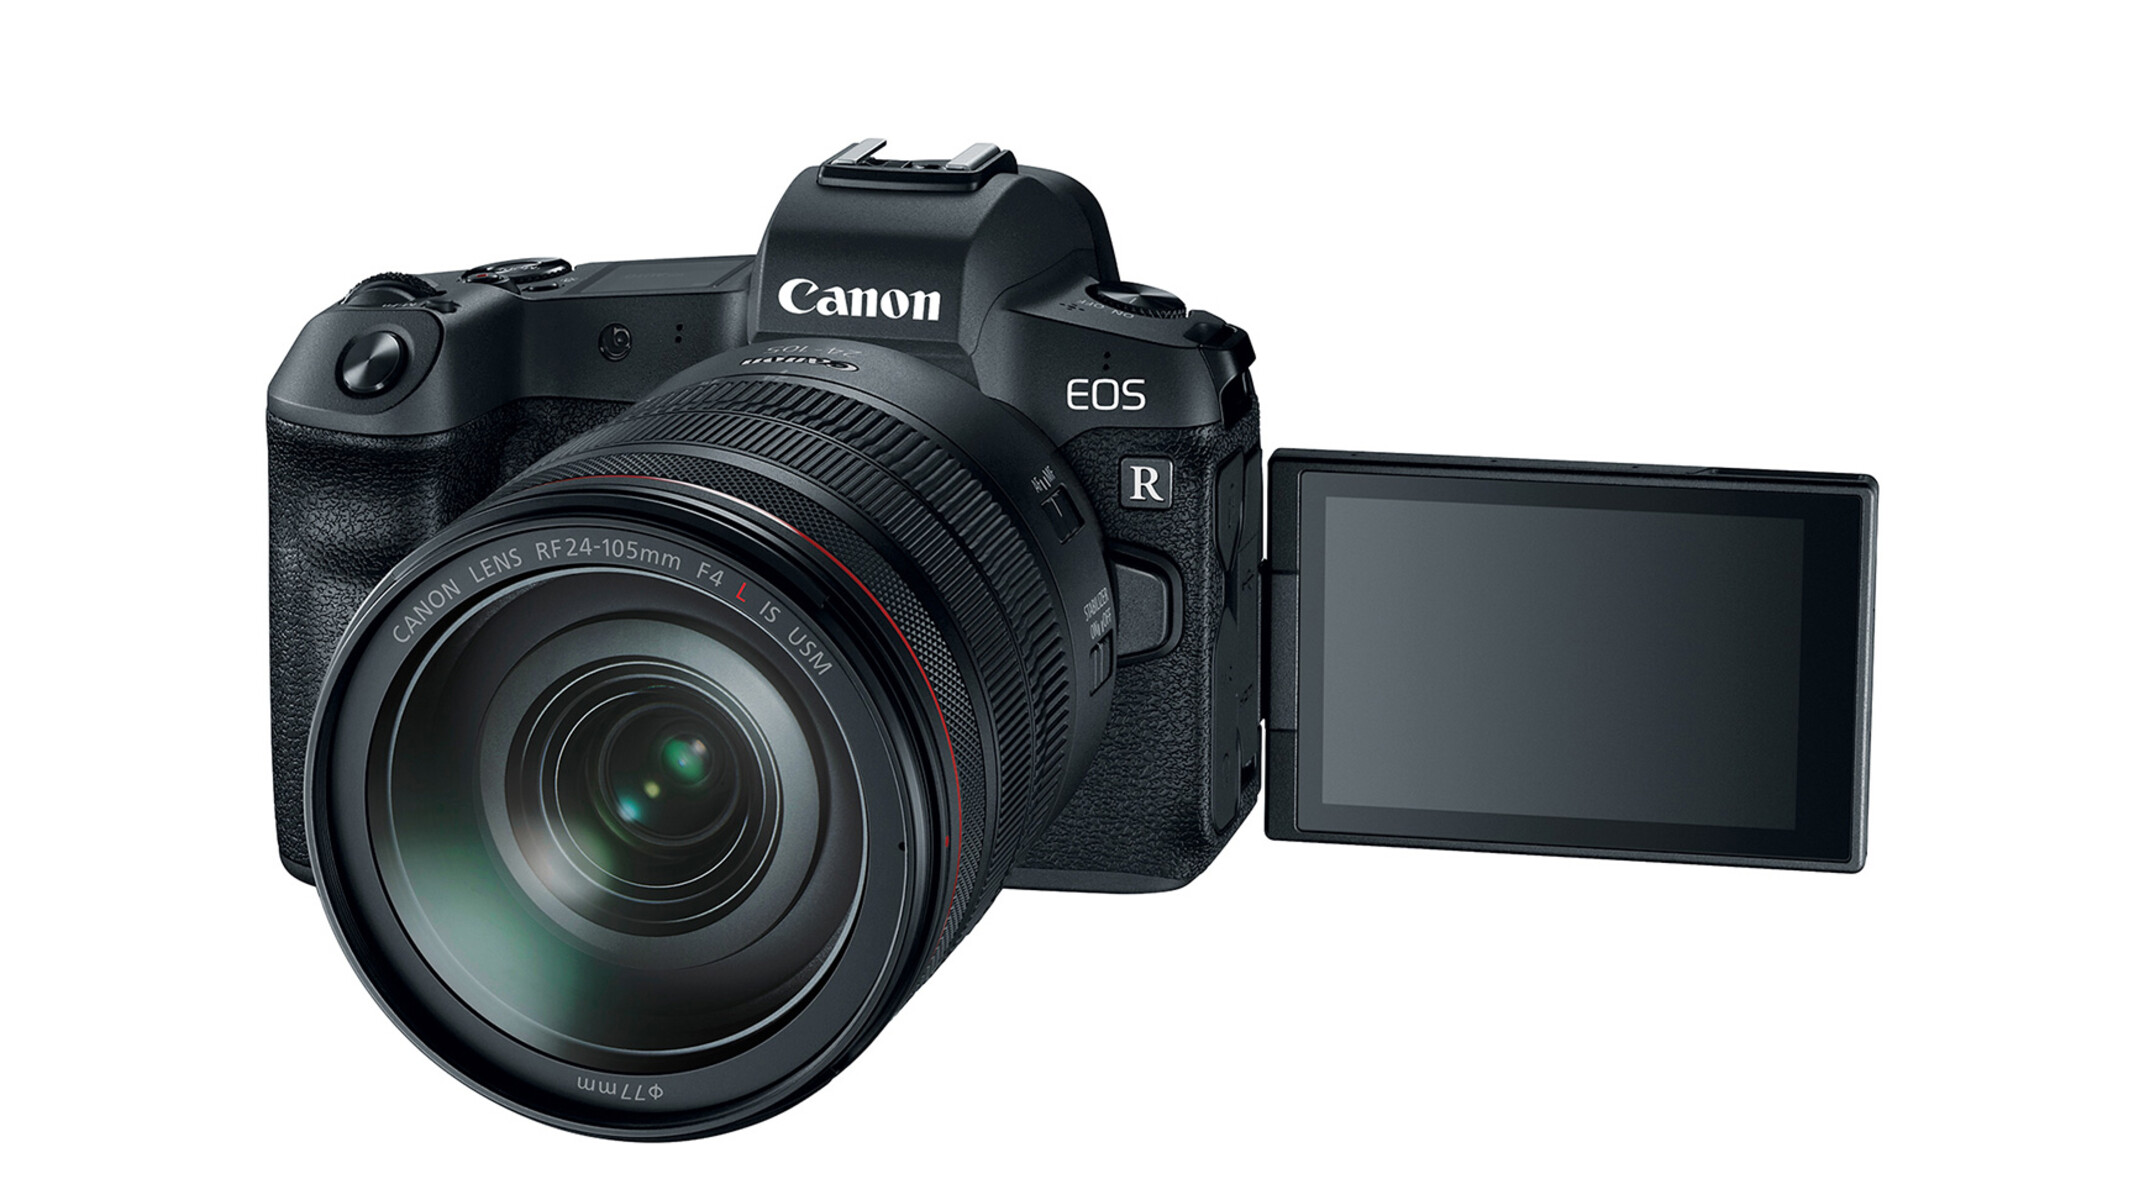
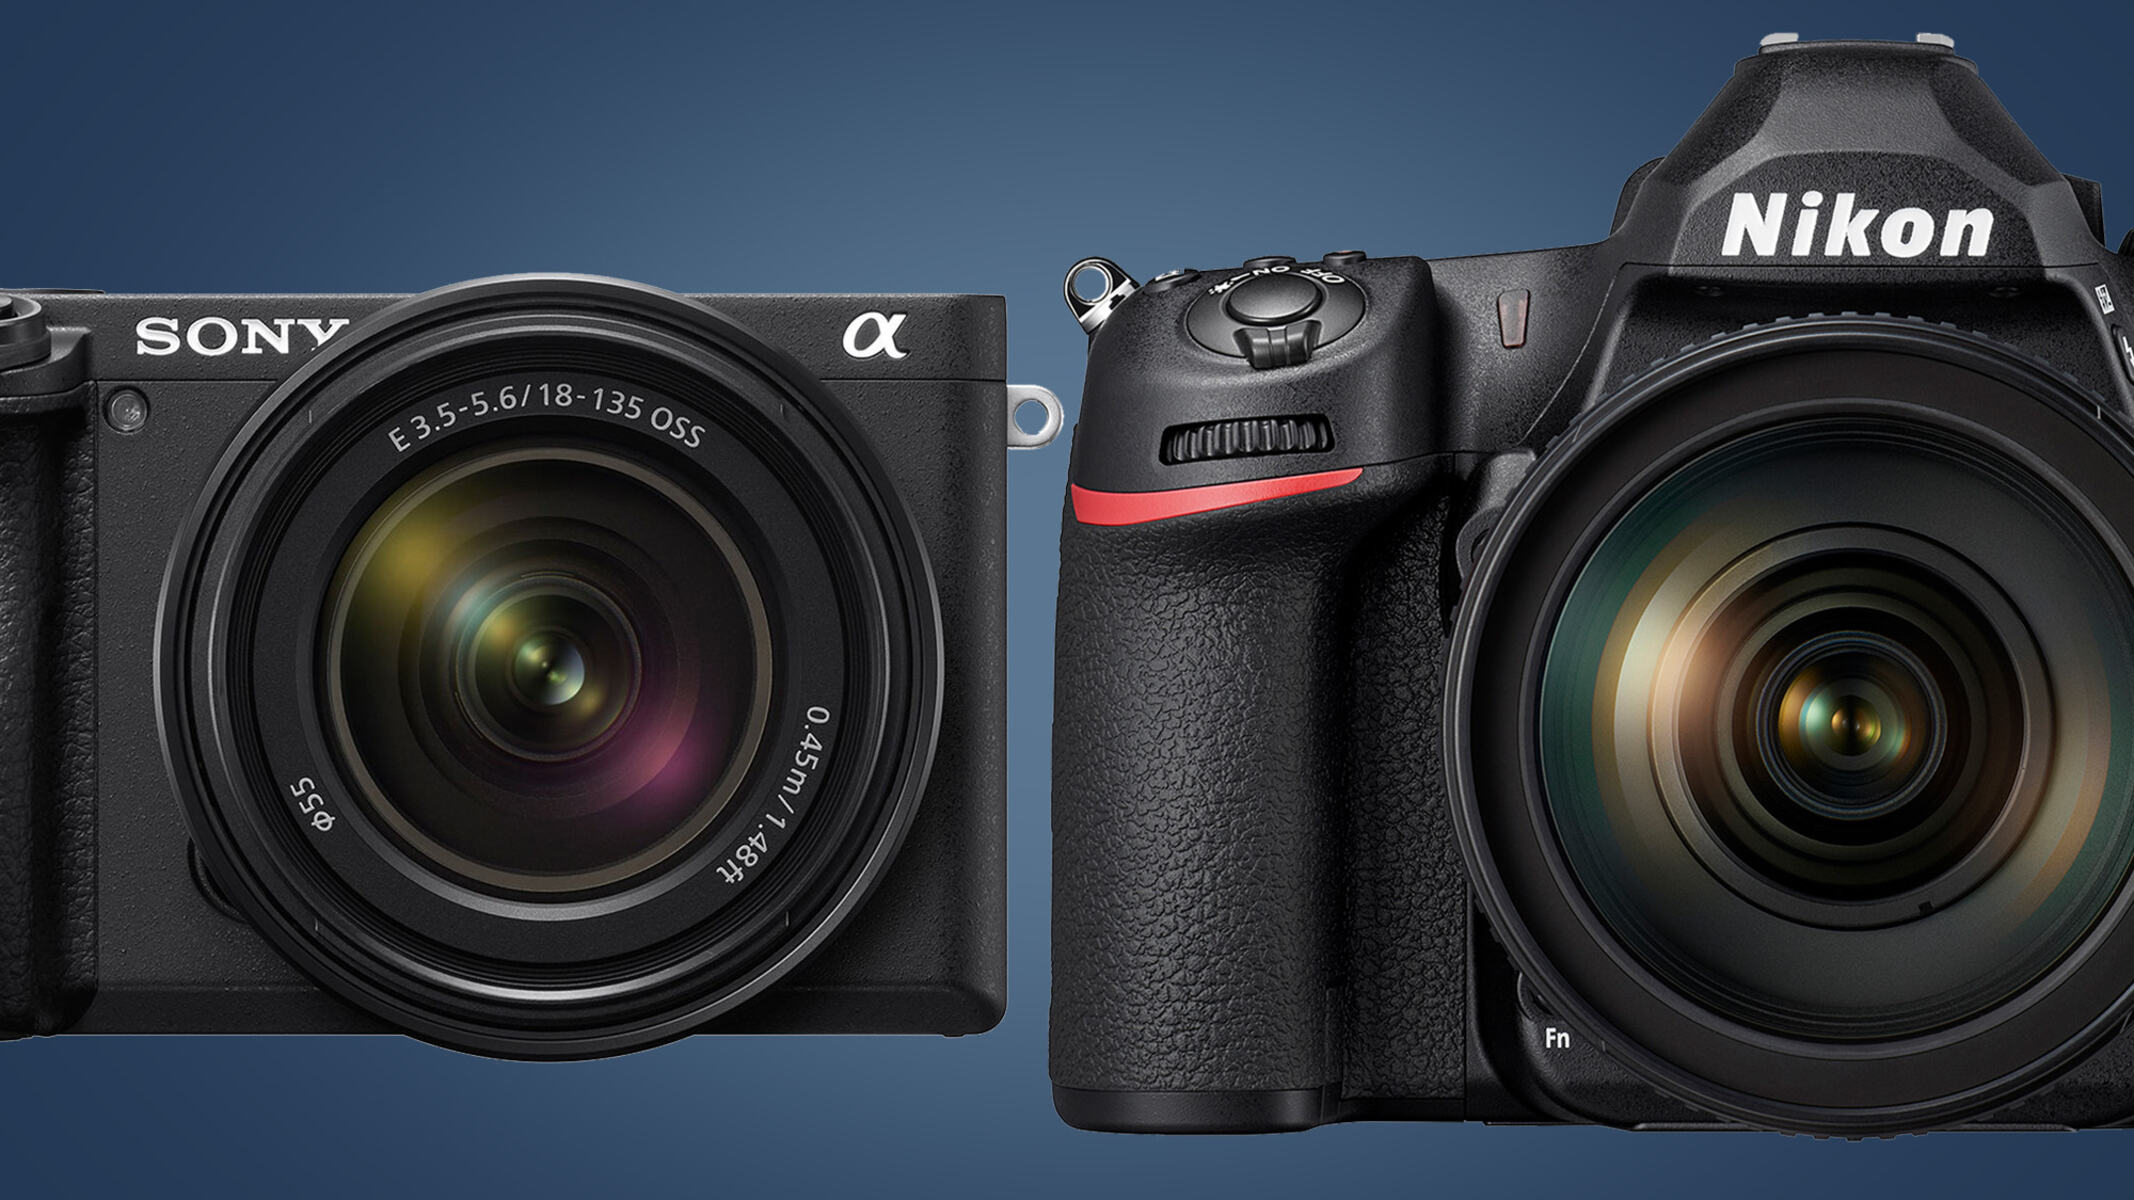
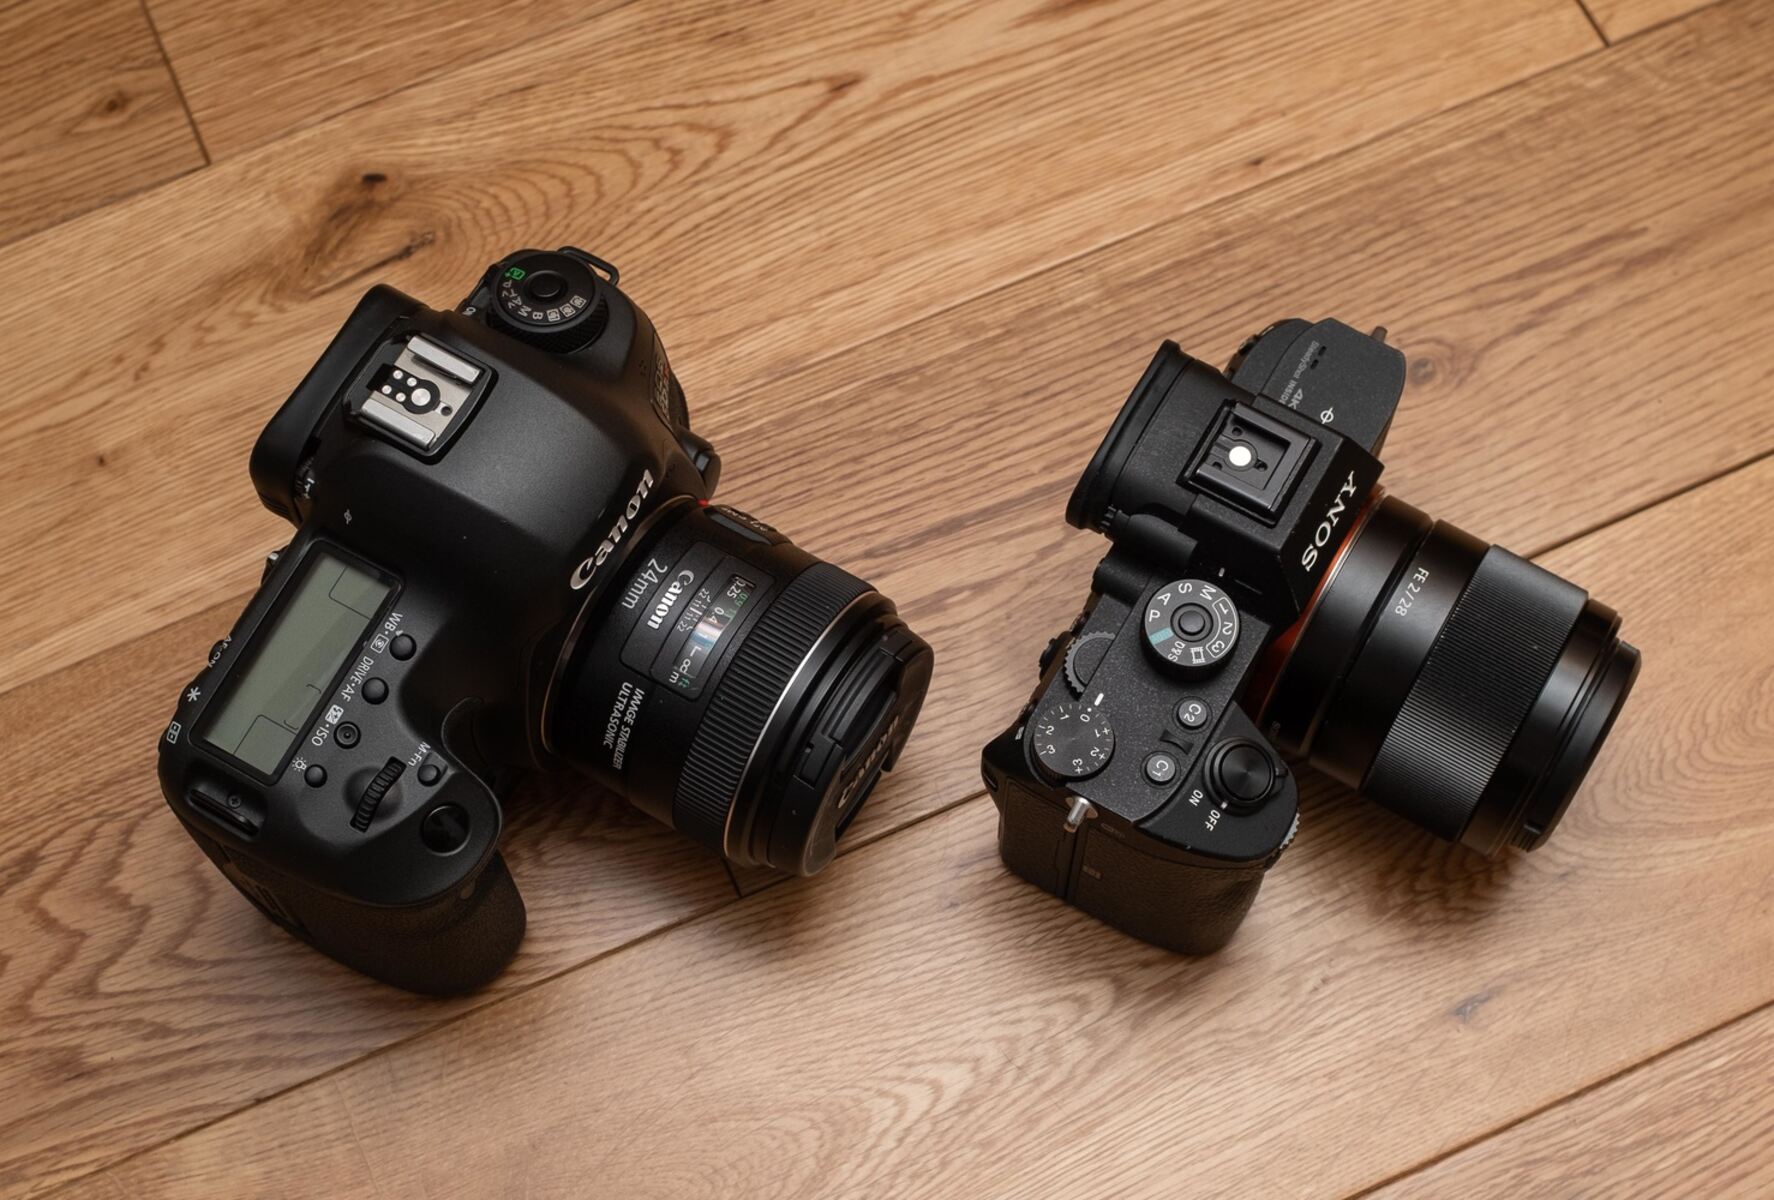
First and foremost, it is essential to determine the specific mount type of your mirrorless camera, as this will dictate the compatibility with available microscope adapters. Mirrorless cameras are commonly equipped with mounts such as Micro Four Thirds, Sony E-mount, Fujifilm X-mount, Canon RF mount, and Nikon Z mount, among others. Understanding the camera’s mount type is essential for identifying compatible adapters designed to establish a stable connection with the dissecting microscope.
Additionally, the adapter should feature a standardized microscope interface, such as a C-mount or T-mount, to seamlessly integrate with the microscope’s trinocular port or eyepiece tube. The choice between a C-mount and T-mount adapter depends on the specific configuration of the dissecting microscope and the desired imaging setup. It is imperative to verify the compatibility of the adapter with the microscope’s optical system to ensure optimal image alignment and clarity.
Furthermore, some adapters offer additional features such as adjustable magnification lenses, iris diaphragms, and built-in light paths to enhance the versatility and imaging capabilities when connected to a dissecting microscope. These advanced adapters provide finer control over the imaging parameters, allowing for precise adjustments to achieve the desired magnification, depth of field, and illumination for capturing detailed microscopic images.
By carefully selecting the right adapter that aligns with the mount type of your mirrorless camera and complements the optical configuration of the dissecting microscope, you can establish a seamless and stable connection that optimizes the imaging workflow. In the subsequent sections, we will explore the step-by-step process of attaching the selected adapter to the mirrorless camera and integrating it with the dissecting microscope to embark on a captivating journey of microphotography.
Attaching the Camera to the Microscope
With the appropriate adapter in hand, the next pivotal step in harnessing the imaging capabilities of a mirrorless camera with a dissecting microscope is securely attaching the camera to the microscope. This process involves meticulous precision to ensure optimal alignment, stability, and compatibility between the camera and the microscope’s optical system.
Begin by carefully mounting the selected adapter onto the camera’s mount, ensuring a secure and snug fit to prevent any potential movement or misalignment during the imaging process. The adapter serves as the intermediary link between the mirrorless camera and the dissecting microscope, establishing a seamless connection that facilitates the transmission of high-quality images from the microscope’s optical system to the camera’s sensor.
Once the adapter is securely attached to the camera, it is essential to align the camera with the trinocular port or eyepiece tube of the dissecting microscope. Depending on the specific configuration of the microscope, the adapter may need to be positioned and secured in the trinocular port using the appropriate locking mechanism or mounting screws to ensure a stable and precise attachment.
For microscopes equipped with an eyepiece tube, the adapter should be carefully inserted into the tube, maintaining gentle pressure to establish a secure connection while avoiding any potential damage to the microscope’s optical components. It is imperative to verify that the adapter is aligned with the optical axis of the microscope to guarantee accurate imaging and consistent results.
Throughout the attachment process, attention to detail and gentle handling are paramount to prevent any unintended misalignment or damage to the delicate components of both the camera and the dissecting microscope. Once the camera is securely attached to the microscope, the stage is set for adjusting the camera settings and preparing to capture captivating images of microscopic specimens with precision and clarity.
With the camera seamlessly integrated with the dissecting microscope, we are poised to explore the intricacies of adjusting the camera settings to optimize the imaging parameters and capture stunning images of the microscopic world in the subsequent section.
Adjusting Camera Settings
As the mirrorless camera is securely attached to the dissecting microscope, the next crucial step is to fine-tune the camera settings to optimize the imaging parameters for capturing high-quality microscopic images. By adjusting the camera settings with precision and care, you can harness the full potential of the camera’s advanced features to achieve remarkable clarity, depth, and detail in the captured images.
Begin by selecting the appropriate shooting mode on the camera, considering factors such as exposure, aperture, and shutter speed to accommodate the specific lighting conditions and magnification requirements of the microscopic specimens. Utilize the camera’s manual mode to exert full control over the exposure settings, ensuring optimal brightness and contrast in the captured images while minimizing potential overexposure or underexposure.
Furthermore, adjust the aperture settings to regulate the depth of field, allowing for selective focus on the intricate details of the microscopic specimens while achieving a pleasing background blur. The choice of aperture also influences the amount of light entering the camera, impacting the overall exposure and image clarity. Careful consideration of the aperture settings is essential for achieving the desired visual impact and detail in the captured images.
Additionally, fine-tune the ISO sensitivity to manage the camera’s response to light, especially in low-light conditions within the microscopic environment. Balancing the ISO settings to minimize noise and maintain optimal image quality is crucial for capturing crisp and detailed images of the microscopic subjects, ensuring that the inherent beauty and complexity of the specimens are faithfully preserved in the photographs.
Moreover, consider activating the camera’s image stabilization features to mitigate potential blurring caused by hand movements or vibrations, especially when working with high magnification levels. Image stabilization contributes to the overall sharpness and clarity of the captured images, enhancing the visual fidelity and precision of the microscopic details.
By meticulously adjusting the camera settings to accommodate the specific requirements of microphotography, you can harness the full potential of the mirrorless camera to capture stunning images of microscopic specimens with unparalleled detail and clarity. With the camera settings optimized, we are poised to delve into the captivating process of capturing and saving the mesmerizing images of the microscopic world in the subsequent section.
Capturing and Saving Images
With the mirrorless camera seamlessly integrated with the dissecting microscope and the camera settings meticulously adjusted, the stage is set for capturing and preserving the captivating images of the microscopic world with precision and creativity. The process of capturing and saving images involves a seamless blend of technical finesse and artistic vision, allowing you to immortalize the intricate details and mesmerizing beauty of the microscopic specimens.
Before capturing the images, carefully position the microscopic specimen within the field of view, ensuring optimal composition and focus to highlight the most compelling details. Utilize the microscope’s focusing mechanisms to achieve precise and sharp focus on the desired areas of the specimen, ensuring that the captured images exude clarity and visual impact.
Once the specimen is meticulously positioned and focused, gently trigger the camera’s shutter to capture the image, maintaining steady composure to minimize potential blurring and ensure the fidelity of the intricate details. Depending on the specific configuration of the microscope and camera, you may utilize remote shutter release mechanisms or self-timer functions to further minimize vibrations and disturbances during the image capture process.
As each image is captured, review the results on the camera’s display or electronic viewfinder to assess the composition, focus, and overall visual impact. Fine-tune the positioning and focus of the specimen as needed to capture a series of compelling images that showcase the diverse facets and details of the microscopic world.
Following the image capture process, leverage the camera’s storage capabilities to save the images in a high-resolution format, preserving the intricate details and visual fidelity of the microscopic specimens. Utilize the camera’s memory card or internal storage to safeguard the captured images, ensuring that each photograph is stored with meticulous care and precision.
Furthermore, consider transferring the saved images to a computer or external storage device for archival and post-processing purposes, allowing for comprehensive organization, analysis, and enhancement of the captured images. By preserving the images in a digital format, you can seamlessly share the captivating details of the microscopic world with colleagues, students, and enthusiasts, fostering a deeper appreciation for the beauty and complexity of microscopic specimens.
Through the seamless process of capturing and saving images of the microscopic world, we have embarked on a captivating journey of documentation and exploration, preserving the mesmerizing details and visual narratives of the microcosmos with precision and artistry.
Conclusion
Embarking on the seamless integration of a mirrorless camera with a dissecting microscope has unveiled a captivating convergence of cutting-edge imaging technology and the mesmerizing world of microscopy. Through a meticulous exploration of the essential steps and considerations, we have unraveled the transformative process of harnessing the imaging capabilities of a mirrorless camera to capture stunning images of microscopic specimens with precision and artistry.
From understanding the fundamental features of mirrorless cameras to selecting the appropriate adapter and seamlessly attaching the camera to the microscope, each step has contributed to the seamless fusion of innovative technology and microscopic exploration. The careful adjustment of camera settings and the captivating process of capturing and saving images have further enriched the journey, preserving the intricate details and visual narratives of the microcosmos with unparalleled clarity and finesse.
As we conclude this enlightening guide, it is evident that the integration of a mirrorless camera with a dissecting microscope transcends the realms of scientific exploration and artistic expression, offering a gateway to the captivating world of microscopic wonders. The seamless convergence of technology and microscopy empowers researchers, educators, and enthusiasts to document, analyze, and share the captivating details of the microscopic world, fostering a deeper understanding and appreciation for the inherent beauty and complexity of microscopic specimens.
By seamlessly integrating a mirrorless camera with a dissecting microscope, we have not only unlocked new avenues for scientific inquiry and documentation but also kindled a sense of wonder and curiosity, inviting individuals to embark on a captivating journey of discovery and visual storytelling within the microcosmos.
As we reflect on the transformative process of merging cutting-edge photography technology with the captivating world of microscopy, we are poised to embark on a continued exploration of the microscopic realm, capturing and preserving the mesmerizing details with unwavering precision and creativity.