Introduction
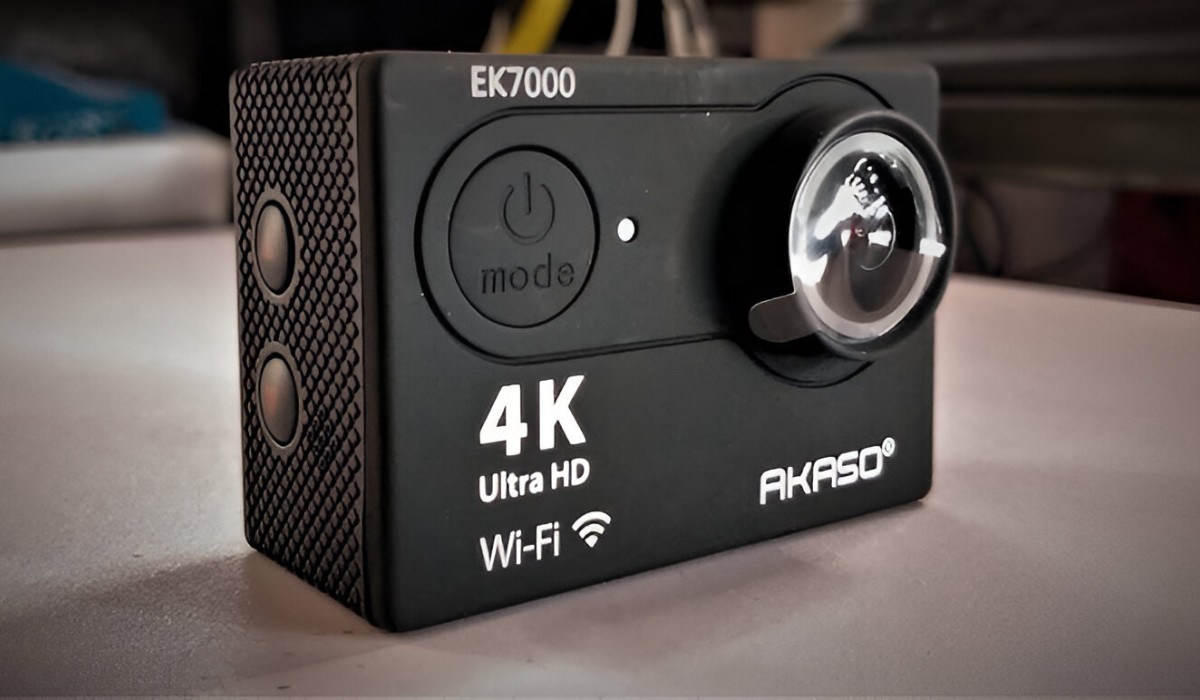
Are you an avid action camera user looking to enhance the audio quality of your videos? Incorporating a microphone with your action camera can significantly elevate the overall production value of your footage. Whether you're capturing extreme sports, vlogging, or documenting your travels, a high-quality microphone can make a substantial difference in the clarity and richness of the audio. In this guide, we will explore the seamless integration of a microphone with your action camera, providing step-by-step instructions and valuable tips to ensure optimal audio performance.
When it comes to action-packed activities, the built-in microphone of your action camera may struggle to capture clear audio amidst the surrounding noise. This is where an external microphone becomes indispensable. By utilizing an external microphone, you can effectively isolate the desired sound, whether it's your voice, ambient sounds, or specific actions, resulting in a more immersive and professional viewing experience for your audience.
The process of integrating a microphone with your action camera may seem daunting at first, but with the right guidance, you can easily master this technique. From selecting the appropriate microphone to adjusting the camera settings for optimal audio capture, we will cover everything you need to know to seamlessly incorporate a microphone into your action camera setup.
By the end of this comprehensive guide, you will be equipped with the knowledge and confidence to harness the power of high-quality audio in conjunction with your action camera, elevating the impact and appeal of your video content. So, let's dive into the world of audio enhancement and unleash the full potential of your action camera footage.
Choosing the Right Microphone
Before delving into the technical aspects of integrating a microphone with your action camera, it’s crucial to select the right microphone for your specific recording needs. The market offers a wide array of microphones tailored to diverse environments and activities, so it’s essential to consider the following factors when making your selection:
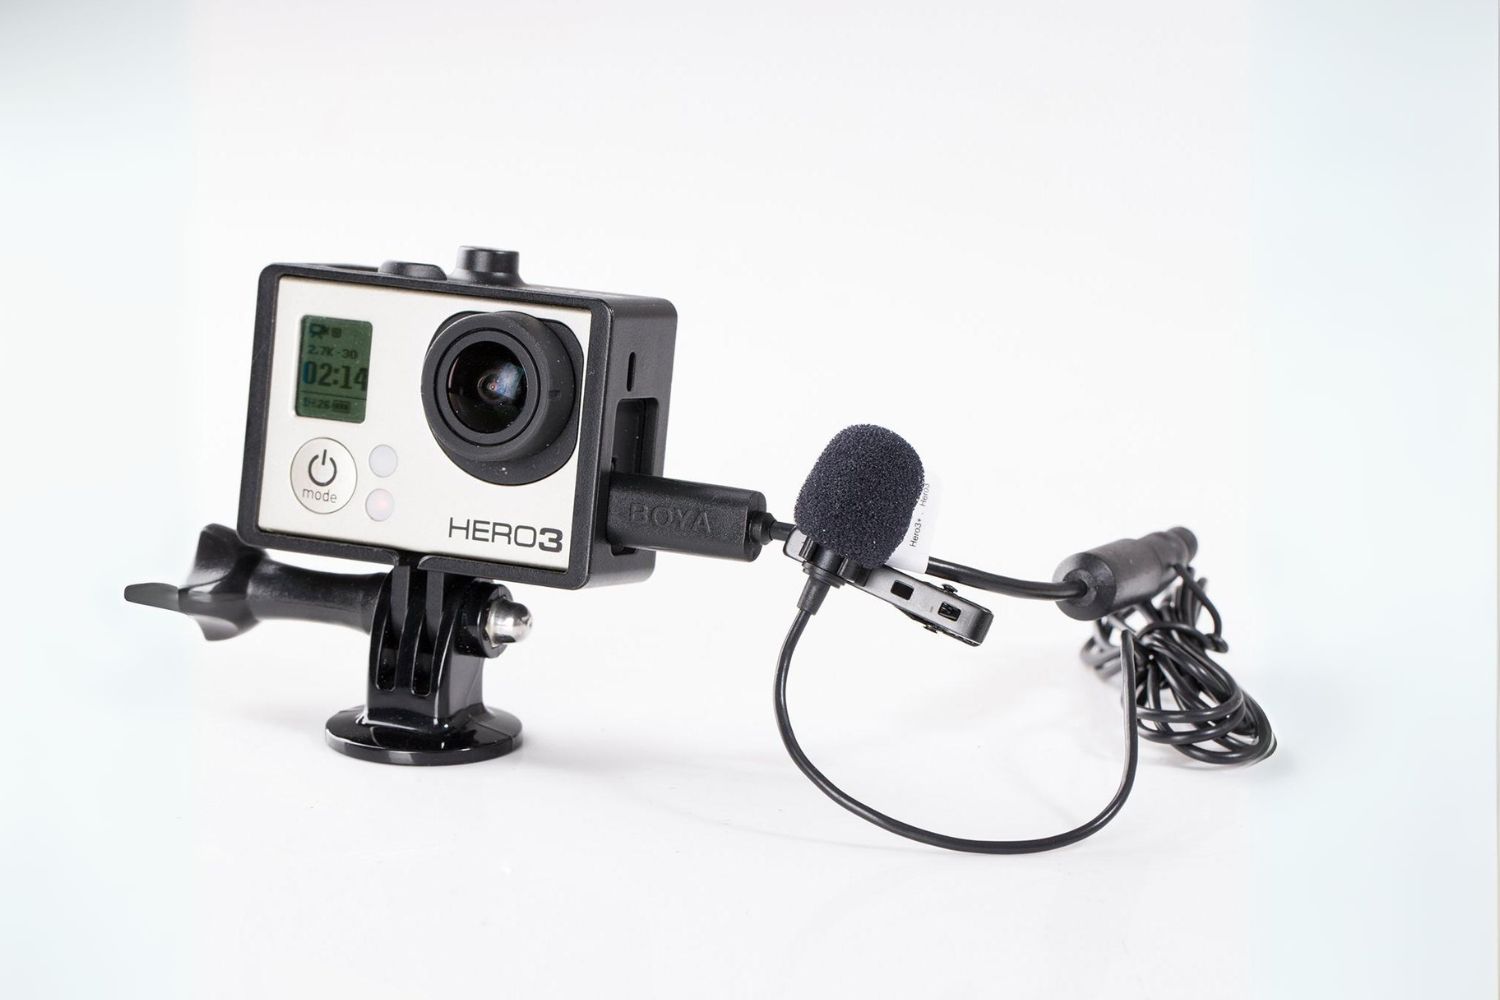
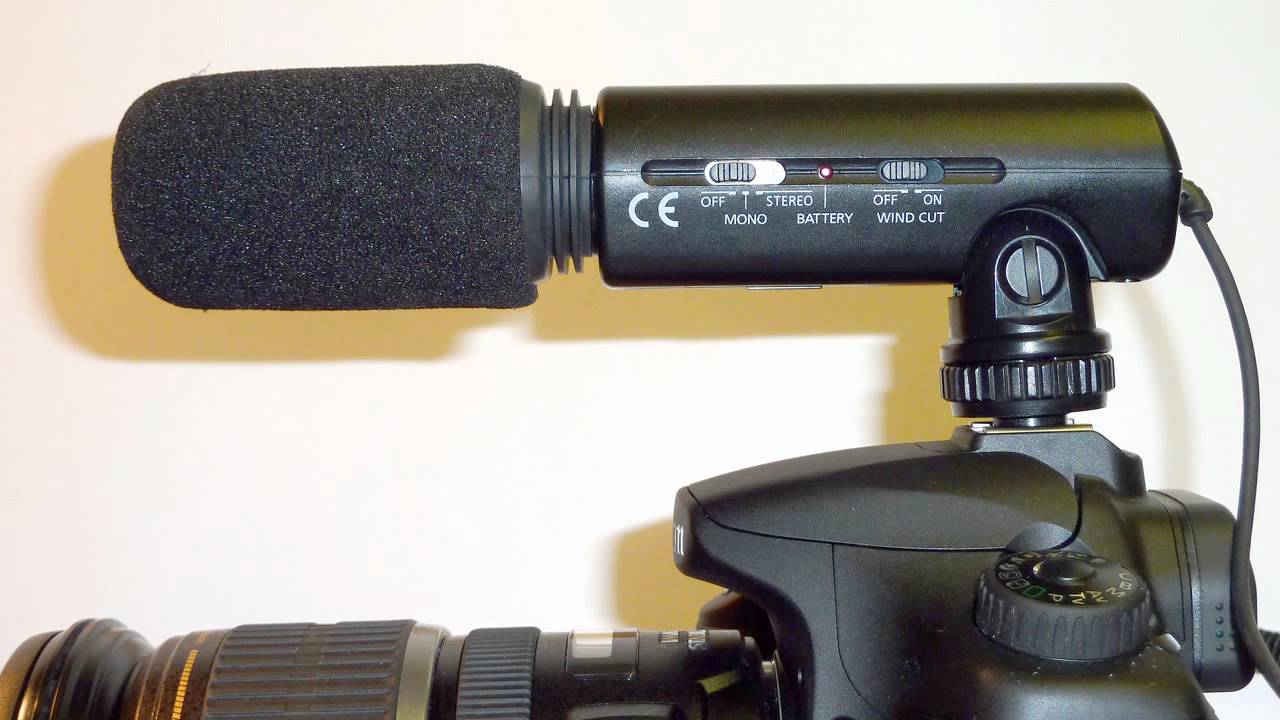
- Microphone Type: The first consideration is the type of microphone that best suits your recording requirements. For action-packed scenarios, a compact and durable microphone, such as a shotgun or lavalier microphone, is ideal for capturing clear audio while minimizing interference from surrounding noise.
- Compatibility: Ensure that the microphone you choose is compatible with your action camera. Some microphones may require adapters or specific connectors to interface with your device, so it’s important to verify compatibility before making a purchase.
- Directionality: Depending on the nature of your recordings, consider the microphone’s directionality. A unidirectional microphone is effective for isolating sound from a specific direction, while an omnidirectional microphone captures sound from all directions. Select the directionality that best aligns with your recording preferences.
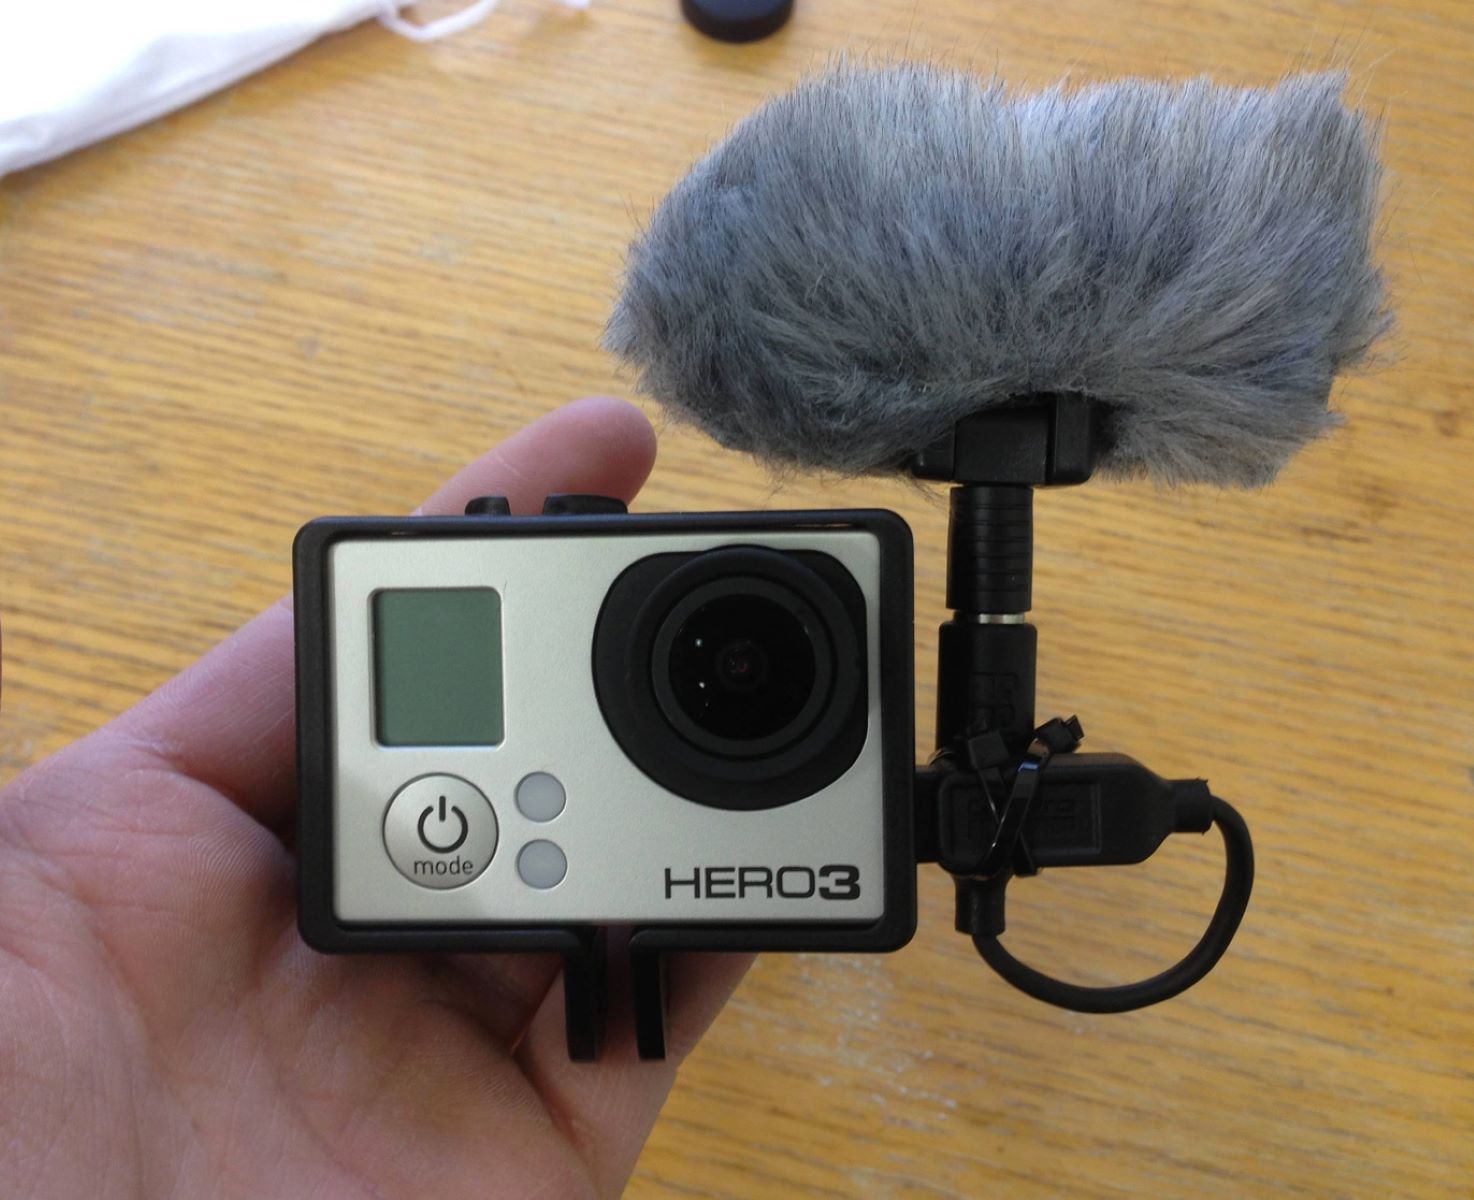
- Wind Protection: If you frequently record outdoors or in windy conditions, opt for a microphone equipped with wind protection features. This will minimize unwanted noise caused by wind interference, ensuring that your audio remains crisp and clear.
- Additional Features: Explore additional features such as built-in shock mounts, low-cut filters, and adjustable gain settings. These features can significantly enhance the microphone’s performance and adaptability to various recording environments.
By carefully considering these factors, you can narrow down your options and select a microphone that perfectly complements your action camera setup, empowering you to capture high-quality audio that enhances the overall impact of your videos.
Attaching the Microphone to the Action Camera
Once you have selected the ideal microphone for your recording needs, the next step is to seamlessly integrate it with your action camera. Properly attaching the microphone ensures optimal audio capture while maintaining the functionality and maneuverability of your camera setup. Here’s a step-by-step guide to attaching the microphone to your action camera:
- Locate the Microphone Input: Identify the microphone input port on your action camera. This may be located on the camera body or within a designated housing, depending on the model.
- Connect the Microphone: If your microphone utilizes a standard 3.5mm audio jack, simply plug it into the microphone input port on your action camera. For microphones with alternative connectors, such as USB or proprietary connections, use the appropriate adapters or cables to establish a secure connection.
- Secure the Cable: Ensure that the microphone cable is neatly secured to prevent any interference with the camera’s operation or obstructing your movements during recording. Utilize cable clips or adhesive cable mounts to keep the cable tidy and out of the camera’s field of view.
- Position the Microphone: Depending on the microphone type and your recording scenario, position the microphone for optimal audio capture. For shotgun microphones, aim the microphone towards the sound source, while lavalier microphones can be discreetly clipped to your clothing, positioned close to your mouth for clear vocal pickup.
- Test the Connection: Before commencing your recording, conduct a brief test to ensure that the microphone is successfully connected and functioning as expected. Monitor the audio levels on your camera to verify that the microphone is actively capturing sound.
By following these steps, you can seamlessly integrate the microphone with your action camera, empowering you to capture high-fidelity audio that complements the visual content. The secure attachment of the microphone ensures that you can focus on your recording without any concerns about audio quality, enabling you to unleash the full potential of your action camera setup.
Adjusting the Settings on the Action Camera
After successfully attaching the microphone to your action camera, it’s essential to configure the camera settings to optimize the audio recording process. By adjusting the settings accordingly, you can ensure that the audio captured by the microphone aligns with your specific recording requirements. Here’s a detailed guide to adjusting the settings on your action camera for seamless integration with the microphone:
- Microphone Input Selection: Access the camera’s settings menu and navigate to the audio input or microphone settings. Select the appropriate input source to indicate that an external microphone is connected. This step enables the camera to prioritize the audio input from the external microphone rather than the built-in microphone.
- Audio Levels and Gain Control: Explore the camera’s audio settings to adjust the input levels and gain control. Aim to set the input levels to a range that captures clear and balanced audio without peaking or distorting. Some cameras offer manual gain control, allowing you to fine-tune the microphone’s sensitivity to suit the recording environment.
- Wind Noise Reduction: If your action camera features wind noise reduction settings, activate this feature to minimize the impact of wind interference on the audio. This setting can significantly enhance the clarity of outdoor recordings, especially in windy conditions, by reducing unwanted noise caused by gusts of wind.
- Monitoring and Playback: Utilize the camera’s audio monitoring capabilities to listen to the audio captured by the microphone in real time. This feature enables you to assess the audio quality and make adjustments as necessary before or during recording. Additionally, review the playback of test recordings to ensure that the audio meets your expectations.
- External Microphone Compatibility: If your action camera supports specific microphone models or brands, explore any additional settings or optimizations tailored to enhance the performance of compatible external microphones. Some cameras offer enhanced functionality when paired with recommended microphones, providing advanced audio processing and control options.
By meticulously adjusting the settings on your action camera, you can harness the full potential of the integrated microphone, resulting in high-quality audio that seamlessly complements your video content. These tailored adjustments ensure that the audio recording process is optimized for various recording scenarios, empowering you to capture immersive and crystal-clear sound alongside your captivating visuals.
Recording with the Microphone
Once the microphone is seamlessly integrated with your action camera and the settings have been adjusted to optimize audio capture, you are ready to embark on your recording journey with enhanced audio capabilities. Recording with the microphone introduces a new dimension to your video content, elevating the overall production quality and viewer engagement. Here’s a comprehensive guide to effectively record with the microphone integrated into your action camera:
- Preparation and Positioning: Before commencing your recording, ensure that the microphone is securely attached and positioned for optimal audio capture. Take into account the directionality of the microphone and the intended sound sources to maximize the audio quality during recording.
- Test Recording: Conduct a brief test recording to evaluate the audio levels and quality. This preliminary assessment allows you to make any necessary adjustments to the microphone position or settings before capturing your primary footage.
- Engage with the Environment: Leverage the enhanced audio capabilities to capture the ambient sounds and immersive details of your surroundings. Whether you’re documenting outdoor adventures, travel experiences, or dynamic activities, the microphone enriches the auditory elements of your videos, creating a more immersive viewing experience.
- Engage with the Audience: If your content involves direct communication, vlogging, or storytelling, the microphone empowers you to deliver clear and articulate narration, engaging directly with your audience. The enhanced vocal clarity adds a professional touch to your videos, fostering a deeper connection with your viewers.
- Dynamic Soundscapes: Embrace the versatility of the microphone to capture dynamic soundscapes, such as the revving of engines, crashing waves, or the subtle nuances of musical performances. The microphone elevates the audio fidelity, preserving the authenticity and impact of these auditory experiences within your videos.
By embracing the capabilities of the integrated microphone, you can unleash the full potential of your action camera footage, delivering a captivating audio-visual experience to your audience. The seamless integration of high-quality audio enhances the narrative, emotion, and overall impact of your videos, setting the stage for a more immersive and compelling storytelling journey.
Tips for Using a Microphone with an Action Camera
Integrating a microphone with your action camera opens up a realm of possibilities for enhancing the audio quality of your video content. To maximize the effectiveness of this integration and elevate the overall production value of your recordings, consider the following tips and best practices:
- Environmental Considerations: Be mindful of the recording environment and its potential impact on audio quality. In outdoor settings, utilize windshields or furry wind muffs to mitigate wind noise and ensure clear audio capture, especially in windy conditions.
- Microphone Maintenance: Regularly inspect and clean your microphone to prevent dust, debris, or moisture from affecting its performance. Proper maintenance prolongs the lifespan of the microphone and preserves its audio fidelity.
- Audio Monitoring: Utilize headphones or the camera’s audio monitoring capabilities to actively listen to the audio being captured. This real-time assessment enables you to make on-the-fly adjustments to the microphone position or settings for optimal results.
- Experiment with Placement: Explore different microphone placement options to determine the most effective configuration for your specific recording scenarios. Experimenting with placement allows you to tailor the audio capture to suit varying activities and environments.
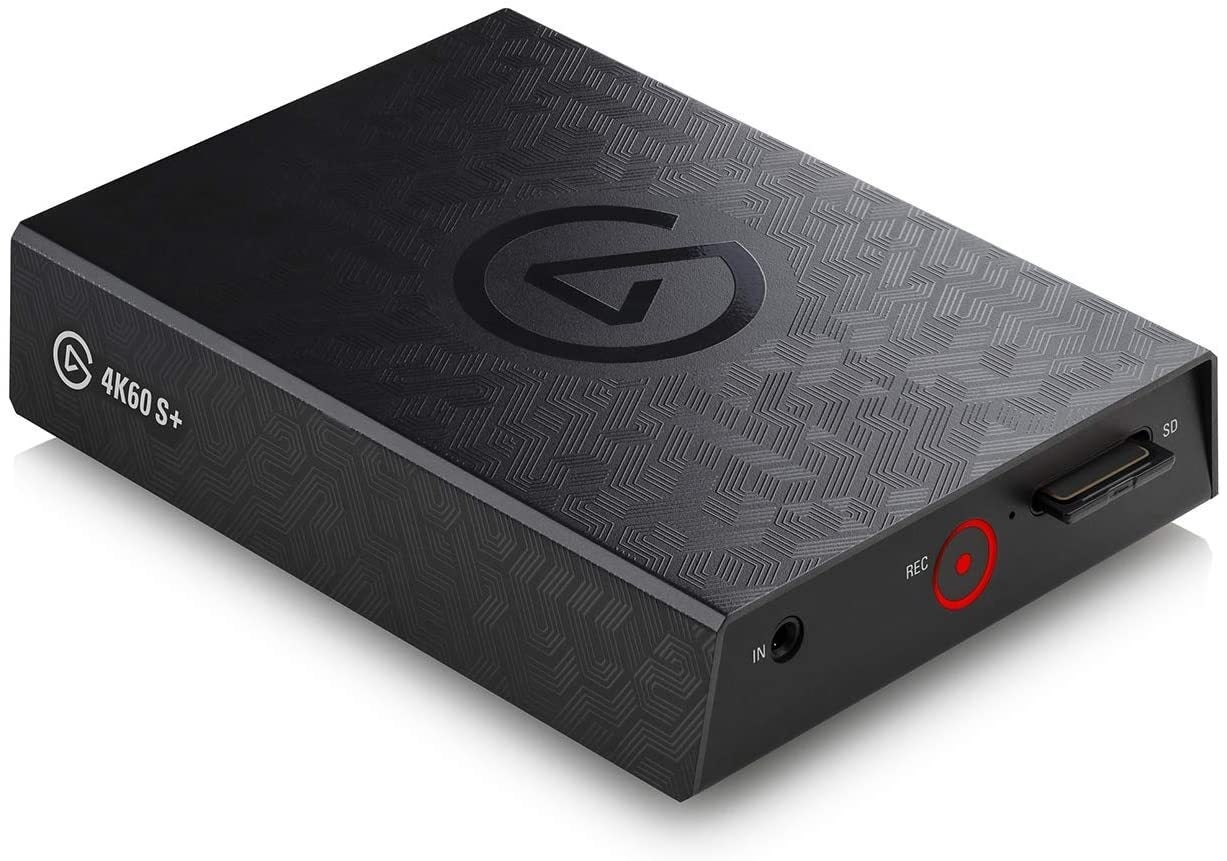
- Utilize External Audio Recorders: For advanced audio control and flexibility, consider incorporating an external audio recorder in conjunction with the microphone and action camera. This setup enables independent audio adjustments and offers redundancy in audio capture.
- Syncing Audio and Video: When using an external audio recorder, ensure seamless synchronization between the audio and video tracks during post-production. This synchronization preserves the audio-visual coherence of your recordings.
- Customize Audio Settings: Familiarize yourself with the audio settings on your action camera to leverage features such as manual gain control, low-cut filters, and audio equalization. Customizing these settings empowers you to tailor the audio capture to your specific preferences and recording conditions.
- Continuous Learning and Adaptation: Stay informed about advancements in microphone technology, audio recording techniques, and post-production processes. Continuously refining your audio skills and adapting to new tools and methodologies enhances the overall audio-visual experience for your audience.
By incorporating these tips into your workflow, you can harness the full potential of integrating a microphone with your action camera, transforming your video content with immersive and high-fidelity audio. These practices empower you to expand your creative horizons and deliver captivating audio-visual narratives that resonate with your audience.


