Introduction
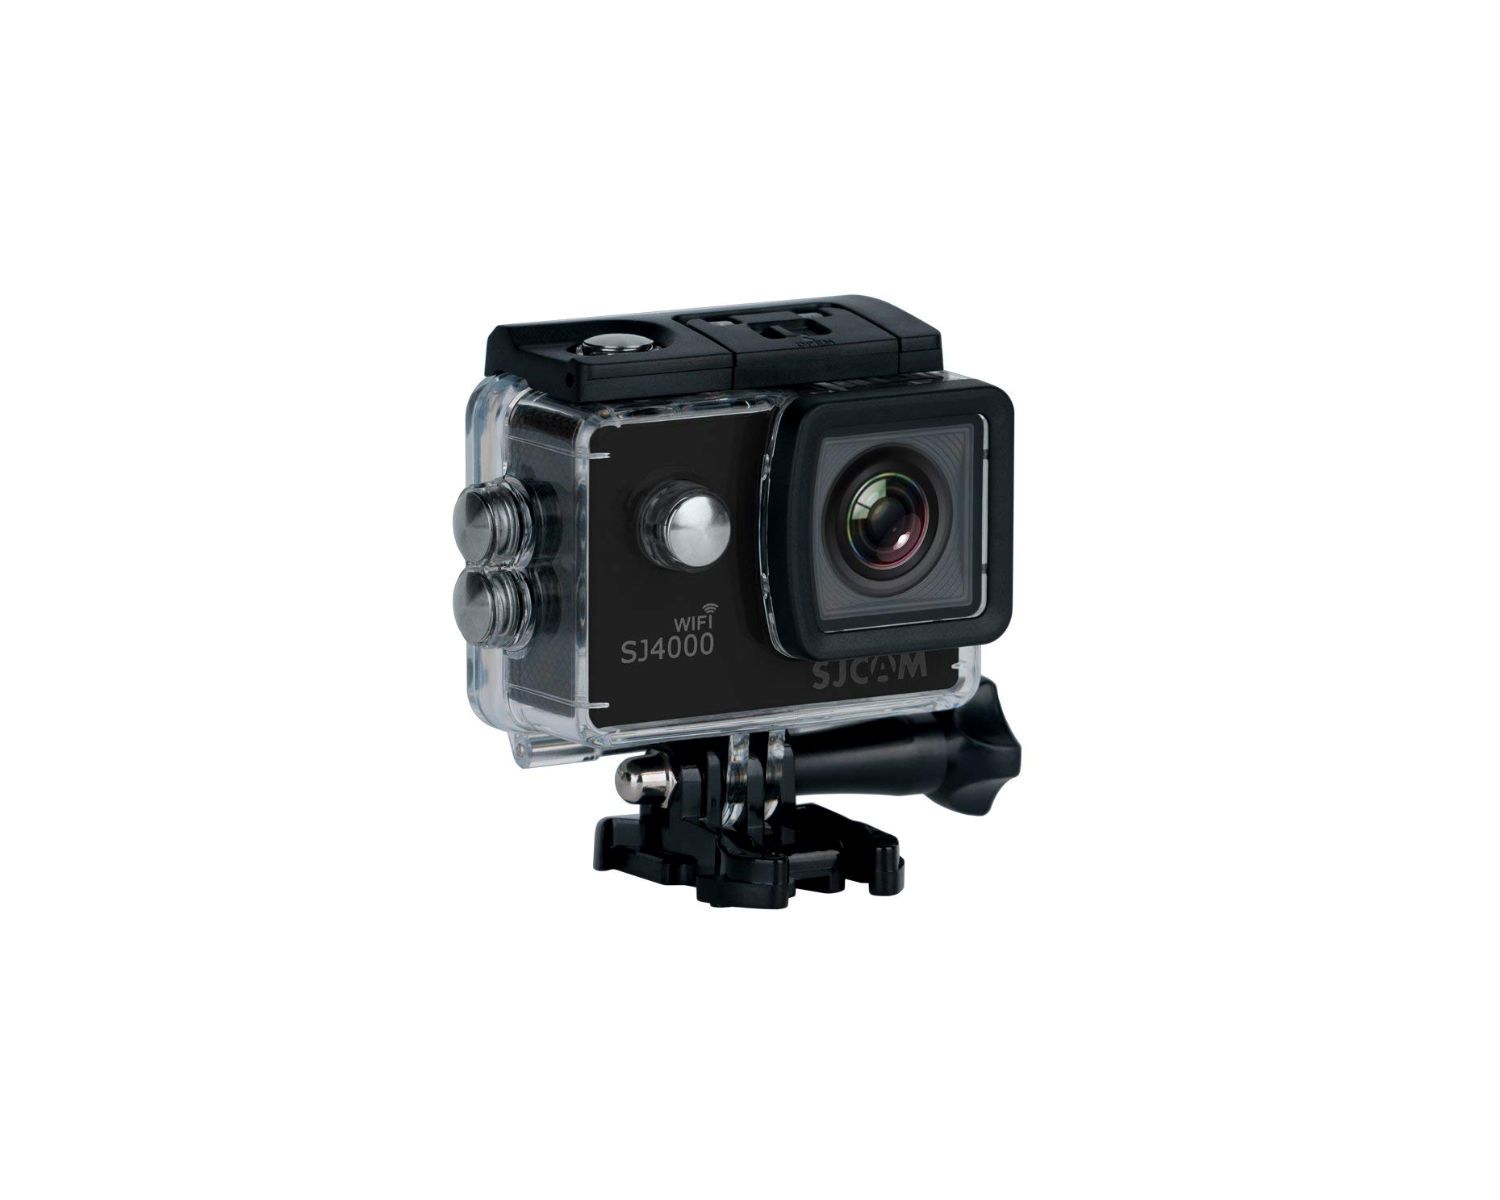
So, you've just returned from an exhilarating underwater adventure, and now it's time to remove the waterproof case from your SJ4000 action camera. While the waterproof case provides unparalleled protection for your camera during aquatic escapades, it can be a bit tricky to remove. Fret not, for with the right tools and techniques, you can easily disengage the waterproof case and unveil your precious footage.
Removing the waterproof case from your SJ4000 action camera requires a delicate touch and a keen understanding of the device's design. This guide will walk you through the step-by-step process, ensuring that you can safely and efficiently extract your camera from its protective enclosure.
Before delving into the removal process, it's important to gather the necessary tools. You'll need a small flathead screwdriver and a soft cloth. These items will aid in disengaging the latch and releasing the seal without causing any damage to the camera or the waterproof case.
Now, let's dive into the intricacies of removing the waterproof case from your SJ4000 action camera, allowing you to relive your aquatic escapades and share your stunning underwater footage with the world.
Tools Needed
Before embarking on the task of removing the waterproof case from your SJ4000 action camera, it’s essential to gather the appropriate tools. These tools will facilitate the safe and efficient extraction of the camera from its protective enclosure.
1. Small Flathead Screwdriver: This tool will be used to carefully disengage the latch securing the waterproof case. It’s crucial to use a small flathead screwdriver to avoid damaging the latch or the surrounding components.
2. Soft Cloth: Having a soft cloth on hand is indispensable for wiping away any moisture or debris that may have accumulated on the waterproof case. This ensures that no particles interfere with the removal process and helps maintain the integrity of the camera and its housing.
By having these tools readily available, you’ll be well-prepared to tackle the task of removing the waterproof case from your SJ4000 action camera. With the right tools at your disposal, you can proceed with confidence, knowing that you have everything necessary to complete the process smoothly and without causing any harm to your camera or its protective housing.
Step 1: Open the Latch
Opening the latch of the waterproof case is the initial step in the process of removing it from your SJ4000 action camera. This pivotal step requires precision and a gentle touch to ensure that the latch is disengaged without causing any damage to the camera or the case.
To open the latch, follow these steps:
- Locate the Latch: The latch is typically positioned on the side or front of the waterproof case, securing it tightly to protect the camera within. Carefully inspect the case to identify the precise location of the latch.
- Position the Screwdriver: Using the small flathead screwdriver, gently insert the tip into the designated slot on the latch. Ensure that the screwdriver is aligned properly to avoid slippage that could result in scratches or damage to the case.
- Apply Gentle Pressure: With the screwdriver in place, exert light and steady pressure to disengage the latch. It’s crucial to avoid applying excessive force, as this could lead to breakage or deformation of the latch, rendering it ineffective in securing the case in the future.
- Verify Release: Once you’ve applied pressure, carefully inspect the latch to confirm that it has been released. You may hear a subtle click or notice a slight movement indicating that the latch has disengaged from its locked position.
By meticulously following these steps, you can successfully open the latch of the waterproof case, setting the stage for the subsequent stages of the removal process. It’s imperative to exercise patience and caution during this step, as it lays the foundation for safely extracting the camera from its protective housing.
Step 2: Release the Seal
After successfully opening the latch of the waterproof case, the next crucial step in removing it from your SJ4000 action camera is to release the seal. The seal plays a pivotal role in maintaining the waterproof integrity of the case, and it must be carefully disengaged to ensure the safe extraction of the camera.
Follow these steps to release the seal:
- Inspect the Seal: Take a close look at the perimeter of the waterproof case to locate the seal. The seal is designed to create a watertight barrier, safeguarding the camera from water and debris during underwater excursions.
- Gently Pry the Seal: Using the small flathead screwdriver, carefully insert the tip between the seal and the edge of the case. Exercise caution to avoid applying excessive force, as the goal is to gently pry the seal without causing any damage to its integrity.
- Work Around the Case: Gradually work your way around the entire perimeter of the case, gently prying the seal to release it from its secured position. Take your time and ensure that the seal is being disengaged uniformly to prevent uneven pressure on the case.
- Verify Seal Release: Once you’ve worked around the entire perimeter, verify that the seal has been released by gently lifting the edge of the case. You should feel a reduction in resistance, indicating that the seal has been successfully disengaged.
By meticulously following these steps, you can effectively release the seal of the waterproof case, paving the way for the safe and seamless removal of your SJ4000 action camera. It’s essential to approach this step with precision and care, as the seal is integral to the protective function of the case and must be handled delicately to maintain its effectiveness.
Step 3: Gently Remove the Camera
With the latch opened and the seal released, the final step in removing the waterproof case from your SJ4000 action camera involves gently extracting the camera from its protective enclosure. This step demands attentiveness and a delicate touch to ensure that the camera is safely disengaged without encountering any resistance or potential damage.
Follow these steps to gently remove the camera:
- Steady the Case: Hold the waterproof case securely with one hand, ensuring that it remains stable and level to prevent any sudden movements that could jostle the camera inside.
- Support the Camera: With your other hand, carefully support the camera from below as you prepare to lift it out of the case. It’s crucial to maintain a firm yet gentle grip to prevent any accidental drops or slips.
- Apply Even Pressure: Slowly and evenly lift the camera out of the case, maintaining a steady and controlled motion. Avoid jerky or abrupt movements that could potentially damage the camera or the case.
- Verify Clearance: As the camera is being removed, ensure that it clears the edges of the case smoothly and without encountering any resistance. This careful maneuvering is essential to prevent any scraping or impact between the camera and the case.
By methodically following these steps, you can safely and gently remove the camera from the waterproof case, completing the process with precision and care. It’s imperative to handle the camera with the utmost delicacy during this step, ensuring that it emerges unscathed from its protective enclosure, ready to showcase the captivating footage captured during your underwater adventures.
Conclusion
Successfully removing the waterproof case from your SJ4000 action camera is a task that demands patience, precision, and a gentle touch. By following the step-by-step process outlined in this guide, you can confidently disengage the case and unveil your camera, ready to share the captivating footage captured during your aquatic expeditions.
From opening the latch with a small flathead screwdriver to releasing the seal and gently extracting the camera, each step requires meticulous attention and a keen understanding of the device’s design. It’s essential to approach the removal process with care, ensuring that both the camera and the waterproof case remain unharmed throughout the procedure.
By utilizing the appropriate tools and following the outlined steps, you can safely remove the waterproof case from your SJ4000 action camera, allowing you to relive your underwater escapades and share your stunning footage with the world. Remember to handle the camera and the case delicately, maintaining a steady and controlled approach to prevent any inadvertent damage.
With the waterproof case removed, your SJ4000 action camera is ready to embark on new adventures, capturing breathtaking moments both above and below the water’s surface. By mastering the art of safely removing the waterproof case, you can continue to preserve and share your most exhilarating experiences with the world.