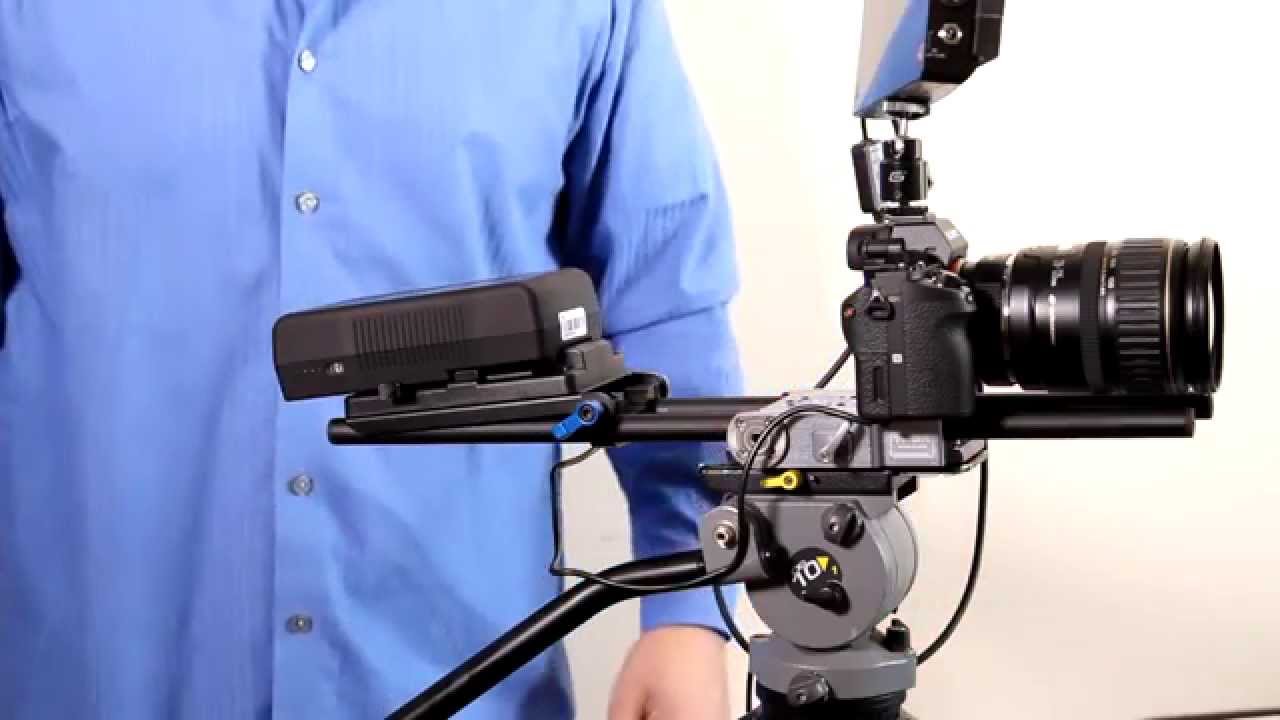
Introduction
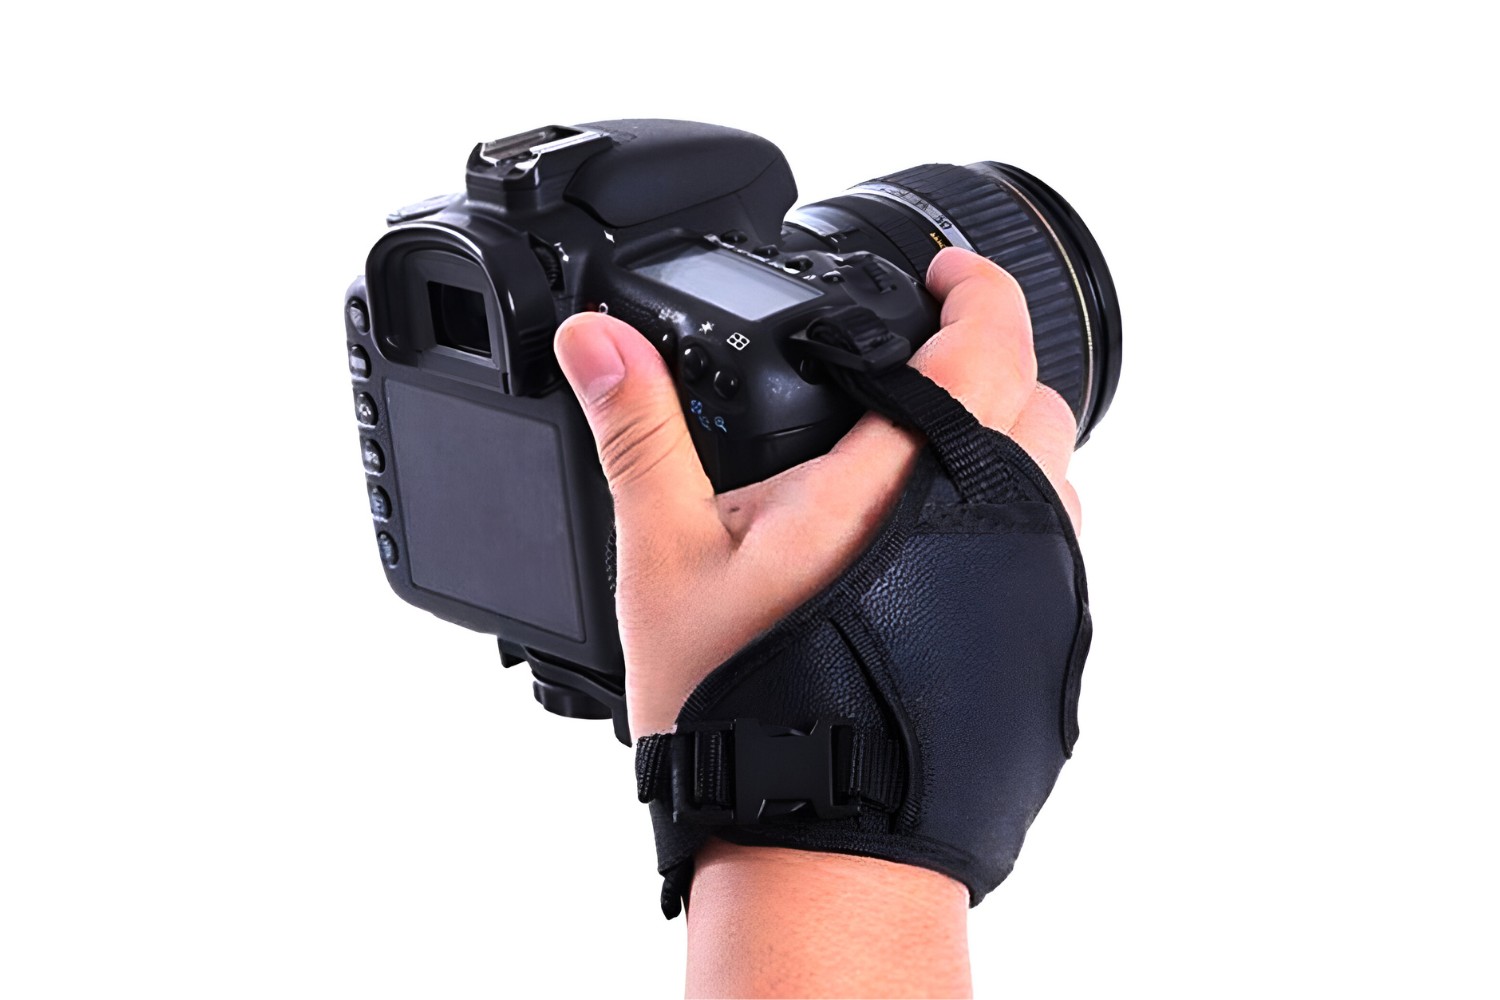
Are you an avid photographer in search of a more comfortable and secure grip for your DSLR camera? Crafting your own DSLR camera grip can be a rewarding and practical endeavor. Not only does it provide a custom fit for your specific camera model, but it also allows you to personalize the grip to your liking. With just a few materials and some basic woodworking skills, you can create a sturdy and ergonomic grip that enhances your photography experience.
In this step-by-step guide, we will walk you through the process of making a DSLR camera grip from scratch. Whether you prefer the natural feel of wood or the sleek look of metal, this DIY project offers the flexibility to tailor the grip to your preferences. By following these instructions, you can elevate your photography game while adding a personal touch to your equipment.
Embark on this creative journey and discover the satisfaction of crafting a custom DSLR camera grip that not only improves your handling of the camera but also reflects your unique style and craftsmanship. Let's gather the materials and get started on this fulfilling DIY project.
Materials Needed
Before diving into the process of creating your custom DSLR camera grip, it’s essential to gather the necessary materials and tools. Here’s a list of items you’ll need to embark on this DIY project:
- Wood or Metal: Select a sturdy and comfortable material for the grip, such as hardwood or aluminum, based on your preference and availability.
- Measuring Tape: An essential tool for accurately measuring the dimensions of the grip and ensuring a precise fit for your camera.
- Saw: Depending on the material chosen, you’ll need a saw suitable for cutting wood or metal to the desired dimensions.
- Sandpaper: Smooth out any rough edges and achieve a polished finish for the grip.
- Drill and Drill Bits: Necessary for creating holes to attach the handle to the grip and secure the grip to the camera.
- Screws or Fasteners: Choose appropriate screws or fasteners to securely attach the handle to the grip and affix the grip to the camera body.
- Screwdriver: To drive the screws or fasteners into place during assembly.
- Protective Gear: Safety goggles and gloves to ensure personal safety while working with tools and materials.
By gathering these materials and tools, you’ll be well-equipped to proceed with constructing a custom DSLR camera grip that not only enhances the functionality of your camera but also reflects your individual style and craftsmanship.
Step 1: Measure and Cut the Wood
Begin by measuring the dimensions of your camera body to determine the appropriate size for the grip. Use a measuring tape to carefully assess the width and height of the area where the grip will be attached. Once you have precise measurements, transfer these dimensions to the selected wood or metal material, marking the outline of the grip with a pencil or marker.
With the outline in place, use a saw suitable for cutting the chosen material to carefully cut along the marked lines, creating the basic shape of the grip. Take your time to ensure precise cuts, as the accuracy of the dimensions is crucial for a snug and secure fit on your camera.
After cutting the basic shape, refine the edges and contours of the grip using sandpaper. Smooth out any rough surfaces and sharp edges, aiming to achieve a comfortable and visually appealing finish. Pay close attention to the details, as the tactile experience and aesthetics of the grip are equally important.
By meticulously measuring and cutting the wood or metal to form the grip, you’re laying the foundation for a custom DSLR camera accessory that not only complements your photography gear but also reflects your attention to detail and craftsmanship.
Step 2: Sand the Wood
Once the basic shape of the grip has been cut, it’s time to refine the surface and ensure a smooth, comfortable texture. Using sandpaper with a medium grit, gently sand the entire surface of the grip, paying attention to the edges and any intricate details that require smoothing.
Start with broad, even strokes, gradually refining the surface to eliminate any rough patches or imperfections. As you progress, transition to a finer grit sandpaper to achieve a polished finish, enhancing the tactile quality of the grip. Be thorough in your sanding process, as the comfort and visual appeal of the grip depend on the level of refinement achieved.
Consider the ergonomics of the grip as you sand, ensuring that the contours and edges are comfortable to hold and use. This step is an opportunity to personalize the feel of the grip, tailoring it to your hand size and grip preferences for an optimal shooting experience.
By meticulously sanding the wood or metal, you’re not only refining the surface of the grip but also infusing it with a personalized touch. The smooth, polished finish achieved through this process contributes to the overall aesthetics and functionality of your custom DSLR camera grip.
Step 3: Attach the Handle
With the grip’s main body crafted and smoothed, the next step is to attach the handle, a crucial element that significantly impacts the comfort and usability of the DSLR camera grip. Begin by selecting a handle that suits your preferences, whether it’s a pre-made handle or a custom piece designed to fit your hand perfectly.
Position the handle at the desired location on the grip, ensuring that it aligns comfortably with your hand when holding the camera. Once the ideal placement is determined, mark the positions for the screws or fasteners that will secure the handle to the grip. Use a drill with an appropriate bit to create pilot holes for the screws, facilitating a secure attachment.
With the pilot holes in place, carefully fasten the handle to the grip using screws or fasteners, ensuring a firm and stable connection. Take care not to overtighten the screws, as this may compromise the integrity of the grip or handle. Once attached, test the handle to ensure it provides a comfortable and secure grip when held.
Attaching the handle is a pivotal step in the creation of a custom DSLR camera grip, as it directly influences the ergonomics and functionality of the accessory. By selecting, positioning, and securely attaching the handle, you’re personalizing the grip to suit your shooting style and enhancing the overall handling of your camera.
Step 4: Attach the Grip to the Camera
With the custom DSLR camera grip now assembled, it’s time to affix it to your camera, enhancing its handling and providing a personalized touch to your photography gear. Before proceeding, ensure that the camera body is clean and free of any debris that may affect the attachment of the grip.
Position the grip against the designated area on the camera body, aligning it carefully to ensure a proper fit. Depending on the design of your grip, you may need to mark the locations for the screws or fasteners that will secure it to the camera. Use a measuring tape to guarantee precise alignment, and mark the attachment points accordingly.
Once the attachment points are marked, use a drill to create pilot holes in the camera body, corresponding to the positions of the screws or fasteners on the grip. Exercise caution and precision during this step to avoid damaging the camera body while preparing it for the attachment of the grip.
With the pilot holes in place, carefully fasten the grip to the camera body using the appropriate screws or fasteners. Ensure that the grip is securely attached, providing a stable and reliable extension of the camera body that enhances your handling and shooting experience.
By attaching the custom grip to your DSLR camera, you’re not only personalizing your equipment but also optimizing its usability and comfort. The secure attachment of the grip ensures that your camera becomes an extension of your creative vision, allowing you to capture moments with confidence and control.
Conclusion
Congratulations on successfully crafting your own custom DSLR camera grip! By embarking on this DIY project, you’ve not only enhanced the handling and functionality of your camera but also added a personal touch to your photography gear. The process of measuring, cutting, sanding, and attaching the grip has allowed you to tailor this essential accessory to your specific preferences and shooting style.
As you hold your camera with the newly attached grip, take a moment to appreciate the craftsmanship and attention to detail that went into creating this personalized accessory. The ergonomic design and comfortable feel of the grip now provide you with enhanced control and stability, allowing you to capture stunning images with confidence and ease.
Furthermore, the process of crafting a custom DSLR camera grip has empowered you to engage with your photography equipment on a deeper level, fostering a sense of ownership and pride in your gear. Your custom grip not only serves a practical function but also reflects your creativity and ingenuity as a photographer.
Embrace the unique character of your custom DSLR camera grip, knowing that it is a testament to your dedication to the craft of photography. With this personalized accessory in hand, you’re equipped to embark on countless photographic adventures, confidently capturing moments and expressing your artistic vision through the lens of your camera.
So, go forth and explore the world through your lens, secure in the knowledge that your custom DSLR camera grip is there to support and enhance your photography journey.


