Introduction
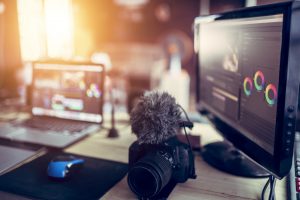
Are you ready to take your live streams and recordings to the next level by connecting your DSLR camera to OBS? By harnessing the power of your DSLR's superior image quality and advanced features, you can elevate your content and captivate your audience with professional-grade visuals. This comprehensive guide will walk you through the process of linking your DSLR camera to OBS, empowering you to unleash your creativity and produce stunning videos.
Whether you're a seasoned content creator or just starting your journey, integrating your DSLR camera with OBS can significantly enhance the production value of your live streams, video conferences, and recordings. With the ability to leverage your DSLR's superior optics, low-light performance, and depth of field control, you can create visually compelling content that stands out in a crowded digital landscape.
In the following steps, you'll learn how to seamlessly integrate your DSLR camera with OBS, transforming your computer into a powerful studio setup. From installing the necessary software to fine-tuning your camera settings, this guide will equip you with the knowledge and skills to optimize your DSLR's potential within the OBS environment. Get ready to unlock a new realm of creative possibilities and deliver visually captivating content that resonates with your audience.
So, let's dive into the step-by-step process of linking your DSLR camera to OBS and harnessing the full potential of your equipment to create engaging and professional-quality content.
Step 1: Install Required Software
Before you can connect your DSLR camera to OBS, it’s essential to ensure that your computer is equipped with the necessary software to facilitate the integration. The following steps will guide you through the installation process:
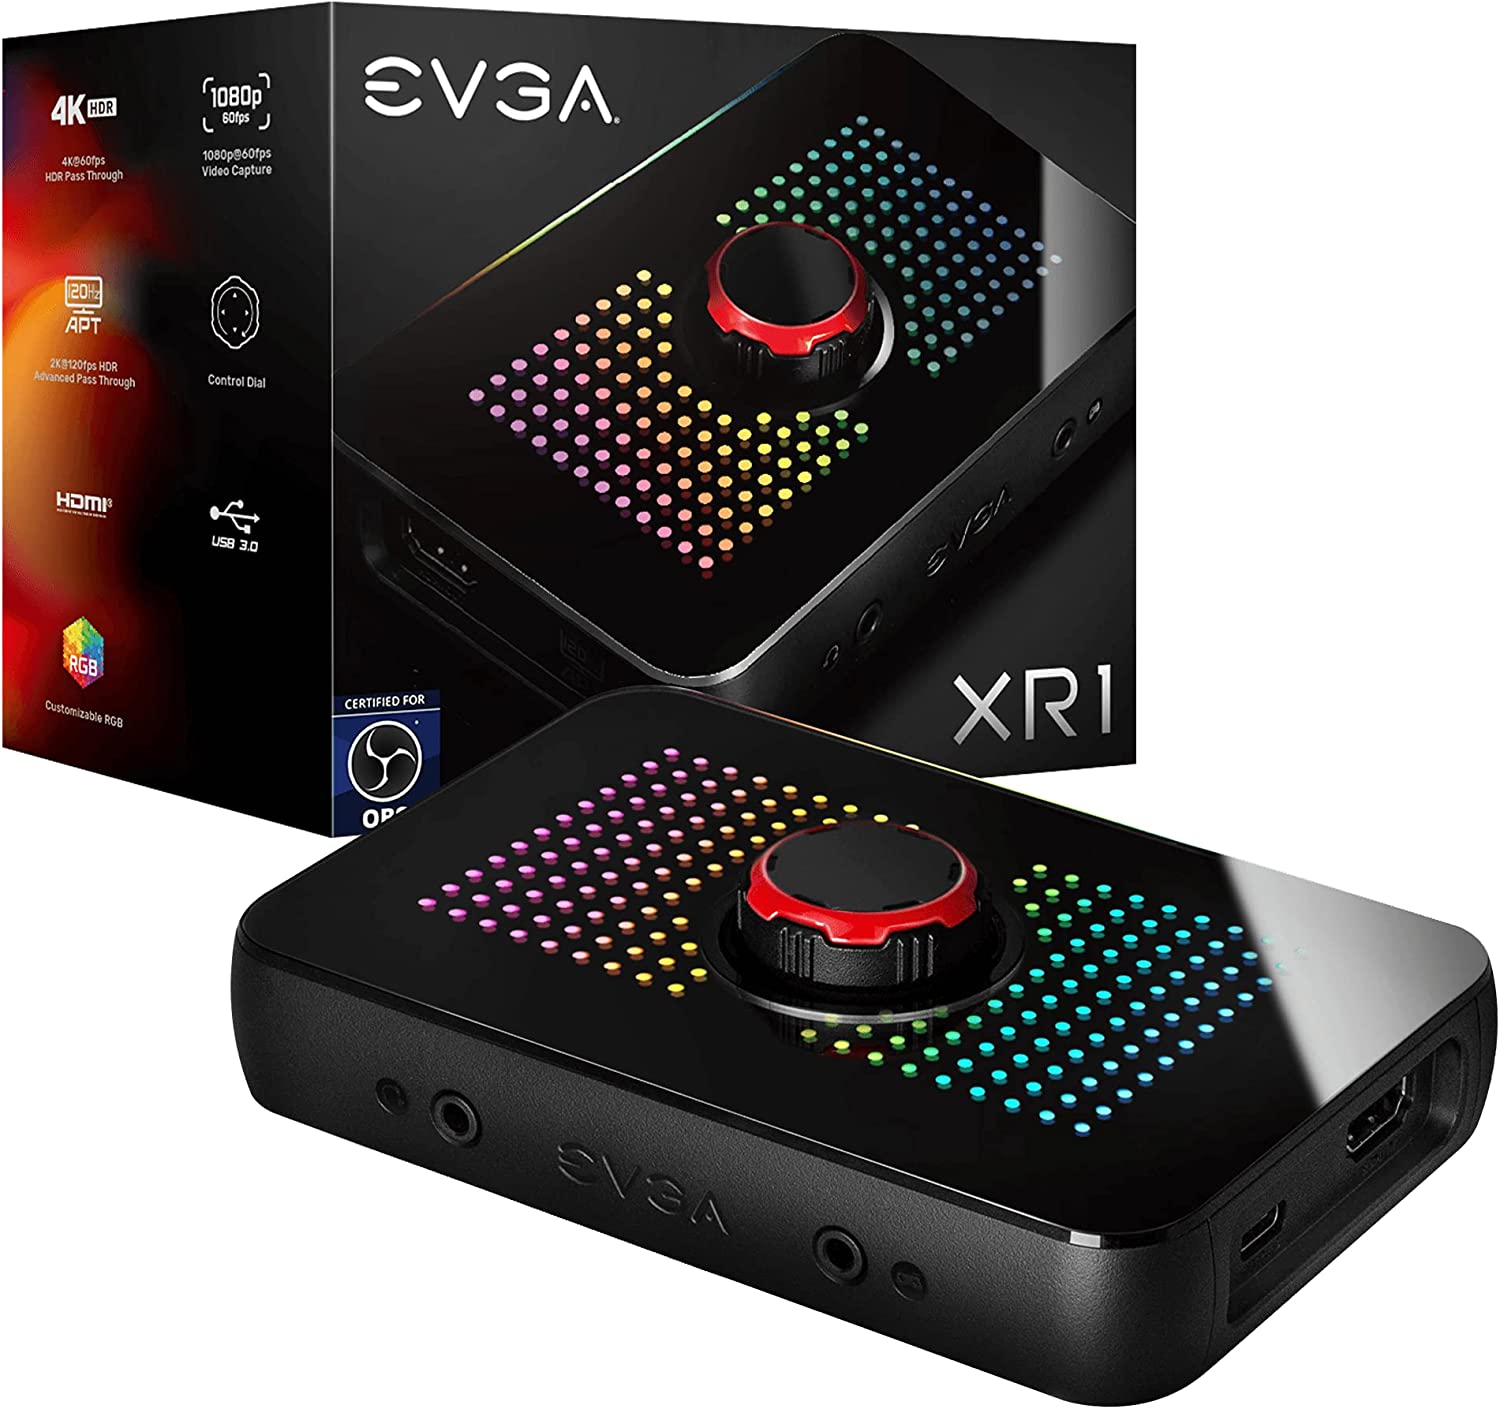
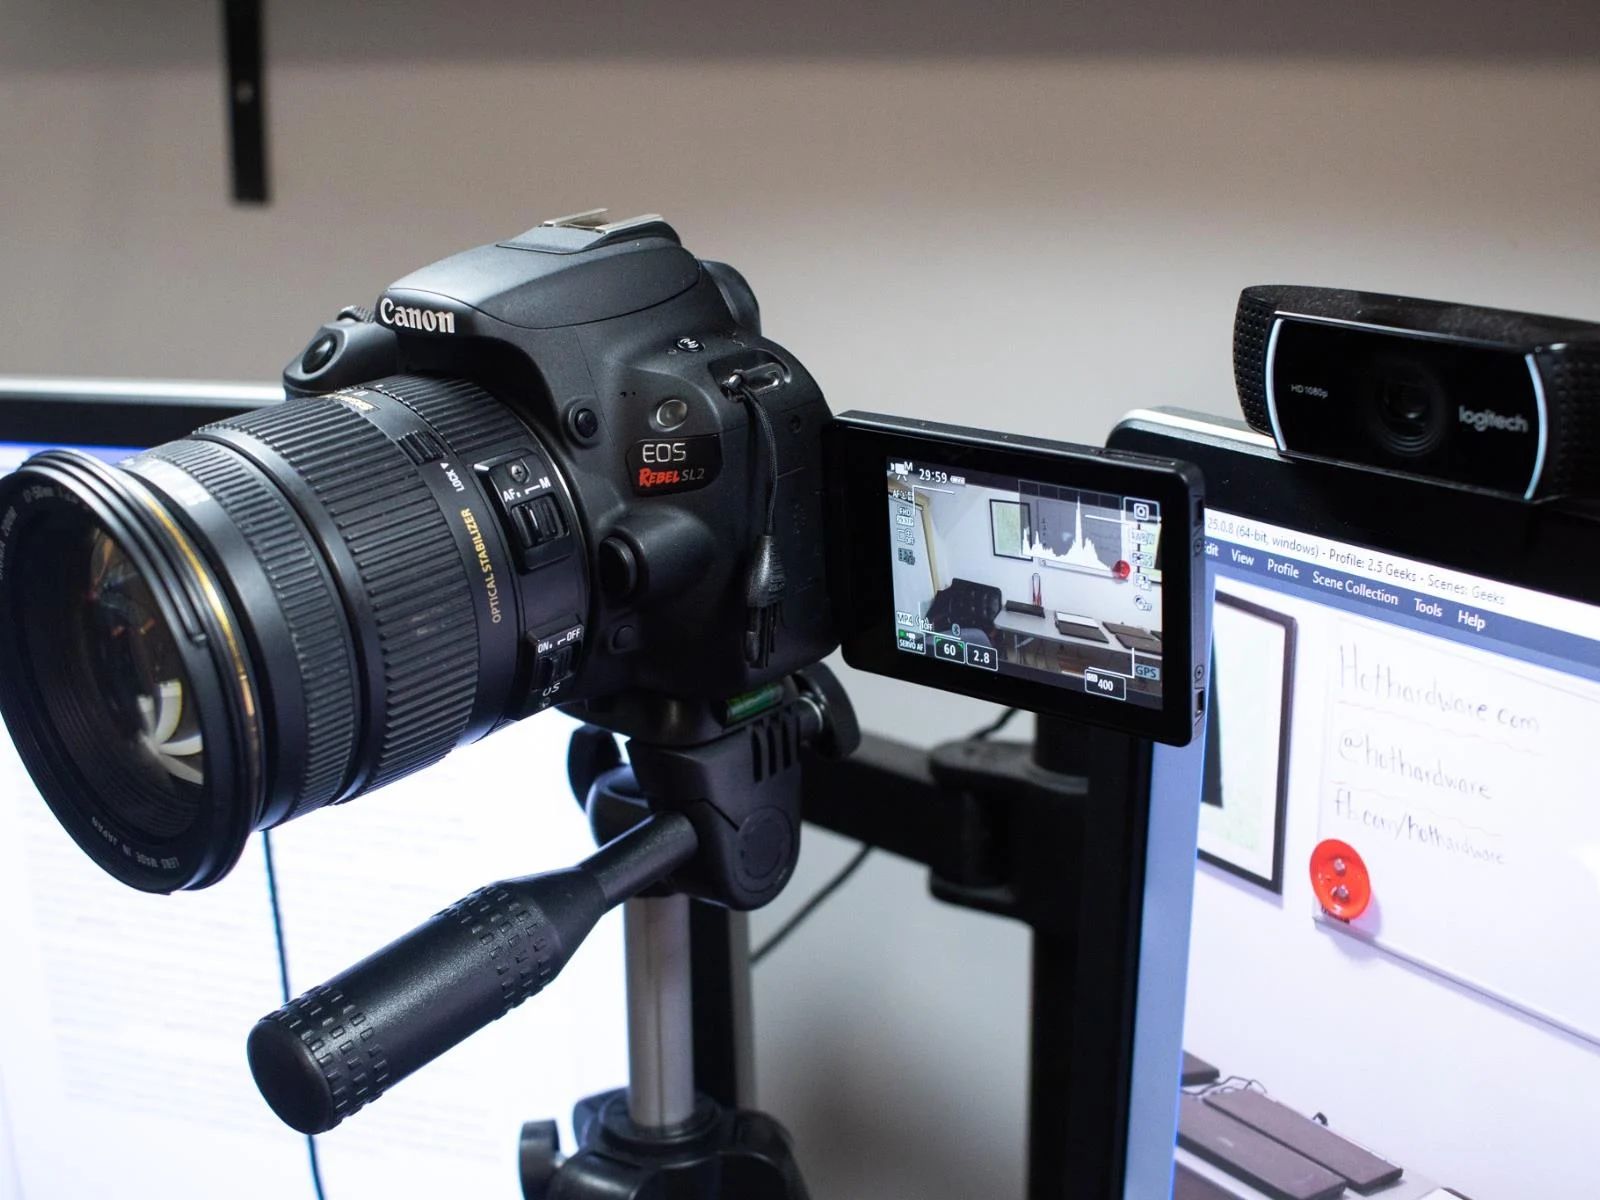
- Download and Install OBS Studio: Begin by downloading OBS Studio, a powerful open-source software for video recording and live streaming. Visit the official OBS website and download the appropriate version for your operating system. Once the download is complete, follow the installation instructions to set up OBS Studio on your computer.
- Install Camera-Specific Drivers: To enable your computer to recognize and communicate with your DSLR camera, you may need to install specific drivers provided by the camera manufacturer. Visit the official website of your camera’s brand and navigate to the support or downloads section to locate the relevant drivers for your model. Follow the instructions to install the drivers on your computer.
- Check for Firmware Updates: It’s advisable to ensure that your DSLR camera’s firmware is up to date to maximize compatibility and performance. Visit the manufacturer’s website or use the proprietary software provided to check for and install any available firmware updates for your camera.
By completing these essential software installation steps, you’ll establish a solid foundation for seamlessly connecting your DSLR camera to OBS. With OBS Studio installed and the necessary drivers and firmware in place, you’ll be ready to proceed to the next phase of the integration process.
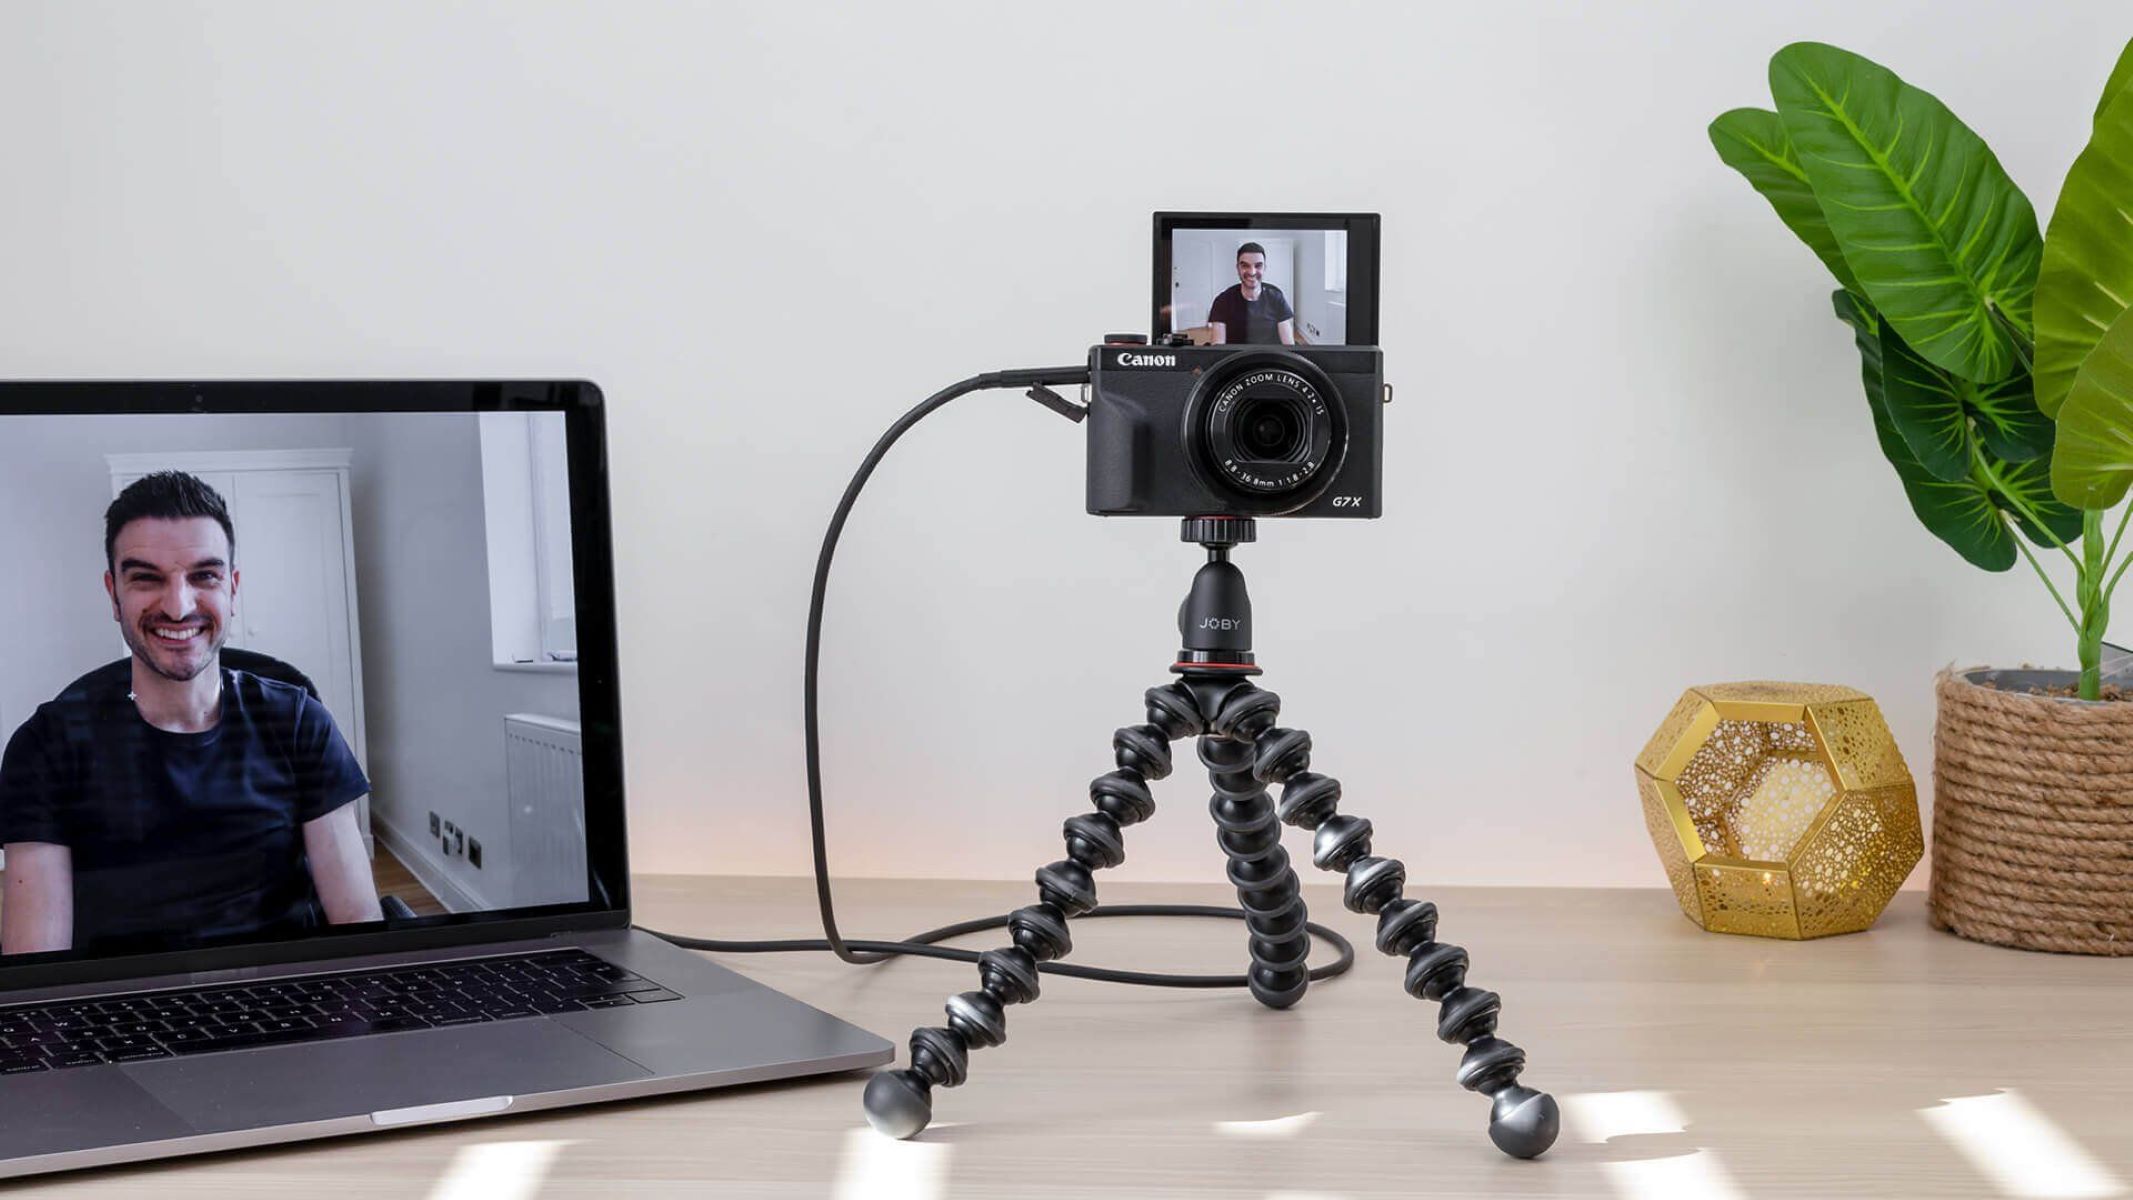
Step 2: Connect Your DSLR Camera to Your Computer
Once you have the required software installed, the next step is to establish a physical connection between your DSLR camera and your computer. Follow these guidelines to seamlessly link your camera to your computer:
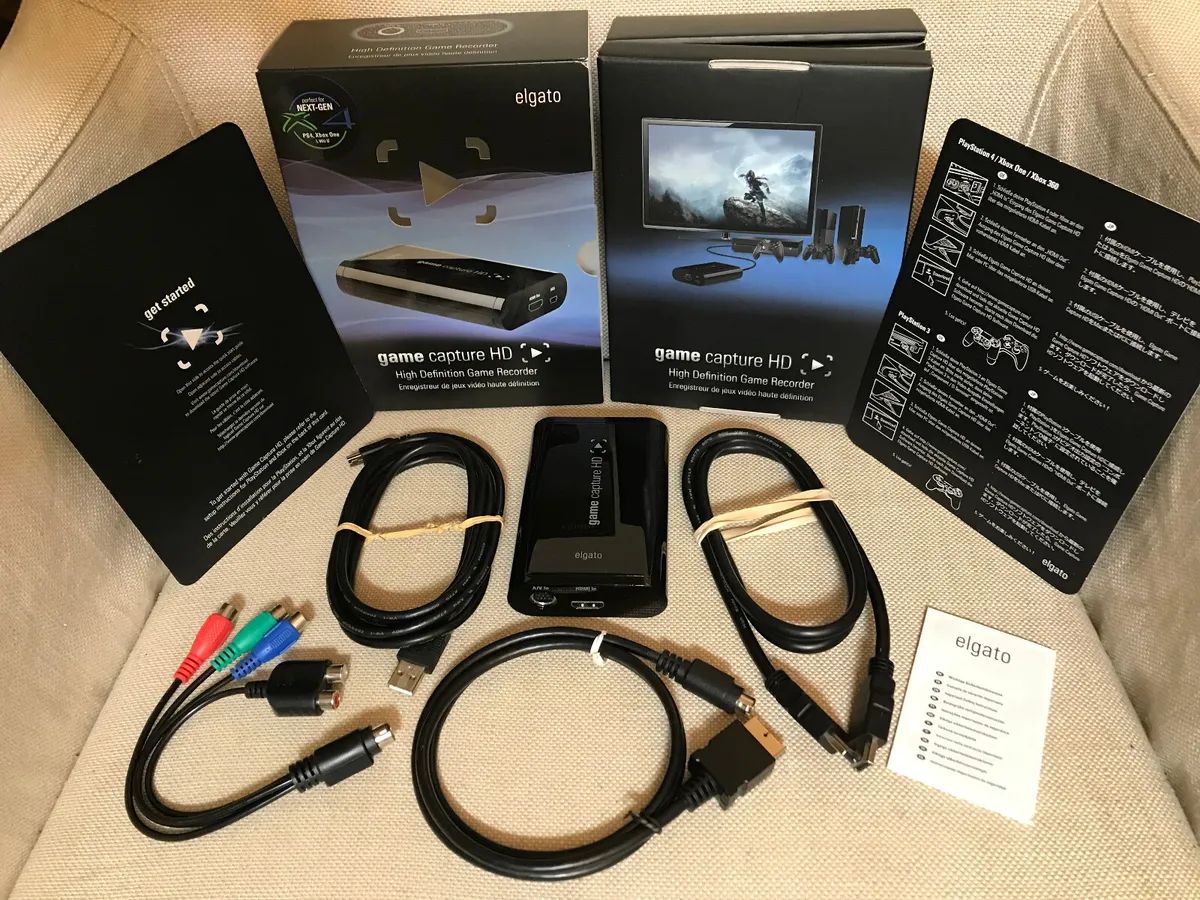
- USB Connection: Using a USB cable compatible with your DSLR camera, connect the camera to an available USB port on your computer. Ensure that the cable is securely plugged into both the camera and the computer to establish a stable connection.
- Power On Your Camera: Turn on your DSLR camera after connecting it to the computer. Some cameras may have specific settings related to USB connectivity, so refer to your camera’s user manual for any necessary configurations.
- Camera Recognition: Upon connecting and powering on your DSLR camera, your computer should detect the device. Depending on the camera model and the installed drivers, your computer may prompt you to confirm the connection or may automatically recognize the camera as a media device.
- Verify Connection Status: Once the camera is connected, navigate to the device manager or file explorer on your computer to confirm that the DSLR camera is recognized and accessible. This step ensures that the physical connection is established and that your computer can communicate with the camera.
By successfully connecting your DSLR camera to your computer, you’ve laid the groundwork for integrating it with OBS Studio. The physical link between the camera and the computer sets the stage for configuring OBS to utilize the camera as a video capture device, enabling you to harness its advanced imaging capabilities for your live streams and recordings.
Step 3: Configure OBS Studio
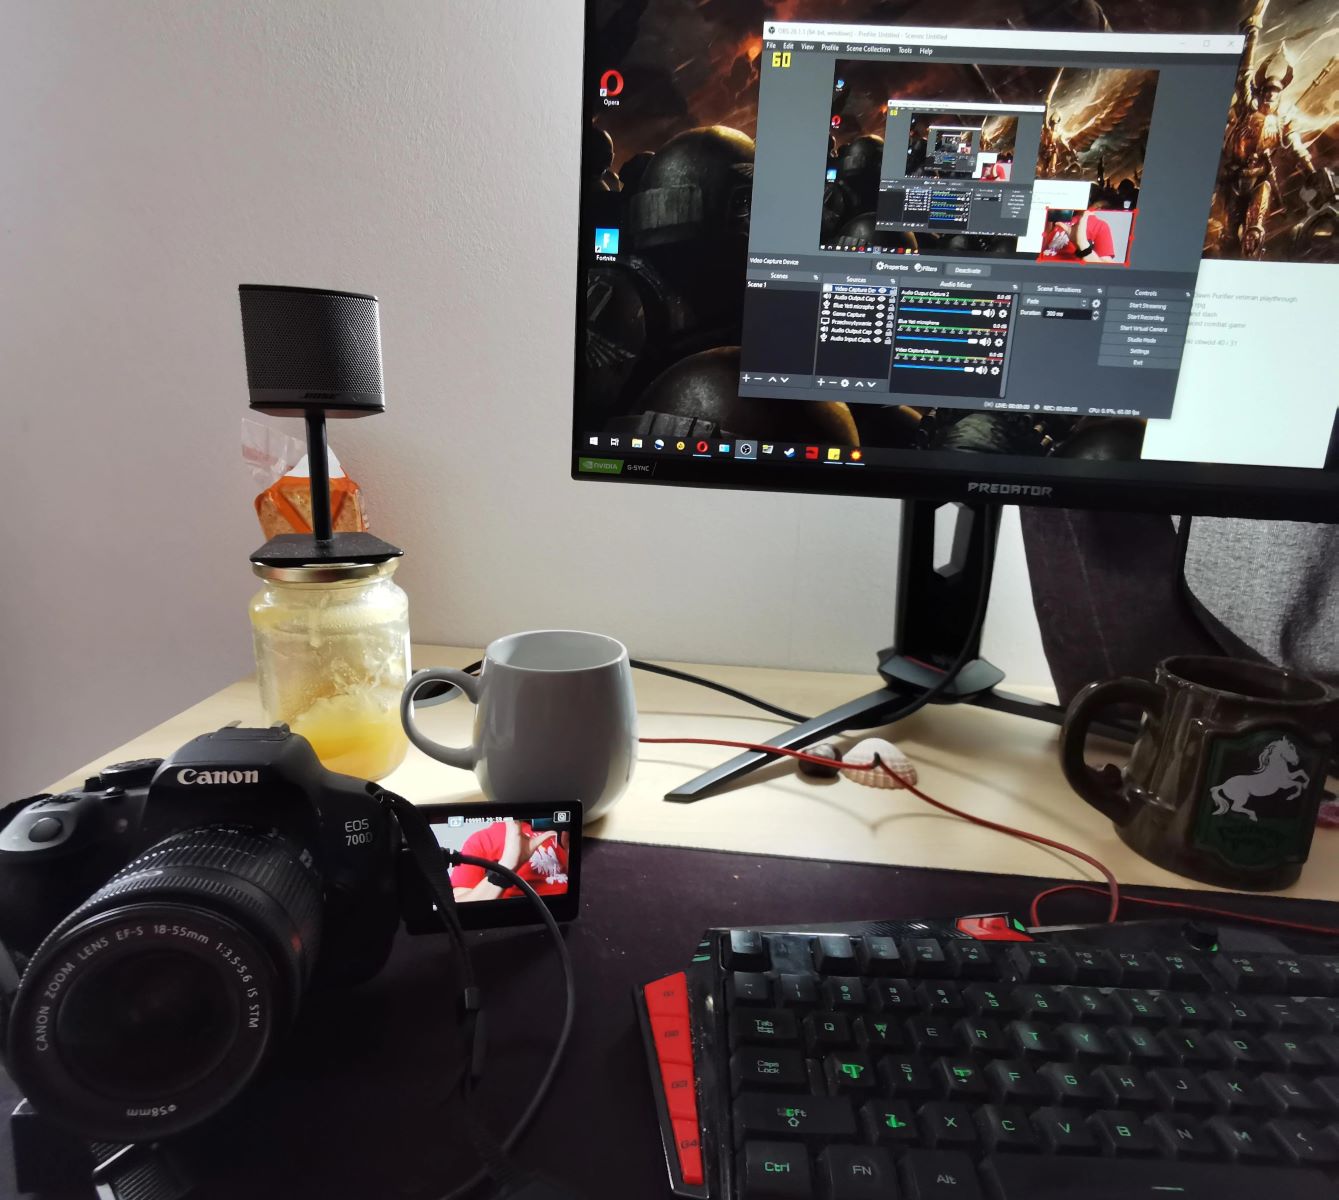
With your DSLR camera connected to your computer, it’s time to configure OBS Studio to recognize and utilize the camera as a video capture device. Follow these steps to set up OBS Studio for seamless integration with your DSLR camera:
- Open OBS Studio: Launch OBS Studio on your computer to begin the configuration process. Familiarize yourself with the software’s interface and locate the sections relevant to adding video capture sources.
- Add Video Capture Device: In the OBS Studio interface, navigate to the sources section and click on the plus icon to add a new source. Select “Video Capture Device” from the list of available options.
- Configure Camera Settings: After adding the video capture device, you’ll be prompted to specify the device to be used. Choose your DSLR camera from the list of available devices. You can also customize additional settings such as resolution, frame rate, and audio input if your camera supports these features.
- Preview and Position: Once the camera is added as a video capture device, you’ll see a live preview of the camera feed within the OBS Studio interface. Position and resize the camera feed as desired within your scene layout to prepare for streaming or recording.
- Test the Setup: Verify that the camera feed is displaying correctly within OBS Studio. Adjust settings such as exposure, focus, and white balance directly on your DSLR camera to fine-tune the visual output within OBS.
By configuring OBS Studio to recognize your DSLR camera as a video capture device, you’ve established the crucial link between the camera and the software. This step sets the stage for leveraging your DSLR’s advanced imaging capabilities within OBS, empowering you to create professional-quality content with enhanced visual appeal.
Step 4: Set Up Your DSLR Camera in OBS
Now that OBS Studio is configured to recognize your DSLR camera as a video capture device, it’s essential to optimize the camera settings within OBS for seamless integration. Follow these steps to set up your DSLR camera within OBS Studio:
- Select Camera Source: Within OBS Studio, locate the scene where you want to incorporate your DSLR camera feed. Click on the “Sources” section and choose the video capture device representing your DSLR camera.
- Adjust Scene Layout: Position and resize the camera feed within your scene layout to achieve the desired composition. You can overlay the camera feed with other visual elements, such as graphics, text, or additional media sources, to enhance the overall presentation.
- Explore Advanced Settings: Depending on your specific content creation needs, explore advanced settings within OBS Studio to optimize the visual output from your DSLR camera. This may include adjusting video filters, color correction, or applying custom overlays to enhance the aesthetics of your camera feed.
- Preview and Test: Preview the camera feed within OBS Studio to ensure that the visual output meets your expectations. Use this opportunity to make any necessary adjustments to the camera settings or scene layout for optimal presentation.
- Save and Organize: Once you’re satisfied with the setup, save the scene configuration within OBS Studio. Organize your scenes and sources to streamline your workflow for future live streams, recordings, or video projects.
By setting up your DSLR camera within OBS Studio, you’ve seamlessly integrated the camera feed into your content creation environment. This step empowers you to leverage the advanced imaging capabilities of your DSLR for professional-grade live streams, video recordings, and visual presentations.
Step 5: Adjust Camera Settings
Optimizing the camera settings on your DSLR is crucial for achieving the best visual quality within OBS Studio. By fine-tuning the camera’s parameters, you can enhance the overall look of your live streams and recordings. Follow these steps to adjust your DSLR camera settings for optimal performance in OBS:
- Exposure and White Balance: Use your DSLR camera’s controls to adjust exposure settings and white balance to achieve accurate and balanced lighting. This step ensures that your camera captures the scene with the desired brightness and color temperature.
- Focusing and Depth of Field: Utilize your camera’s autofocus or manual focus capabilities to ensure that the subject of your stream or recording is sharp and well-defined. Experiment with depth of field settings to create visually appealing background blur if desired.
- Frame Rate and Resolution: Set the appropriate frame rate and resolution on your DSLR camera to match the requirements of your content. Higher frame rates can deliver smoother motion, while adjusting the resolution allows you to optimize for different display formats.
- Audio Input (If Applicable): If your DSLR camera supports audio input, configure the audio settings to capture high-quality sound directly from the camera. This can be beneficial for capturing synchronized audio and video for your content.
- Test Shots and Adjustments: Capture test shots or short video clips with your DSLR camera while monitoring the output within OBS Studio. Make adjustments to the camera settings as needed, ensuring that the visual output aligns with your creative vision.
By fine-tuning your DSLR camera settings, you can unleash the full potential of your equipment within OBS Studio. These adjustments enable you to capture stunning visuals and deliver captivating content that resonates with your audience.
Step 6: Start Streaming or Recording
With your DSLR camera seamlessly integrated into OBS Studio and the camera settings optimized, you’re now ready to embark on your live streaming or recording journey. Follow these steps to initiate your streaming or recording session with your DSLR camera:
- Prepare Your Scene: Ensure that your scene layout within OBS Studio is arranged to your liking, with the DSLR camera feed positioned appropriately alongside any additional visual elements or media sources.
- Check Audio and Visual Inputs: Verify that your DSLR camera is capturing the desired audio and visual content. Monitor the audio levels and visual quality within OBS Studio to confirm that everything is set for a successful session.
- Start Streaming: If you’re live streaming your content, initiate the streaming process within OBS Studio. Connect to your preferred streaming platform and engage with your audience in real time, leveraging the enhanced visual quality provided by your DSLR camera.
- Commence Recording: If you’re recording your content for future use or editing, start the recording function within OBS Studio. Capture your content with confidence, knowing that your DSLR camera is delivering professional-grade visuals for your recordings.
- Engage with Your Audience: Whether you’re live streaming or recording, focus on delivering compelling content while leveraging the visual impact of your DSLR camera. Engage with your audience, share your expertise, and showcase your creativity with confidence.
By initiating your streaming or recording session with your DSLR camera seamlessly integrated into OBS Studio, you’re poised to deliver visually captivating content that reflects your professionalism and creativity. Embrace the power of your DSLR camera to elevate your live streams, video recordings, and visual presentations.
Conclusion
Congratulations! You’ve successfully navigated the process of linking your DSLR camera to OBS Studio, unlocking a world of creative possibilities and professional-quality content creation. By following the comprehensive steps outlined in this guide, you’ve harnessed the advanced imaging capabilities of your DSLR camera to enhance your live streams, video recordings, and visual presentations.
Integrating your DSLR camera with OBS Studio empowers you to leverage superior optics, precise control over depth of field, and enhanced low-light performance, resulting in visually stunning content that resonates with your audience. The seamless connection between your DSLR camera and OBS Studio opens the door to a myriad of creative opportunities, allowing you to express your vision with unparalleled visual impact.
As you continue to explore the potential of your DSLR camera within OBS Studio, consider experimenting with different scene layouts, incorporating dynamic visual elements, and refining your camera settings to further elevate the quality of your content. Embrace the flexibility and control afforded by this integration to deliver captivating live streams, engaging video recordings, and visually compelling presentations.
With the knowledge and skills gained from this guide, you’re equipped to embark on a captivating content creation journey, harnessing the full potential of your DSLR camera within the versatile environment of OBS Studio. Embrace the art of storytelling through visually immersive experiences, and let your creativity shine through every frame captured by your DSLR camera.
Now, armed with the ability to seamlessly link your DSLR camera to OBS Studio, you’re poised to captivate and inspire your audience with professional-grade visual content that reflects your unique style and expertise.