Introduction
Are you a content creator looking to enhance the audio quality of your video recordings? Connecting a mixer to a camcorder can be a game-changer, allowing you to achieve professional-grade sound. Whether you're a vlogger, filmmaker, or aspiring YouTuber, understanding how to seamlessly integrate a mixer with your camcorder can significantly elevate the production value of your content.
In this guide, we will delve into the step-by-step process of connecting a mixer to a camcorder, ensuring that you can capture high-quality audio alongside your video footage. By comprehensively exploring the intricacies of this setup, you will gain the knowledge and confidence to optimize the audio-visual experience for your audience.
As we embark on this journey, it's essential to grasp the fundamental concepts of mixers and camcorders, their respective functionalities, and how they can synergistically combine to deliver exceptional audiovisual content. Additionally, we will discuss the intricacies of connecting the mixer to the camcorder, adjusting audio levels for optimal performance, and conducting a thorough testing process to validate the seamless integration of these essential components.
By the end of this guide, you will be well-equipped to harness the power of a mixer-camcorder setup, unlocking a realm of creative possibilities and setting a new standard for the audiovisual quality of your productions. Let's dive into the world of audio-video synergy and elevate your content creation endeavors to new heights.
Understanding the Mixer and Camcorder
Before delving into the process of connecting a mixer to a camcorder, it’s essential to grasp the core functionalities of these two crucial components in the realm of audiovisual production.
Mixer:
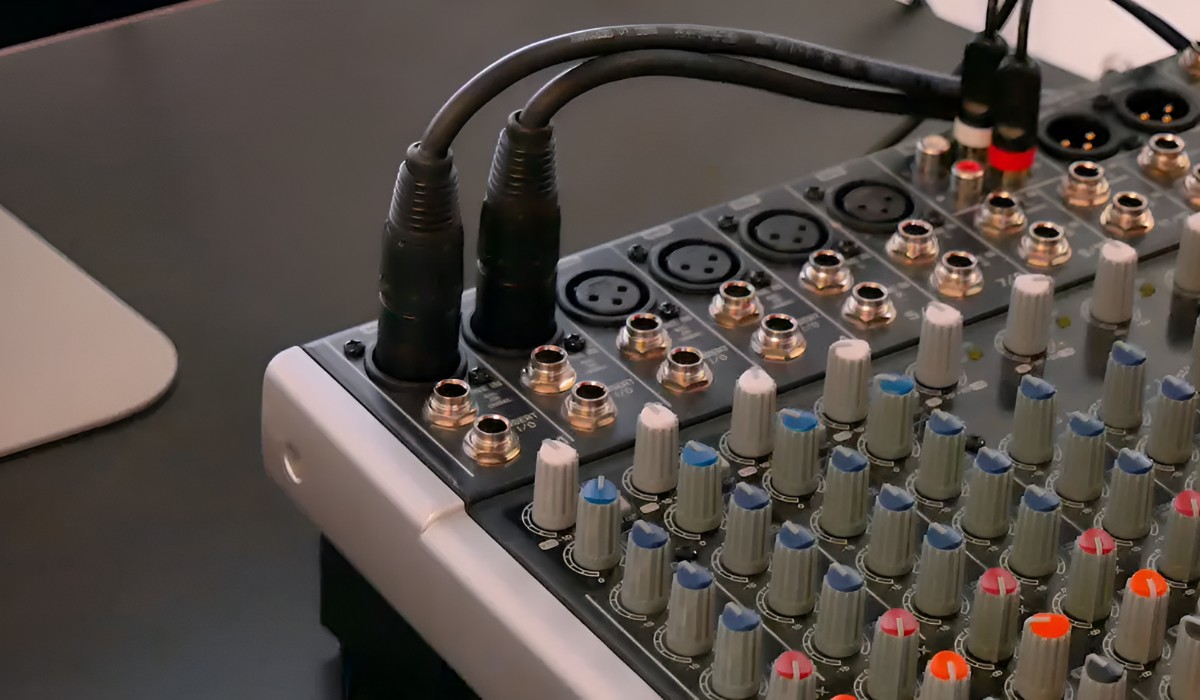
A mixer, also known as an audio mixer or mixing console, serves as a central hub for managing and blending audio signals from various sources. It enables precise control over audio inputs, including microphones, instruments, and other sound-producing devices. The mixer facilitates the adjustment of audio levels, equalization, and routing, allowing content creators to achieve a balanced and polished sound output.
Key features of a mixer include multiple input channels, faders for volume control, equalization knobs for adjusting frequency response, and auxiliary outputs for sending signals to external devices. Additionally, some mixers offer built-in effects processing and USB connectivity for seamless integration with recording equipment.
Camcorder:
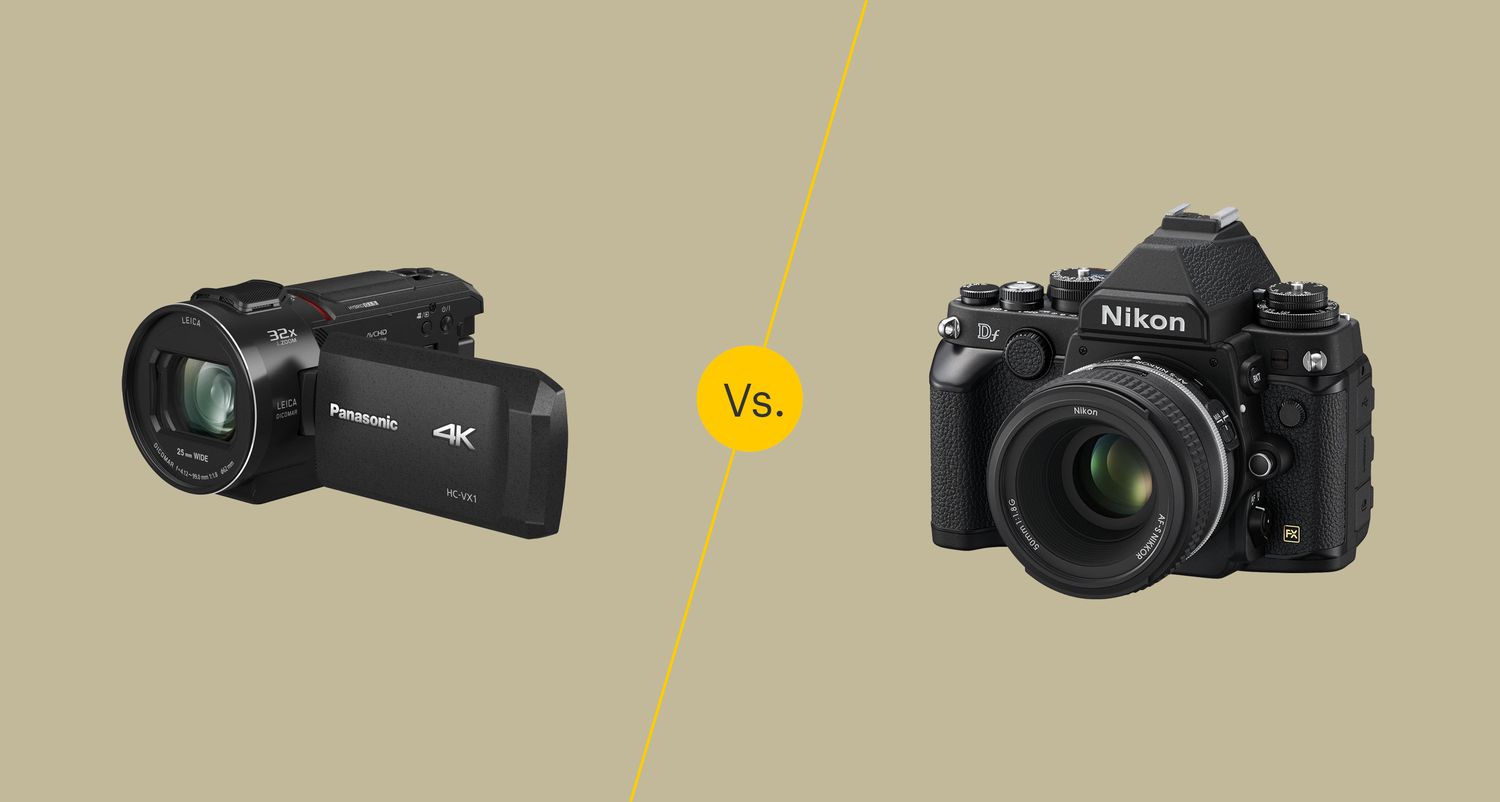
A camcorder, short for camera recorder, is a compact and versatile device designed for capturing video footage along with synchronized audio. Modern camcorders often incorporate high-definition video recording capabilities, advanced image stabilization, and built-in microphones to capture audio directly from the recording environment.
Key features of a camcorder include a lens for optical zoom and focus, a high-resolution image sensor for capturing video, and a built-in or detachable microphone for recording audio. Additionally, camcorders may offer manual controls for adjusting exposure, white balance, and audio levels, providing content creators with the flexibility to fine-tune their recordings.
Understanding the intricacies of mixers and camcorders is pivotal in harnessing their combined potential for creating captivating audiovisual content. By comprehending the unique capabilities and functions of these devices, you can effectively integrate them to achieve a harmonious synergy between audio and video elements in your productions.
Connecting the Mixer to the Camcorder
Now that we have a solid understanding of the essential roles played by mixers and camcorders in audiovisual production, it’s time to explore the process of seamlessly connecting these two components to harness their combined potential.
Step 1: Gather the Necessary Cables
Before proceeding with the connection, ensure that you have the appropriate cables to link the mixer and camcorder. Typically, this involves using a standard audio cable, such as a 3.5mm stereo cable or a balanced XLR cable, depending on the input options available on your camcorder.
Step 2: Identify the Output on the Mixer
Locate the main output or auxiliary output on your mixer. These outputs are usually labeled and can be found on the rear panel of the mixer. Depending on the mixer’s configuration, you may have options for balanced XLR outputs, 1/4-inch TRS outputs, or RCA outputs.
Step 3: Identify the Input on the Camcorder
Similarly, identify the audio input port on your camcorder. This may be a 3.5mm microphone input or, in some cases, a balanced XLR input. Understanding the input options available on your camcorder will guide you in selecting the appropriate cable for the connection.
Step 4: Connect the Cables
Using the selected cable, connect the output of the mixer to the input of the camcorder. Ensure a secure connection to prevent audio interference or signal loss during recording. If your mixer offers multiple output options, choose the one that is compatible with the input port on your camcorder.
Step 5: Power On and Test the Connection
Once the physical connection is established, power on both the mixer and the camcorder. Set the audio levels on the mixer to an appropriate level, ensuring that the signal sent to the camcorder does not distort or clip. Additionally, monitor the audio levels on the camcorder to verify that the incoming signal is within the optimal range.
By following these steps, you can seamlessly connect a mixer to a camcorder, laying the groundwork for capturing high-quality audio alongside your video recordings. This integration opens up a world of creative possibilities, allowing you to achieve professional-grade audiovisual content that resonates with your audience.
Adjusting Audio Levels
Once the mixer is successfully connected to the camcorder, it’s crucial to fine-tune the audio levels to ensure optimal sound quality and clarity in your recordings. Properly adjusting the audio levels on both the mixer and the camcorder is essential for capturing balanced and distortion-free audio. Let’s delve into the intricacies of this critical step in the setup process.
Mixer Audio Levels:
Begin by setting the audio levels on the mixer to achieve an appropriate balance between the different audio sources. Use the faders or knobs associated with each input channel to adjust the volume levels, ensuring that no channel is overpowering or excessively quiet relative to the others. Additionally, utilize the mixer’s equalization controls to fine-tune the tonal characteristics of the audio signals, enhancing clarity and fidelity.
It’s important to monitor the mixer’s output levels, ensuring that the signal sent to the camcorder is strong enough to produce clear audio without clipping or distortion. Aim for a healthy signal level that maximizes the signal-to-noise ratio, minimizing background noise while capturing the full dynamics of the audio sources.
Camcorder Audio Levels:
Many camcorders feature manual controls for adjusting audio levels, allowing content creators to fine-tune the input sensitivity to match the incoming audio signal. Access the camcorder’s audio settings and adjust the input levels to complement the output levels from the mixer. Carefully monitor the audio meters on the camcorder to ensure that the incoming audio signal is well within the optimal range, avoiding both overly quiet and excessively loud levels that could result in distortion.
By synchronizing the audio levels between the mixer and the camcorder, you can achieve a seamless integration of high-quality audio with your video recordings. This meticulous adjustment process sets the stage for capturing pristine sound that complements the visual elements of your content, elevating the overall production value and engaging your audience on a deeper sensory level.
With the audio levels finely tuned and balanced, your mixer-camcorder setup is primed to deliver professional-grade audiovisual content, setting the stage for a captivating and immersive viewer experience.
Testing the Connection
After connecting the mixer to the camcorder and adjusting the audio levels, it’s imperative to conduct a comprehensive testing process to validate the seamless integration of these essential components. Testing the connection ensures that the audio signals are accurately transmitted from the mixer to the camcorder, setting the stage for successful audiovisual recordings. Let’s explore the key steps involved in testing the connection and verifying the functionality of the mixer-camcorder setup.
Audio Signal Verification:
Begin by playing audio through the mixer and monitoring the signal flow to the camcorder. Verify that the audio signals are being transmitted without any interruptions or anomalies. Listen for clarity, fidelity, and balanced audio levels, ensuring that each audio source is accurately captured by the camcorder.
Recording Test Footage:
Initiate a test recording with the camcorder while simultaneously capturing audio from the mixer. This test footage serves as a practical demonstration of the integrated setup, allowing you to assess the synchronization of audio and video elements. Pay close attention to the recorded audio quality, ensuring that it aligns with your desired standards for clarity and fidelity.
Playback and Analysis:
Review the recorded footage and listen to the synchronized audio playback. Evaluate the overall audiovisual experience, paying attention to the coherence between the audio captured by the mixer and the video recorded by the camcorder. Look for any discrepancies or irregularities in the audio-visual synchronization, ensuring that the integrated setup delivers the desired results.
Adjustments and Fine-Tuning:
If any issues or inconsistencies are identified during the testing phase, make necessary adjustments to the mixer-camcorder setup. This may involve refining the audio levels, repositioning microphones, or optimizing the signal flow to achieve the desired audiovisual synergy. Iterative testing and refinement are integral to ensuring a seamless and harmonious integration of the mixer and camcorder.
By rigorously testing the connection between the mixer and the camcorder, you can validate the efficacy of the integrated setup and address any potential challenges before embarking on actual audiovisual productions. This meticulous testing process serves as a critical quality assurance measure, empowering you to deliver high-caliber content with confidence and precision.
Conclusion
Embarking on the journey of connecting a mixer to a camcorder has unveiled a realm of creative possibilities, empowering content creators to elevate the audiovisual quality of their productions. By comprehensively understanding the functionalities of mixers and camcorders and seamlessly integrating these components, you have embarked on a path toward capturing professional-grade audio alongside captivating video footage.
From the initial stages of gathering the necessary cables to the meticulous process of adjusting audio levels, you have gained valuable insights into the intricacies of uniting these essential components. The synergy between the mixer and the camcorder has been meticulously fine-tuned, setting the stage for seamless integration and harmonious audiovisual output.
As you ventured into the testing phase, rigorously validating the connection and analyzing the synchronized audiovisual playback, you have honed your ability to ensure the efficacy and reliability of the integrated setup. This rigorous testing process has equipped you with the confidence to deliver high-caliber content, knowing that the audiovisual synergy achieved through the mixer-camcorder connection is primed to captivate and engage your audience.
Armed with a comprehensive understanding of the mixer-camcorder integration process, you are now poised to embark on your creative endeavors with newfound confidence and proficiency. The harmonious marriage of audio and video elements, facilitated by the seamless connection between the mixer and the camcorder, sets the stage for immersive and captivating content creation.
As you apply your newfound knowledge and expertise to your audiovisual productions, the seamless integration of the mixer and camcorder will serve as a cornerstone of your creative endeavors, enriching the sensory experience of your audience and setting a new standard for the quality of your content.
With the fusion of technical precision and creative vision, the connection between the mixer and the camcorder becomes a conduit for capturing the essence of your artistic expression, ensuring that your audiovisual narratives resonate with authenticity and impact.
Embrace the potential of the mixer-camcorder connection as a catalyst for elevating your content creation endeavors, and let the seamless integration of audio and video elements become a hallmark of your creative signature.


