Introduction
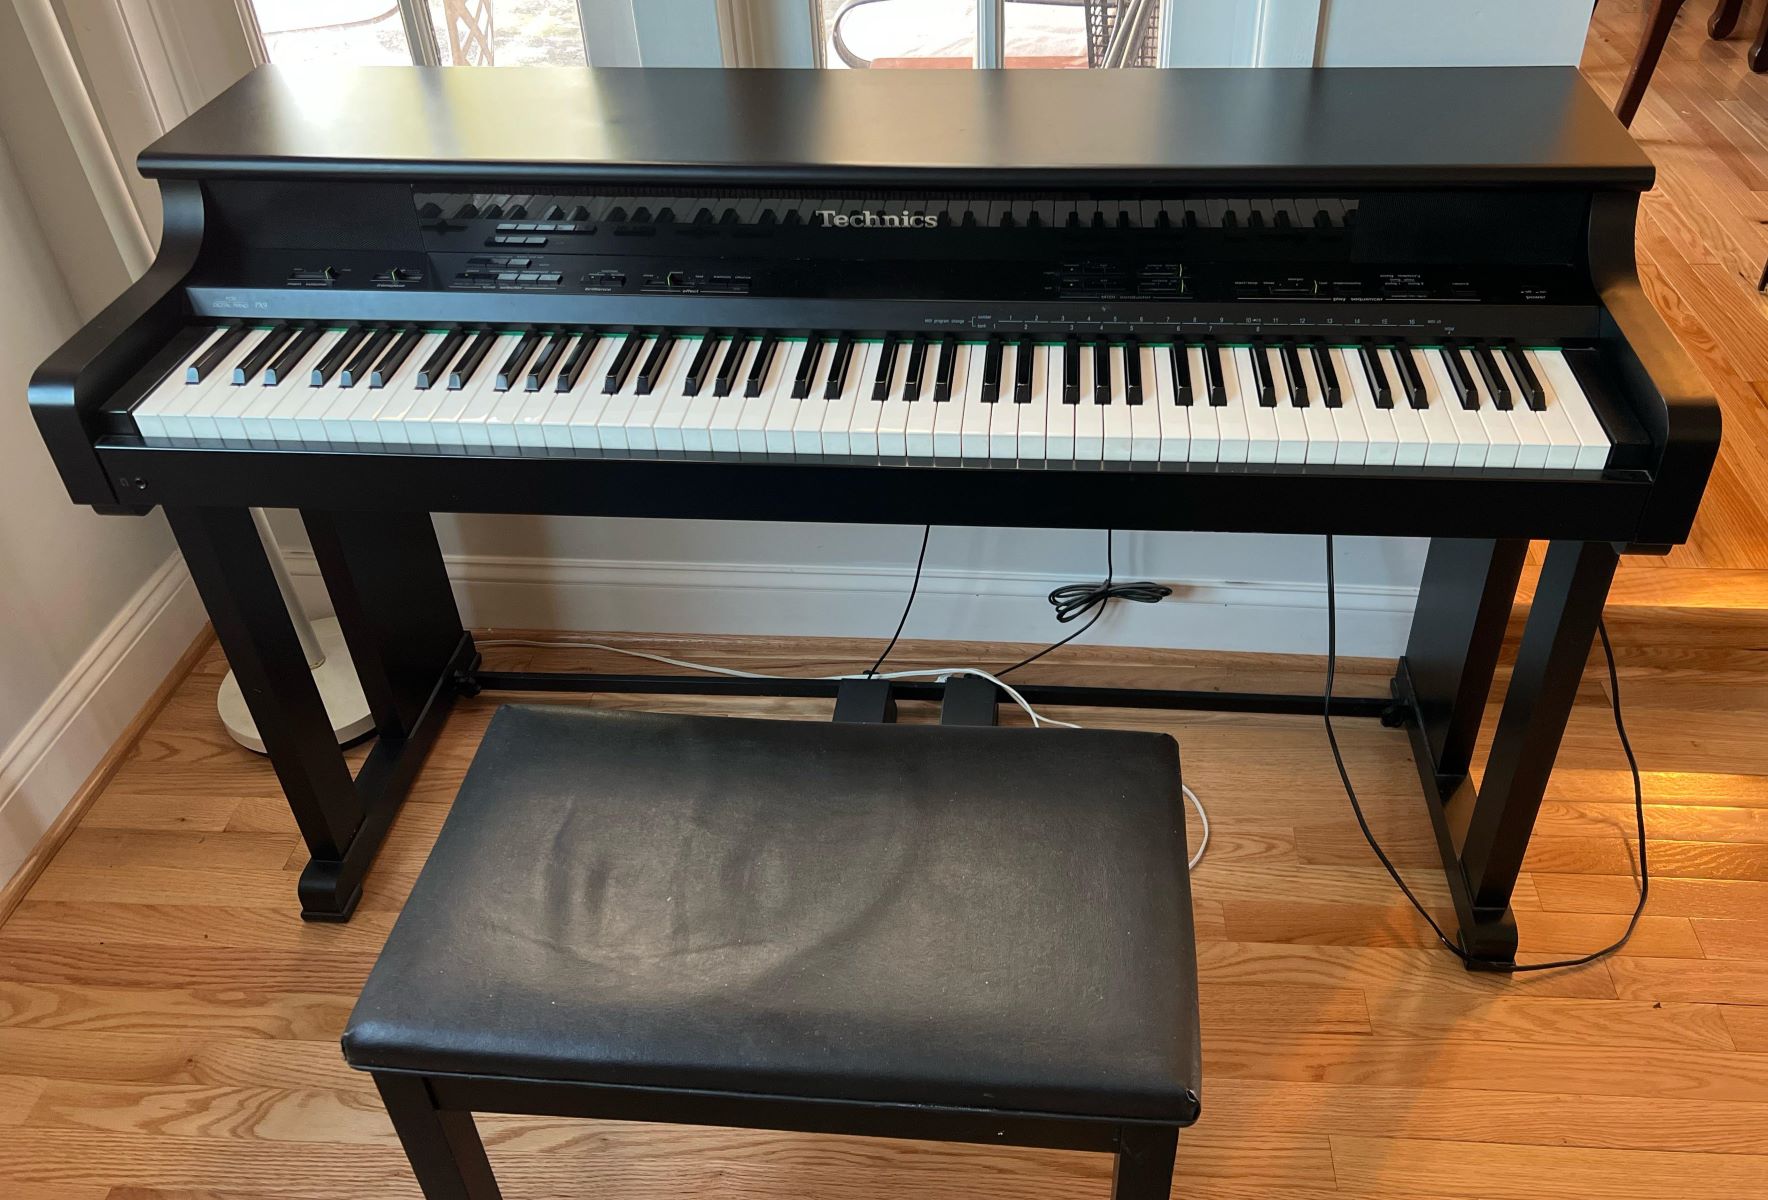
If you've ever wondered what lies beneath the surface of your Technics digital piano, you're in for an enlightening journey. Taking apart a Technics digital piano may seem like a daunting task, but with the right tools and guidance, it can be a rewarding experience. Whether you're looking to troubleshoot an issue, perform maintenance, or simply satisfy your curiosity, dismantling your digital piano can provide valuable insights into its intricate workings.
As you embark on this endeavor, it's important to approach it with patience and precision. Each component of the digital piano plays a crucial role in producing its signature sound and ensuring optimal performance. By understanding the step-by-step process of disassembling and reassembling your Technics digital piano, you'll gain a deeper appreciation for the craftsmanship and technology behind this musical instrument.
Throughout this guide, we'll delve into the essential tools needed for the disassembly, the meticulous process of removing the outer casing, keys, and circuit board, as well as the crucial steps for cleaning and maintaining the internal components. By the end of this journey, you'll be equipped with the knowledge and confidence to navigate the inner workings of your Technics digital piano, empowering you to address maintenance tasks and gain a newfound understanding of its intricate design.
So, grab your toolkit and prepare to unravel the inner workings of your beloved Technics digital piano. It's time to embark on a hands-on exploration that will deepen your connection with this remarkable musical instrument.
Tools Needed
Before diving into the disassembly process, it’s essential to gather the necessary tools to ensure a smooth and efficient dismantling of your Technics digital piano. Here’s a comprehensive list of tools that will aid you throughout the disassembly and reassembly stages:
- Screwdriver Set: A set of precision screwdrivers, including Phillips and flathead varieties, will be indispensable for removing screws of different sizes from the piano’s casing and internal components.
- Tweezers: Precision tweezers will assist in handling small components and delicate wires with precision and care.
- Plastic Pry Tools: Non-conductive plastic pry tools are essential for safely separating the piano’s outer casing and accessing internal components without causing damage.
- Cleaning Supplies: Microfiber cloths, compressed air cans, and gentle cleaning solutions will be necessary for cleaning and maintaining the internal components and keys.
- Anti-Static Wrist Strap: To prevent electrostatic discharge that could potentially damage sensitive electronic components, an anti-static wrist strap is crucial when handling the circuit board and other internal electronics.
- Workspace Lighting: Adequate lighting, such as a desk lamp or portable LED light, will ensure clear visibility during the disassembly and reassembly processes, especially when working with intricate components.
- Organizational Containers: Small containers or compartments for organizing and labeling screws, nuts, and other small components will prevent confusion and loss of crucial parts during the disassembly process.
- Protective Gear: Disposable gloves and safety goggles will safeguard your hands and eyes from debris and dust while working inside the piano.
By having these tools at your disposal, you’ll be well-prepared to embark on the disassembly of your Technics digital piano with confidence and precision. Each tool serves a specific purpose in ensuring the safe removal and reinstallation of components, allowing you to navigate the intricate internal structure of the piano with ease.
Removing the Outer Casing
Before delving into the inner workings of your Technics digital piano, the initial step involves safely removing the outer casing to access the internal components. Follow these steps to disassemble the outer casing with precision:
- Power Down and Unplug: Prior to any disassembly, ensure that the digital piano is powered off and unplugged from the electrical outlet to prevent any electrical hazards during the process.
- Identify Screw Locations: Carefully examine the outer casing to locate and identify the screws securing it in place. These screws are typically situated on the back, bottom, and sides of the piano.
- Use the Correct Screwdriver: Select the appropriate screwdriver from your set to match the screw heads. A precision Phillips or flathead screwdriver will be necessary to remove the screws without causing damage.
- Remove Screws Methodically: With caution, begin removing the screws from the designated locations, ensuring that they are safely stored in labeled containers to prevent misplacement.
- Utilize Plastic Pry Tools: Once the screws are removed, carefully insert non-conductive plastic pry tools along the edges of the casing to gently separate it from the internal framework. Exercise patience to avoid applying excessive force.
- Lift Off the Casing: Once the casing is loosened, carefully lift it off the piano, ensuring that any connected cables or wires are detached with care to prevent damage.
As you remove the outer casing, take note of the internal layout and the interconnected components. This initial step sets the stage for accessing the piano’s internal mechanisms and paves the way for the subsequent disassembly of the keys and circuit board. With precision and attention to detail, the outer casing can be safely removed, unveiling the intricate components that form the foundation of your Technics digital piano.
Removing the Keys
Once the outer casing has been carefully removed, the next phase of disassembly involves removing the keys from your Technics digital piano. This process requires meticulous attention to ensure the safe extraction of the keys and access to the underlying mechanisms. Follow these steps to navigate the removal of the keys effectively:
- Document Key Positions: Before removing any keys, consider taking photographs or creating a reference diagram of the key positions. This documentation will aid in reassembling the keys accurately later on.
- Begin with the Top Keys: Start by removing the topmost keys, gently lifting each key while being mindful of the attached components and springs beneath them.
- Organize and Label: As you remove the keys, place them in a designated order and label them accordingly to maintain their sequence and orientation.
- Handle with Care: Exercise caution when handling the keys and their associated components to prevent damage or misalignment during the removal process.
- Address the Lower Keys: Proceed to remove the lower keys in a systematic manner, ensuring that each key is detached and organized according to its position.
- Inspect for Debris: While the keys are removed, take the opportunity to inspect the keybed for any accumulated debris or foreign particles that may affect the piano’s performance.
By methodically removing the keys and maintaining their order and orientation, you’ll pave the way for accessing the underlying keybed and internal mechanisms. Throughout this process, handle the keys and associated components with care to preserve their functionality and ensure a seamless reassembly. With the keys removed, you’ll gain a clearer view of the intricate components within the piano, setting the stage for the subsequent disassembly of the circuit board and thorough cleaning and maintenance.
Removing the Circuit Board
As you progress through the disassembly of your Technics digital piano, the removal of the circuit board marks a pivotal phase in gaining access to the electronic heart of the instrument. The circuit board, housing essential electronic components and connections, requires careful handling and precision during the extraction process. Here’s a detailed guide to successfully removing the circuit board:
- Discharge Static Electricity: Prior to handling the circuit board, it’s crucial to discharge any static electricity from your body by using an anti-static wrist strap connected to a grounded object.
- Identify Connectors and Components: Take note of the connectors, cables, and components attached to the circuit board, ensuring that you have a clear understanding of their positions and connections.
- Unplug and Unscrew: Carefully unplug the connectors and remove any screws securing the circuit board in place, ensuring that each step is performed with precision to avoid damage to the board or its connections.
- Handle with Caution: When lifting the circuit board, handle it with extreme care to prevent bending or stressing the board and its delicate components. Utilize a flat, stable surface to support the board during removal.
- Inspect for Damage: While the circuit board is exposed, take the opportunity to inspect it for any signs of damage, such as loose connections, soldering issues, or component wear, which may require attention during the maintenance phase.
By methodically removing the circuit board and adhering to best practices for handling sensitive electronic components, you’ll gain access to the intricate electronic architecture that powers your Technics digital piano. This phase sets the stage for thorough cleaning, maintenance, and potential troubleshooting of electronic components, allowing you to address any underlying issues and ensure the optimal performance of your digital piano.
Cleaning and Maintenance
Once the internal components of your Technics digital piano are accessible, the cleaning and maintenance phase plays a vital role in preserving the instrument’s performance and longevity. This meticulous process involves addressing accumulated dust, debris, and potential wear and tear to ensure the optimal functionality of the piano. Here’s a comprehensive guide to cleaning and maintaining the internal components:
- Thorough Dusting: Utilize compressed air cans or a soft brush to carefully remove dust and debris from the internal components, keys, and keybed, ensuring that no foreign particles compromise the piano’s operation.
- Keybed Inspection: Examine the keybed for any signs of wear, damage, or misalignment, addressing any issues that may affect the keys’ responsiveness and playability.
- Circuit Board Care: Inspect the circuit board for dust accumulation and gently remove any debris using a soft brush, taking care not to disturb the delicate electronic components.
- Connector and Cable Examination: Verify the integrity of connectors and cables, ensuring that they are securely seated and free from damage or corrosion that may impede electrical connections.
- Component Maintenance: Assess the condition of electronic components, such as capacitors and resistors, looking for signs of aging or damage that may necessitate replacement or repair.
- Key Cleaning: Wipe down the removed keys with a damp microfiber cloth and gentle cleaning solution to remove grime and maintain their appearance and functionality.
- Reassembly Preparation: As you clean and inspect each component, prepare for the reassembly phase by organizing and labeling the components and screws for seamless reconstruction.
By meticulously cleaning and maintaining the internal components of your Technics digital piano, you’ll uphold its performance and extend its lifespan. This process not only ensures the instrument’s continued functionality but also provides an opportunity to identify and address potential issues that may impact its playability and sound quality. With the internal components revitalized, you’ll be ready to embark on the final phase of reassembling your digital piano, equipped with a newfound understanding of its intricate design and inner workings.
Reassembling the Piano
With the cleaning and maintenance phase completed, the reassembly of your Technics digital piano marks the culmination of your hands-on exploration into its inner workings. This pivotal phase requires precision and attention to detail to ensure the seamless reconstruction of the instrument. Follow these steps to methodically reassemble your digital piano:
- Refer to Documentation: If you documented the disassembly process, utilize your reference materials to guide the reassembly, ensuring that components are reinstated in their correct positions.
- Begin with the Circuit Board: Carefully place the circuit board back into its designated position, ensuring that connectors are securely plugged in and screws are fastened without overtightening.
- Key Reinstallation: Starting from the lower keys, methodically reinstall each key, aligning them with the keybed and ensuring that they are secured in their respective positions.
- Outer Casing Alignment: Position the outer casing over the internal framework, taking care to align it properly before securing it with the previously removed screws.
- Double-Check Connections: Verify that all cables, connectors, and components are securely reattached, minimizing the risk of loose connections that could affect the piano’s functionality.
- Testing Phase: Once the piano is reassembled, perform a thorough functionality test to ensure that all keys are responsive, the electronic components are operational, and the instrument produces sound as expected.
As you meticulously reassemble your Technics digital piano, take pride in the hands-on knowledge and experience gained throughout the disassembly and reconstruction process. By adhering to best practices and attention to detail, you’ll restore your digital piano to its fully operational state, ready to inspire musical creativity and enjoyment once again.