Introduction
Are you a musician looking to capture the rich, resonant tones of your digital piano in the digital realm? Recording from a digital piano to Ableton opens up a world of possibilities, allowing you to harness the power of this cutting-edge software to create, edit, and produce your musical compositions. Whether you're a seasoned performer or a budding artist, the ability to seamlessly transfer your piano performances into Ableton Live can revolutionize your creative process.
In this comprehensive guide, we'll walk you through the essential steps to record from your digital piano to Ableton, enabling you to preserve your musical ideas and refine them with the myriad tools available in this versatile digital audio workstation. From setting up your digital piano to configuring Ableton for recording and finally capturing your performances, we'll cover each crucial stage with clarity and precision, ensuring that you can seamlessly integrate your piano playing into your digital audio projects.
By the end of this tutorial, you'll possess the knowledge and confidence to bridge the gap between your digital piano and Ableton Live, empowering you to embark on a sonic journey where your musical visions can flourish and evolve. So, grab your digital piano, fire up Ableton, and let's dive into the exciting realm of recording your piano performances with precision and finesse.
Setting up your digital piano
Before delving into the recording process, it’s crucial to ensure that your digital piano is properly set up for seamless integration with Ableton Live. Here are the essential steps to prepare your digital piano for recording:
- Connect the power supply: Start by plugging in the power adapter of your digital piano to a reliable power source. Ensuring a stable power supply is vital for uninterrupted recording sessions.
- Positioning and stability: Place your digital piano in a comfortable and well-lit area. Ensure that it is positioned on a stable surface, such as a sturdy stand or a dedicated keyboard stand, to prevent any movement or instability during performances and recording sessions.
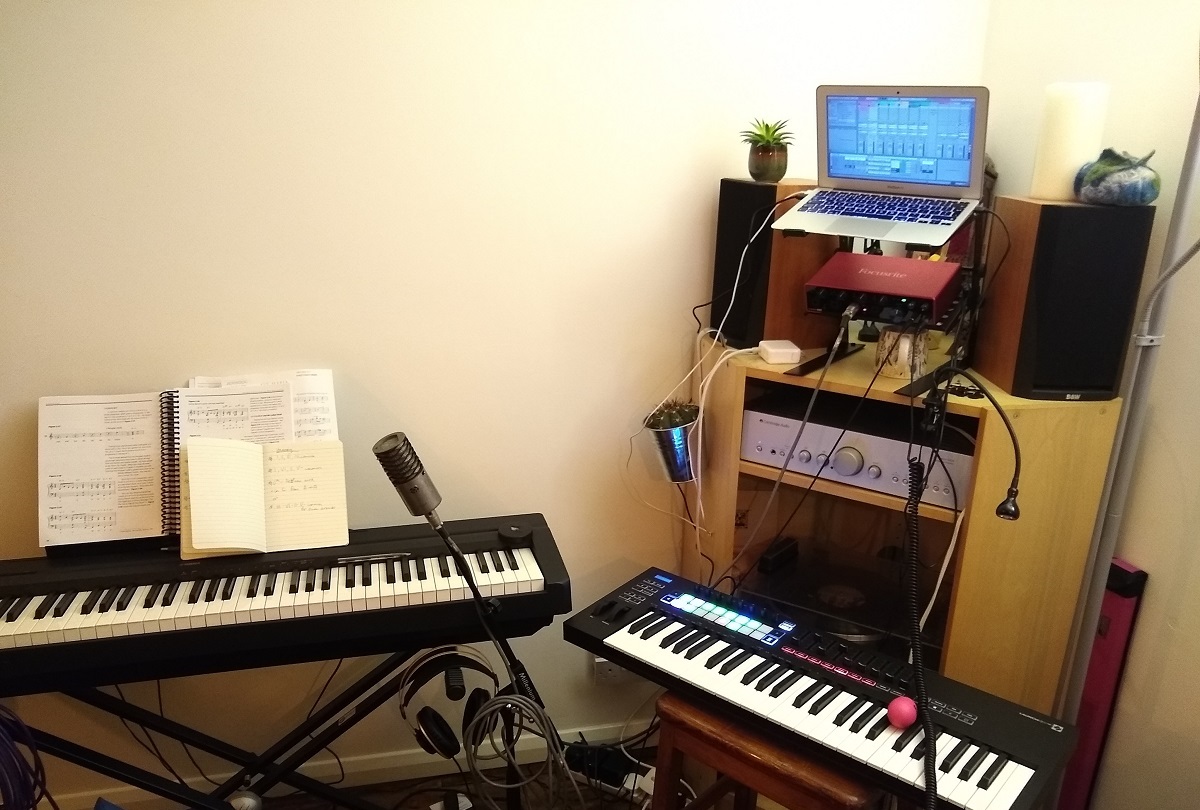
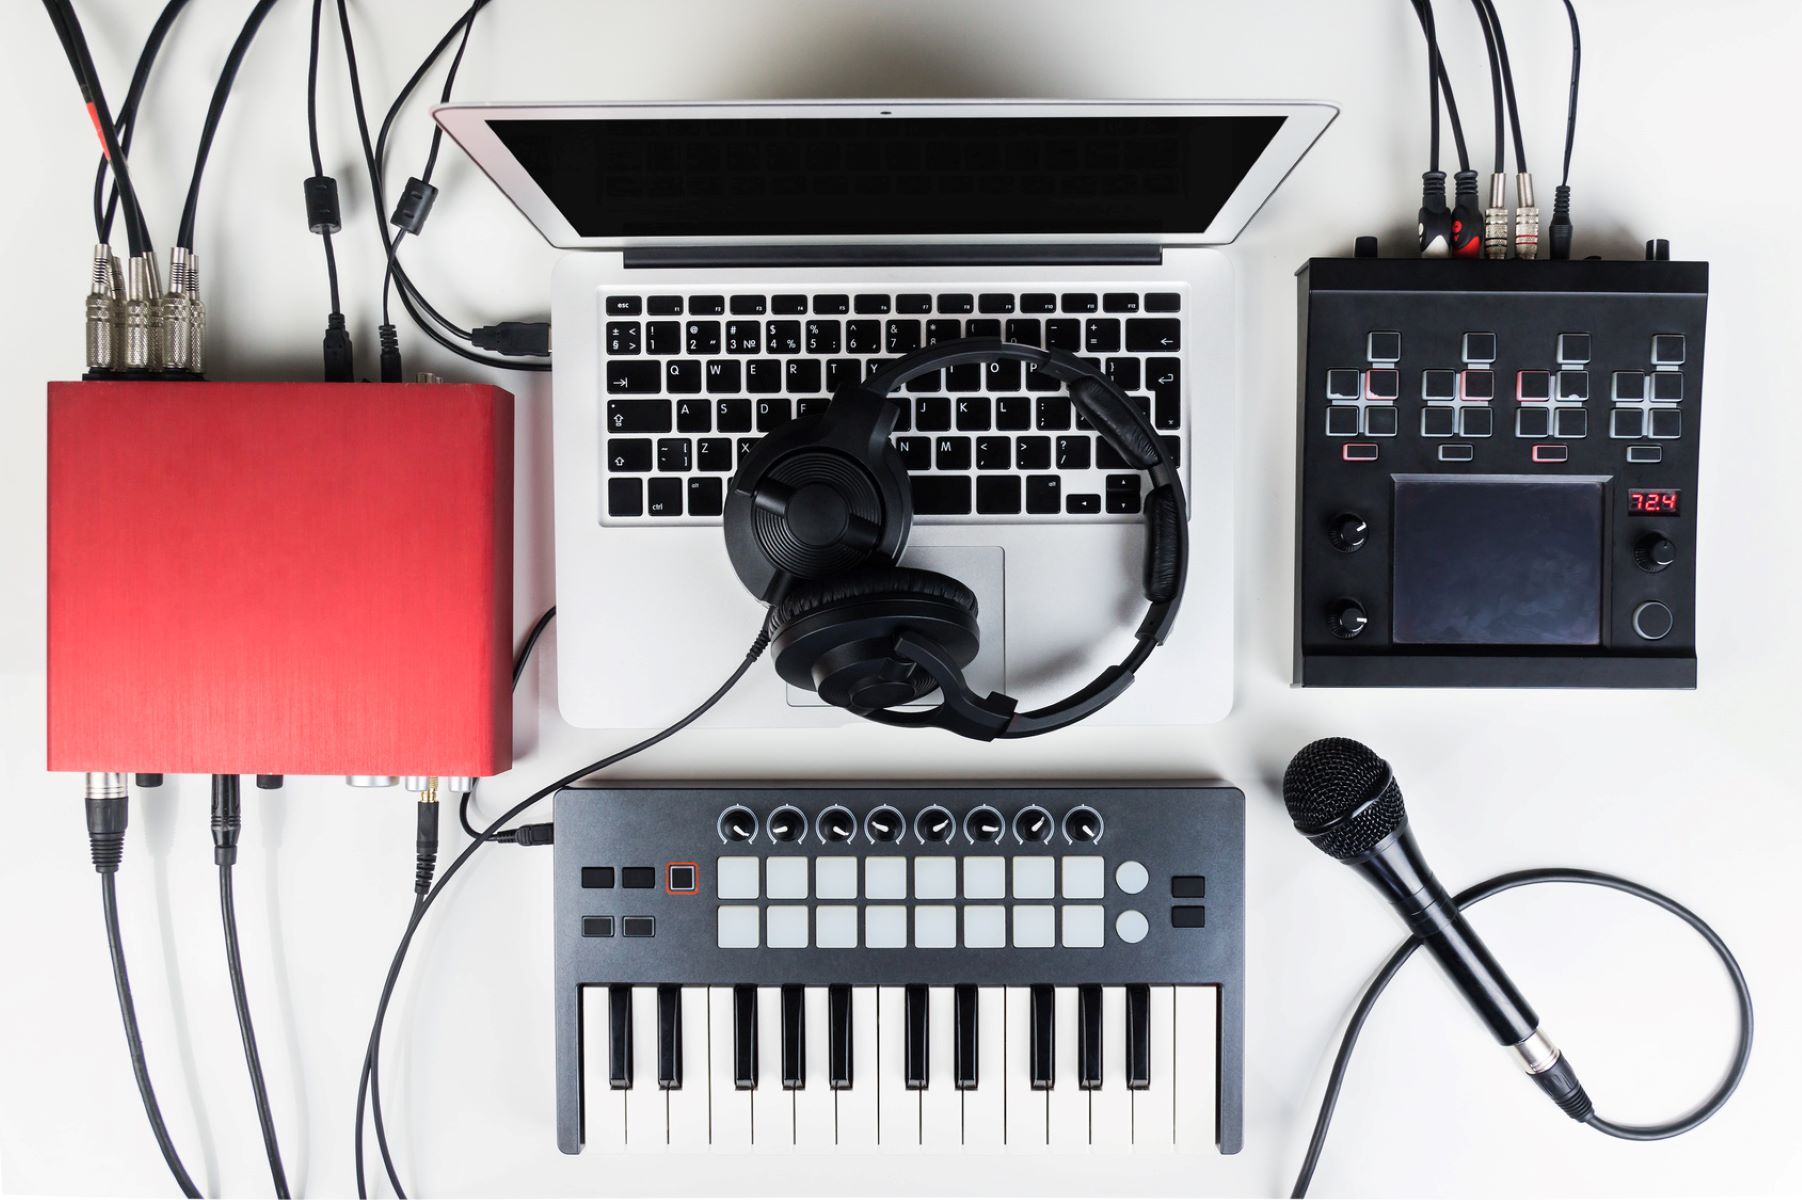
- Audio outputs: Identify the audio output options available on your digital piano. Most digital pianos feature standard 1/4-inch audio outputs or stereo line outputs. Familiarize yourself with the specific output ports on your piano, as these will be used to connect to your audio interface or sound card for recording.
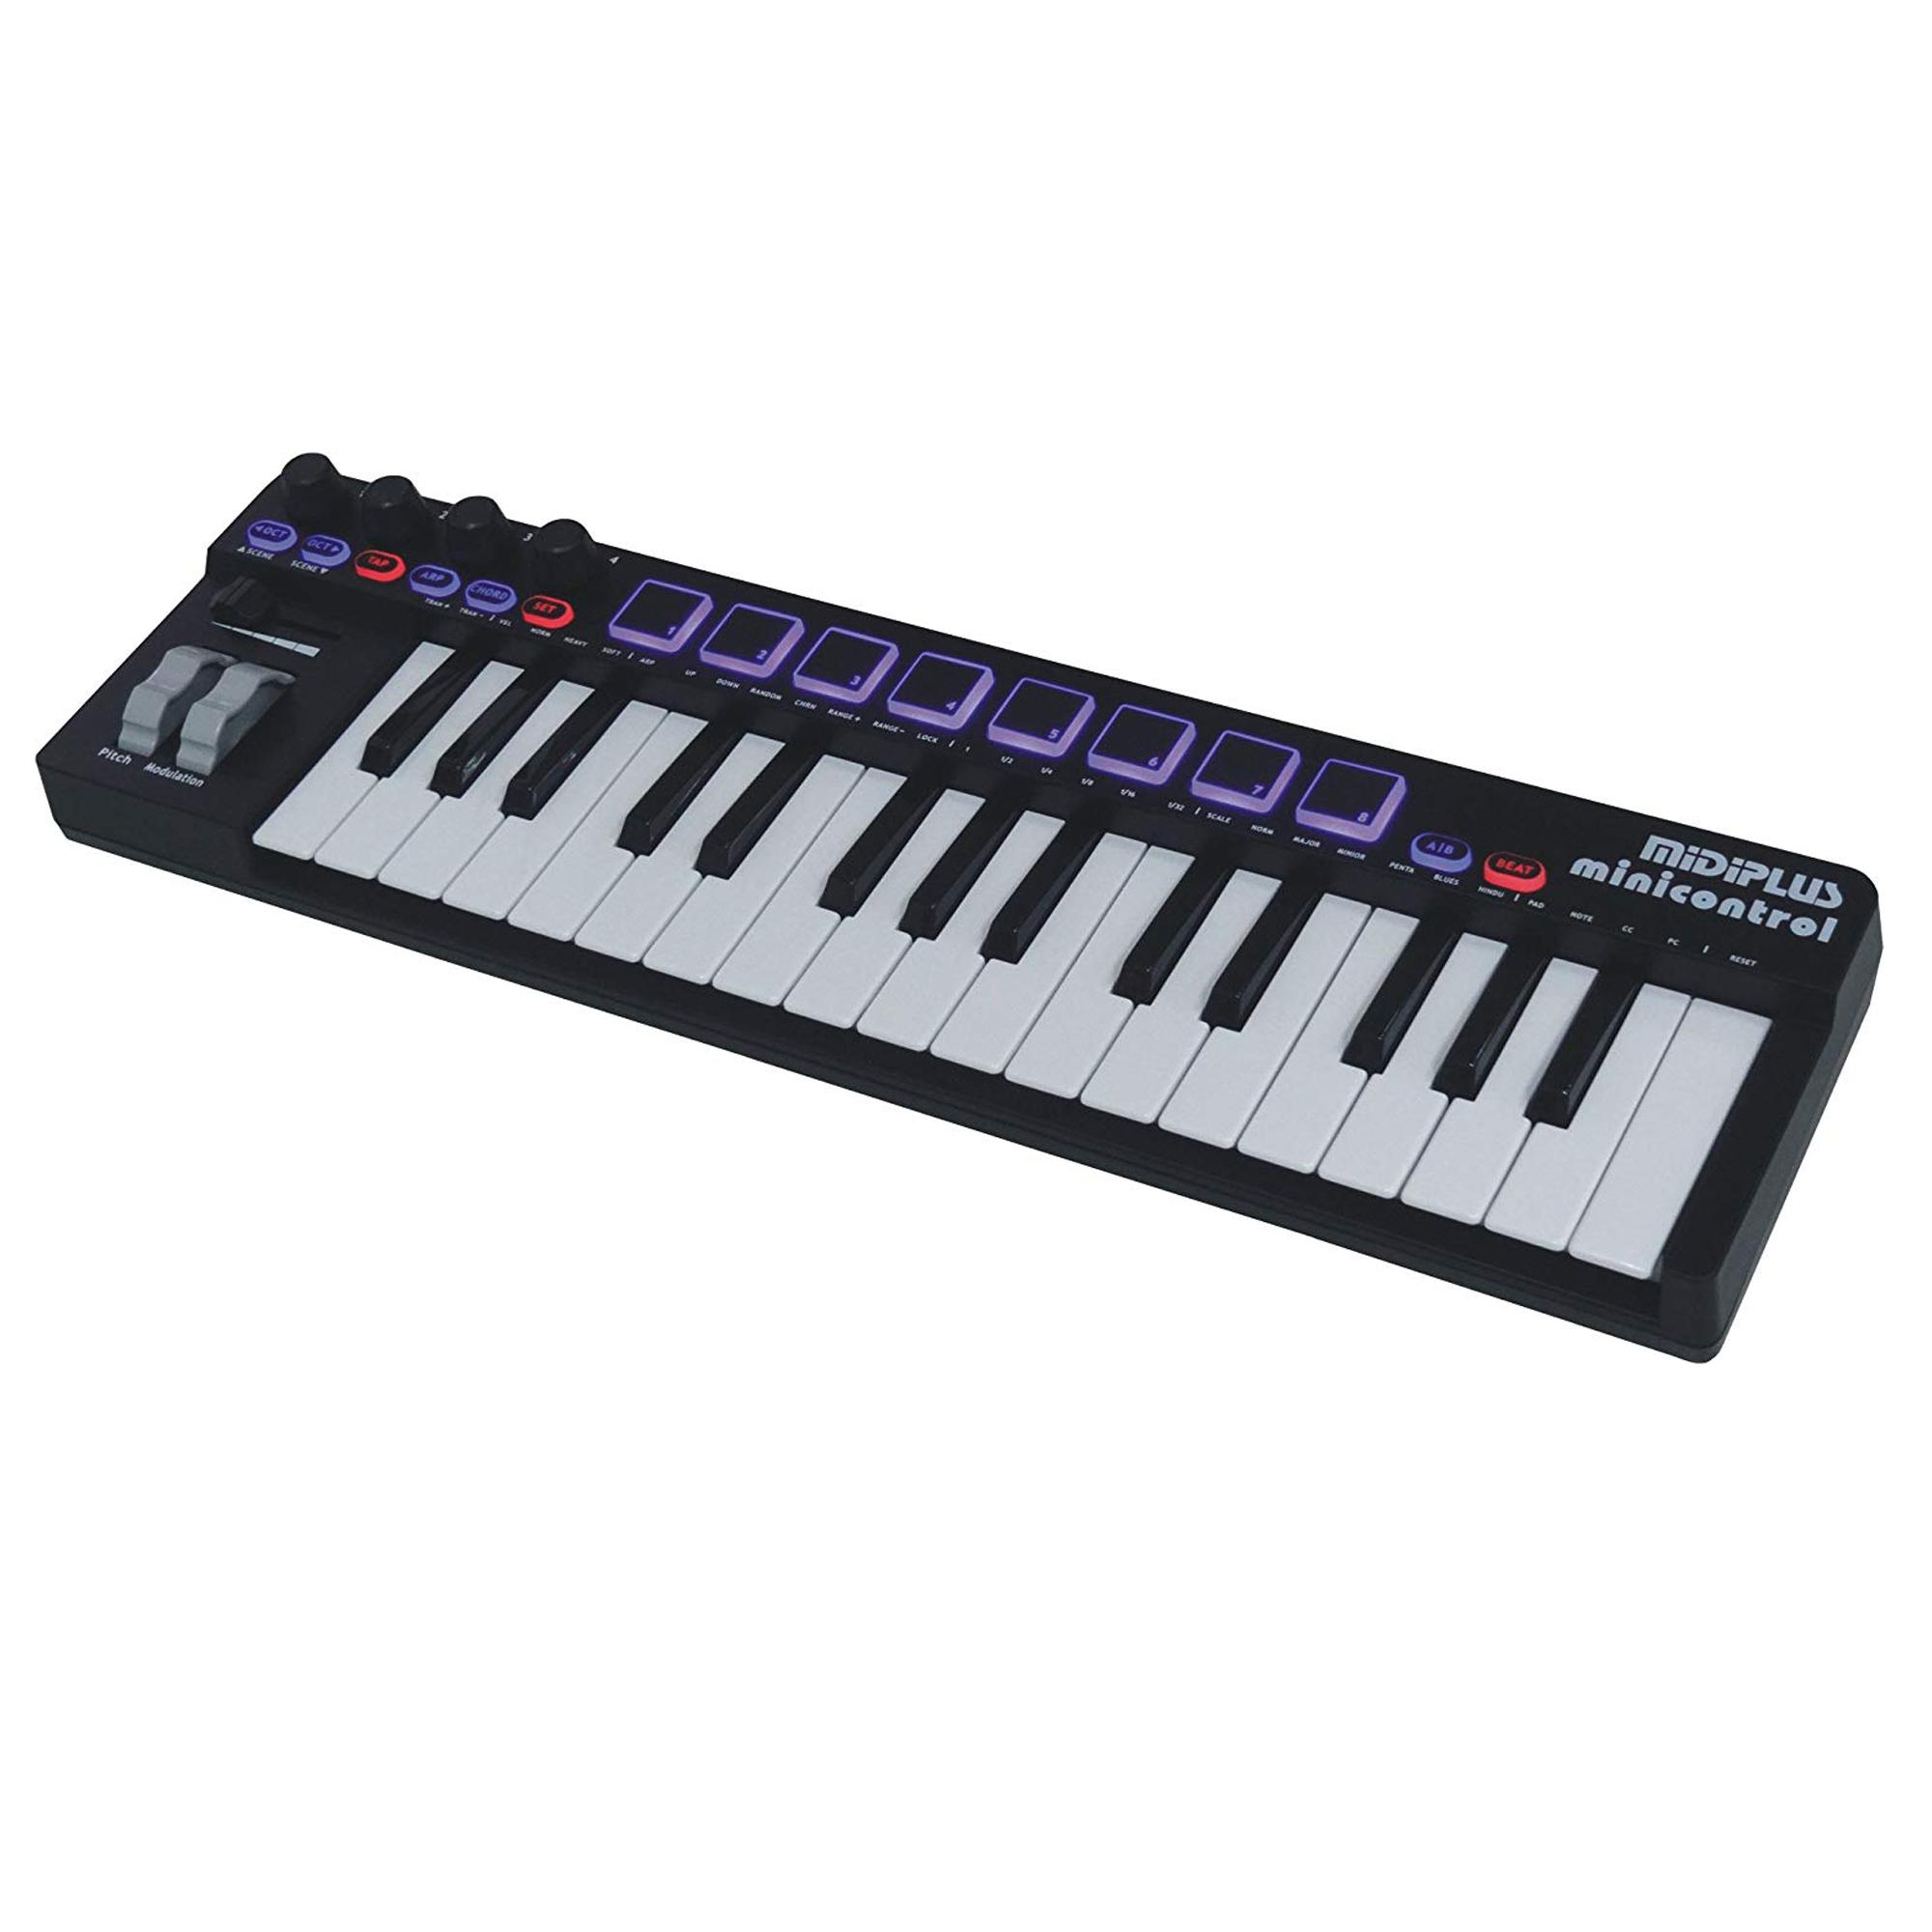
- USB connectivity: If your digital piano supports USB connectivity, check if it can be directly connected to your computer via USB. This can simplify the setup process and streamline the audio signal routing for recording in Ableton Live.
- Headphone monitoring: Consider using headphones for monitoring while recording. This can help you focus on your performance without being distracted by external sounds, and it also provides privacy when working on your music in shared spaces.
By meticulously setting up your digital piano according to these guidelines, you’ll establish a solid foundation for capturing high-quality audio from your instrument and seamlessly transferring it into the digital domain of Ableton Live. With your digital piano primed for recording, you’re now ready to proceed to the next crucial phase: connecting your digital piano to Ableton.
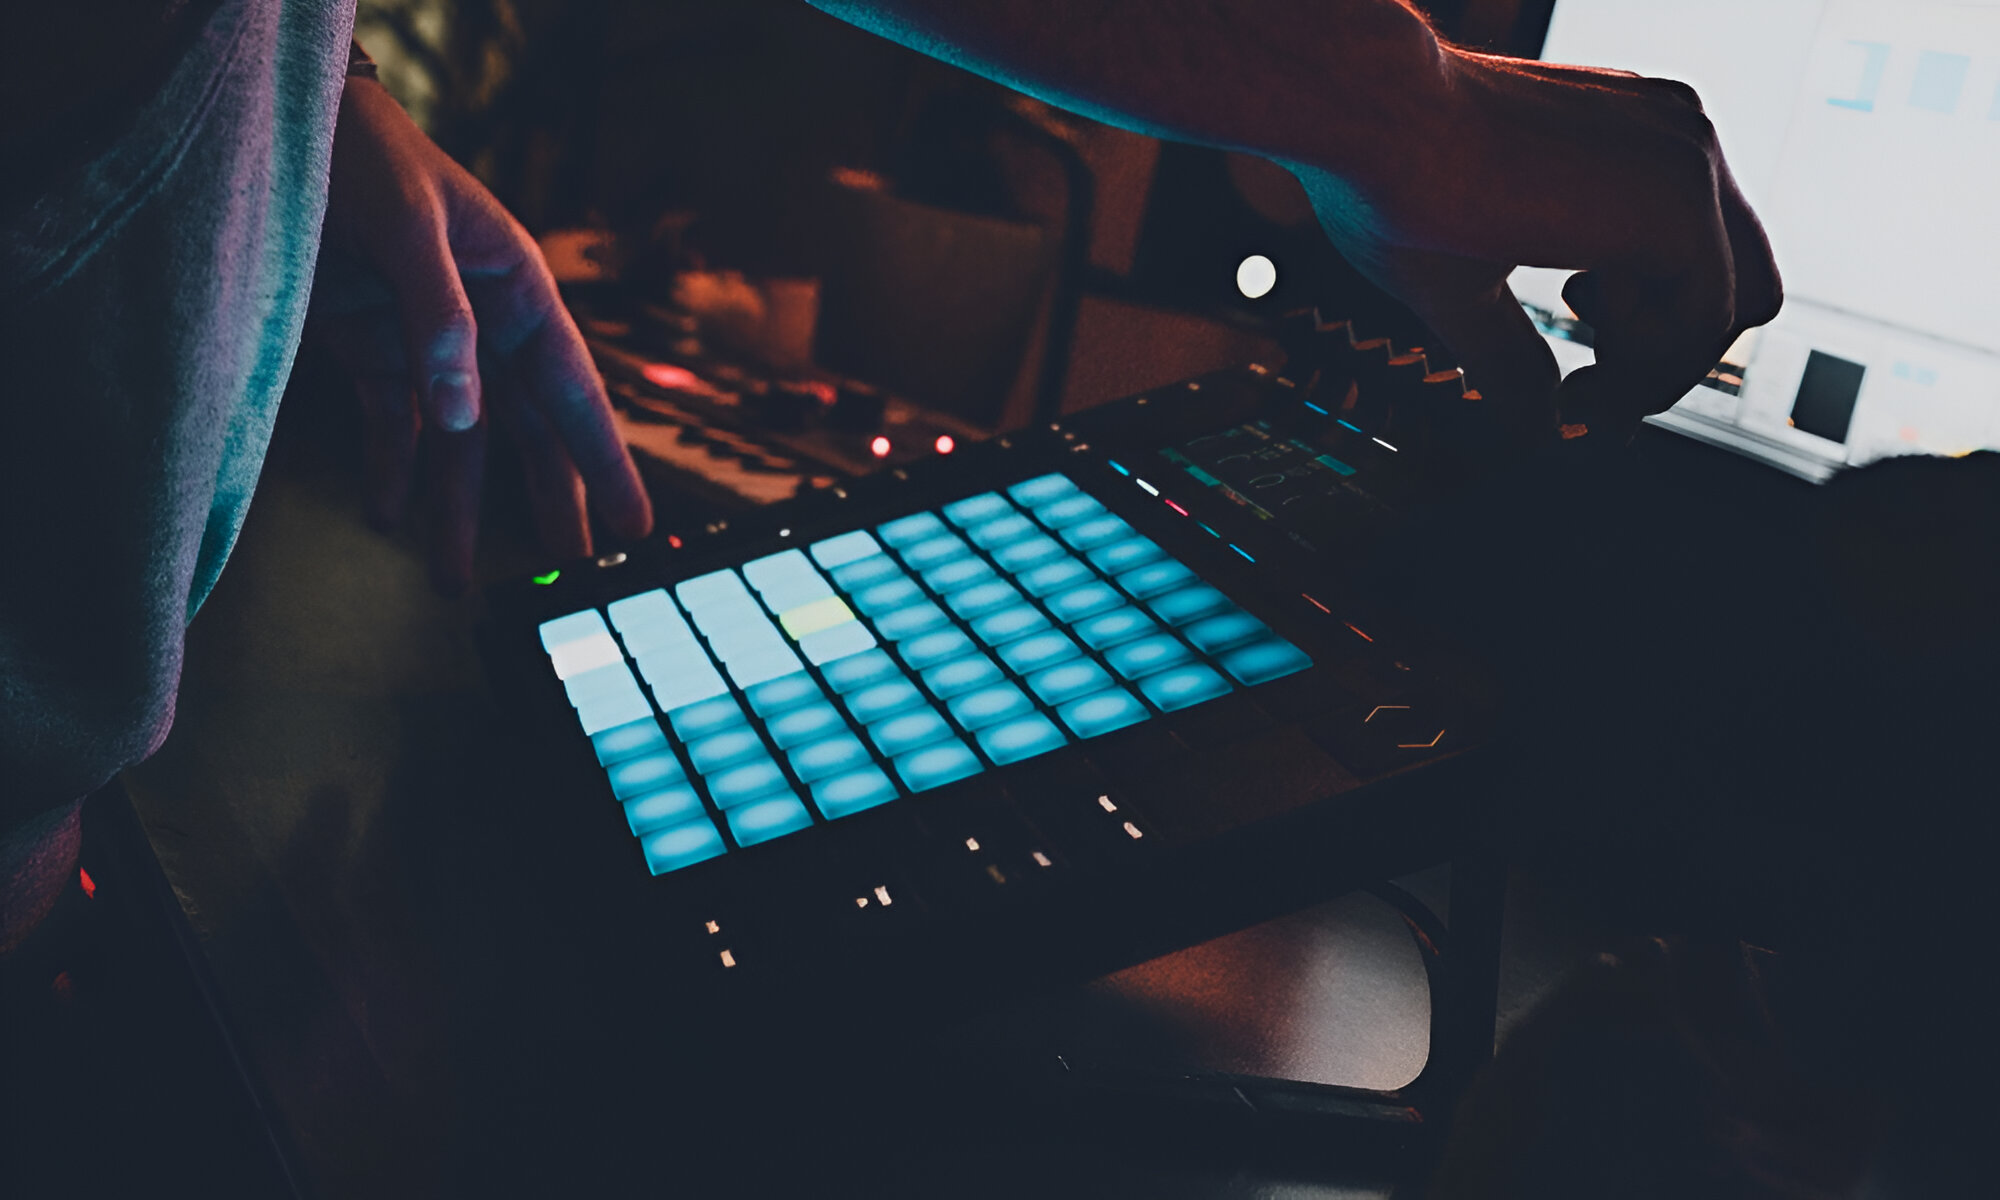
Connecting your digital piano to Ableton
Once your digital piano is set up and ready, the next step is to establish a seamless connection between your instrument and Ableton Live. This pivotal stage lays the groundwork for transmitting the captivating sounds of your digital piano into the digital realm of Ableton. Here’s how to connect your digital piano to Ableton:
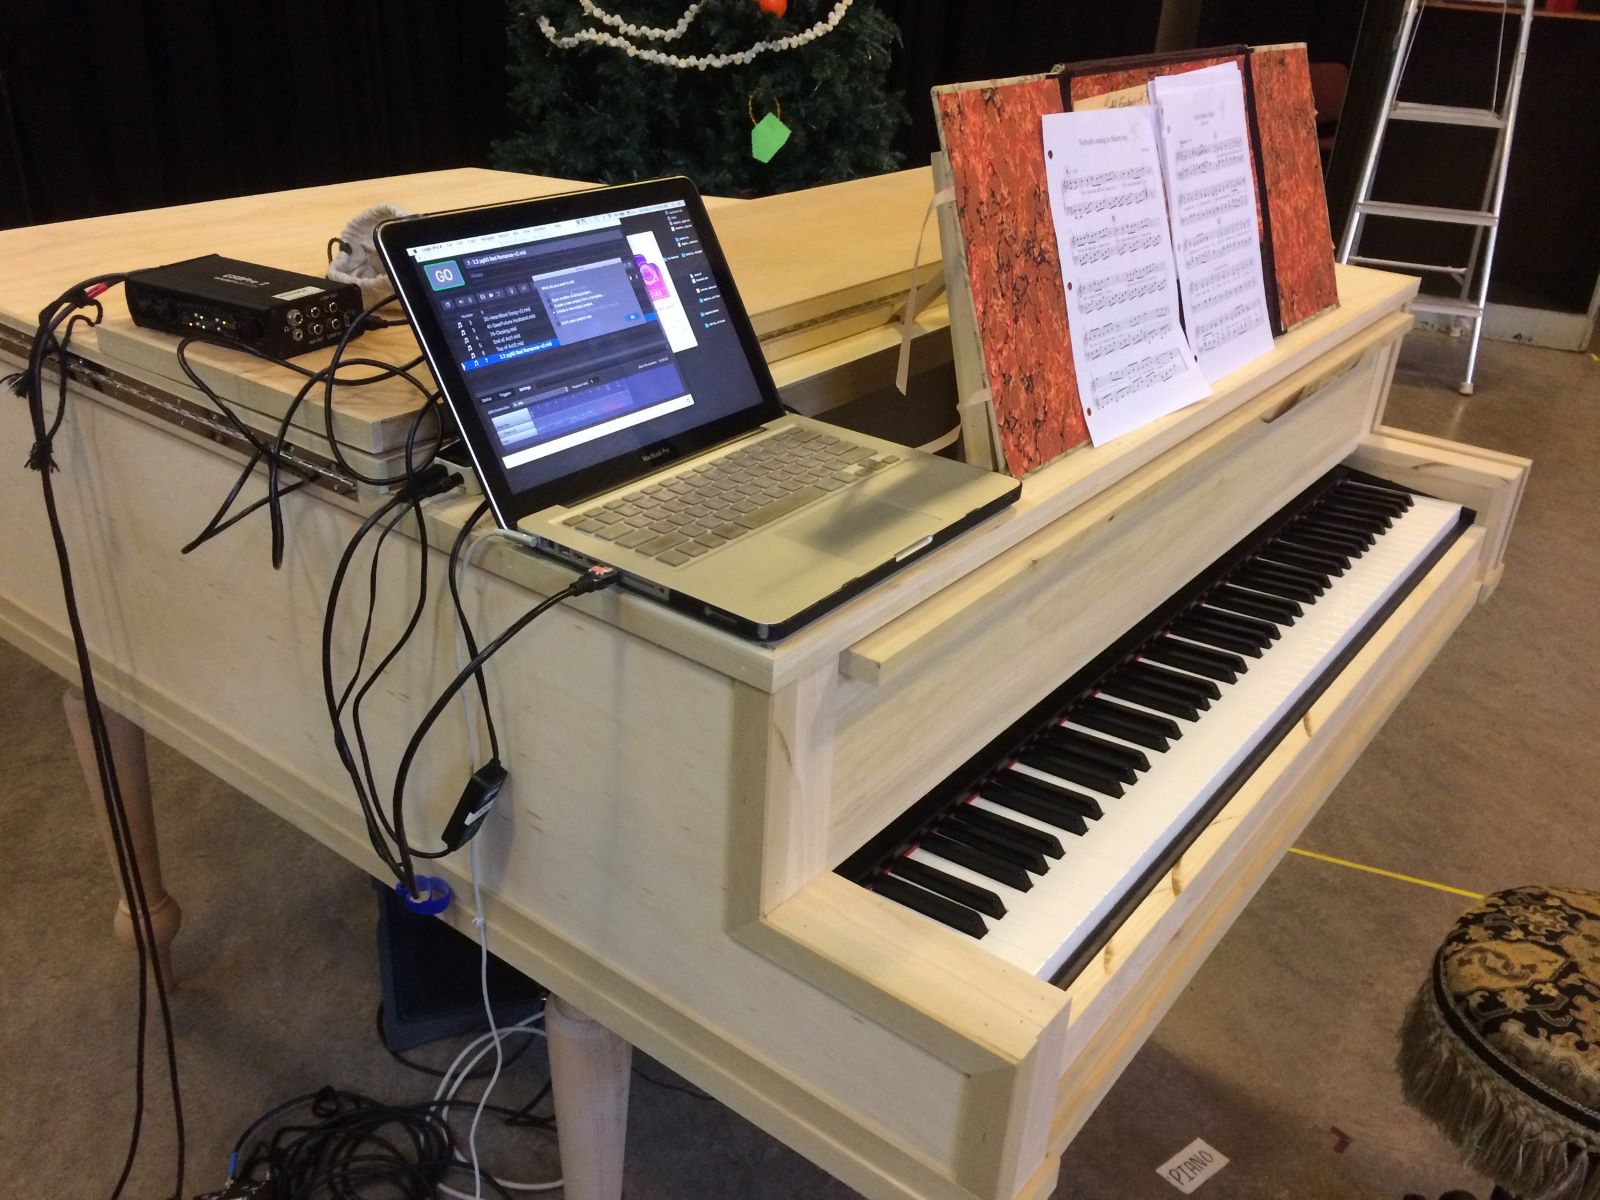
- Audio interface setup: If your digital piano features standard audio outputs, you’ll need to connect these outputs to an audio interface or a sound card. Use appropriate audio cables to connect the output ports of your digital piano to the input channels of your audio interface. This facilitates the conversion of analog audio signals from your piano into digital data that can be processed by Ableton Live.
- USB connectivity: If your digital piano supports USB connectivity and is compatible with Ableton Live, you can directly connect it to your computer via USB. This method simplifies the setup process by allowing the digital piano to function as a MIDI controller or an audio interface, depending on its capabilities.
- Driver installation: If you’re using a USB connection, ensure that the necessary drivers for your digital piano are installed on your computer. These drivers enable seamless communication between your piano and Ableton Live, ensuring that MIDI data and audio signals are transmitted accurately.
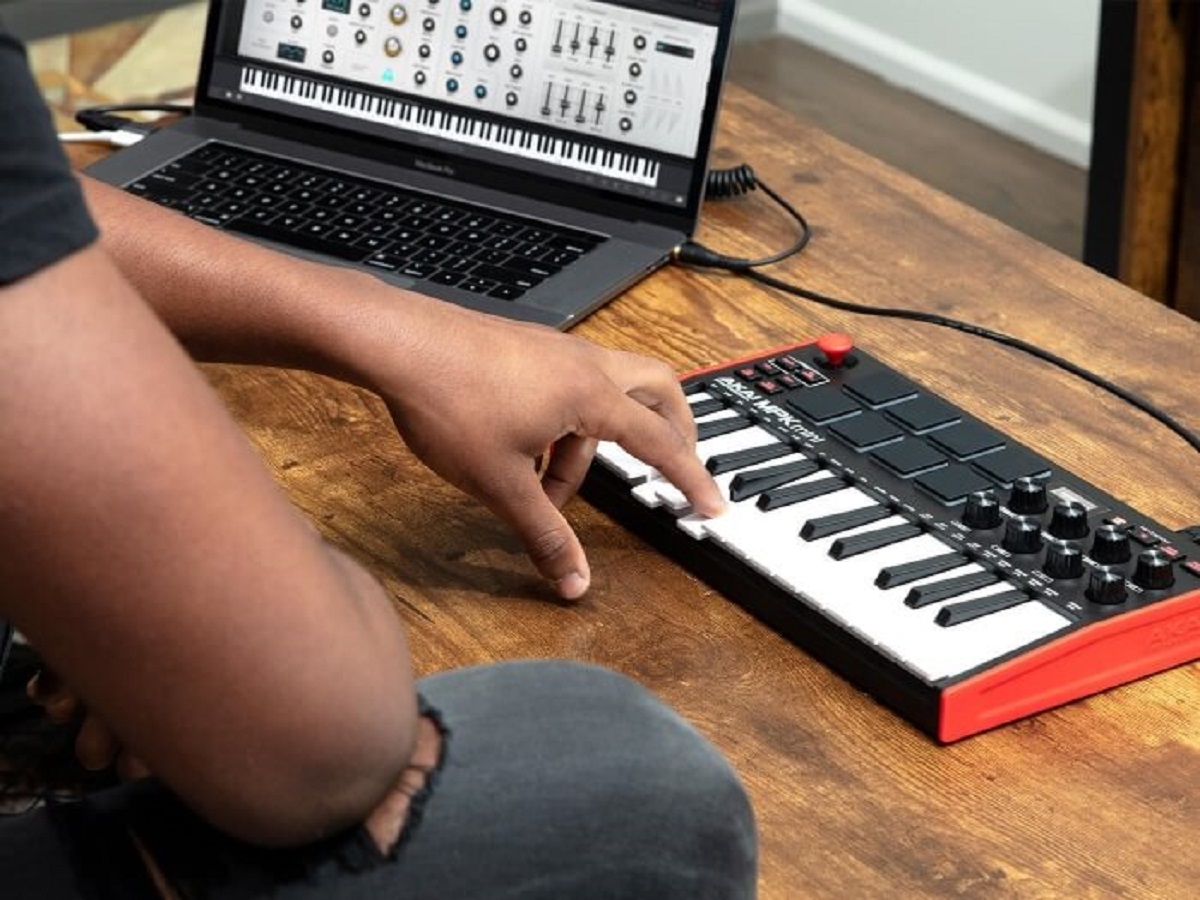
- Integration with Ableton Live: Launch Ableton Live on your computer and navigate to the preferences menu. In the audio tab, select your audio interface or digital piano as the input device. Configure the audio settings to ensure that Ableton recognizes and utilizes the audio input from your digital piano.
- Testing the connection: Once the setup is complete, test the connection by playing your digital piano. Monitor the audio input levels within Ableton Live to verify that the software is receiving the audio signal from your piano. Make any necessary adjustments to the audio settings to optimize the input levels and ensure a clean, distortion-free signal.
By following these steps, you’ll establish a robust connection between your digital piano and Ableton Live, paving the way for seamless audio transmission and recording capabilities. With the technical aspects in place, you’re now poised to configure Ableton Live for recording your captivating piano performances.
Configuring Ableton for recording
With your digital piano seamlessly connected to Ableton Live, the next crucial step is to configure the software to effectively capture and process the audio signals from your instrument. Adequate configuration ensures that Ableton is optimized for recording your piano performances with precision and clarity. Here’s how to configure Ableton Live for recording from your digital piano:
- Audio input settings: Access the audio preferences within Ableton Live and verify that the input channels corresponding to your digital piano are correctly selected. This step ensures that Ableton is configured to receive audio input from your piano via the designated input channels on your audio interface or sound card.
- Setting input levels: Adjust the input gain levels within Ableton Live to achieve an optimal balance between the audio signal’s volume and clarity. Carefully monitor the input meters to prevent signal distortion while maximizing the audio input levels for a robust recording signal.
- Monitoring and latency: Configure the monitoring settings to enable real-time audio monitoring while recording from your digital piano. Address any latency issues by adjusting the audio buffer size and optimizing the software’s performance to minimize audio input and output delays during recording.
- Track setup: Create a new audio track within Ableton Live dedicated to recording from your digital piano. Assign the appropriate input channels to this track, ensuring that it corresponds to the audio input channels receiving signals from your piano. Configure the track for recording and arm it to receive audio input from your digital piano.
- Metronome and count-in: Utilize Ableton’s metronome feature to maintain rhythmic precision during recording. Set the metronome parameters and enable a count-in to prepare for your piano performances, allowing you to seamlessly synchronize your playing with the software’s tempo and timing.
By meticulously configuring Ableton Live according to these guidelines, you’ll establish an optimized recording environment tailored to the unique characteristics of your digital piano. This meticulous setup ensures that Ableton Live is finely tuned to capture the nuances and intricacies of your piano performances, setting the stage for a seamless and rewarding recording experience.
Recording from your digital piano to Ableton
With your digital piano and Ableton Live seamlessly integrated and configured, you’re now poised to embark on the exhilarating process of recording your captivating piano performances. Whether you’re capturing a soul-stirring melody, a dynamic chord progression, or a mesmerizing improvisation, Ableton Live provides the tools and capabilities to faithfully preserve your musical expressions. Here’s how to record from your digital piano to Ableton:
- Preparation and setup: Position yourself comfortably at your digital piano, ensuring that you’re ready to deliver a compelling performance. Familiarize yourself with the recording environment in Ableton Live, confirming that the audio tracks and input settings are configured to receive signals from your piano.
- Engage the recording mode: Arm the audio track dedicated to recording from your digital piano within Ableton Live. Ensure that the track is set to record-enable mode, allowing it to capture the incoming audio signal from your piano when the recording process commences.
- Performance and expression: Channel your musical creativity and immerse yourself in the captivating sounds of your digital piano. Whether you’re delivering a poignant performance, an energetic composition, or an evocative improvisation, allow your musical expressions to flow seamlessly from your fingertips to the keys of your piano.
- Monitoring and feedback: Monitor the recording process within Ableton Live, observing the input levels and audio signal to ensure a clean and distortion-free recording. Leverage Ableton’s monitoring capabilities to listen to your performance in real time, allowing you to make on-the-fly adjustments and refinements as needed.
- Review and refinement: Upon completing your performance, review the recorded audio within Ableton Live. Listen attentively to the captured performance, identifying moments of musical brilliance and areas that may benefit from refinements or enhancements.
- Post-production and creativity: Explore the myriad post-production tools and creative features within Ableton Live to further refine and embellish your recorded piano performances. Whether it’s adding effects, applying subtle enhancements, or layering additional musical elements, embrace the creative possibilities offered by the software to elevate your recordings.
By following these steps, you’ll adeptly capture the essence of your digital piano performances within the dynamic realm of Ableton Live, empowering you to preserve, refine, and share your musical creations with confidence and finesse. With your performances seamlessly recorded and preserved, you’re now ready to explore the boundless potential of your piano recordings within the versatile landscape of Ableton Live.
Conclusion
Congratulations! You’ve embarked on an enriching journey, seamlessly bridging the captivating realm of your digital piano with the boundless creative potential of Ableton Live. By meticulously setting up your digital piano, establishing a robust connection to Ableton, and configuring the software for optimal recording, you’ve empowered yourself to seamlessly capture and refine your piano performances with precision and finesse.
Recording from your digital piano to Ableton is not merely a technical process—it’s a gateway to preserving your musical expressions, refining your compositions, and unleashing your creativity within the digital audio landscape. As you navigate the exhilarating process of recording your piano performances, remember that each keystroke, each melody, and each chord progression carries the essence of your musical identity, waiting to be immortalized within the digital realm.
With your performances seamlessly recorded and preserved within Ableton Live, you now possess the tools and capabilities to explore a myriad of creative possibilities. Whether it’s refining your recordings with post-production finesse, layering additional musical elements, or embarking on ambitious musical projects, the synergy between your digital piano and Ableton Live opens the doors to a world of sonic exploration and artistic innovation.
As you continue to hone your craft and embark on musical endeavors, the knowledge and proficiency you’ve gained in recording from your digital piano to Ableton will serve as a steadfast companion, empowering you to channel your musical visions with clarity and conviction. Embrace the boundless potential of this seamless integration, and let your piano performances resonate and reverberate within the digital tapestry of Ableton Live.
So, as you prepare to embark on your next musical odyssey, armed with the prowess to effortlessly capture and refine your piano performances, remember that the captivating synergy between your digital piano and Ableton Live is a testament to your unwavering dedication to musical excellence and creative exploration. With each recording, you breathe life into your musical aspirations, ensuring that your artistic legacy endures within the timeless realm of digital audio.