Introduction
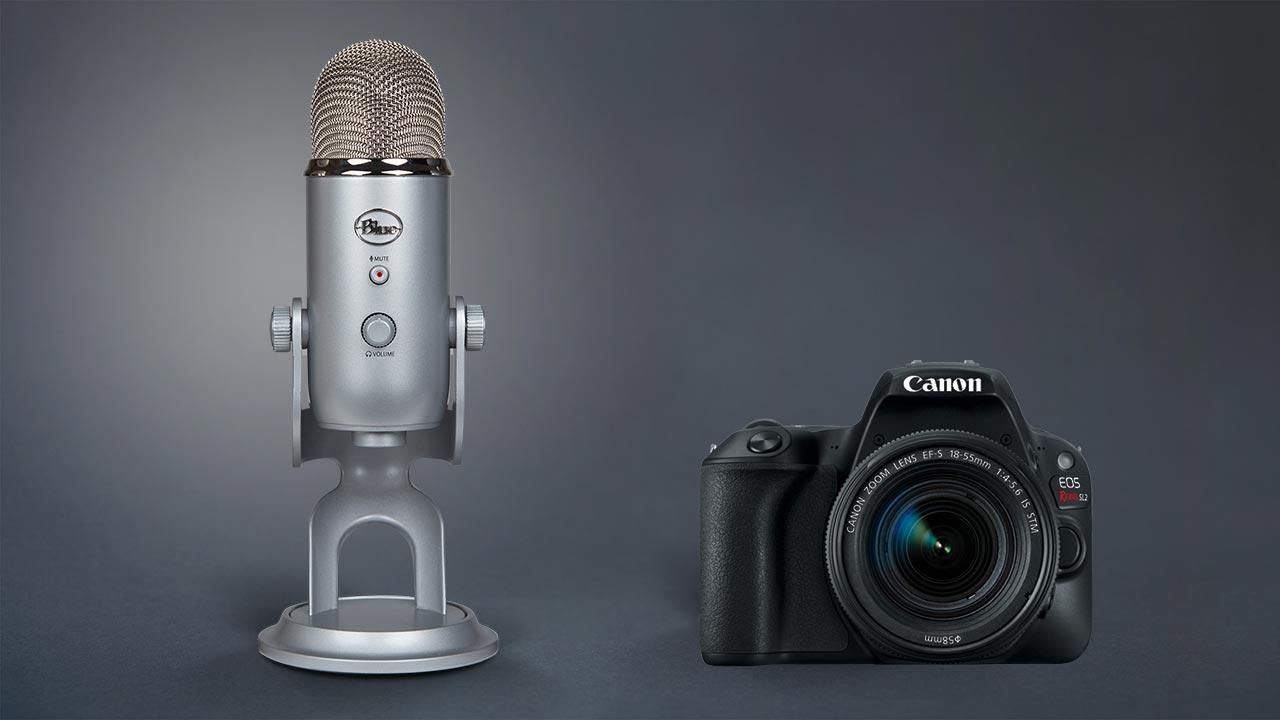
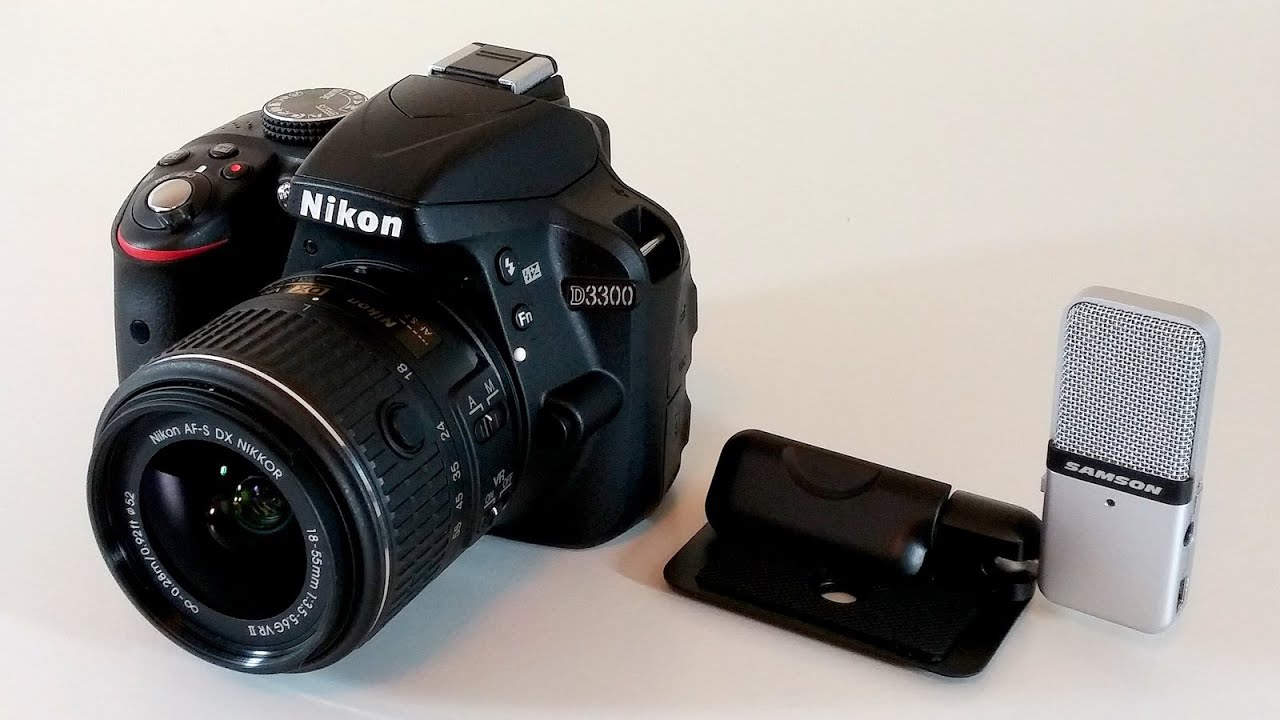
Welcome to this guide on how to connect a USB microphone to a camera. Whether you’re a vlogger, filmmaker, or content creator, having high-quality audio is essential to make your videos or recordings stand out. While cameras generally have built-in microphones, they may not always deliver the best audio quality, especially in noisy environments.
By connecting a USB microphone to your camera, you can significantly improve the sound capture in your videos. USB microphones are popular for their ease of use and compatibility with various devices, including cameras. With just a few simple steps, you can enhance your audio recording capabilities without the need for additional equipment.
In this guide, we will walk you through the process of connecting a USB microphone to your camera. You’ll learn how to choose a compatible USB microphone, check your camera’s compatibility, connect the microphone to the camera, adjust the microphone settings, and test the audio recording.
Before we dive into the step-by-step instructions, it’s essential to note that different camera models may have varying capabilities and connection options. Therefore, it’s recommended to refer to your camera’s manual or manufacturer’s website for specific instructions and compatibility information.
Now, let’s get started with step one, where we’ll explore choosing a compatible USB microphone for your camera.
Step 1: Choose a Compatible USB Microphone
When selecting a USB microphone for your camera, it’s crucial to choose one that is compatible with both your camera and recording needs. Here are a few factors to consider:
- Camera compatibility: First and foremost, ensure that the USB microphone you choose is compatible with your camera. Check the camera’s documentation or manufacturer’s website to see if it supports external microphones and if there are any specific requirements or limitations.
- Audio quality: Consider your recording needs and desired audio quality. USB microphones come in a variety of price ranges and offer different features such as directional pickup patterns (e.g., cardioid, omnidirectional) and adjustable gain. Choose a microphone that suits your recording environment and delivers the desired audio clarity.
- Portability: If you plan to use the microphone for on-the-go filming, consider its size, weight, and ease of transport. Look for compact and lightweight options that won’t weigh you down during your adventures.
- Mounting options: Check if the USB microphone can be easily mounted on your camera. Some microphones come with shock mounts, hot shoe adapters, or built-in tripod threads, allowing you to attach them securely to your camera or camera rig without any additional accessories.
- Budget: Set a budget for your USB microphone purchase, as prices can vary significantly. It’s important to balance your budget with the microphone’s quality and features. There are plenty of options available to suit different budgets, so take your time to research and compare models.
Once you have taken these factors into account, you’ll be better equipped to choose a USB microphone that meets your camera and recording requirements. Remember to read user reviews and gather feedback from other creators to ensure you make an informed decision.
Now that you have a better understanding of what to consider when choosing a USB microphone, let’s move on to step two, where we’ll explore how to check your camera’s compatibility with external microphones.
Step 2: Check the Camera’s Compatibility
Before connecting a USB microphone to your camera, it’s essential to ensure that your camera supports external microphones and has the necessary ports or settings for connectivity. Here are the steps to check your camera’s compatibility:
- Consult the camera manual: Start by referring to your camera’s manual or user guide. Look for information about external microphone support, audio input ports, and any specific requirements or limitations. The manual will provide instructions specific to your camera model.
- Visit the manufacturer’s website: If you don’t have a physical copy of the manual, or if you need more detailed information, visit the manufacturer’s website. Most camera manufacturers provide manuals, support documents, and frequently asked questions (FAQs) that cover microphone compatibility issues.
- Search online forums and communities: Online forums and communities dedicated to camera enthusiasts or content creators can be a valuable resource for checking camera compatibility. Join relevant forums or groups and ask questions about connecting USB microphones to your specific camera model. Other users with similar cameras might have already explored the compatibility issues you are facing.
- Reach out to customer support: If you’re still unsure about your camera’s compatibility or need more specific information, reach out to the camera manufacturer’s customer support. They can provide assistance and clarify any doubts or concerns you may have regarding connecting a USB microphone to your camera.
By following these steps, you can ensure that your camera supports external microphones and determine the best way to connect a USB microphone. Remember, not all cameras have the same compatibility with USB microphones, so it’s important to verify these details before making a purchase.
Now that you’ve checked your camera’s compatibility, it’s time to move on to step three, where we’ll explore how to connect the USB microphone to your camera. We’ll guide you through the process to ensure a seamless connection and optimal audio performance.
Step 3: Connect the USB Microphone to the Camera
Now that you have a compatible USB microphone and have confirmed your camera’s compatibility, it’s time to connect the microphone to your camera. Follow these steps to ensure a proper connection:
- Power off your camera: Before connecting any external device to your camera, it’s important to turn it off to prevent any potential damage or interference.
- Locate the USB port: Identify the USB port on your camera. It is usually labeled with a USB icon and may be located on the side or rear panel of the camera body. Consult your camera’s manual or manufacturer’s website for the exact location if you’re unsure.
- Connect the USB cable: Take the USB cable that came with your microphone and plug one end into the USB port of the camera.
- Connect the other end to the microphone: Plug the other end of the USB cable into the USB port on your microphone. Make sure it is securely connected.
- Power on your camera: Once the USB cable is properly connected, turn on your camera. Some cameras may automatically detect the USB microphone and switch to it as the audio input source. However, if this doesn’t happen, we’ll address adjusting the microphone settings in the next step.
It’s important to note that some USB microphones may require additional power or have specific settings that need to be adjusted. Refer to the microphone’s user manual or manufacturer’s instructions for any specific requirements or procedures.
Once the USB microphone is connected to your camera, you’re ready to move on to the next step, where we’ll guide you on adjusting the microphone settings on the camera. Properly configuring the settings ensures optimal audio recording quality and eliminates any potential issues.
Step 4: Adjust the Microphone Settings on the Camera
After connecting the USB microphone to your camera, it’s important to adjust the microphone settings to ensure proper audio recording. Follow these steps to configure the microphone settings:
- Access the camera settings menu: Depending on your camera model, the process of accessing the settings menu may vary. Refer to your camera’s manual for specific instructions on navigating the menu. Typically, you can find the menu button or icon on the camera body.
- Find the audio settings: Within the camera settings menu, locate the audio or sound settings. These settings may be labeled differently depending on the camera brand and model. Look for options related to audio input, microphone settings, or external microphone.
- Select the USB microphone as the audio input: Once you’ve found the audio settings, choose the USB microphone as the audio input source. This selection will signify that the camera should use the USB microphone as the primary audio capture device.
- Adjust the microphone levels or gain: Some cameras allow you to adjust the microphone levels or gain settings. This adjustment is crucial to ensure that the audio recording is not too loud or too soft. Follow the camera’s instructions to adjust the levels or gain to an appropriate level.
- Monitor the audio levels: As you make adjustments to the microphone settings, monitor the audio levels on the camera’s display or through headphones, if applicable. Ensure that the audio levels are within an acceptable range and not peaking or distorting.
- Test the audio recording: After configuring the microphone settings, perform a test recording to ensure that the USB microphone is capturing the desired audio. Record a short sample video or audio clip and play it back to evaluate the quality and clarity of the sound.
It’s worth noting that the options and settings available may vary depending on your camera model. Consult the camera’s manual or manufacturer’s website for specific instructions and recommendations regarding microphone settings.
Now that you have adjusted the microphone settings on your camera, you’re ready to move on to the final step – testing the audio recording. This step will help you confirm that the USB microphone is functioning correctly and producing the desired audio quality.
Step 5: Test the Audio Recording
Now that you have connected the USB microphone to your camera and adjusted the microphone settings, it’s time to test the audio recording. Follow these steps to ensure that the USB microphone is working properly and capturing the desired audio:
- Select a suitable recording environment: Choose a quiet location or use soundproofing techniques to minimize background noise interference during the test recording. This will help evaluate the microphone’s performance accurately.
- Position your camera and microphone: Set up your camera and USB microphone in the desired position. Make sure the microphone is securely mounted or positioned close to the sound source for optimal audio capture.
- Start recording: Activate the recording function on your camera and begin capturing the audio. Speak or produce sounds into the USB microphone to test its sensitivity and recording capabilities.
- Monitor the audio levels: Keep an eye on the audio levels displayed on your camera’s screen or use headphones to listen for any distortions or abnormalities in the recorded sound. Ensure that the audio levels are consistent and the volume is appropriate.
- Review the test recording: Once you’ve finished recording, play back the test recording and critically evaluate the audio quality. Assess the clarity, volume, and absence of unwanted noise or interference. Listen for any audio issues that may require further adjustments or troubleshooting.
- Make necessary adjustments: If you encounter any issues or notice areas for improvement in the test recording, revisit the microphone settings on the camera and adjust them accordingly. Repeat the test recording process until you’re satisfied with the audio quality.
It’s important to note that the performance of the USB microphone may be influenced by various factors such as ambient noise, microphone placement, and room acoustics. Experimenting with different settings and positioning can help you fine-tune the audio recording to your desired outcome.
Congratulations! By successfully testing the audio recording, you have completed the process of connecting a USB microphone to your camera and ensuring optimal audio quality. With the USB microphone integrated into your setup, you can now enjoy enhanced sound capture and elevate the overall production value of your videos or recordings.
Conclusion
Connecting a USB microphone to your camera can significantly improve the audio quality of your videos or recordings. By following the steps outlined in this guide, you can seamlessly integrate a USB microphone into your camera setup and enhance your audio capturing capabilities.
Remember to consider the compatibility of the USB microphone with your camera and your specific recording needs. Choose a microphone that suits your budget, offers the desired audio quality, and provides the necessary mounting options for your camera.
Ensure that your camera supports external microphones by consulting the camera manual, visiting the manufacturer’s website, or seeking information from online communities. Once you’ve confirmed compatibility, proceed to connect the USB microphone to your camera by securely plugging the USB cable into the respective ports.
Take the time to adjust the microphone settings on your camera to optimize audio recording. Select the USB microphone as the audio input source, adjust microphone levels or gain, and monitor audio levels to ensure the recording is not too loud or soft.
Finally, perform a test recording in a suitable environment to evaluate the USB microphone’s performance. Pay attention to audio levels, clarity, and any potential issues that may require further adjustments or troubleshooting.
By following these steps and intending to continually refine your setup, you can consistently achieve high-quality audio recordings. Remember to consult your camera’s manual or manufacturer’s website for specific instructions and to regularly experiment and adapt your microphone settings to suit your recording environment and requirements.
With a USB microphone connected to your camera, you can now enjoy better audio quality, producing professional and engaging content that captivates your audience. Happy recording!


