Introduction
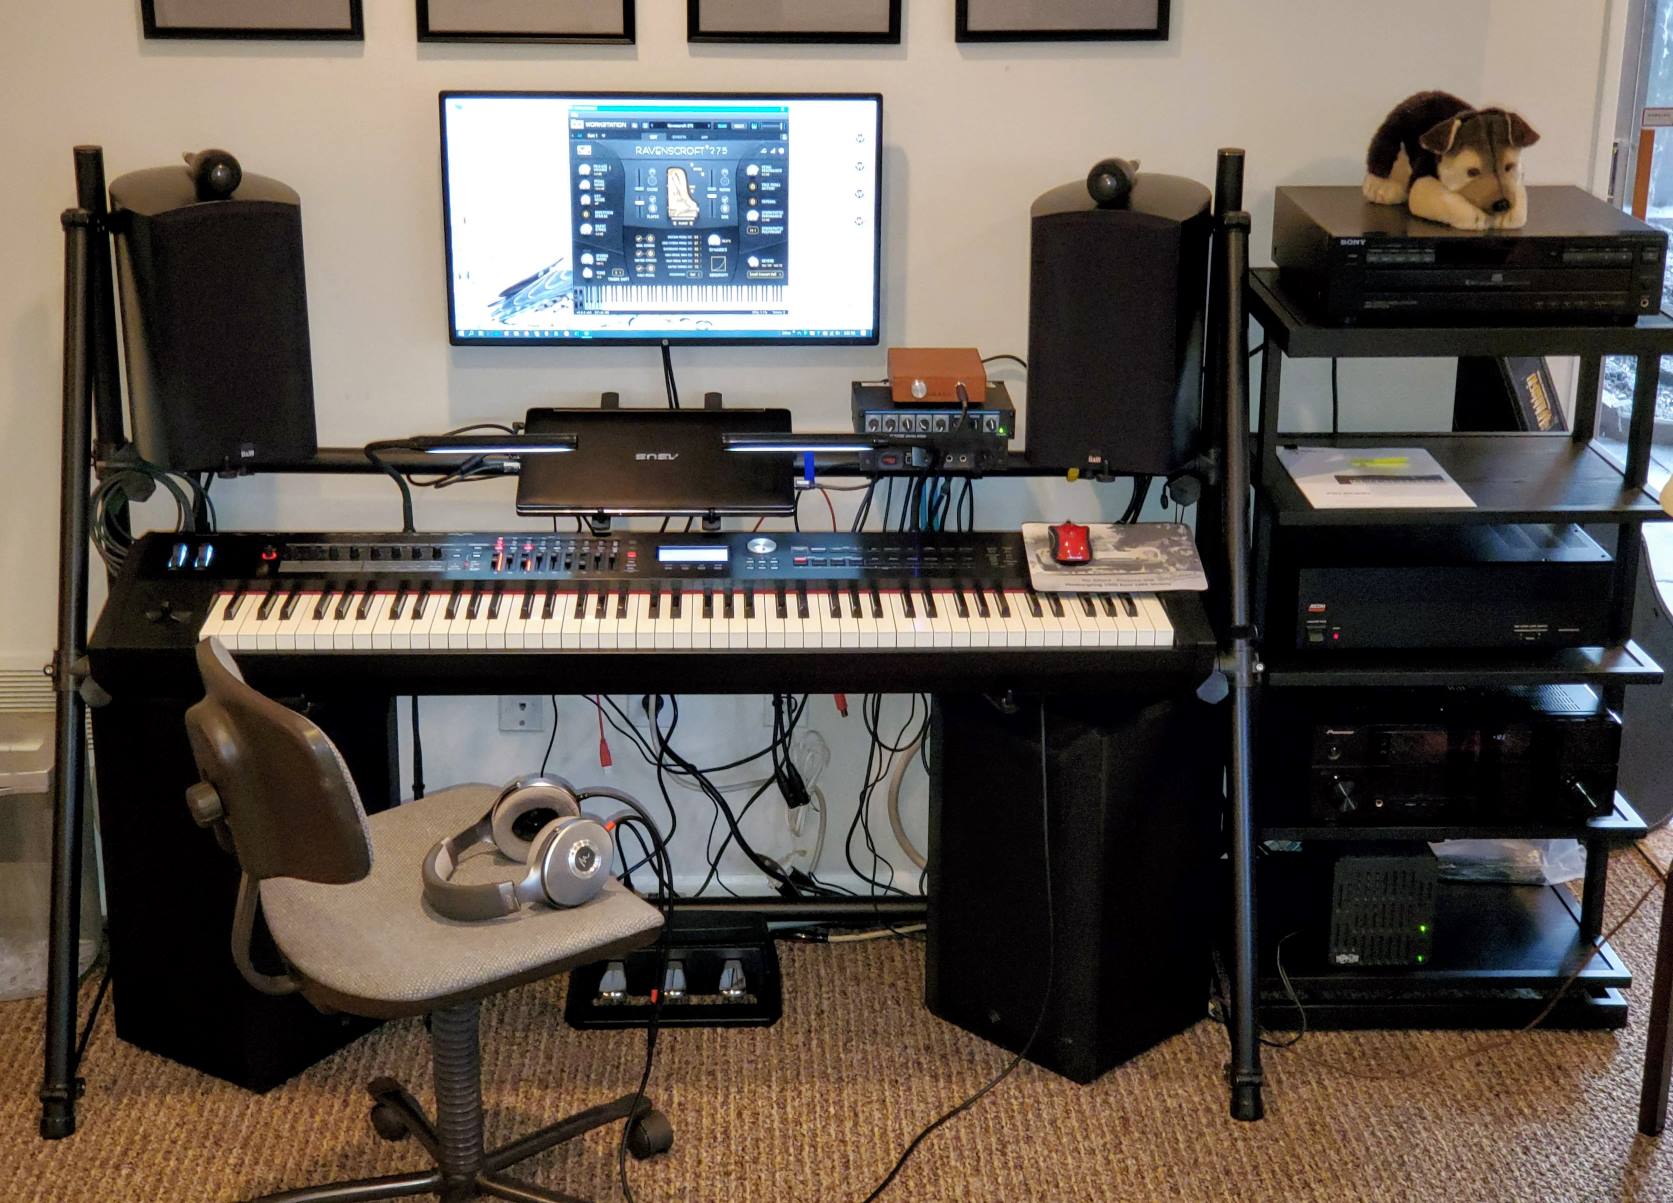
So, you've got a digital piano and you're ready to take your music production to the next level by connecting it to Studio One. This powerful software allows you to compose, record, and produce your music with ease, and integrating your digital piano into the mix opens up a world of creative possibilities. Whether you're a seasoned musician or just starting out, connecting your digital piano to Studio One can enhance your music-making experience and take your compositions to new heights.
In this guide, we'll walk you through the process of connecting your digital piano to Studio One, from setting up the piano itself to configuring the software on your computer. By the end of this tutorial, you'll be ready to harness the full potential of your digital piano within Studio One and unleash your musical creativity.
Let's dive in and get your digital piano seamlessly integrated with Studio One, so you can start making beautiful music without any technical hiccups. Whether you're a classical pianist, a budding songwriter, or a seasoned composer, this guide will help you bridge the gap between your digital piano and Studio One, allowing you to fully express yourself through your music.
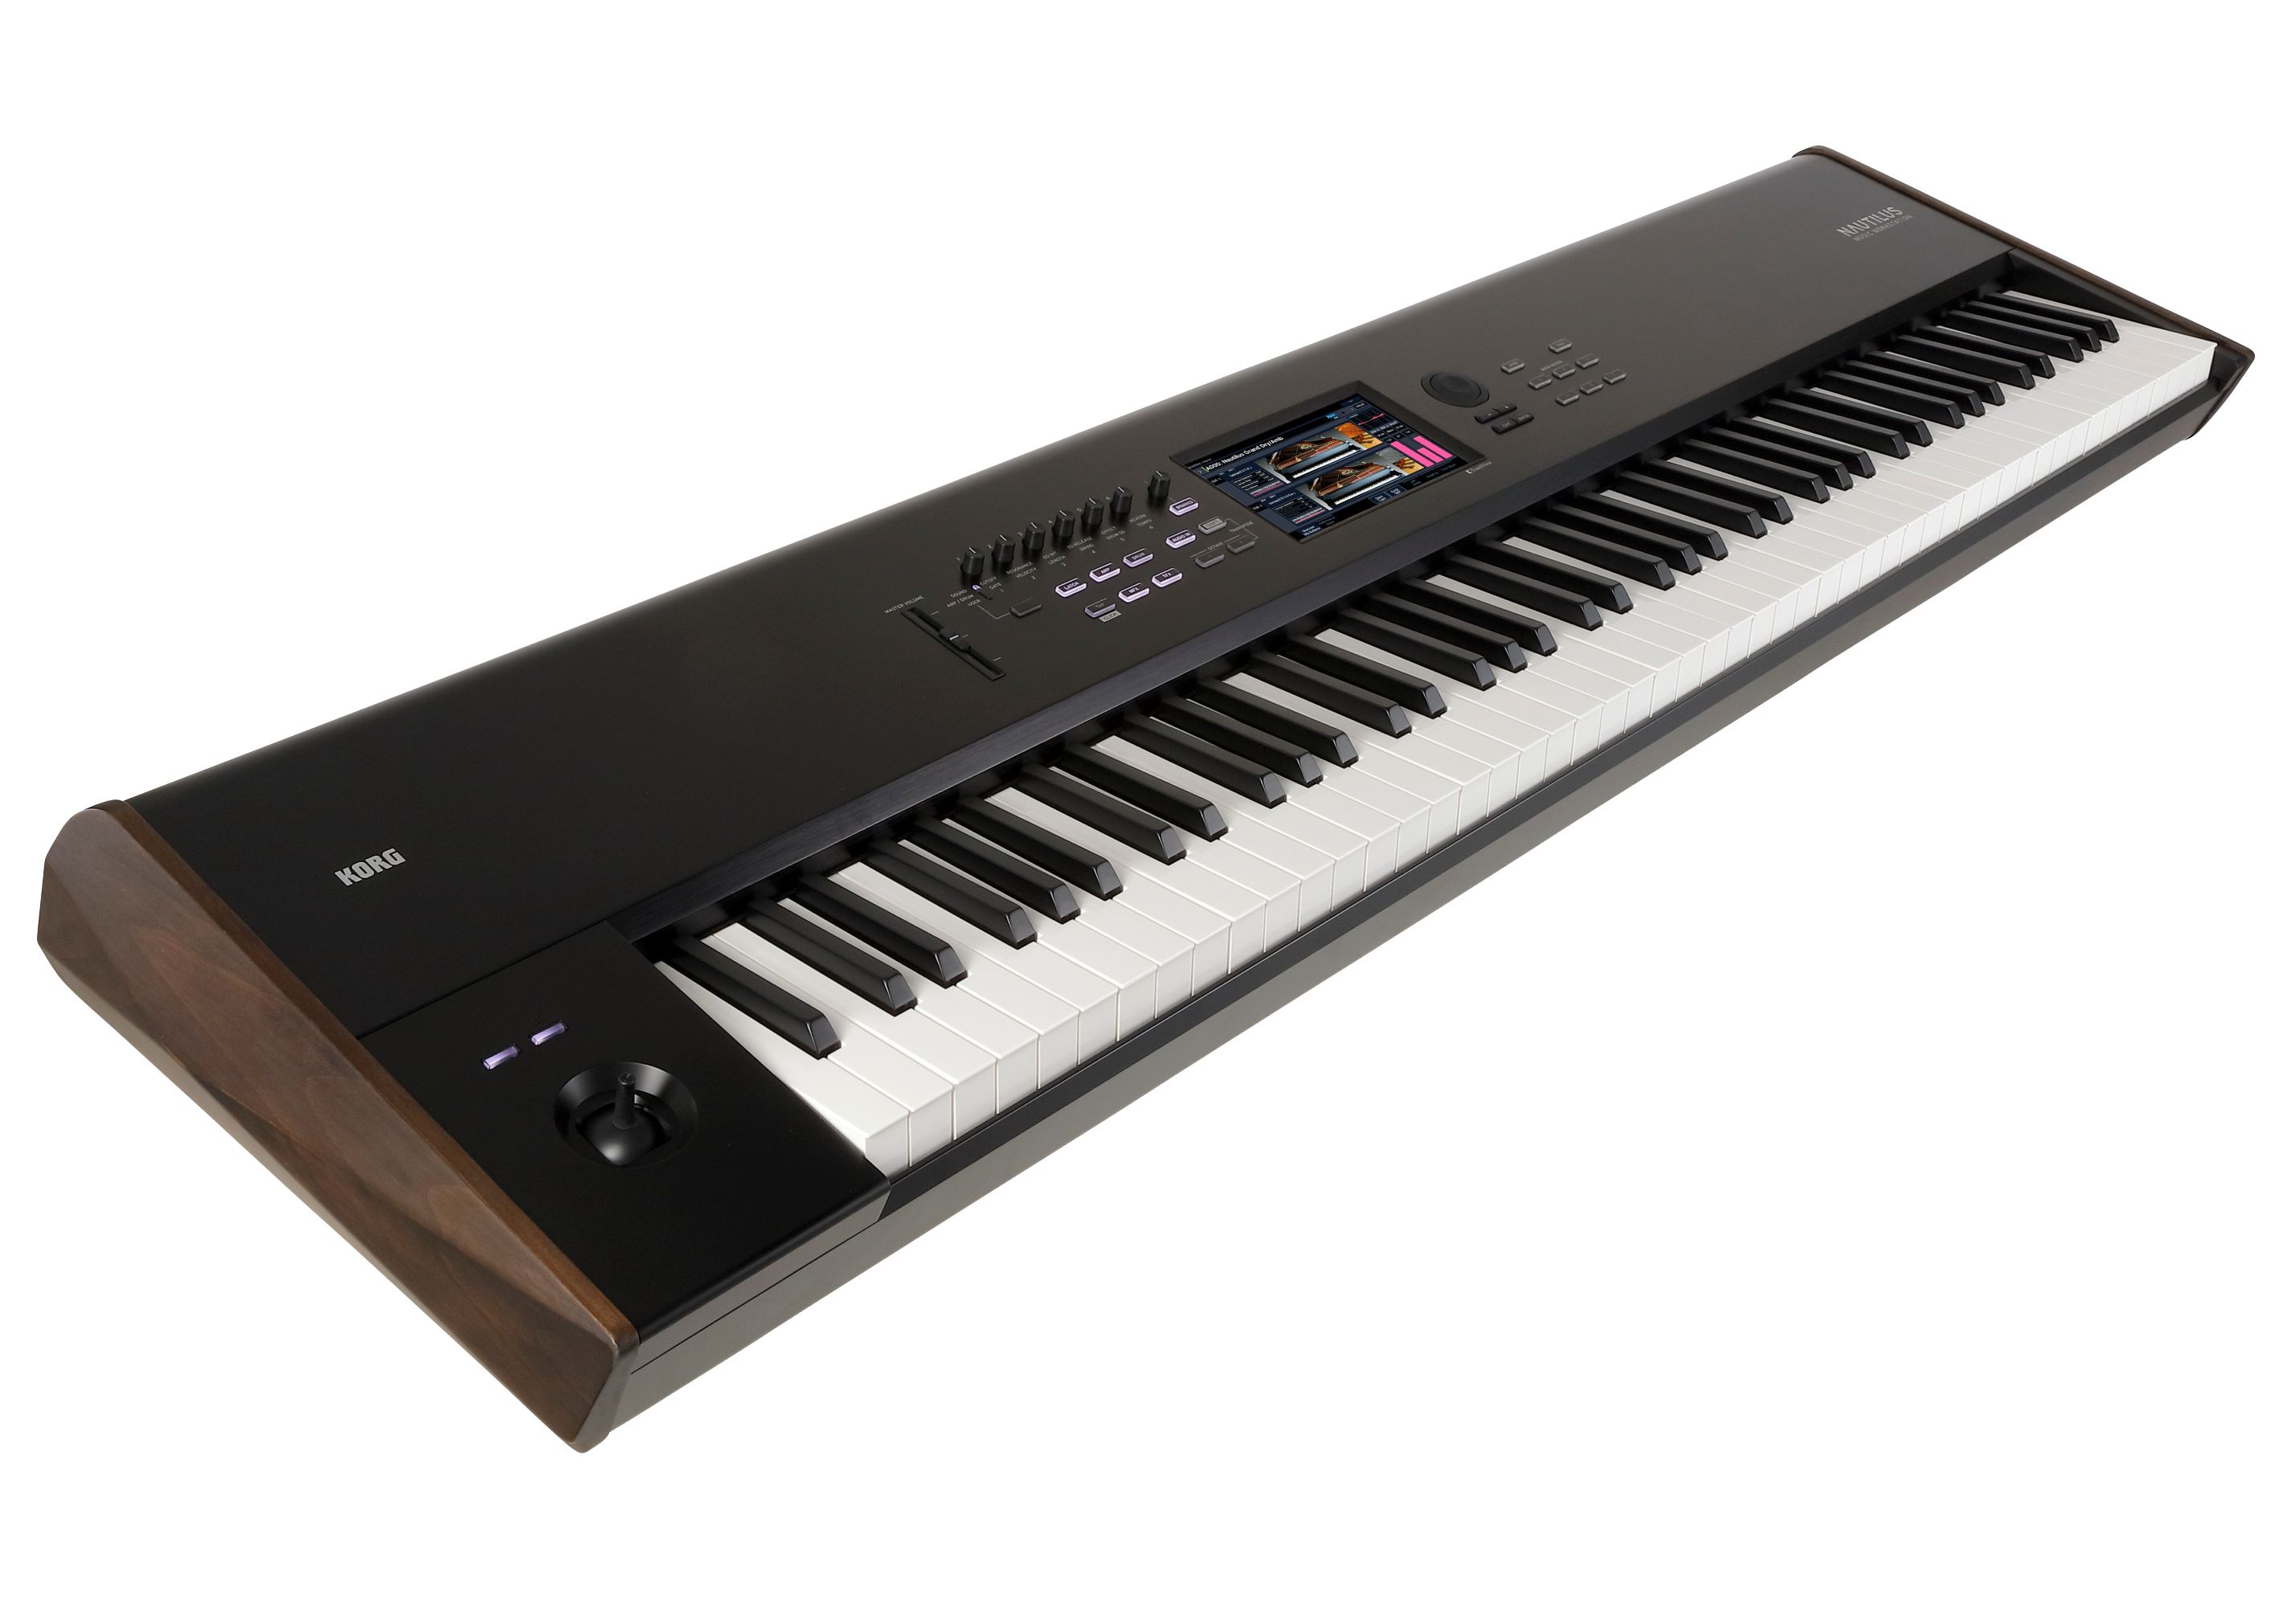
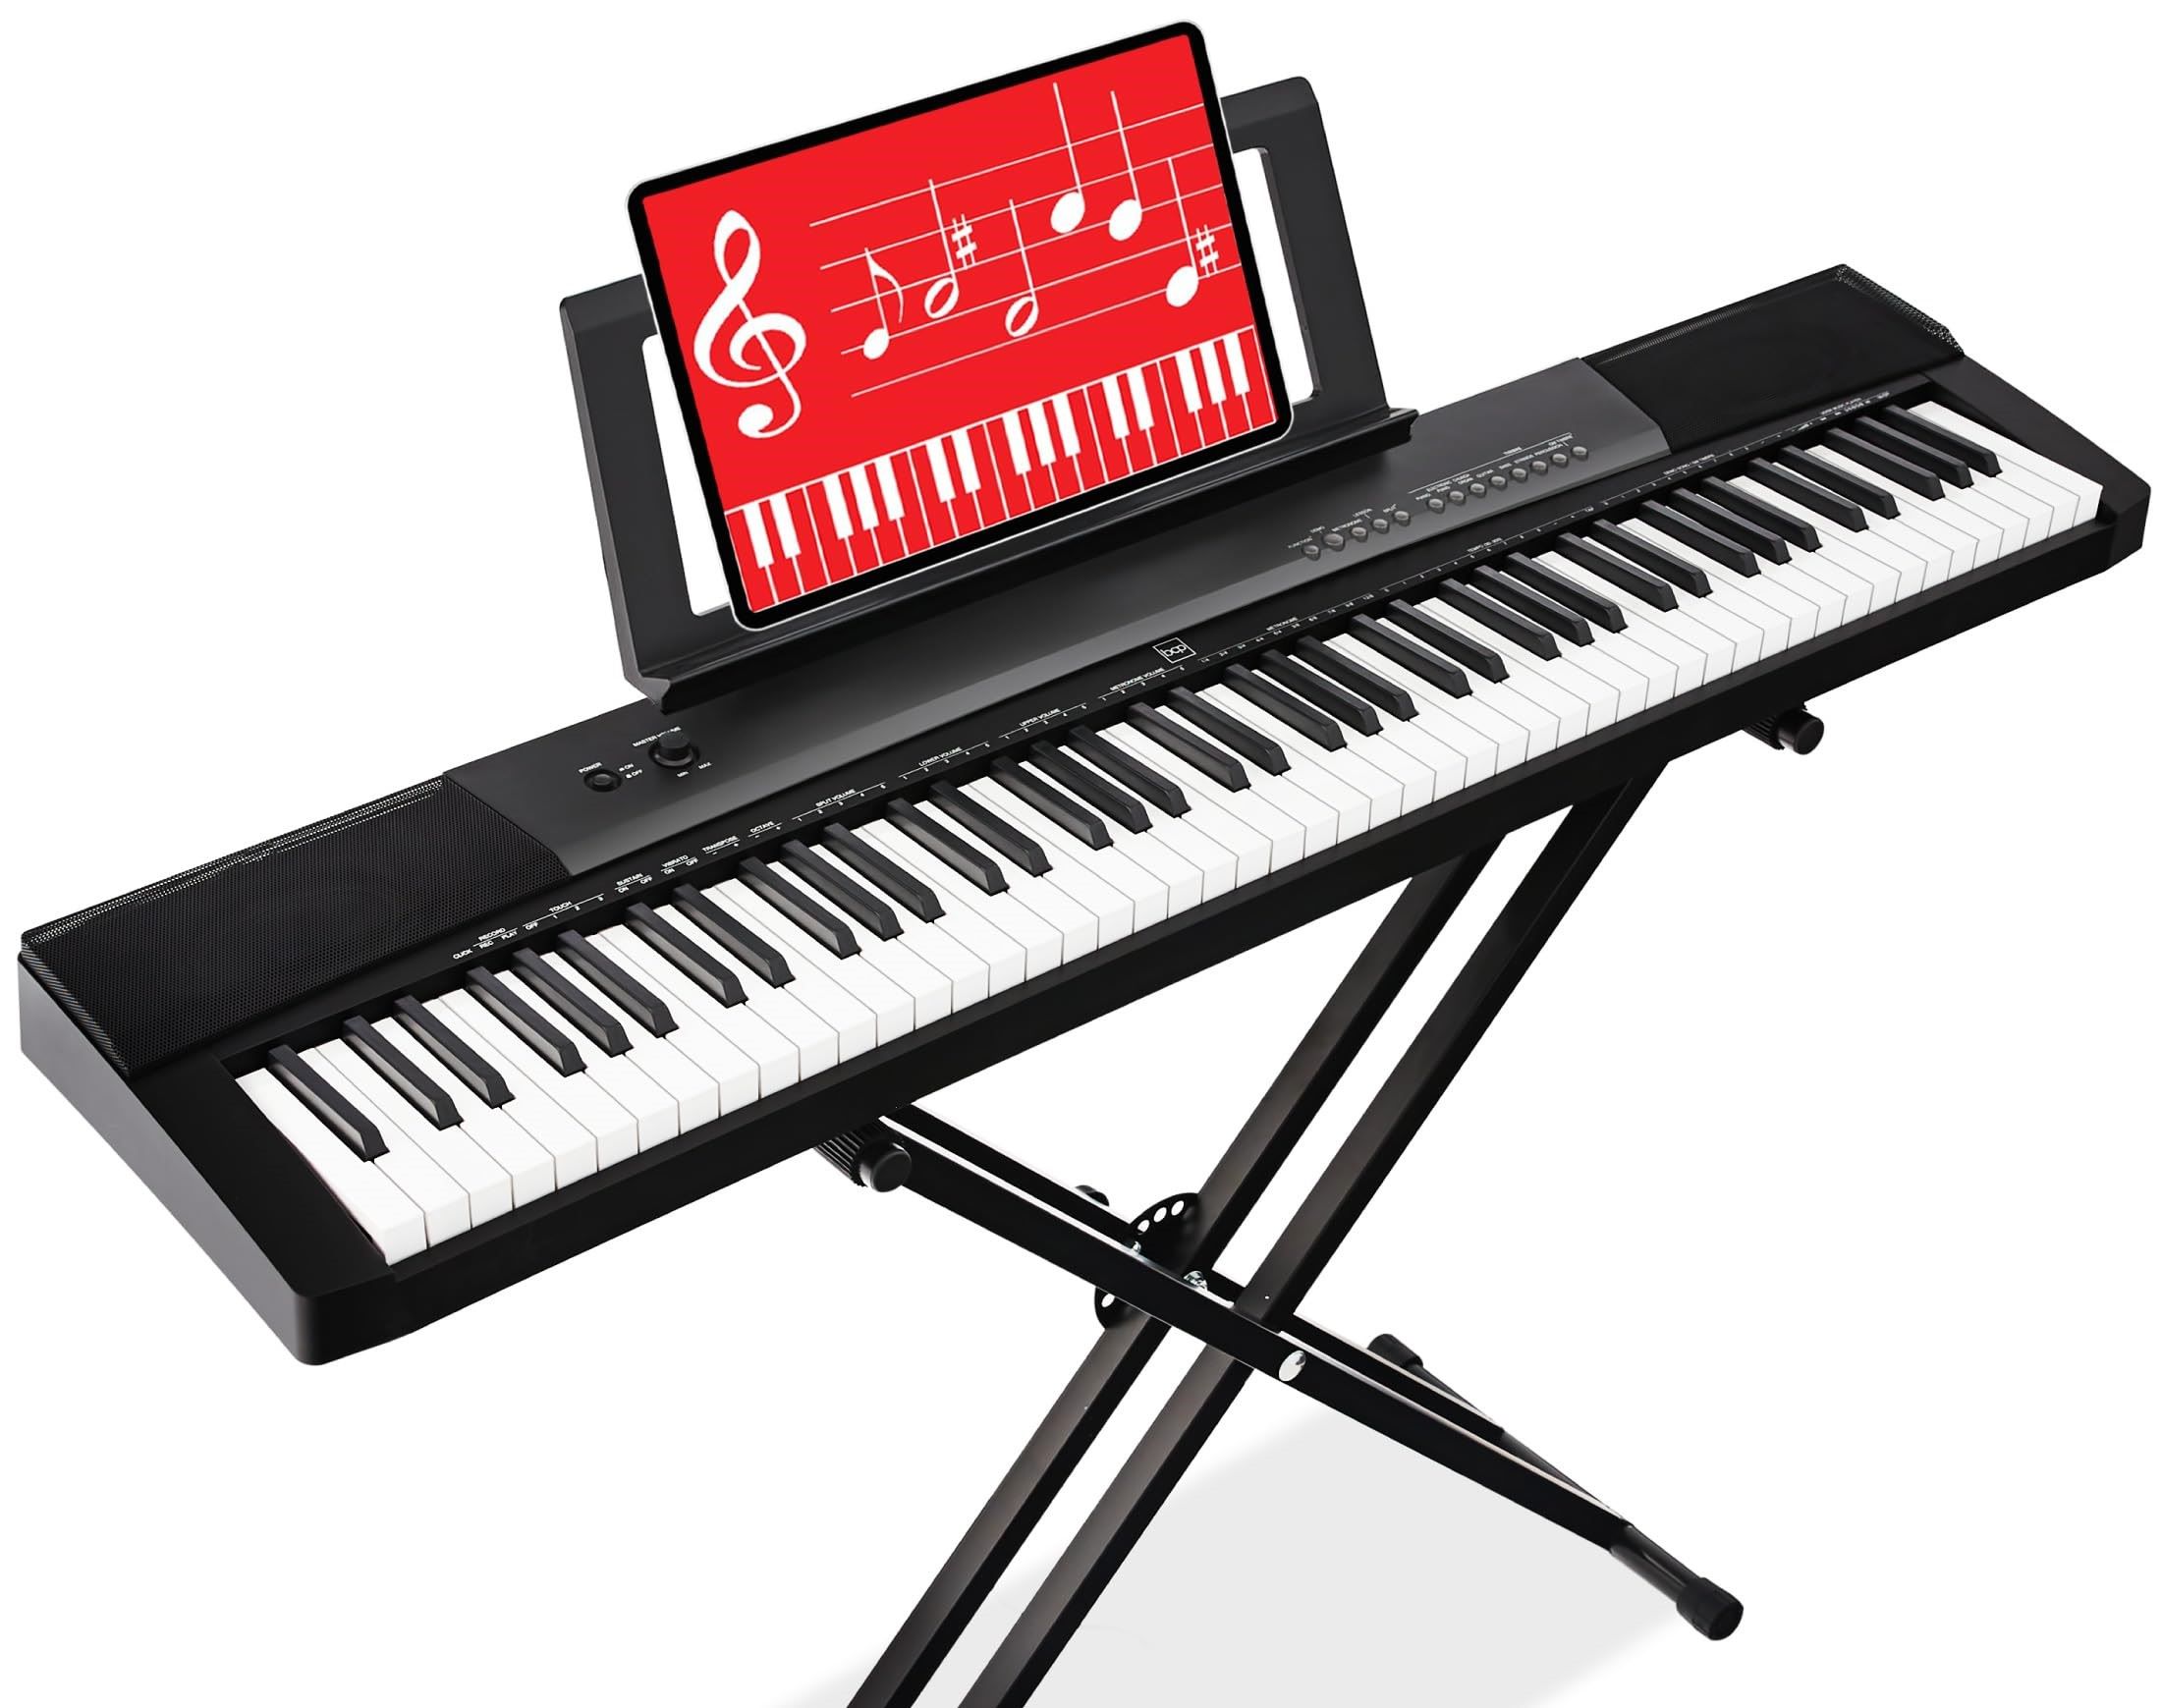
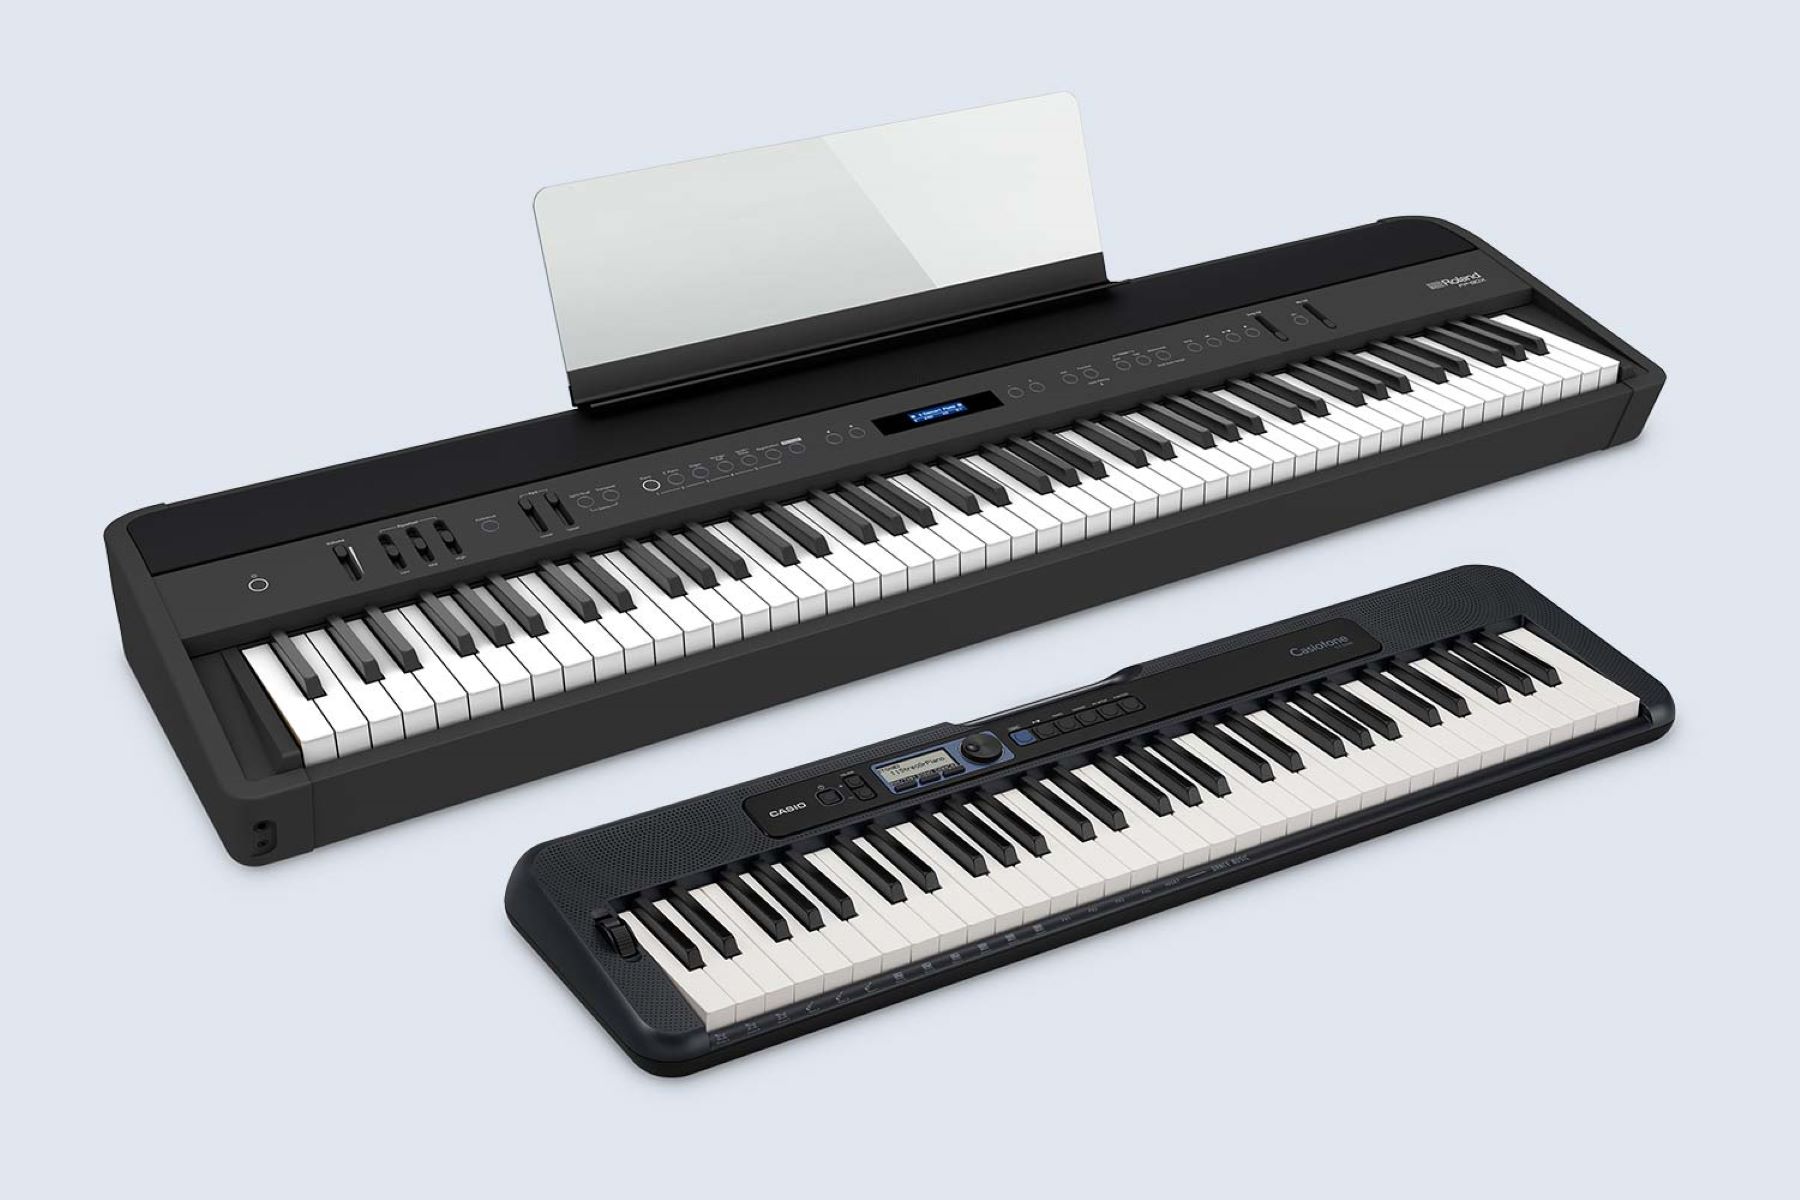
Step 1: Setting up the digital piano
Before you can connect your digital piano to Studio One, it’s essential to ensure that the piano itself is set up correctly. Here are the essential steps to prepare your digital piano for integration with Studio One:
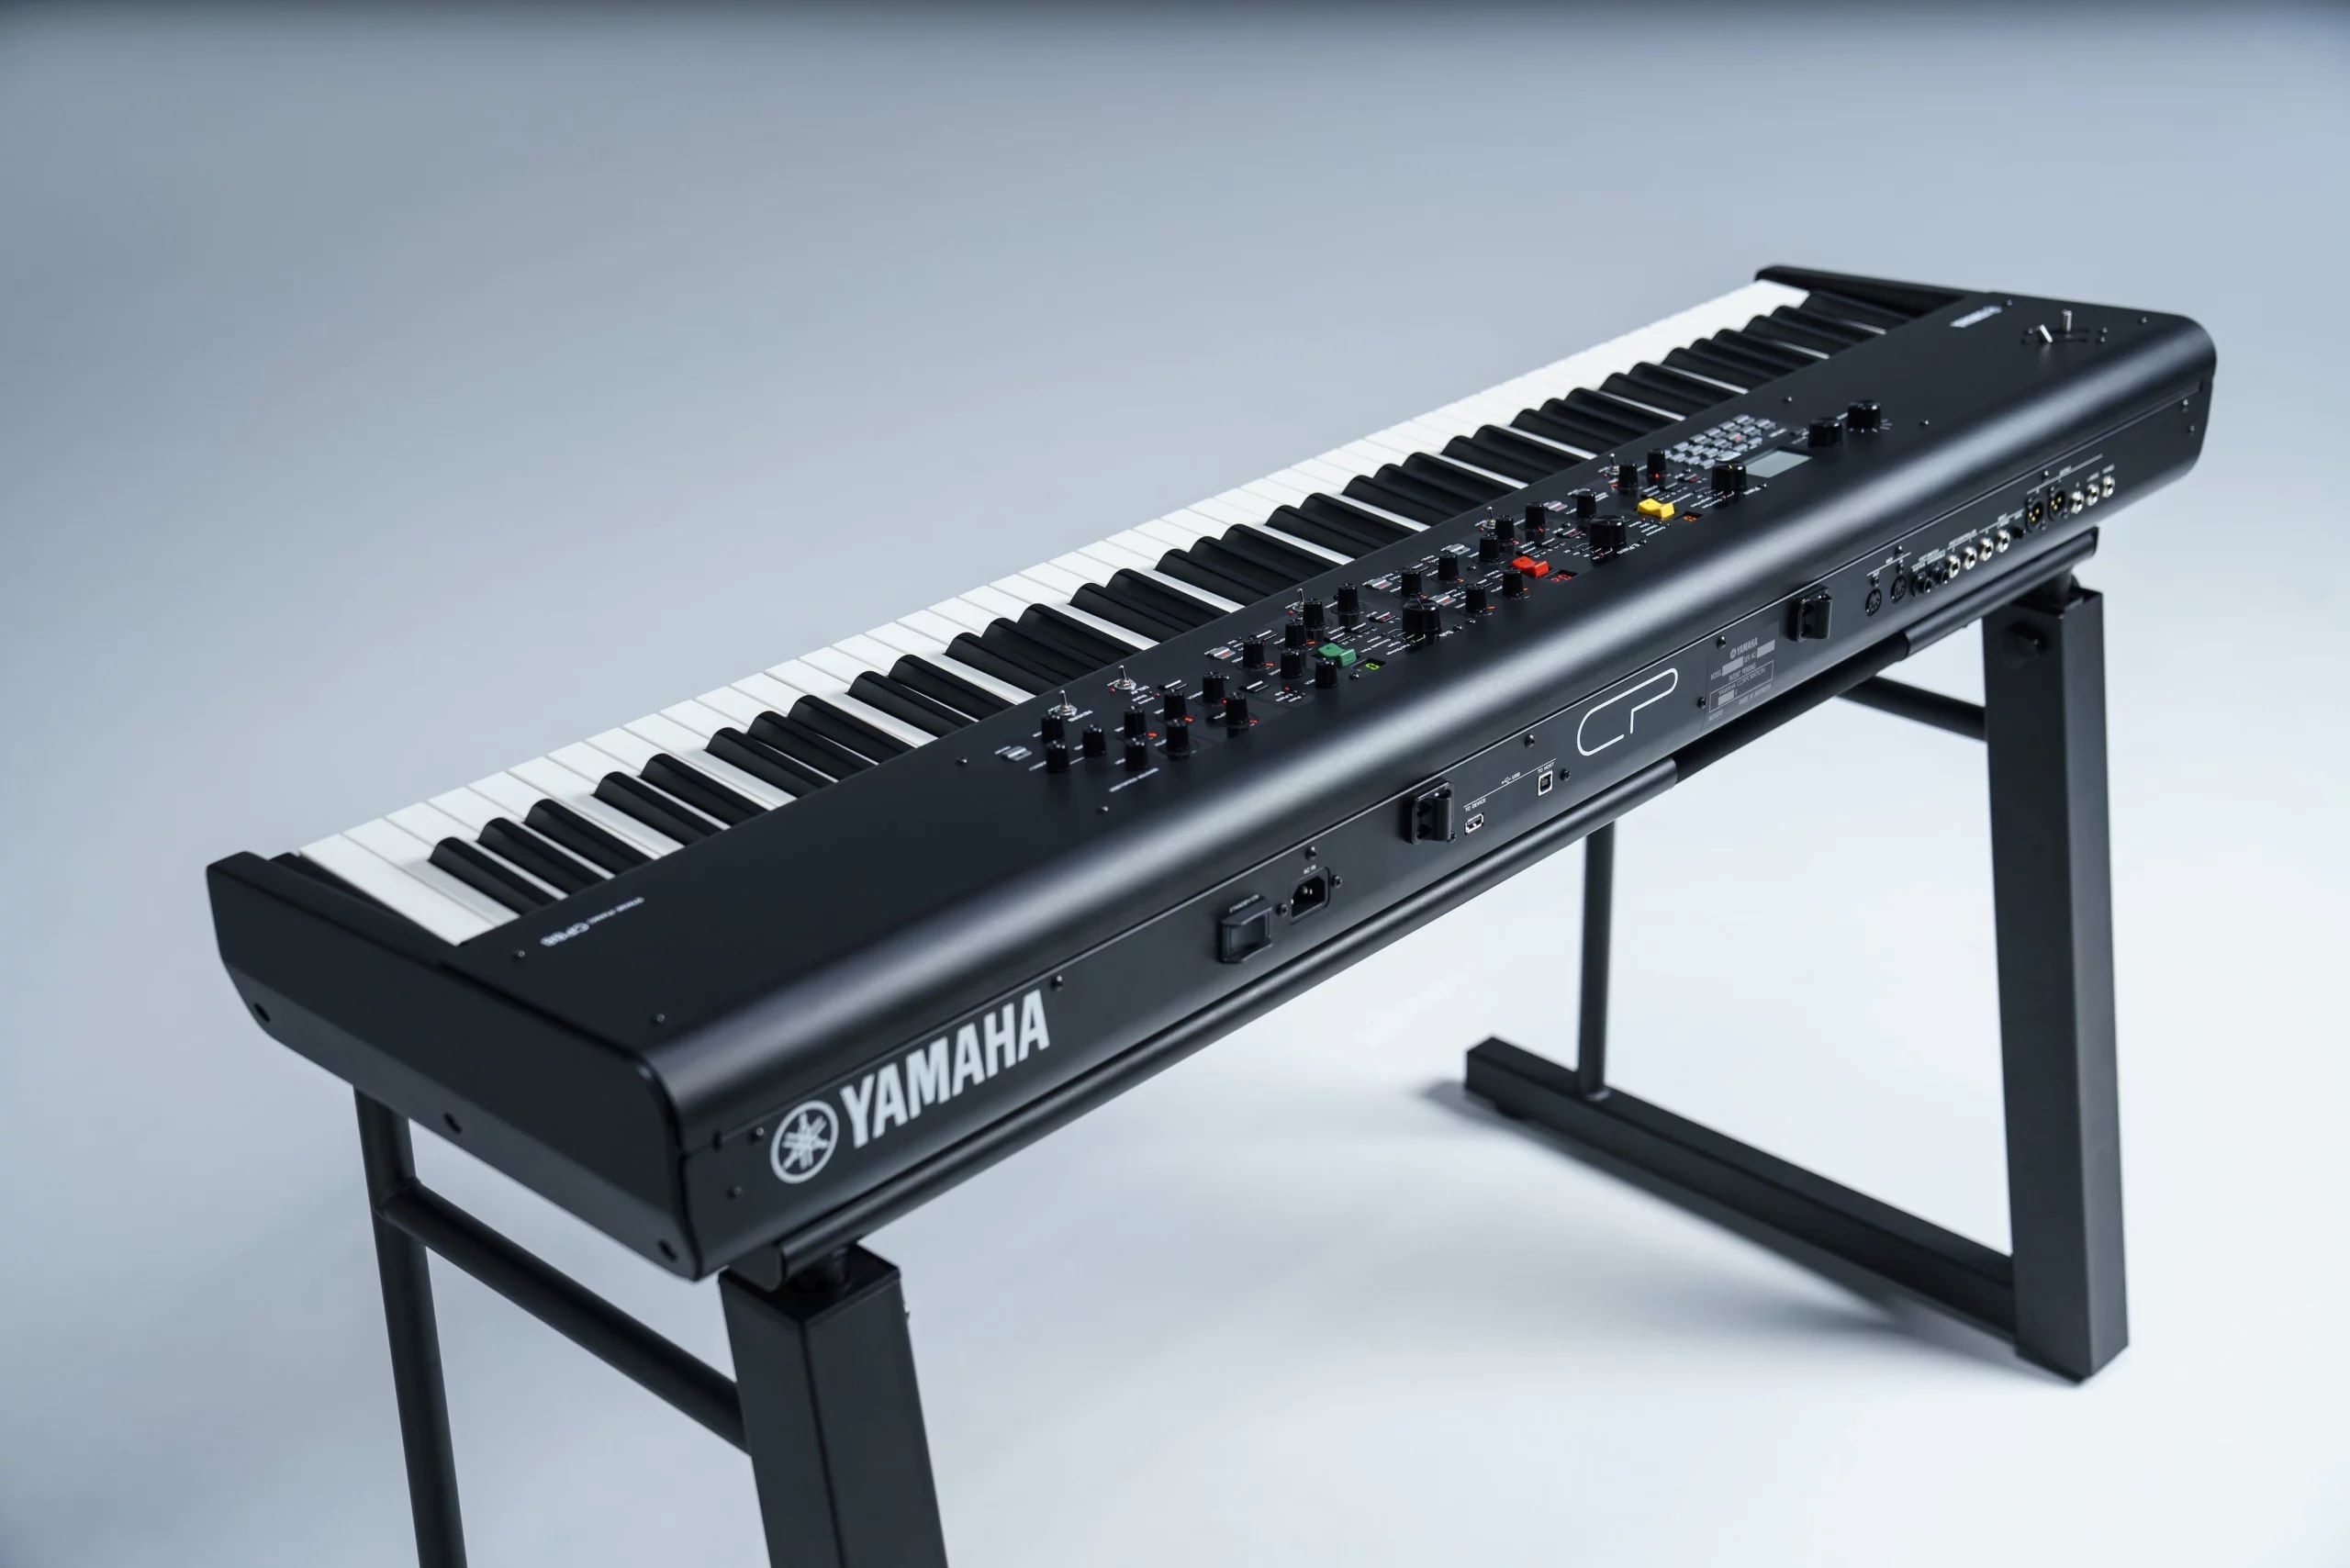
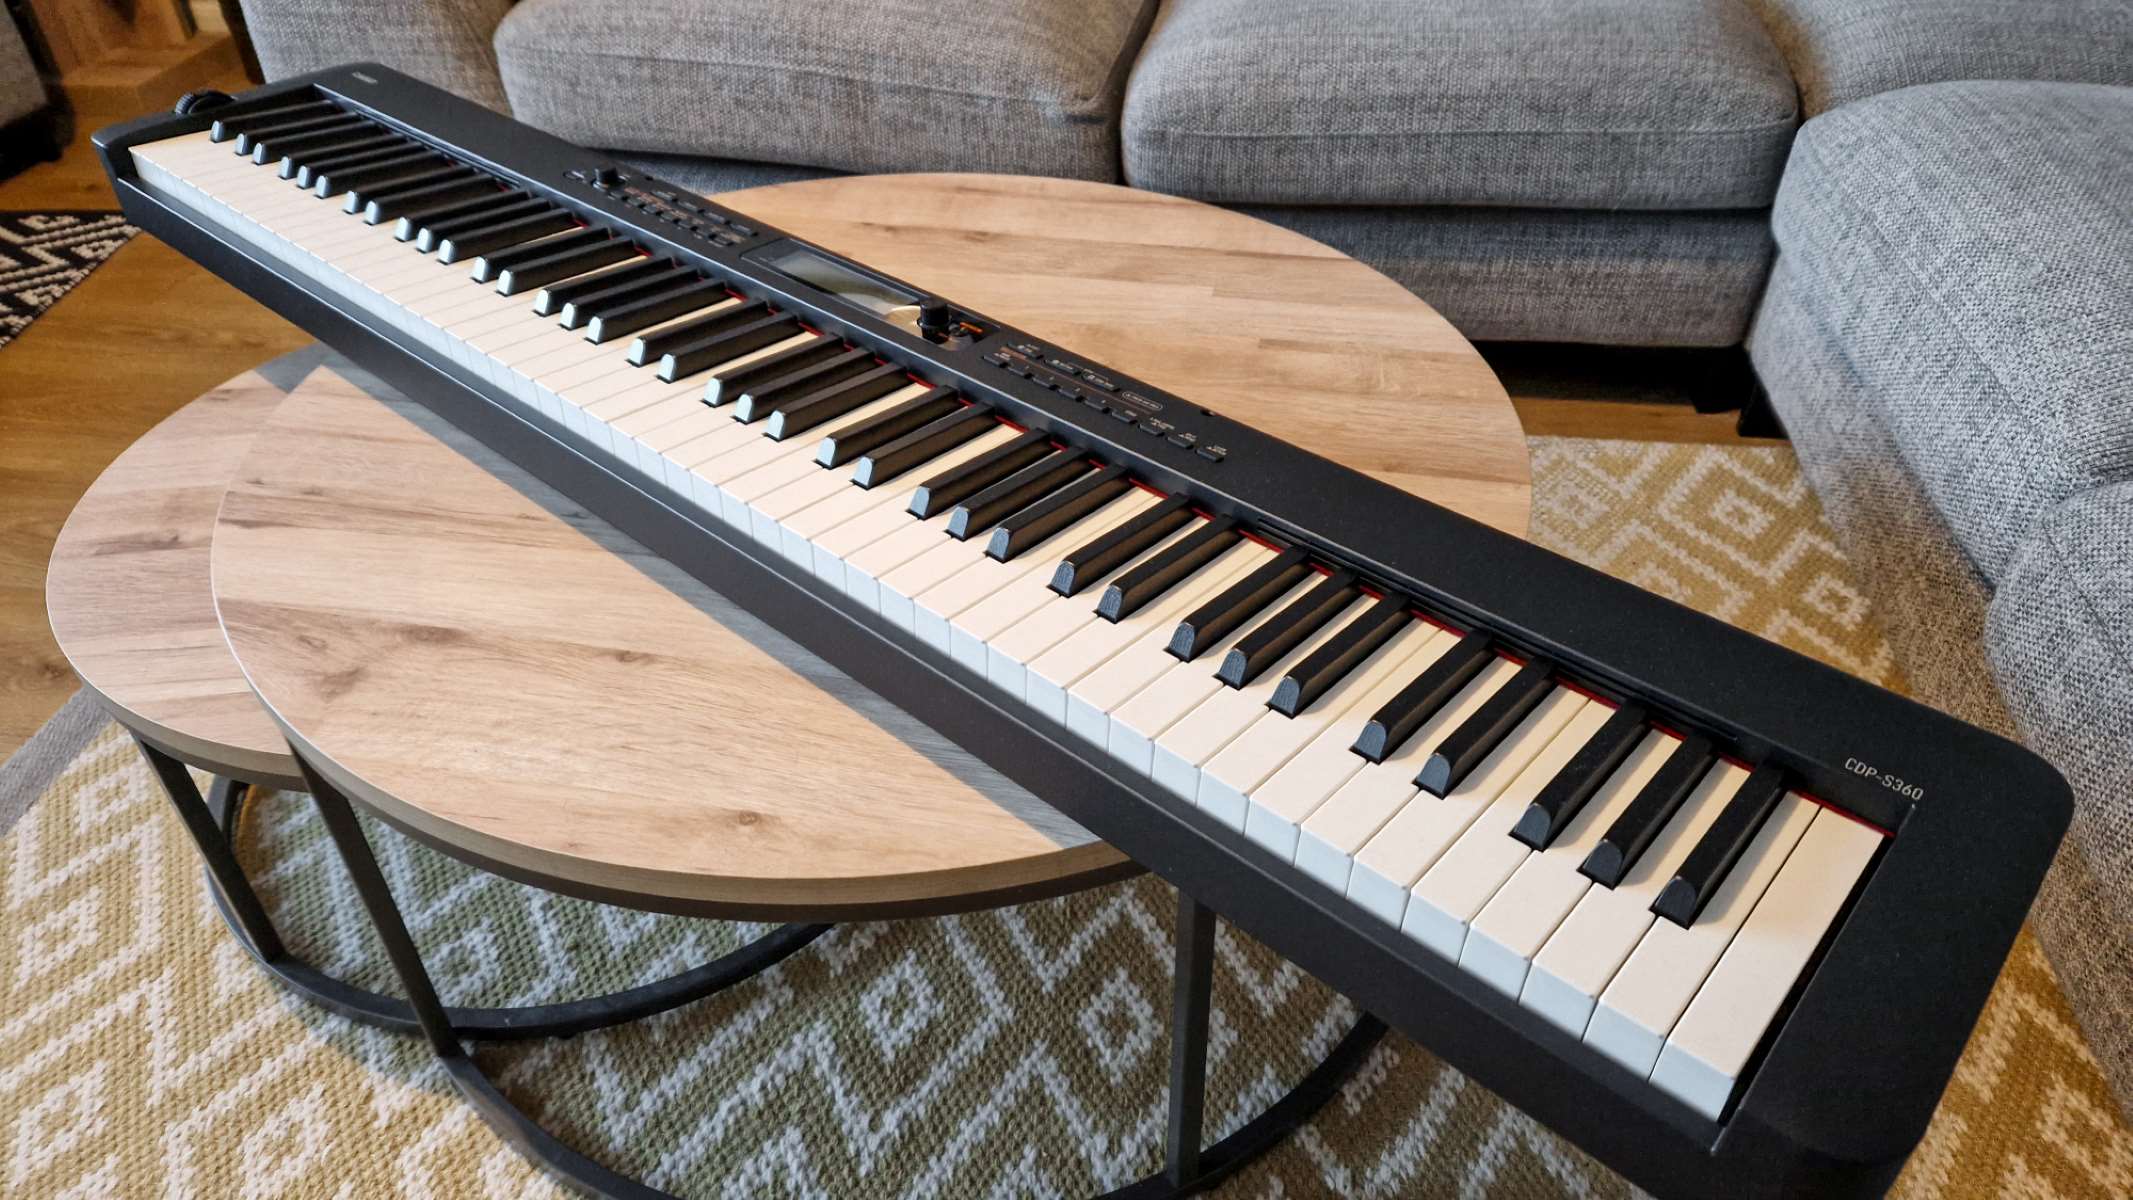
- Positioning the digital piano: Find a suitable location for your digital piano in your studio or workspace. Ensure that the piano is placed near an electrical outlet and has enough space for you to sit comfortably while playing.
- Powering on the digital piano: Connect the power adapter to your digital piano and plug it into a power outlet. Power on the piano and ensure that it is functioning correctly before proceeding to the next step.
- Adjusting the settings: Familiarize yourself with the settings and features of your digital piano. Ensure that the volume levels, sound settings, and any other customizable options are adjusted to your preference.
- Connecting the sustain pedal (if applicable): If your digital piano includes a sustain pedal, connect it to the designated port on the piano. The sustain pedal adds expressive capabilities to your playing and is an essential component for many pianists.
- Testing the keys and controls: Take a moment to test each key and control on the digital piano to ensure that they are functioning correctly. This step is crucial for identifying any issues with the piano’s hardware before connecting it to Studio One.
By following these steps, you’ll ensure that your digital piano is ready to be seamlessly integrated with Studio One. A well-prepared digital piano forms the foundation for a smooth and efficient connection process, setting the stage for a productive and enjoyable music-making experience.
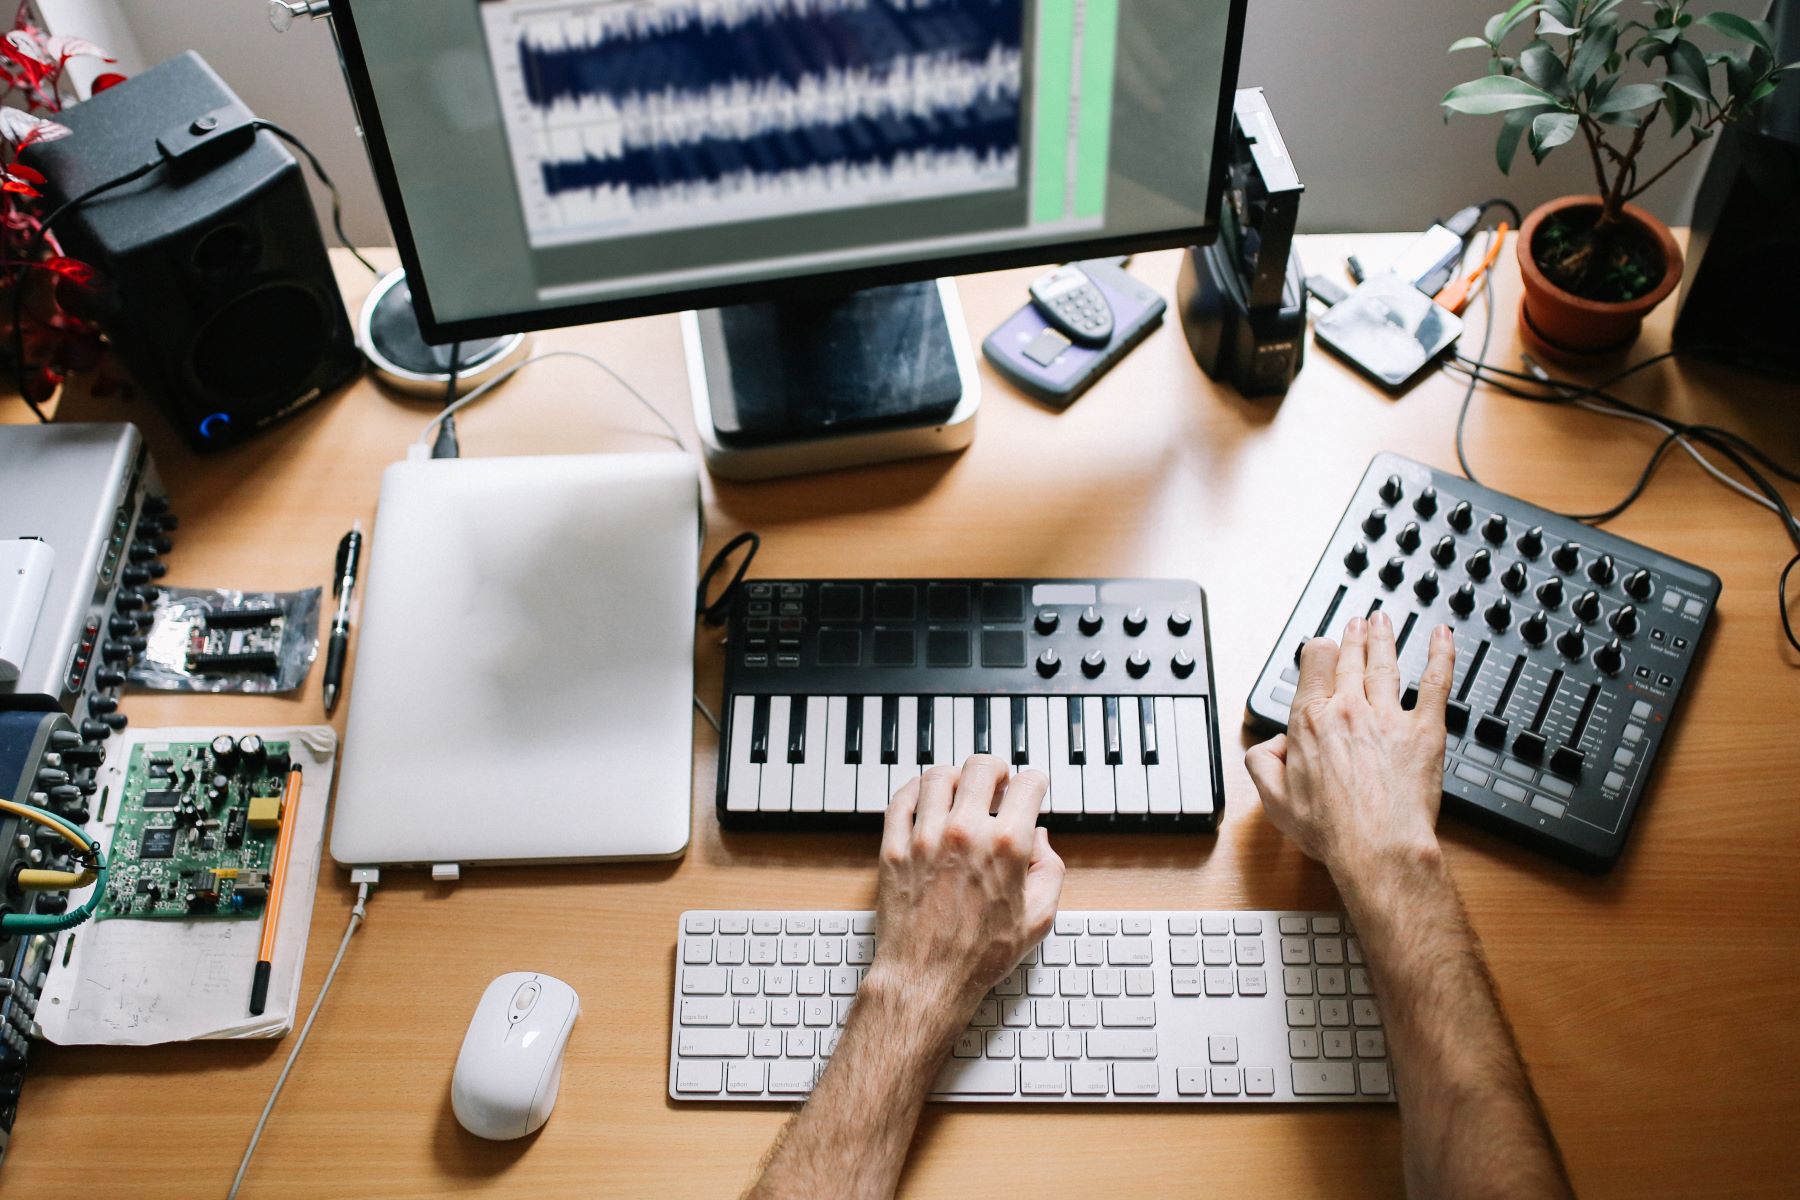
Step 2: Connecting the digital piano to your computer
Once your digital piano is set up and ready to go, the next step is to establish a physical connection between the piano and your computer. This connection allows Studio One to recognize and interact with your digital piano, enabling you to record, playback, and manipulate your musical ideas seamlessly. Here’s how to connect your digital piano to your computer:
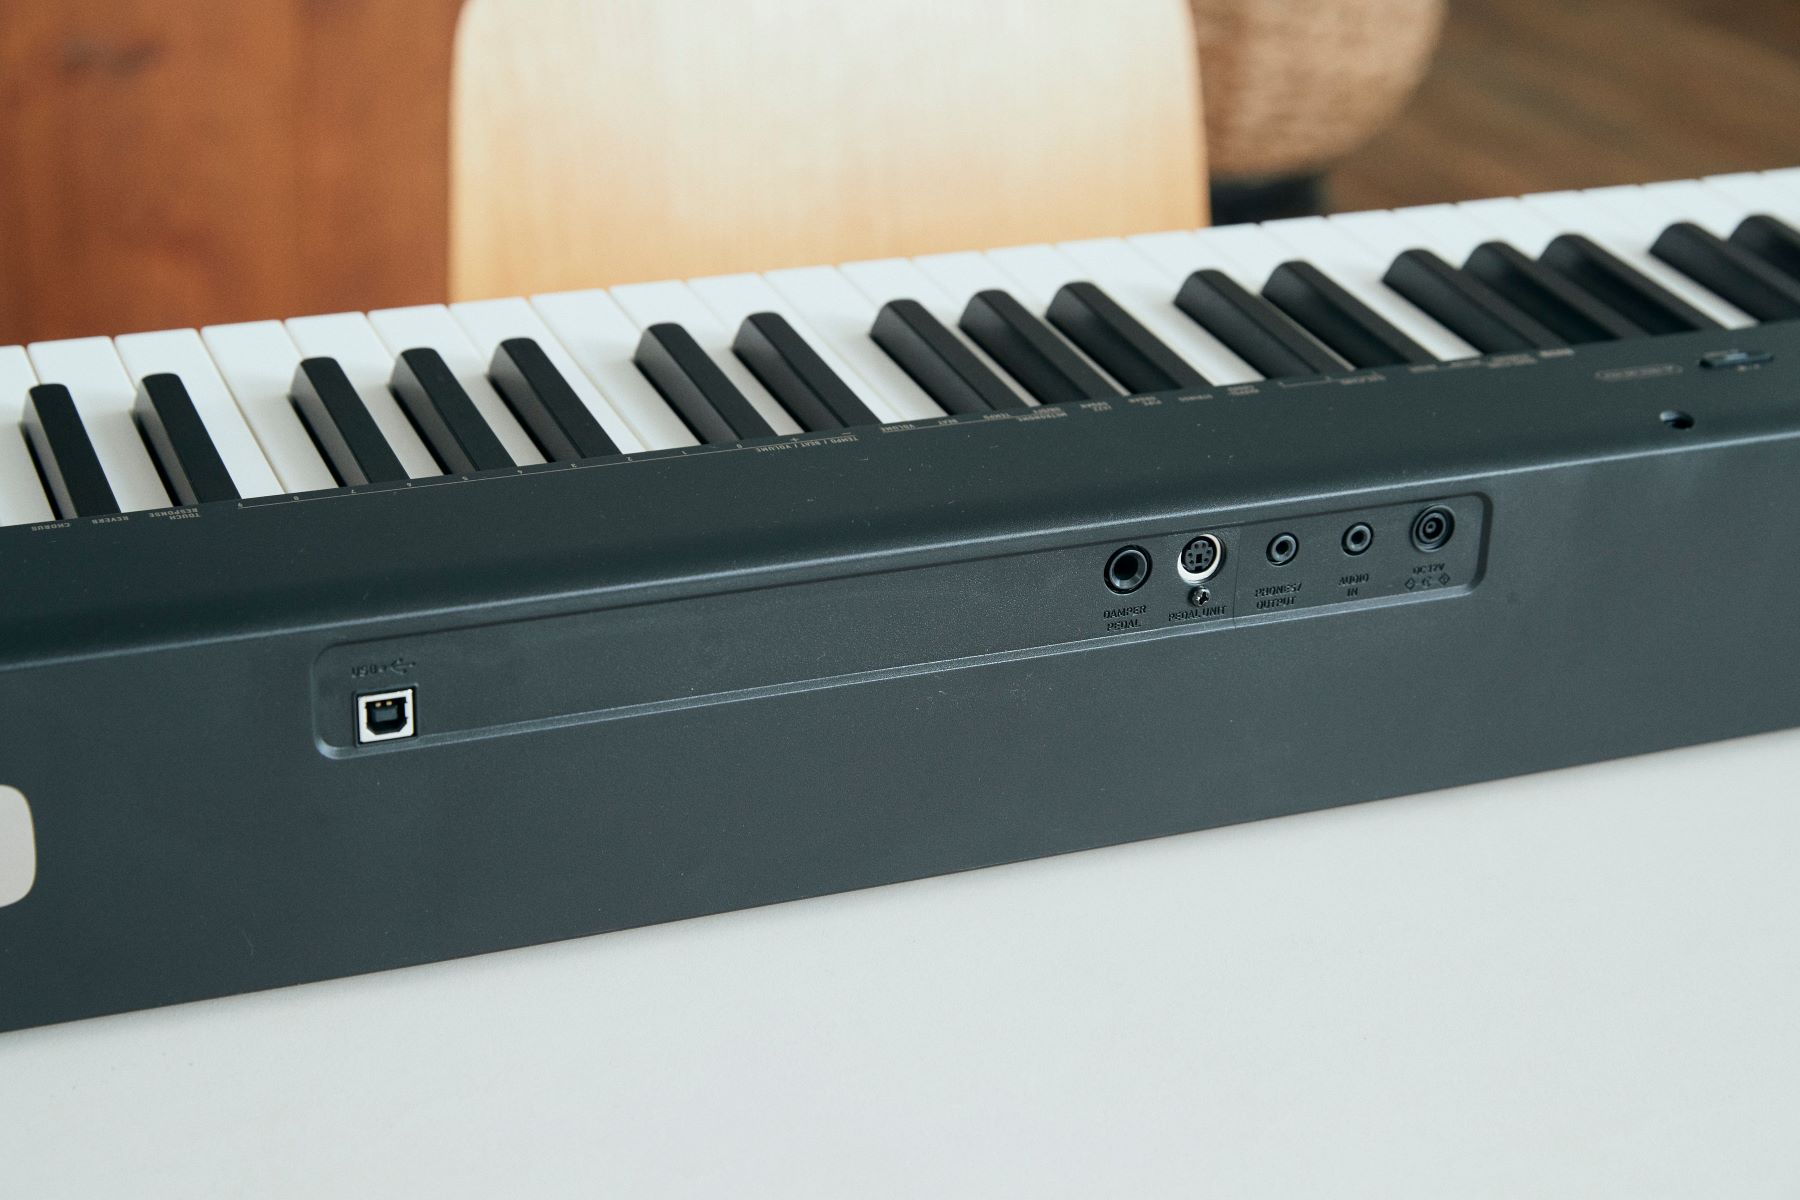
- Locate the USB/MIDI ports: Identify the USB or MIDI ports on your digital piano. Most modern digital pianos feature a USB port for direct connection to a computer, while others may have MIDI ports for traditional MIDI connections.
- Choose the appropriate cable: Depending on the available ports on your digital piano and computer, select the appropriate cable for the connection. For USB connections, a standard USB A-to-B cable is commonly used. If your piano has MIDI ports, you’ll need MIDI cables and potentially a MIDI interface for your computer.
- Connect the cable to your computer: If your digital piano utilizes a USB connection, plug one end of the USB cable into the USB port on the piano and the other end into an available USB port on your computer. For MIDI connections, connect the MIDI cables to the respective ports on both the piano and the MIDI interface, then connect the MIDI interface to your computer using a USB cable.
- Power on the digital piano: Ensure that your digital piano is powered on before proceeding. Some pianos may require specific power-up sequences when connected to a computer, so refer to the user manual for any additional instructions.
- Install necessary drivers (if applicable): In some cases, your computer may require specific drivers to recognize and communicate with your digital piano. Check the manufacturer’s website or included documentation to download and install any required drivers before using the piano with Studio One.
By following these steps, you’ll establish a solid physical connection between your digital piano and your computer, laying the groundwork for seamless integration with Studio One. With the hardware connection in place, you’re one step closer to unlocking the full potential of your digital piano within the Studio One environment.
Step 3: Configuring Studio One for the digital piano
With your digital piano physically connected to your computer, the next crucial step is to configure Studio One to recognize and utilize the piano as a MIDI input device. This configuration enables Studio One to receive MIDI data from your digital piano, allowing you to record, playback, and manipulate your musical performances within the software. Here’s how to configure Studio One for your digital piano:
- Open Studio One: Launch the Studio One software on your computer. If you haven’t already installed Studio One, ensure that you download and install the latest version from the official PreSonus website.
- Access the External Devices menu: In Studio One, navigate to the “Studio One” menu at the top of the screen and select “Options.” Within the Options menu, locate and click on “External Devices” to access the external device configuration settings.
- Add a new external device: Within the External Devices menu, click on “Add” or the equivalent option to create a new external device configuration. This step allows you to specify your digital piano as an input device for Studio One.
- Select the MIDI input: In the new external device configuration window, choose your digital piano from the list of available MIDI input devices. If your piano is connected properly, it should appear as an option for selection.
- Configure MIDI settings: Once your digital piano is selected as an external device, you may have the option to customize additional MIDI settings, such as the input channel and device name. Refer to your digital piano’s documentation for any specific MIDI configuration details.
- Save the configuration: After specifying the MIDI input settings for your digital piano, save the external device configuration within Studio One. This ensures that Studio One recognizes and retains the settings for future use.
By configuring Studio One to recognize your digital piano as an external MIDI input device, you pave the way for seamless interaction between the piano and the software. This essential step sets the stage for capturing your musical ideas and performances directly within Studio One, empowering you to harness the full potential of your digital piano in your music production endeavors.
Step 4: Testing the connection
After setting up and configuring your digital piano with Studio One, it’s crucial to test the connection to ensure that the software accurately receives MIDI data from the piano. This step allows you to verify that the integration is successful and that you can effectively control and record MIDI performances within Studio One using your digital piano. Here’s how to test the connection between your digital piano and Studio One:
- Create a new project: In Studio One, start a new project or open an existing one in which you’d like to incorporate your digital piano. This provides a clean slate for testing the MIDI input and ensures that you can focus on the connection without any interference from existing project elements.
- Select a virtual instrument: Choose a virtual instrument or software instrument within Studio One that you’d like to control using your digital piano. This could be a piano sound, synthesizer, drum kit, or any other instrument available within the software.
- Record MIDI input: Arm a MIDI track for recording within Studio One and start playing your digital piano. Verify that the MIDI data from your piano is being accurately captured by Studio One and is triggering the selected virtual instrument in real-time.
- Playback and monitor: After recording MIDI input from your digital piano, play back the recorded performance within Studio One. Ensure that the playback accurately reproduces the musical phrases and dynamics from your piano, reflecting the nuances of your playing.
- Adjust settings if necessary: If you encounter any issues during the testing phase, such as latency, incorrect note triggering, or other anomalies, revisit the external device configuration settings in Studio One to fine-tune the MIDI input parameters for your digital piano.
By rigorously testing the connection between your digital piano and Studio One, you can confirm that the integration is seamless and that you can effectively leverage your piano as a powerful MIDI input device within the software. This step ensures that you’re ready to harness the expressive capabilities of your digital piano in your music production workflow, enabling you to bring your musical ideas to life with precision and creativity.
Conclusion
Connecting your digital piano to Studio One opens up a world of possibilities for music creation and production. By following the steps outlined in this guide, you have successfully bridged the gap between your digital piano and Studio One, allowing you to seamlessly integrate your piano into your music production workflow. From setting up the physical connection to configuring Studio One to recognize your digital piano as a MIDI input device, you have laid the groundwork for a fruitful and inspiring musical journey.
With your digital piano now intricately linked to Studio One, you can effortlessly capture your musical performances, experiment with different virtual instruments, and compose intricate melodies with ease. The ability to harness the expressive nuances of your digital piano within the software empowers you to infuse your compositions with emotion and depth, elevating your music to new heights.
As you embark on your music-making endeavors with Studio One and your digital piano, remember to explore the vast array of features and tools available within the software. Experiment with recording multiple tracks, layering different instrument sounds, and leveraging Studio One’s powerful editing and mixing capabilities to refine your musical creations.
By integrating your digital piano with Studio One, you have unlocked a realm of creative possibilities, enabling you to channel your musical vision into captivating compositions. Whether you’re a solo artist, a producer, or a composer, the seamless connection between your digital piano and Studio One serves as a catalyst for innovation and artistic expression.
As you continue to explore the boundless potential of this integration, let your creativity flow and allow your digital piano to become a versatile and indispensable tool in your music production arsenal. Embrace the synergy between your musical ideas and the capabilities of Studio One, and let your digital piano serve as a conduit for your artistic expression in the captivating world of music production.