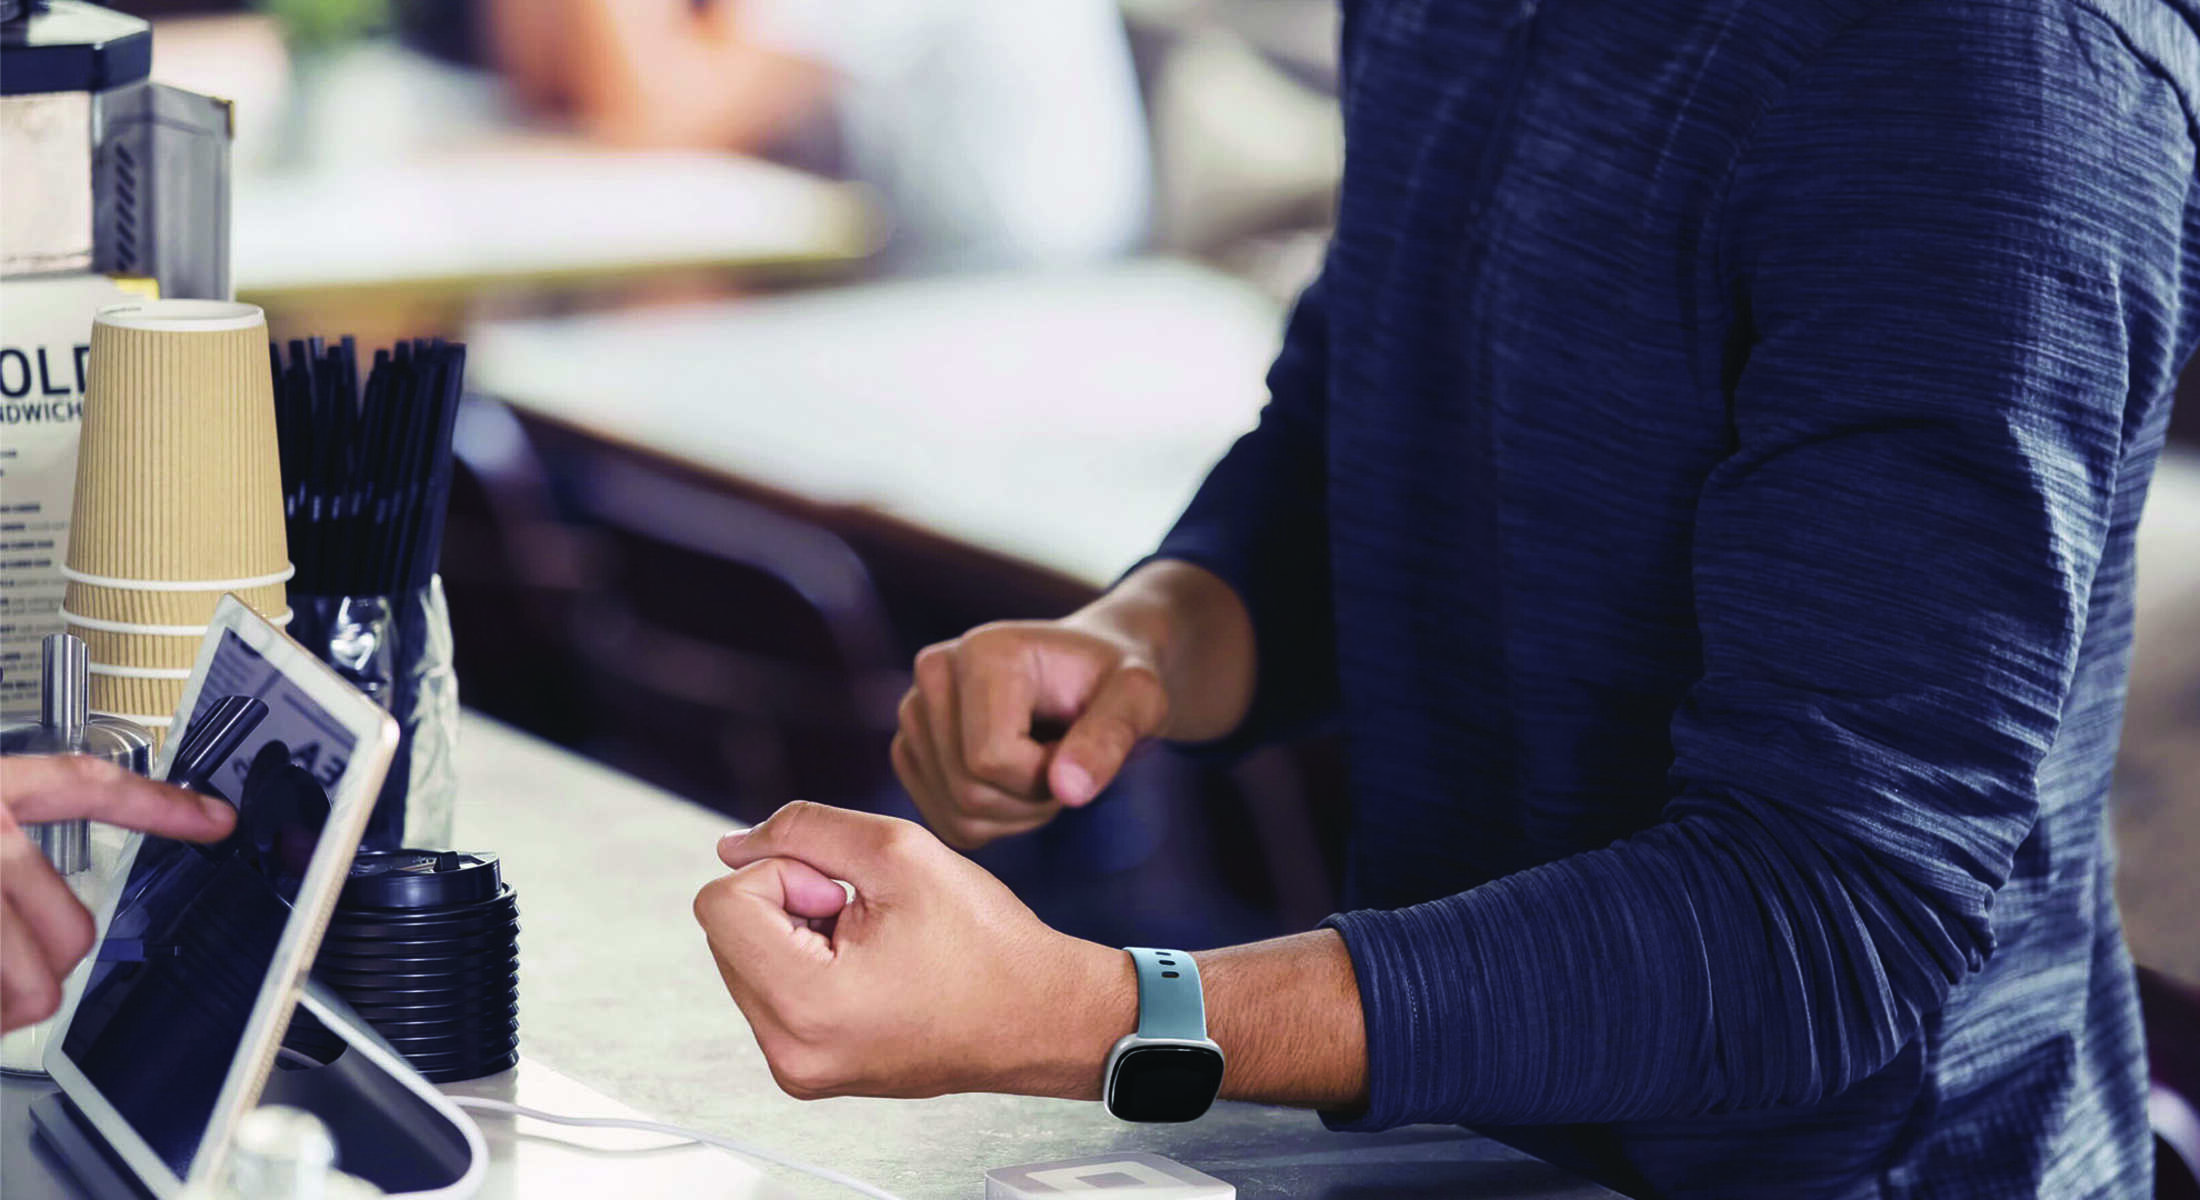
To set up contactless payments on your Fitbit, you now use Google Wallet, which has replaced Fitbit Pay on all compatible devices. Start by opening the Fitbit app on your phone, ensuring your device is nearby, then navigate to the Wallet tile to add your card and set a secure PIN. This wallet setup process takes only a few minutes and works with most major credit and debit cards, and once you are in the app, you can also boost your daily wellness by setting up a water reminder on Fitbit.
Wallet Setup on Fitbit: Transitioning from Fitbit Pay to Google Wallet
Fitbit has officially transitioned its contactless payment system from the older Fitbit Pay to Google Wallet. This change means that for any new Fitbit device launched after November 2022, including the Versa 4, Sense 2, and Charge 6, Google Wallet is the default and only payment solution. For existing devices that previously used Fitbit Pay, the legacy service will no longer be available starting July 29, 2024, in most markets. If you own a compatible Fitbit, you must switch to Google Wallet to continue making wrist-based payments. The good news is that the setup process is straightforward, and your existing cards can be re-added in just a few taps.
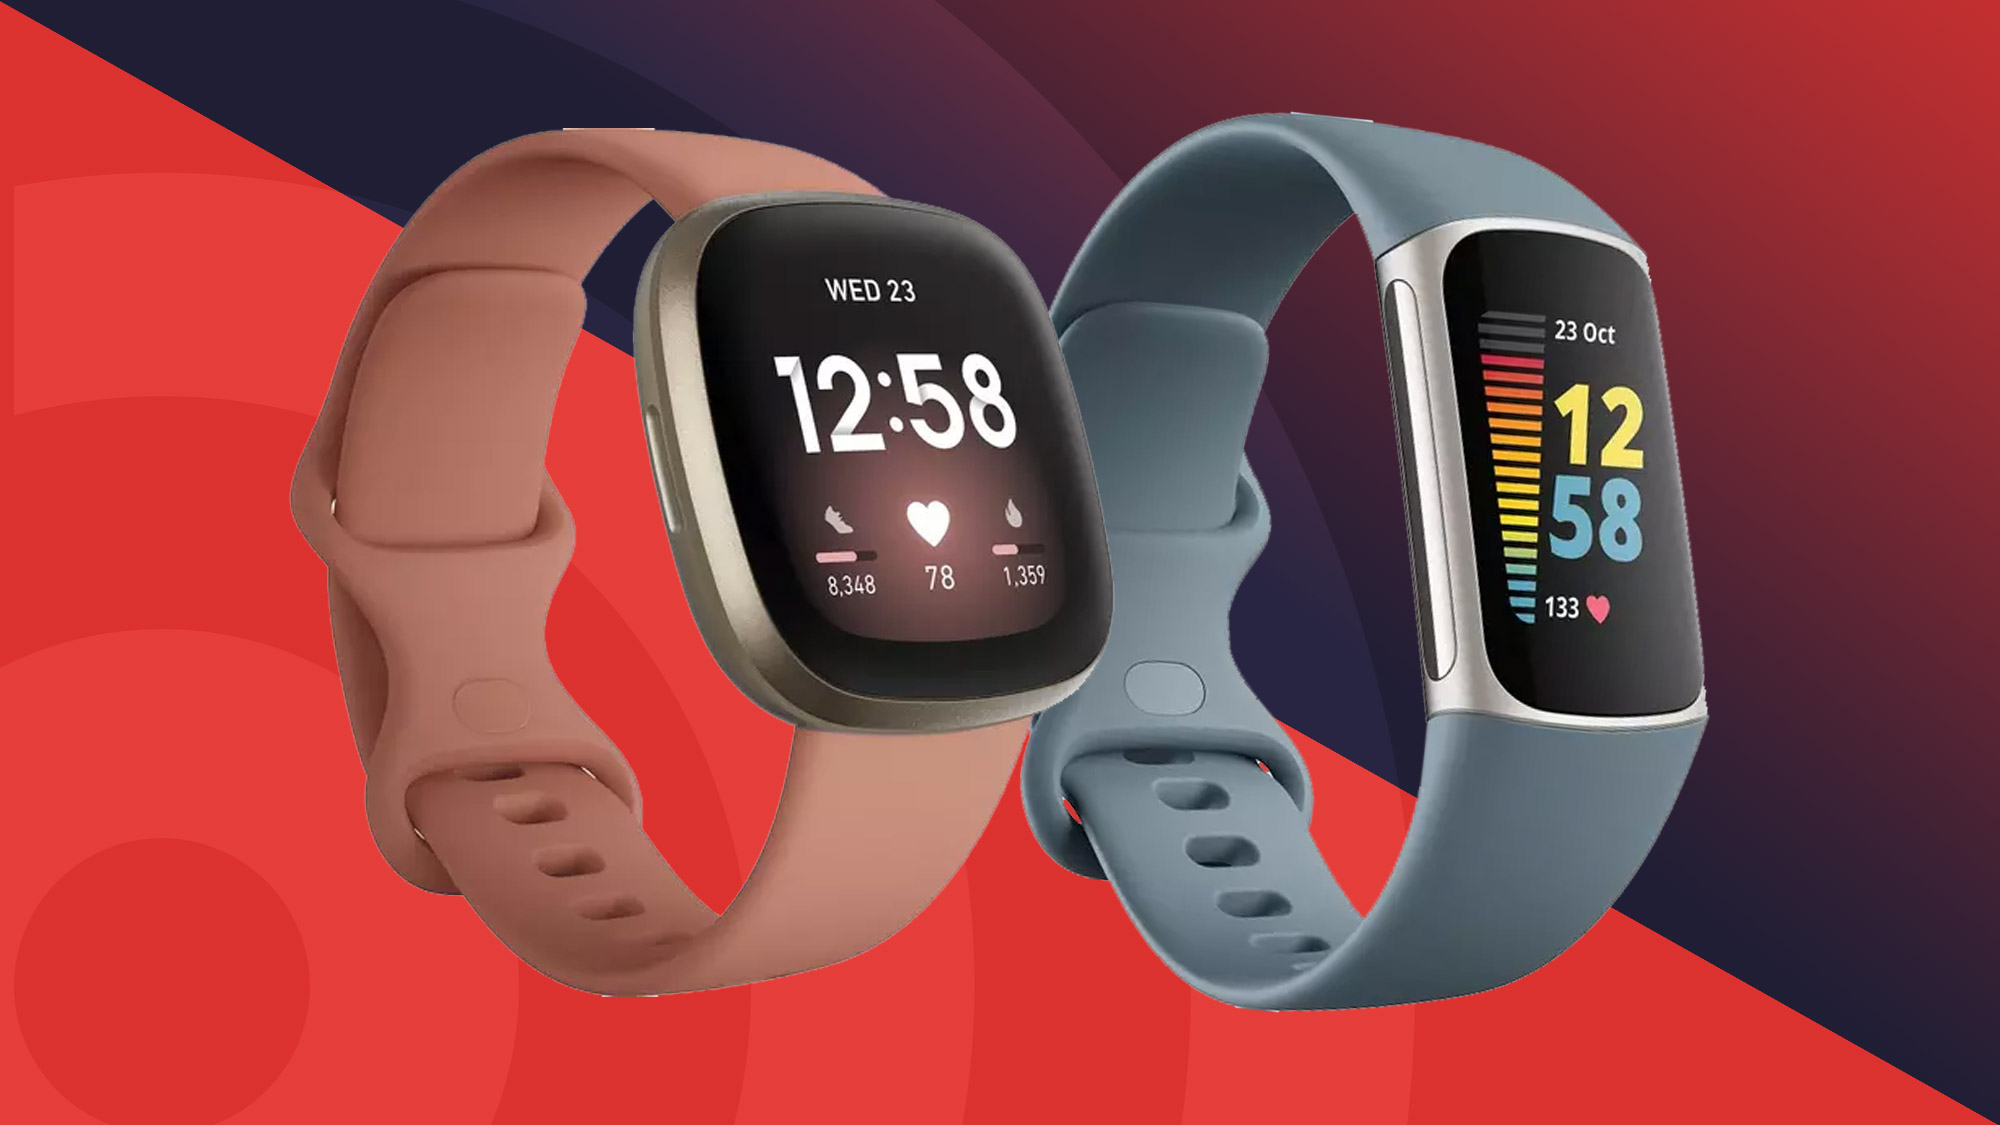
Devices that support Google Wallet on Fitbit include the Sense 2, Sense, Versa 4, Versa 3, Versa 2, Versa Special Edition, Ionic, Charge 3 Special Edition, Charge 4, Charge 5, and Charge 6. If you have one of these models, you can use Google Wallet for contactless transactions at any terminal that accepts tap-to-pay. Note that this feature is not available in Japan or Taiwan, where Fitbit has not rolled out Google Wallet support.
How to Set Up Google Wallet on Your Fitbit Device
Setting up Google Wallet on your Fitbit requires your phone and your Fitbit device to be within Bluetooth range of each other. Follow these steps to get your wallet activated:
Step 1: Open the Fitbit App
On your smartphone, open the Fitbit app. Make sure you are logged into the account that is linked to your Fitbit device. If you have multiple Fitbit devices, ensure the one you want to set up is the active device shown at the top of the app.
Step 2: Navigate to the Wallet Tile
From the Today tab at the bottom of the screen, tap the Devices icon (which looks like a small watch or tracker) in the top-left corner. Alternatively, tap your profile picture in the top-right, then select your device image. On the device screen, scroll down until you see the Wallet tile. Tap it to begin the setup process.
Step 3: Sign In to Your Google Account
You will be prompted to sign in to your Google Account. This is the same account you use for other Google services like Gmail or Google Play. If you have multiple Google accounts, select the one you want to associate with your Fitbit wallet, especially if you manage devices through a Fitbit family account setup. This step is mandatory, you cannot set up Google Wallet on Fitbit without a Google Account.
Step 4: Set a 4-Digit PIN
After signing in, you will be asked to create a 4-digit PIN for your Fitbit device. This PIN is required every time you make a payment using Google Wallet on your wrist. It adds a layer of security so that if your Fitbit is lost or stolen, no one can use your cards. Choose a PIN that you will remember but that others cannot easily guess. You will need to enter this PIN on your Fitbit device when making a transaction.
Once you have completed these steps, Google Wallet is active on your Fitbit. You can now proceed to add your payment cards.
Adding Supported Payment Cards to Your Fitbit Wallet
To add a card to your Fitbit wallet, open the Fitbit app and go to the Wallet tile again. Tap Add Card or the plus (+) icon. You will be given two options: you can either use your phone's camera to scan your card or enter the details manually. The card information you need includes the card number, expiration date, and the CVV code on the back.
Google Wallet on Fitbit supports Visa, Mastercard, and American Express cards from participating banks. Not all banks are eligible, so you may need to check with your financial institution to confirm they support Google Wallet on Fitbit. If your card is not supported, you will see an error message during the verification process. In that case, contact your bank to ask if they plan to enable this feature in the future.
Once your card is added, your bank will verify it. This verification can take a few seconds or up to a few minutes. After the card is verified, you can set it as your default card. The default card is the one that will be used automatically when you tap to pay with your Fitbit. To change the default, go to the Wallet section in the Fitbit app, tap the card you want to use, and select Set as Default.
You can add multiple cards to your Fitbit wallet, but only one can be the default at a time. To switch between cards during a payment, you would need to change the default in the app before making the transaction. Most users find it convenient to keep just one or two cards on their device to avoid confusion.
Managing and Securing Your Fitbit Wallet
Once your cards are added, you can manage your wallet entirely from the Fitbit app. Here’s what you can do:
Reviewing Transaction History
To see your recent purchases, open the Fitbit app, go to the Wallet tile, and tap Transaction History. This shows a list of all payments made with your Fitbit, including the merchant name, date, and amount. Reviewing this regularly helps you spot any unauthorized transactions quickly.
Removing Cards
If you want to remove a card from your Fitbit wallet, go to the Wallet section, tap the card you wish to delete, and select Remove Card. You will need to confirm the removal. Once removed, the card can no longer be used with your Fitbit device.
Changing Your PIN
To change your 4-digit PIN, open the Fitbit app, go to the Wallet tile, and tap the gear icon or Security settings. From there, select Change PIN. You will be asked to enter your current PIN, then create a new one. Changing your PIN regularly is a good security practice.
Suspending Cards If Your Device Is Lost
If you lose your Fitbit device, you should immediately suspend your cards to prevent unauthorized use. Open the Fitbit app on your phone, go to the Wallet tile, and tap Suspend Cards. This will deactivate all cards on your Fitbit without canceling the cards themselves. You can later unsuspend them if you find your device. If your device is permanently lost, you can also remotely erase your Fitbit from your Google Account settings, which will remove all wallet data.
This ensures that even if someone picks up your device, they cannot use it for payments without knowing your PIN.
Fitbit Setup and Syncing
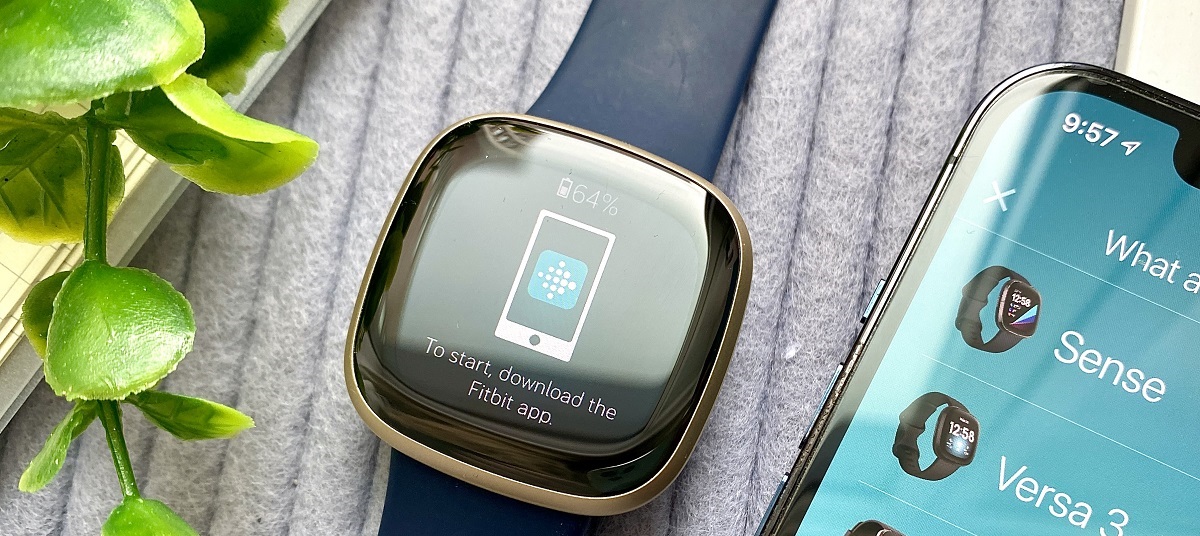
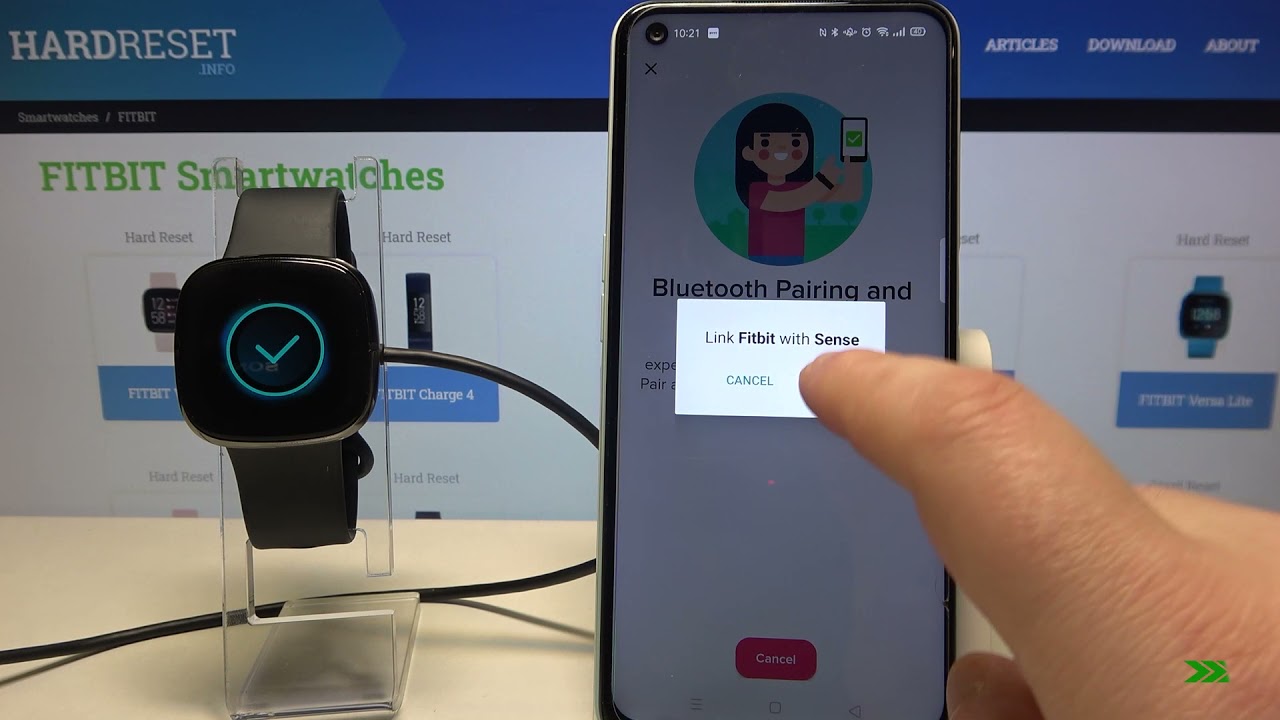
For Google Wallet to work correctly, your Fitbit device must be synced with the Fitbit app. Syncing happens automatically when your phone and Fitbit are near each other, but you can also force a sync by pulling down on the Today tab in the app. If you encounter issues with wallet setup, check that your Fitbit has the latest firmware update. To update, go to the Devices icon in the app, tap your device, and select Update if available.
If your Fitbit is not syncing, restart both your phone and your Fitbit device. Make sure Bluetooth is enabled on your phone and that the Fitbit app has permission to access Bluetooth and location services. For persistent issues, consult the Fitbit troubleshooting page or contact Fitbit support directly.
By keeping your Fitbit synced and up to date, you ensure that your wallet setup remains functional and secure. Contactless payments on your wrist are one of the most convenient features of a Fitbit, and with Google Wallet, you can leave your physical cards at home with confidence.
For the wider topic, see Fitbit setup and syncing.