Introduction
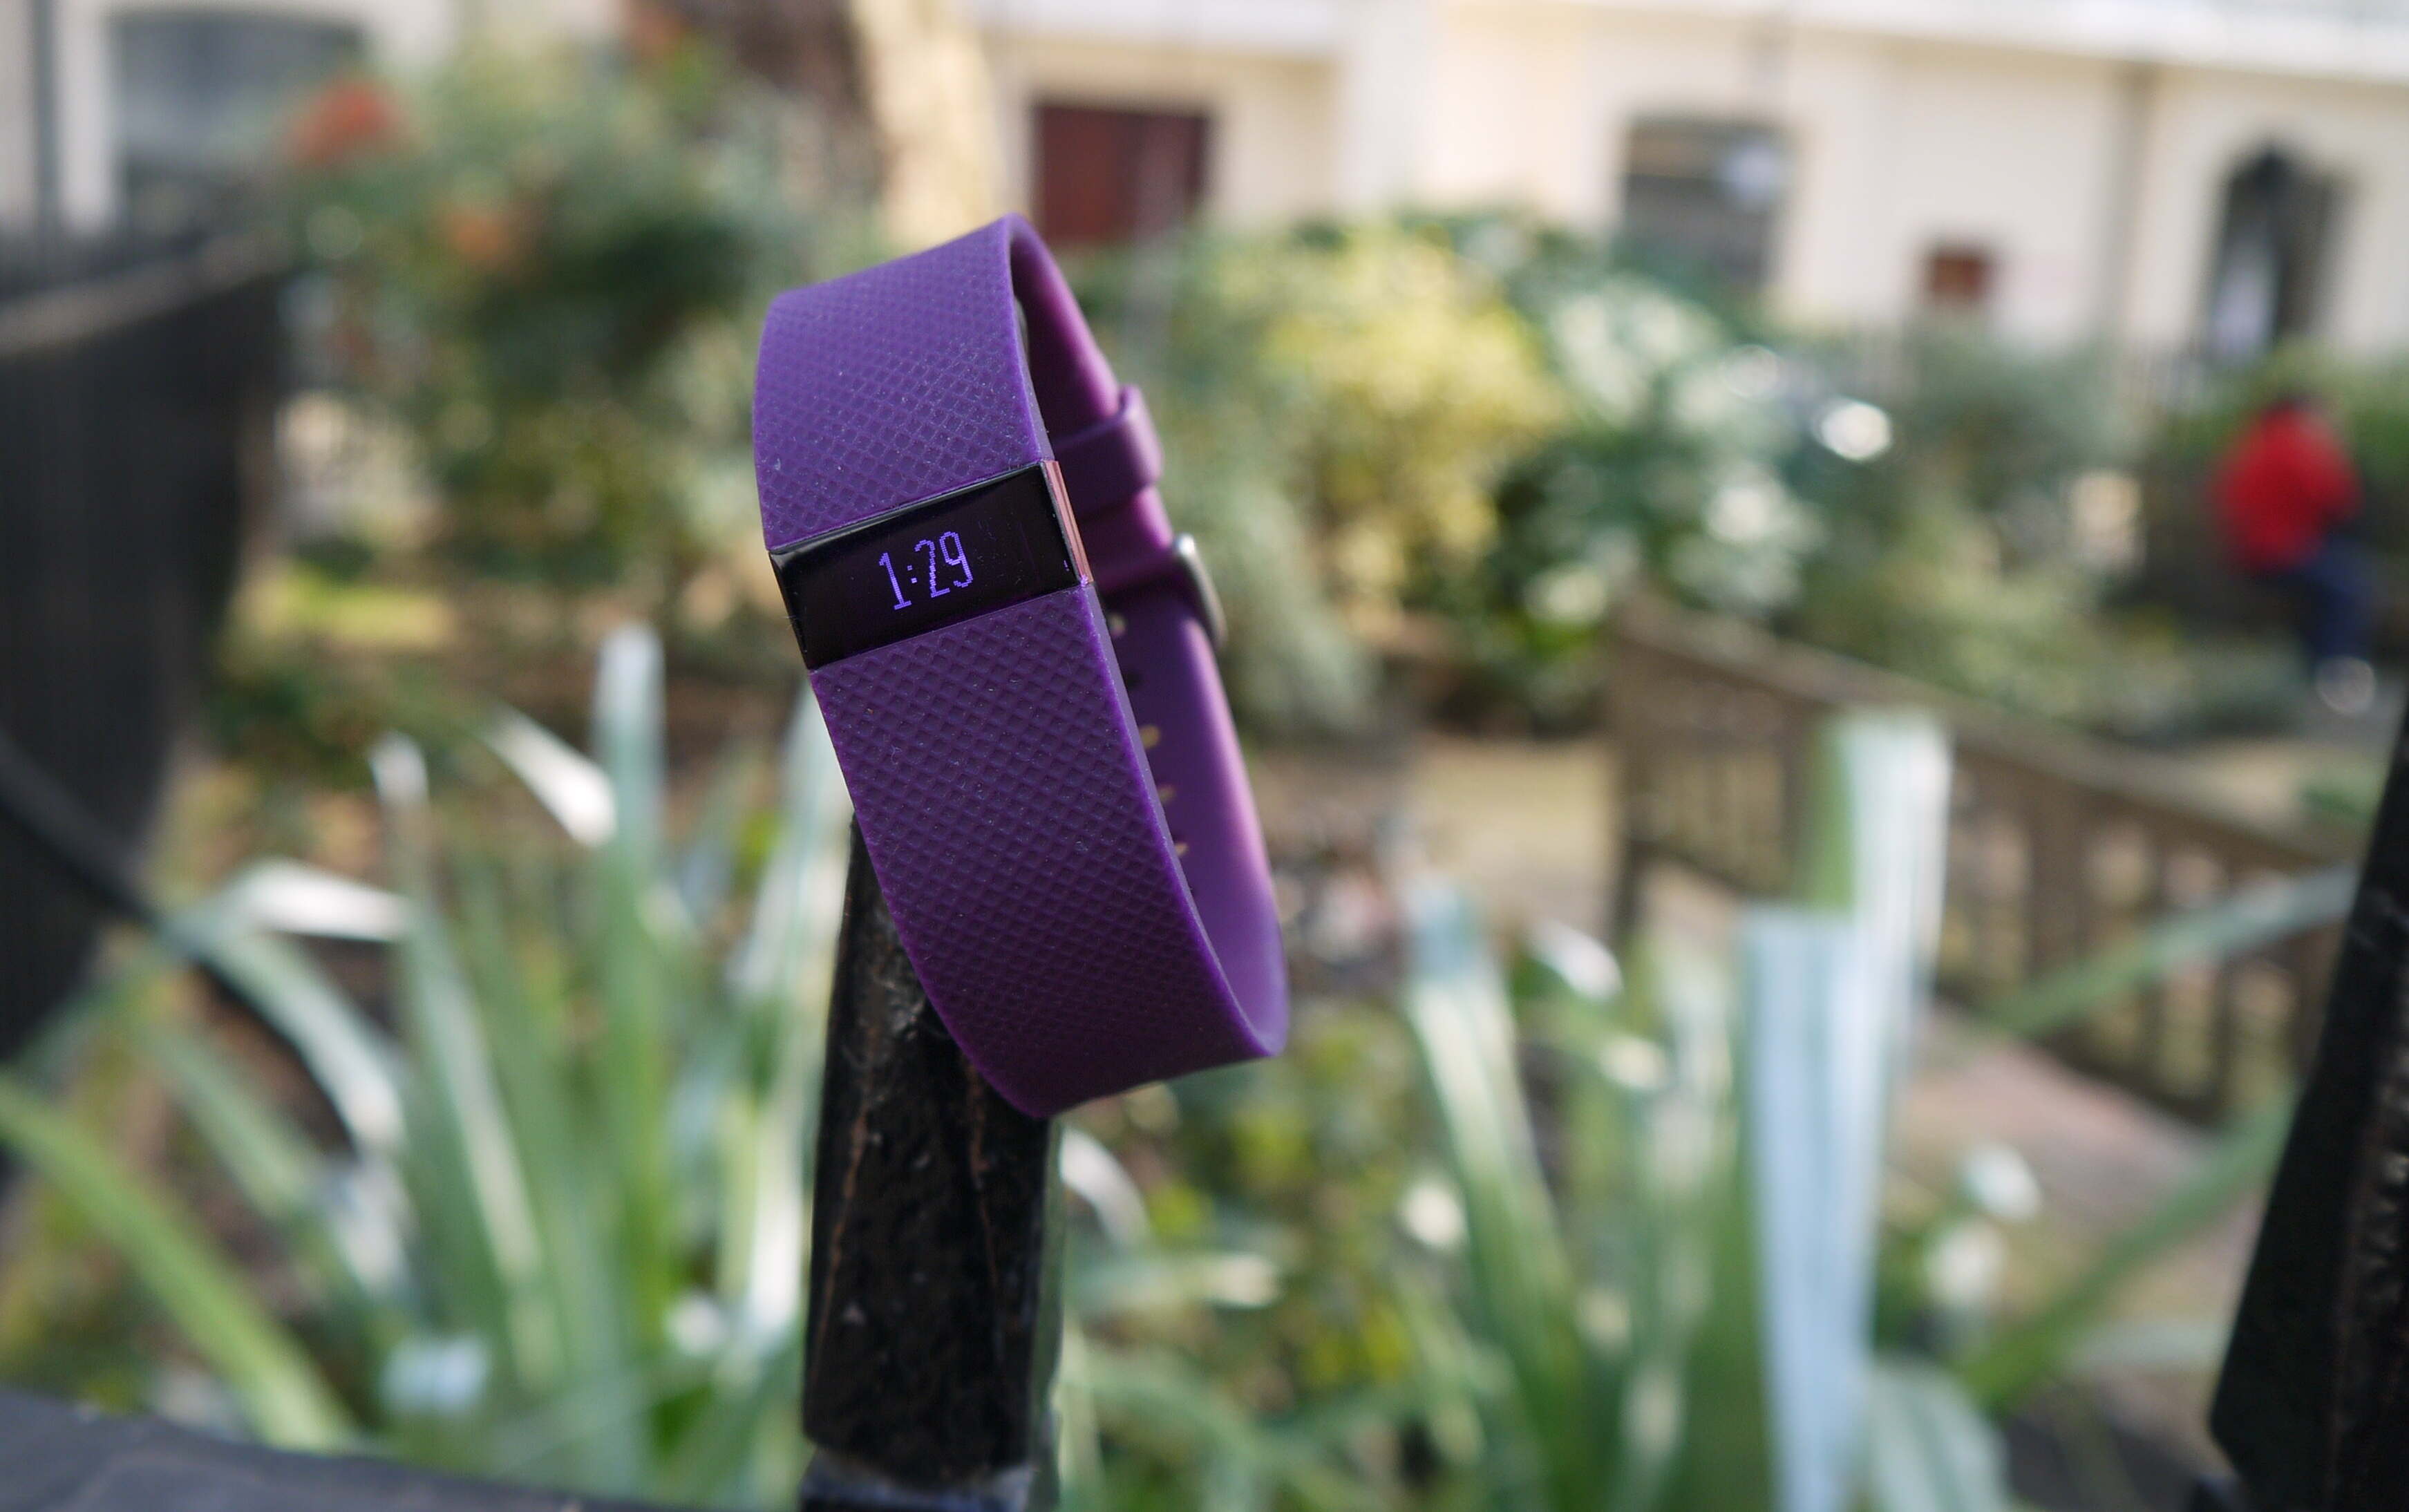
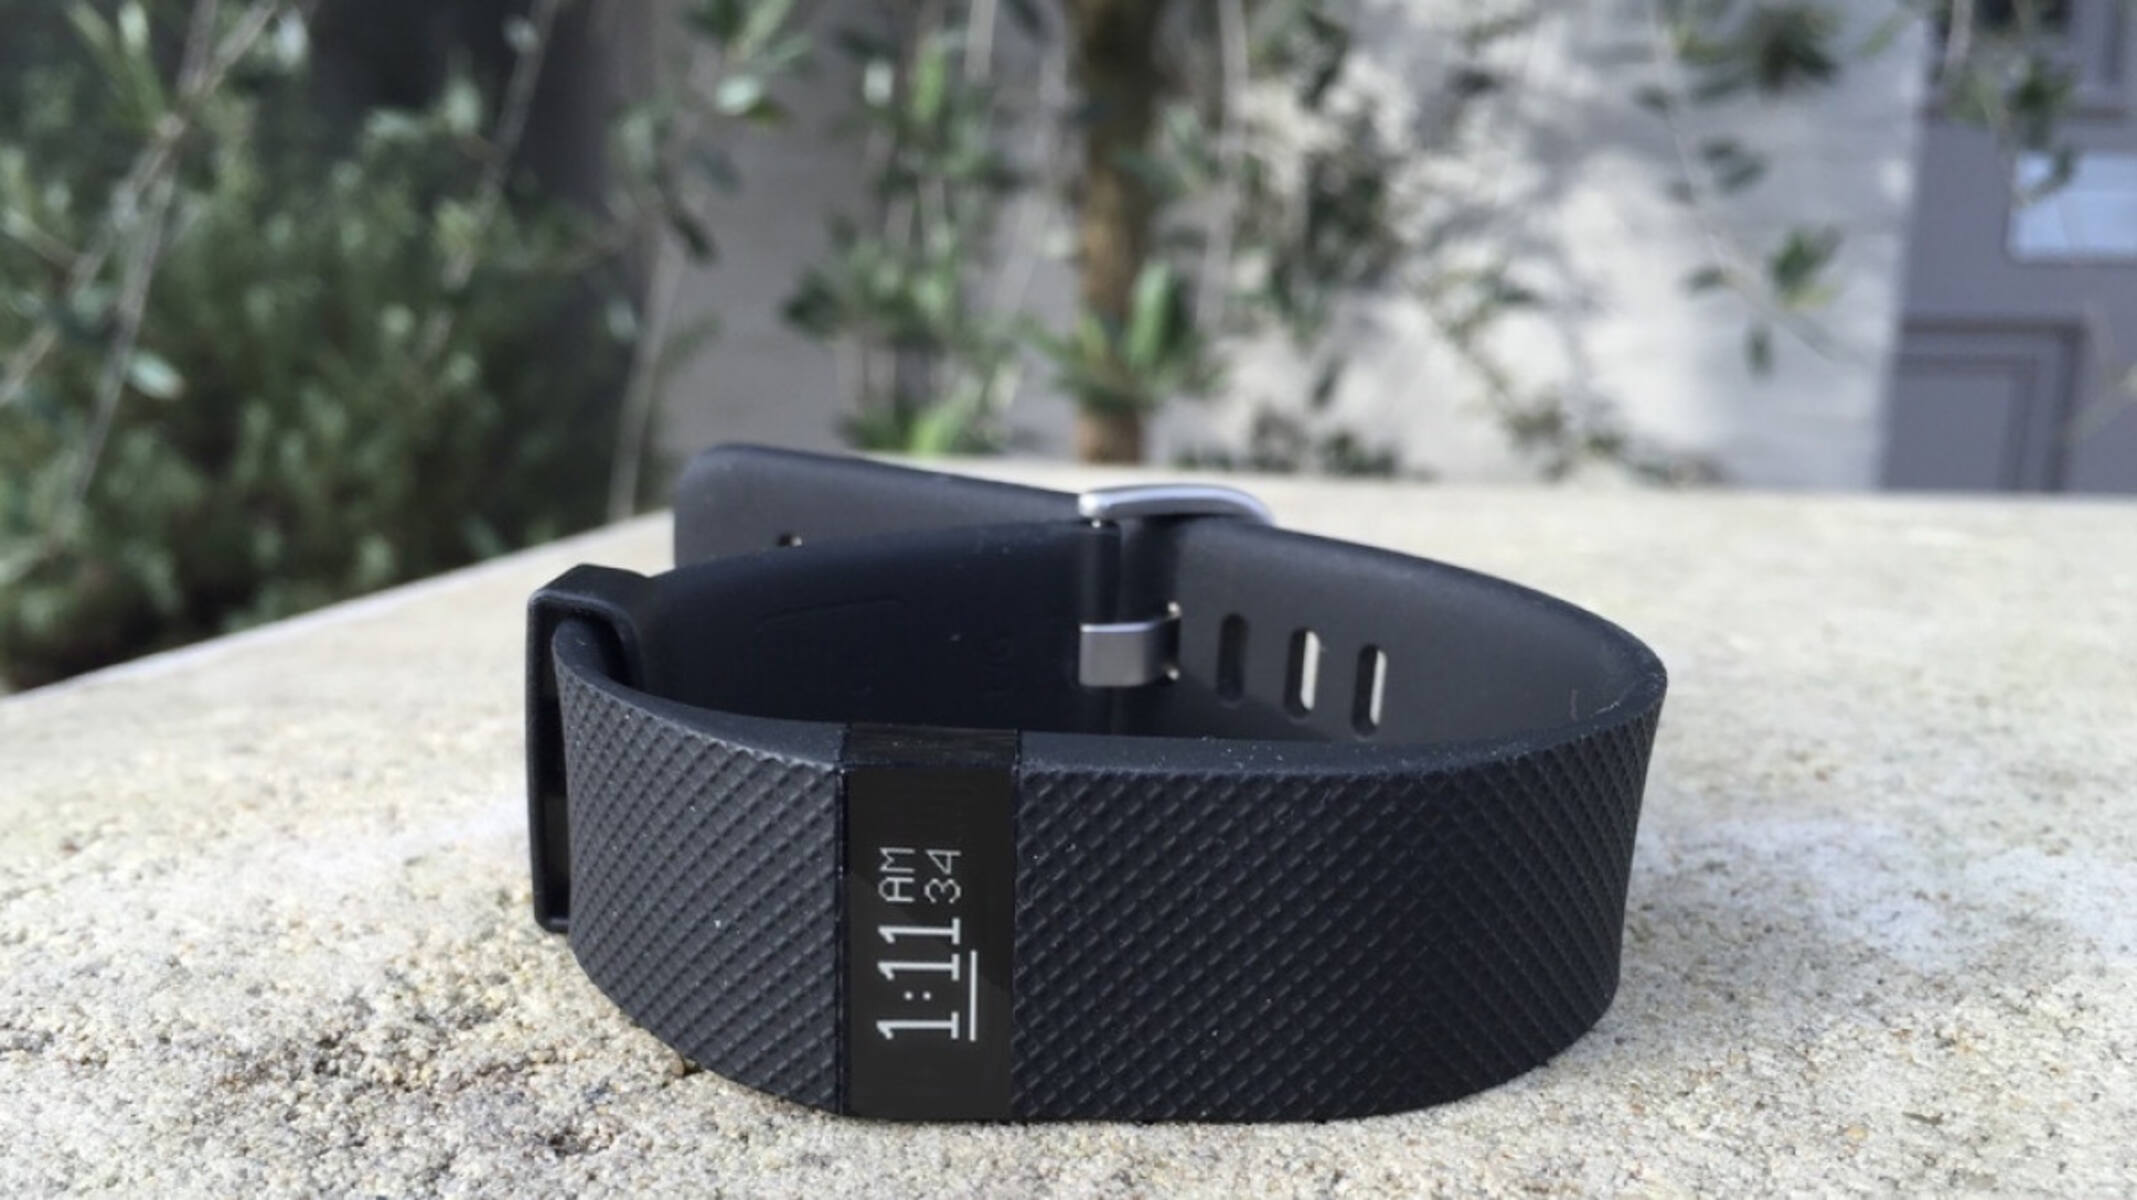
Setting the time on your Fitbit Charge HR is a fundamental aspect of personalizing your wearable device. Not only does it ensure that your device accurately reflects the current time, but it also plays a crucial role in tracking your daily activities and workouts. Whether you're embarking on a new fitness journey or simply aiming to stay punctual, understanding how to set the time on your Fitbit Charge HR is essential.
In this comprehensive guide, we will walk you through the step-by-step process of setting the time on your Fitbit Charge HR. By following these instructions, you will be able to seamlessly adjust the time to align with your current time zone, ensuring that your Fitbit device remains synchronized with your daily schedule.
As we delve into the intricacies of this process, it's important to note that the steps outlined in this guide are designed to be user-friendly and accessible to individuals of all technical backgrounds. Whether you're a tech-savvy enthusiast or a newcomer to wearable technology, you'll find this guide to be a valuable resource in navigating the settings of your Fitbit Charge HR.
With the guidance provided in this tutorial, you will gain the knowledge and confidence to effortlessly manage the time settings on your Fitbit Charge HR. This foundational skill will not only enhance your overall experience with the device but also empower you to make the most of its features as you embark on your wellness journey.
Now, let's embark on this step-by-step exploration of setting the time on your Fitbit Charge HR, ensuring that your wearable device becomes seamlessly integrated into your daily routine.
Step 1: Accessing the Settings
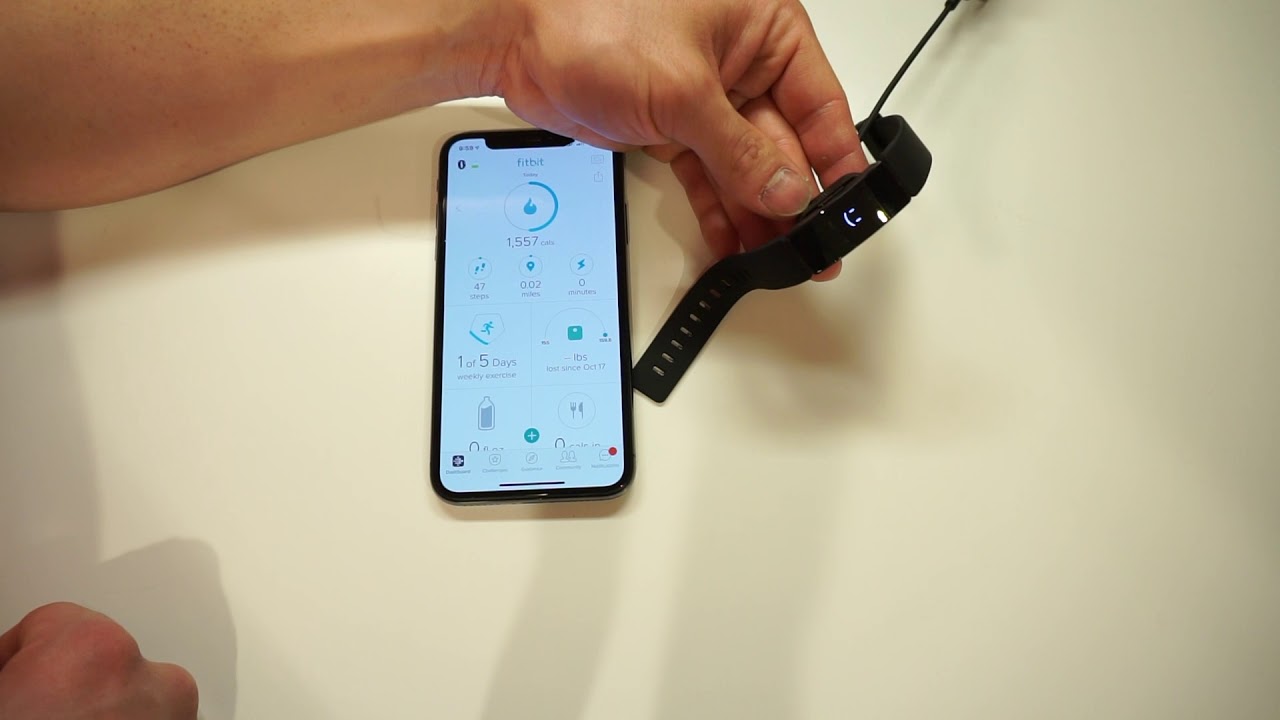
Accessing the settings on your Fitbit Charge HR is the initial step toward customizing your device to meet your specific preferences. To begin, ensure that your Fitbit Charge HR is powered on and ready for interaction. Once the device is active, navigate to the home screen by pressing the side button or tapping the display, depending on your model.
Upon reaching the home screen, locate and select the "Settings" option. This may be represented by a gear icon or a similar visual indicator, depending on the device's interface. By tapping on the "Settings" option, you will gain access to a range of configurable parameters that enable you to tailor your Fitbit Charge HR to your individual needs.
Upon accessing the settings, you will encounter a diverse array of options, each serving a distinct purpose in enhancing your experience with the device. As you familiarize yourself with the settings menu, take note of the intuitive layout designed to facilitate seamless navigation.
By entering the settings menu, you are poised to embark on a journey of personalization, where you can fine-tune various aspects of your Fitbit Charge HR to align with your lifestyle and preferences. Whether you seek to adjust the time, modify display settings, or explore advanced features, the settings menu serves as the gateway to unlocking the full potential of your wearable device.
As you proceed through the settings menu, take the opportunity to explore the diverse range of options available, each contributing to the overall versatility and functionality of your Fitbit Charge HR. By accessing the settings, you are empowered to tailor your device to complement your unique needs and preferences, ensuring that it seamlessly integrates into your daily routine.
In essence, accessing the settings marks the beginning of your journey toward personalizing your Fitbit Charge HR, enabling you to harness the full spectrum of features and capabilities that the device has to offer. With this foundational understanding, you are now prepared to proceed to the subsequent steps, where you will delve deeper into the process of setting the time on your Fitbit Charge HR.
With the settings now accessible, you are poised to embark on the next phase of this tutorial, where you will navigate through the intricacies of selecting and adjusting the time on your Fitbit Charge HR. Let's transition seamlessly into the next step, where you will gain valuable insights into this pivotal aspect of managing your wearable device.
Step 2: Selecting the Time
Upon entering the settings menu on your Fitbit Charge HR, the next pivotal step in the process of setting the time involves selecting the time format that best aligns with your preferences and daily routine. This step is essential in ensuring that your wearable device accurately reflects the time in a manner that is intuitive and convenient for you.
To begin, navigate to the "Clock" or "Time" option within the settings menu. This selection is designed to provide you with the ability to customize the time format displayed on your Fitbit Charge HR. Upon accessing this option, you will be presented with a range of time format choices, each tailored to accommodate diverse user preferences.
The time format options typically include 12-hour and 24-hour formats, allowing you to select the representation that resonates best with your accustomed time-telling convention. Whether you prefer the traditional 12-hour format with AM and PM indicators or the streamlined 24-hour format commonly used in military and international contexts, the selection process is geared toward accommodating your individual timekeeping preference.
By opting for the 12-hour format, you can seamlessly toggle between morning and afternoon hours, with the device intuitively differentiating between AM and PM time designations. Conversely, the 24-hour format presents time in a continuous sequence, eliminating the need for AM and PM distinctions and providing a straightforward representation of the day's progression.
As you navigate through the time format options, take a moment to consider the format that best harmonizes with your daily rhythm and habitual timekeeping practices. The chosen time format should seamlessly integrate into your lifestyle, facilitating effortless time interpretation and enhancing your overall user experience with the Fitbit Charge HR.
Upon selecting the preferred time format, ensure that the changes are saved to finalize the configuration. This pivotal step marks the culmination of the time format selection process, solidifying your chosen representation as the default time format displayed on your Fitbit Charge HR.
With the time format now selected and saved, you have successfully navigated through this crucial phase of setting the time on your Fitbit Charge HR. This foundational step sets the stage for the subsequent phase, where you will delve into the intricacies of adjusting the time to align with your current time zone and ensure seamless synchronization with your daily routine.
Step 3: Adjusting the Time
After selecting the preferred time format on your Fitbit Charge HR, the next crucial step in the process of setting the time involves adjusting the time to accurately reflect your current time zone. This pivotal adjustment ensures that your wearable device remains synchronized with the local time, aligning seamlessly with your daily activities and commitments.
To begin the process of adjusting the time, navigate to the “Time Zone” or “Set Time” option within the settings menu of your Fitbit Charge HR. This selection serves as the gateway to fine-tuning the device’s time settings to correspond with your geographical location, thereby ensuring precise time representation.
Upon accessing the “Time Zone” or “Set Time” option, you will be presented with a range of time zone selections, each corresponding to distinct geographical regions around the world. It is imperative to meticulously pinpoint and select the time zone that aligns with your current location, as this adjustment forms the bedrock of ensuring accurate time synchronization on your Fitbit Charge HR.
As you navigate through the available time zone options, take into account the geographical proximity of your current location and select the corresponding time zone from the list. This meticulous selection process is designed to ensure that your Fitbit Charge HR accurately reflects the local time, enabling seamless integration into your daily routine and activities.
Once the appropriate time zone is selected, proceed to confirm the changes to solidify the adjustment. This pivotal confirmation step serves to lock in the updated time zone setting, ensuring that your Fitbit Charge HR remains synchronized with the local time, thereby enhancing its utility in tracking your daily activities and workouts.
By meticulously adjusting the time to align with your current time zone, you are poised to experience seamless time representation on your Fitbit Charge HR, fostering a heightened sense of accuracy and reliability in tracking your daily endeavors. This foundational adjustment sets the stage for a streamlined and synchronized experience with your wearable device, empowering you to make the most of its time-tracking capabilities.
With the time now meticulously adjusted to correspond with your current time zone, you have successfully navigated through this pivotal phase of setting the time on your Fitbit Charge HR. This foundational step paves the way for a harmonized and accurate time representation, ensuring that your wearable device seamlessly integrates into your daily rhythm and activities.
Now, with the time meticulously adjusted, you are prepared to seamlessly transition into the subsequent phase, where you will confirm the changes and solidify the synchronization of the time settings on your Fitbit Charge HR.
Step 4: Confirming the Changes
Upon meticulously adjusting the time settings on your Fitbit Charge HR to align with your current time zone, the pivotal step of confirming the changes solidifies the synchronization of the device's time representation. This crucial confirmation process serves as the final checkpoint in ensuring that the adjusted time settings are locked in, thereby fortifying the accuracy and reliability of the time displayed on your wearable device.
To confirm the changes, navigate to the designated “Confirm” or “Save” option within the settings menu of your Fitbit Charge HR. This decisive selection serves to validate the meticulously adjusted time settings, thereby finalizing the synchronization process and ensuring that the device accurately reflects the local time in accordance with your chosen time zone.
Upon selecting the “Confirm” or “Save” option, the device will seamlessly process the updated time settings, solidifying the synchronization with your current time zone. This pivotal confirmation step serves to fortify the accuracy and reliability of the time representation on your Fitbit Charge HR, culminating in a seamless integration of the device into your daily routine and activities.
As the changes are confirmed, take a moment to ensure that the time displayed on your Fitbit Charge HR accurately corresponds to the local time in your geographical location. This meticulous validation serves as a testament to the successful synchronization of the device's time settings, affirming its capability to seamlessly track your daily activities and workouts with precision and reliability.
With the changes now confirmed, the time displayed on your Fitbit Charge HR stands as a reliable and accurate representation of the local time in your current time zone. This pivotal validation process marks the culmination of the time-setting journey, solidifying the device's capacity to seamlessly integrate into your daily rhythm and activities with unparalleled precision.
By confirming the changes, you have successfully completed the fundamental process of setting the time on your Fitbit Charge HR, ensuring that the device accurately reflects the local time in accordance with your chosen time zone. This pivotal confirmation step paves the way for a harmonized and accurate time representation, empowering you to make the most of your wearable device as you embark on your wellness journey.
Conclusion
In conclusion, the process of setting the time on your Fitbit Charge HR encompasses a seamless journey of personalization and synchronization, culminating in a harmonized and accurate time representation that seamlessly integrates into your daily routine. By following the step-by-step guide outlined in this tutorial, you have gained valuable insights into the intricacies of managing the time settings on your wearable device, empowering you to make the most of its time-tracking capabilities.
From accessing the settings and selecting the preferred time format to meticulously adjusting the time to align with your current time zone, each phase of this process has been meticulously designed to ensure a streamlined and synchronized experience with your Fitbit Charge HR. The intuitive navigation through the settings menu has provided you with a comprehensive understanding of the device's customization options, enabling you to tailor the time representation to complement your unique lifestyle and preferences.
As you confirmed the changes, solidifying the synchronization of the time settings, you have established a reliable and accurate time representation on your Fitbit Charge HR, ensuring that the device seamlessly tracks your daily activities and workouts with precision and reliability. This foundational skill not only enhances your overall experience with the device but also empowers you to make the most of its features as you embark on your wellness journey.
By seamlessly integrating the time settings to correspond with your current time zone, your Fitbit Charge HR stands as a dependable companion in your daily endeavors, fostering a heightened sense of accuracy and reliability in tracking your fitness milestones and time-sensitive commitments. The synchronized time representation serves as a testament to the device's capacity to seamlessly adapt to your geographical location, ensuring that it remains seamlessly integrated into your daily rhythm and activities.
As you continue to explore the diverse functionalities of your Fitbit Charge HR, the foundational understanding gained from this time-setting process will serve as a cornerstone in navigating the device's features with confidence and precision. Whether you're embarking on a new fitness journey or seeking to streamline your daily activities, the harmonized time representation on your Fitbit Charge HR stands as a testament to your commitment to precision and efficiency in managing your wellness goals.
In essence, the journey of setting the time on your Fitbit Charge HR transcends mere customization; it embodies a seamless integration of precision and reliability, empowering you to make the most of your wearable device as you navigate through your daily routine and fitness endeavors. With the foundational knowledge gained from this tutorial, you are now poised to embark on a seamless and synchronized experience with your Fitbit Charge HR, leveraging its time-tracking capabilities to enhance your wellness journey with unparalleled accuracy and reliability.