Introduction
Welcome to the world of smartwatches, where convenience and connectivity meet on your wrist. If you've recently acquired a smartwatch and are eager to start using it, you're in the right place. This quick guide will walk you through the essential steps to turn on and set up your smartwatch, ensuring that you get the most out of this innovative device.
Smartwatches have become increasingly popular due to their ability to seamlessly integrate with smartphones, track fitness metrics, and deliver notifications right to your wrist. Whether you're a tech enthusiast, a fitness buff, or simply someone looking to streamline their digital life, a smartwatch can be a valuable addition to your everyday routine.
In this guide, we'll cover the fundamental steps to get your smartwatch up and running. From charging the device to pairing it with your smartphone and configuring the settings, you'll soon be ready to explore the multitude of features that your smartwatch has to offer.
So, without further ado, let's dive into the process of turning on your smartwatch and unlocking its full potential. Whether you're a first-time smartwatch user or upgrading to a new model, this guide will help you navigate the initial setup with ease and confidence. Let's get started!
Step 1: Charging Your Smartwatch
Before embarking on your smartwatch setup journey, it’s crucial to ensure that your device is adequately charged. Most smartwatches come with a proprietary charging cable or dock, designed to fit the specific model. Here’s a step-by-step guide to charging your smartwatch:
- Locate the Charging Port: Examine your smartwatch to find the designated charging port. It may be located on the side or underside of the device, often concealed by a protective cover.
- Connect the Charging Cable: Once you’ve located the charging port, connect the charging cable securely to the port. Ensure that the connection is snug to facilitate uninterrupted charging.
- Plug into a Power Source: With the charging cable attached, plug the other end into a power source, such as a wall adapter or USB port. It’s recommended to use the provided charging accessories to optimize the charging process.
- Monitor the Charging Progress: After connecting the smartwatch to the power source, monitor the device to confirm that it’s charging. Depending on the model, you may see a charging indicator or battery icon on the screen.
- Allow Sufficient Charging Time: Let your smartwatch charge for the recommended duration, as specified in the user manual. This ensures that the battery reaches an adequate level for the initial setup and usage.
Charging your smartwatch is a crucial first step that sets the stage for a seamless setup and uninterrupted usage. By following these steps, you’ll ensure that your smartwatch is powered up and ready to accompany you throughout your day.
Step 2: Powering On Your Smartwatch
Once your smartwatch is adequately charged, it’s time to power it on and initiate the setup process. Here’s a simple guide to turning on your smartwatch:
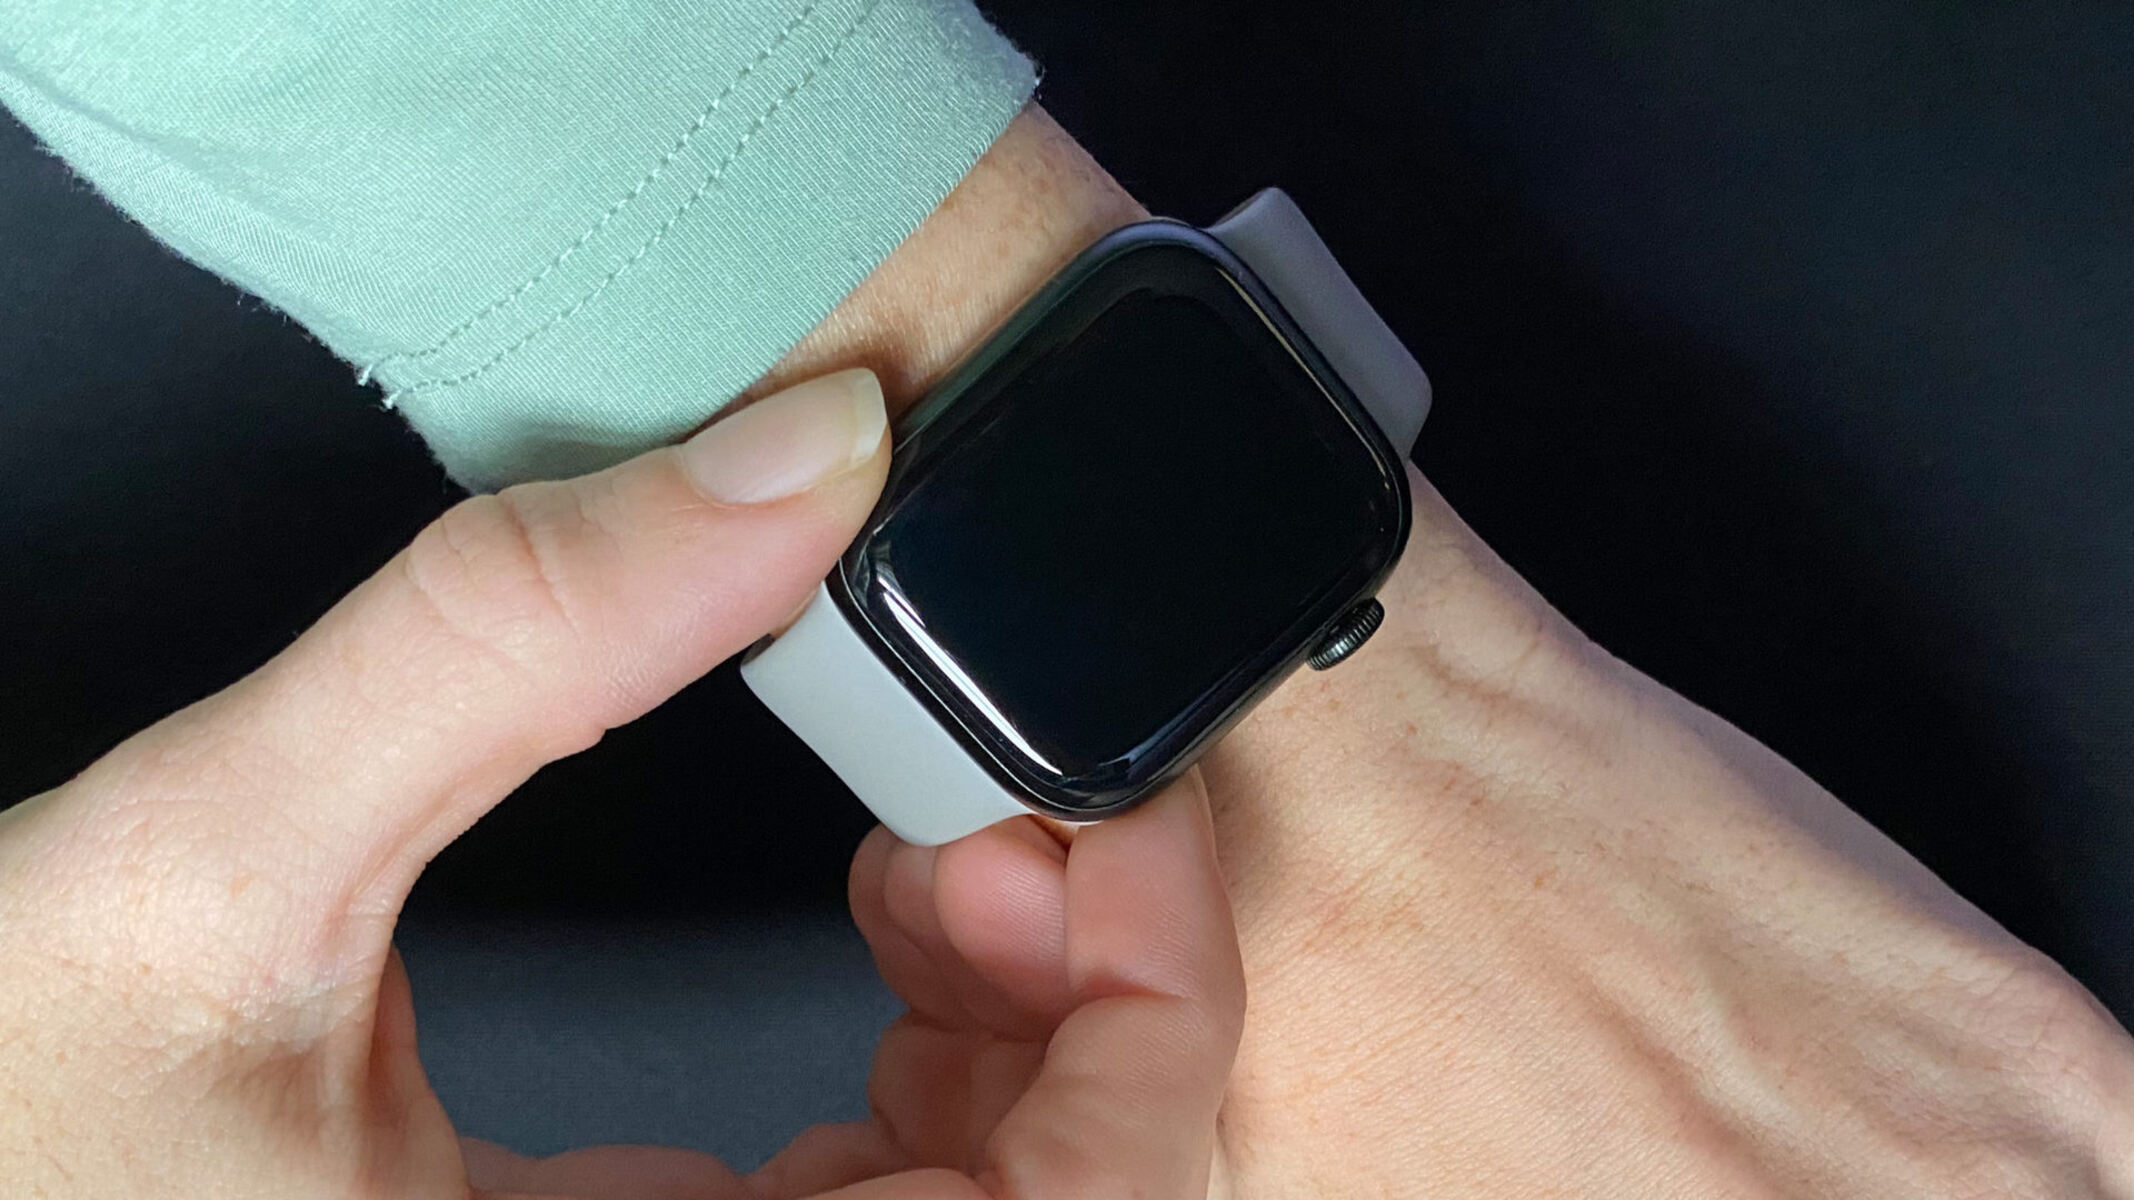
- Press and Hold the Power Button: Locate the power button on your smartwatch, typically situated on the side or front of the device. Press and hold this button for a few seconds to power on the smartwatch.
- Observe the Startup Screen: As you press the power button, the smartwatch’s display should illuminate, and the startup screen or manufacturer’s logo may appear. This indicates that the device is powering on.
- Wait for Initialization: Once the startup screen is displayed, allow the smartwatch a few moments to initialize. During this process, the device is booting up its operating system and preparing for the initial setup.
- Follow On-Screen Instructions: Depending on the smartwatch model, you may be prompted to select a language, set the time, or perform other initial setup steps. Follow the on-screen instructions to configure these settings as per your preferences.
Powering on your smartwatch is the gateway to exploring its myriad features and functionalities. By following these steps, you’ll successfully activate your smartwatch and prepare it for the next phase of the setup process.
Step 3: Pairing with Your Smartphone
Pairing your smartwatch with your smartphone is a pivotal step that enables seamless communication between the two devices, allowing you to receive notifications, track fitness data, and access additional features. Here’s a step-by-step guide to pairing your smartwatch with your smartphone:
- Enable Bluetooth on Your Smartphone: Access the settings on your smartphone and ensure that Bluetooth is enabled. This enables the smartphone to discover and connect to nearby Bluetooth devices, including your smartwatch.
- Access the Smartwatch Settings: On your smartwatch, navigate to the settings menu or the designated section for connectivity and pairing. The exact steps may vary based on the smartwatch model.
- Initiate the Pairing Process: Within the smartwatch settings, look for the option to pair with a new device or specifically with a smartphone. Select this option to initiate the pairing process.
- Scan for Available Devices: Your smartwatch will begin scanning for nearby Bluetooth devices, including your smartphone. On your smartphone, you may also see the smartwatch listed as an available device for pairing.
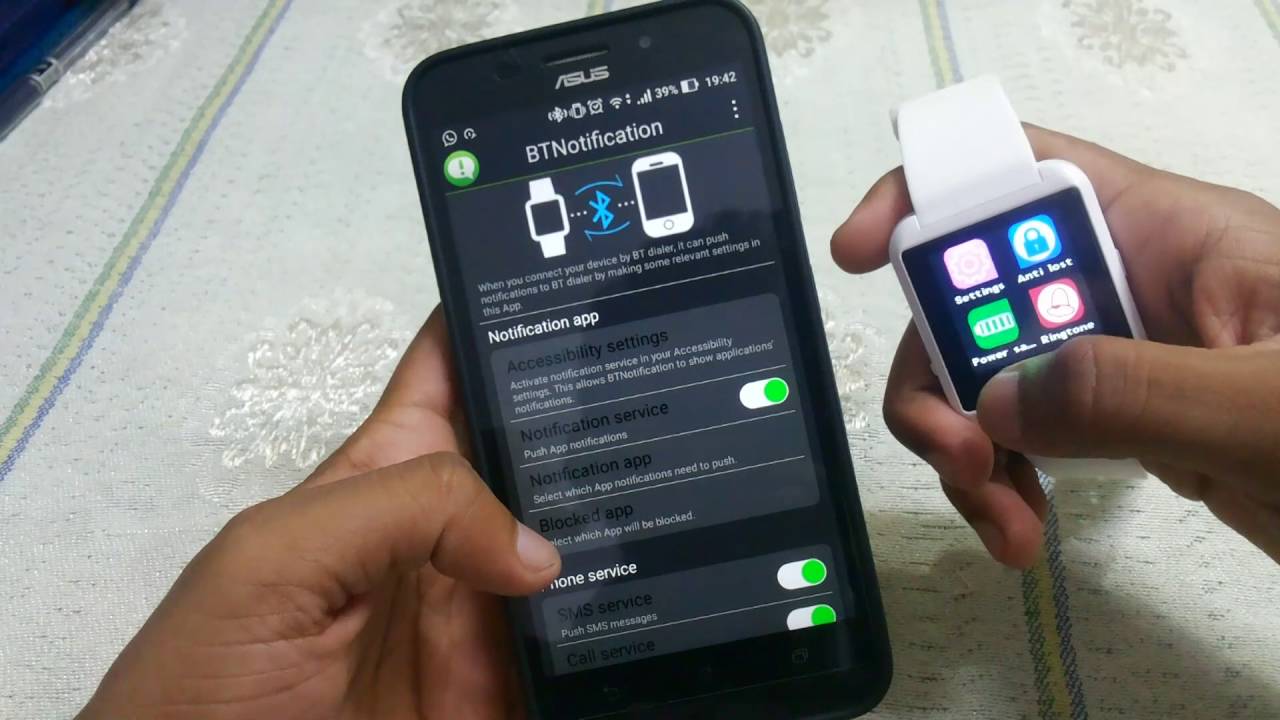
- Confirm the Pairing Request: Once the smartwatch detects your smartphone, it may prompt you to confirm the pairing request. Accept the pairing request on both devices to establish the Bluetooth connection.
- Complete the Pairing Process: After confirming the pairing request, the smartwatch and smartphone will establish a Bluetooth connection, enabling them to communicate seamlessly. The smartwatch may display a confirmation message once the pairing is successful.
Pairing your smartwatch with your smartphone creates a symbiotic relationship between the two devices, enhancing the functionality and utility of your smartwatch. By following these steps, you’ll establish a reliable connection and unlock the full potential of your smartwatch-smartphone duo.
Step 4: Setting Up Your Smartwatch
With your smartwatch powered on and paired with your smartphone, it’s time to delve into the essential setup steps to personalize your device and optimize its functionality. Here’s a comprehensive guide to setting up your smartwatch:
- Language and Region Selection: Upon powering on your smartwatch or after the initial pairing, you may be prompted to select your preferred language and region. Choose the language and region settings that align with your preferences and location.
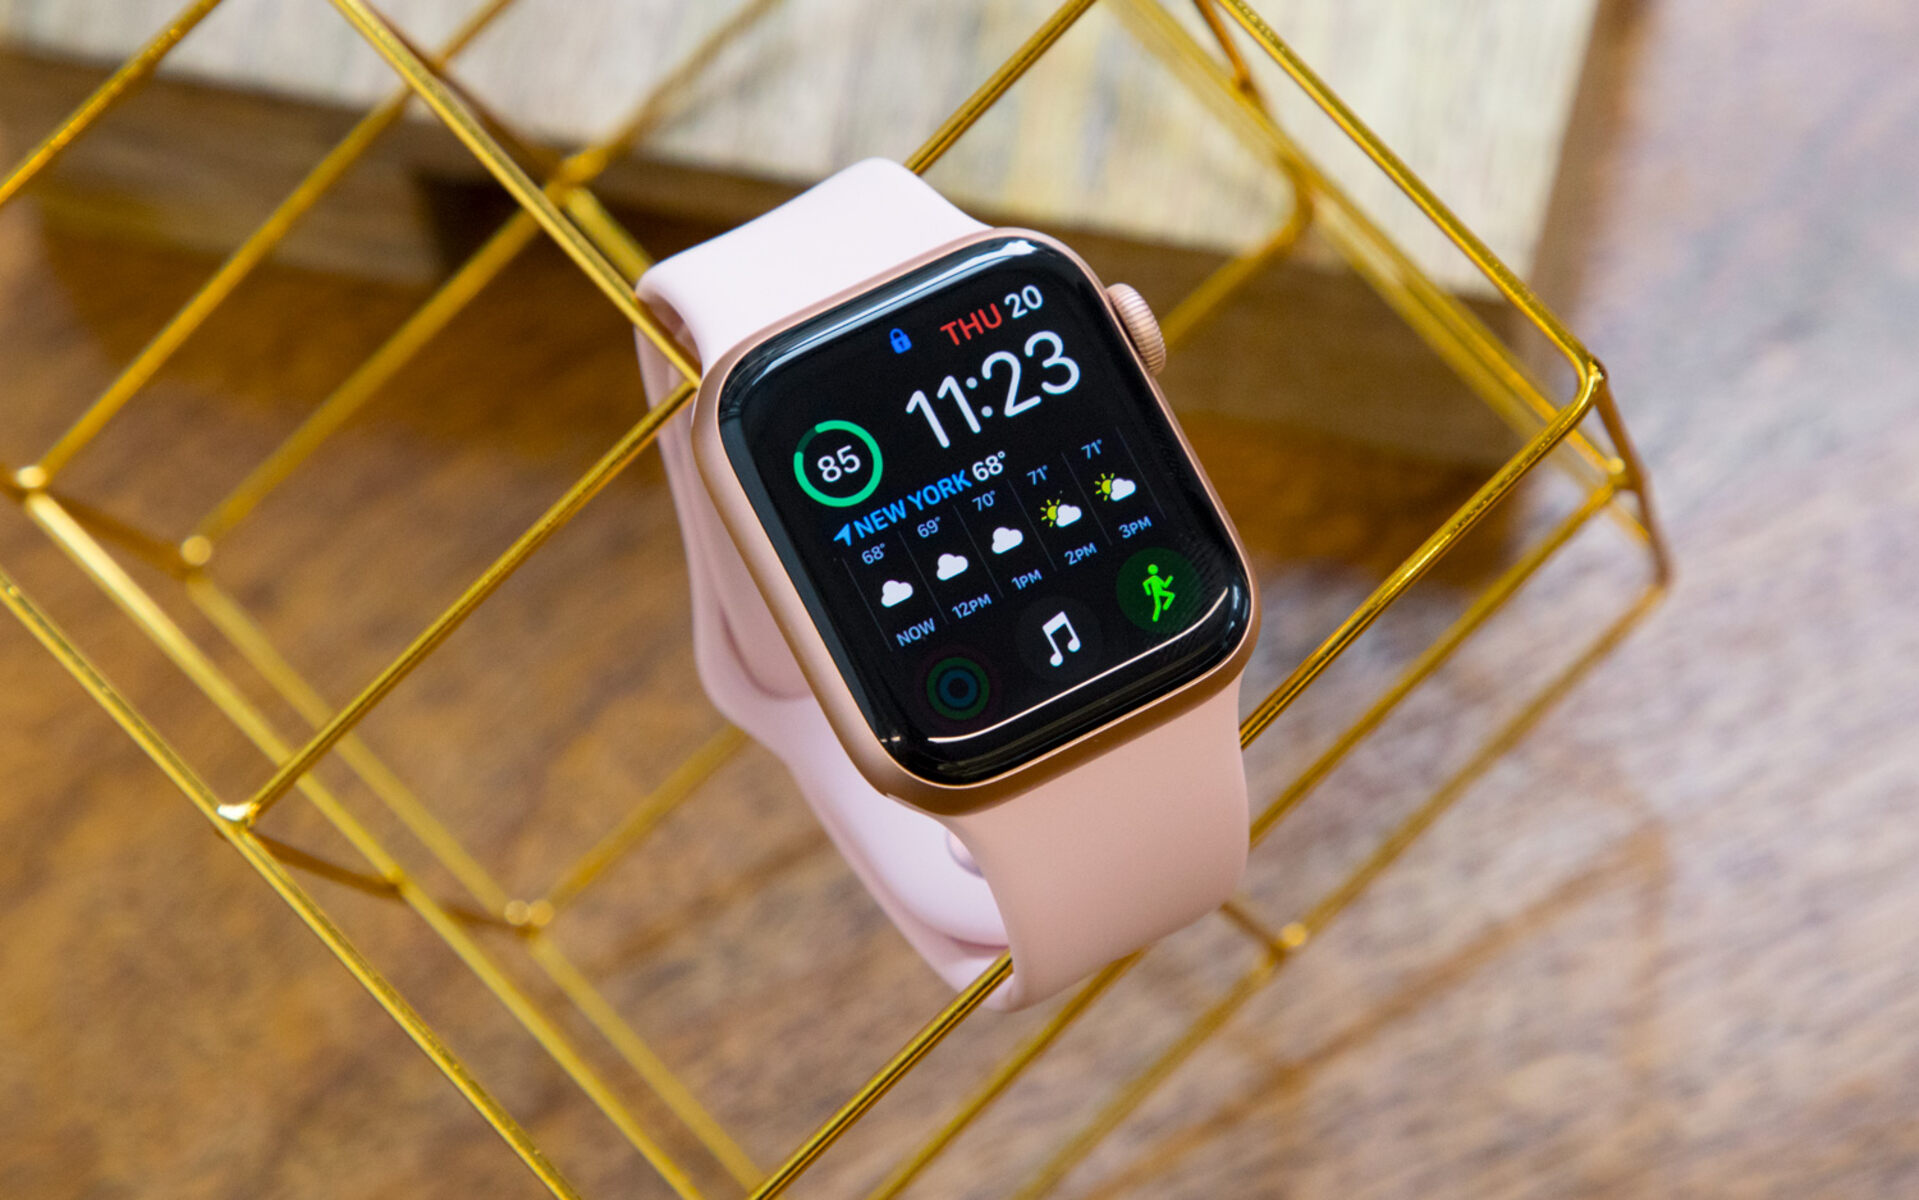
- Customize Watch Faces: Many smartwatches offer a variety of watch faces to suit different styles and preferences. Explore the watch face options and select one that resonates with your aesthetic and provides the information you find most useful at a glance.
- Configure Notifications: Access the notification settings on your smartwatch to customize which notifications you’d like to receive on your wrist. You can typically select specific apps or types of notifications to be forwarded to your smartwatch.
- Set Fitness and Health Metrics: If your smartwatch includes fitness tracking features, take the time to input your personal metrics such as height, weight, and fitness goals. This ensures that the fitness tracking data is tailored to your individual needs.
- Explore Additional Features: Depending on the smartwatch model, you may have access to various additional features such as music controls, weather updates, and voice assistants. Familiarize yourself with these features and configure them as per your preferences.
- Install App Integrations: Some smartwatches support third-party app integrations that enhance their functionality. If applicable, explore the available apps and install any that align with your interests, whether they’re for productivity, fitness, or entertainment.
Setting up your smartwatch allows you to tailor the device to your preferences, ensuring that it seamlessly integrates into your daily routine and provides the information and functionality you need at your fingertips—quite literally. By following these steps, you’ll personalize your smartwatch to align with your lifestyle and preferences.
Conclusion
Congratulations on successfully turning on and setting up your smartwatch! By following this quick guide, you’ve empowered yourself to make the most of this innovative device and seamlessly integrate it into your daily life. As you embark on your smartwatch journey, keep in mind that regular charging and periodic software updates will ensure that your smartwatch continues to deliver optimal performance and functionality.
With your smartwatch powered on and paired with your smartphone, you now have a powerful tool at your disposal—one that can keep you informed, motivated, and connected throughout the day. Whether you’re using it to track your fitness progress, stay on top of notifications, or simply tell the time with a touch of sophistication, your smartwatch is designed to enhance your digital experience.
As you explore the features and capabilities of your smartwatch, don’t hesitate to delve into the settings to further personalize the device to your liking. From customizing watch faces to fine-tuning notification preferences and exploring additional apps and integrations, the possibilities are vast, and the device is tailored to adapt to your needs.
Remember that your smartwatch is more than just a piece of technology—it’s a companion that’s designed to simplify and enrich your daily routine. Embrace its capabilities, stay updated with the latest features and functionalities, and enjoy the convenience of having essential information and tools right at your wrist.
Thank you for entrusting this guide to kickstart your smartwatch experience. Now, go ahead and make the most of your smartwatch as it seamlessly integrates into your lifestyle, keeping you connected and informed with just a glance at your wrist.


