Introduction
Connecting a DVD player to a surround sound system can bring your home entertainment experience to a whole new level. The immersive sound quality of a surround sound system enhances the cinematic experience, making you feel like you’re right in the middle of the action. Whether you want to enjoy your favorite movies, listen to music, or play video games, connecting your DVD player to a surround sound system can provide a rich and dynamic audio experience that will leave you amazed.
In this guide, we will walk you through the step-by-step process of connecting your DVD player to a surround sound system. We will cover everything from gathering the necessary equipment to testing the audio setup, ensuring that you can enjoy your DVDs with the best possible audio quality.
Before we dive into the details, it’s important to note that the process of connecting a DVD player to a surround sound system may vary depending on the specific models and types of equipment you have. It’s always a good idea to consult the user manuals for your DVD player and surround sound system for any specific instructions or compatibility requirements.
So, let’s get started with the first step: gathering the necessary equipment.
Step 1: Gather the necessary equipment
Before you can connect your DVD player to a surround sound system, you’ll need to ensure that you have all the necessary equipment on hand. Here’s a list of the basic items you’ll need:
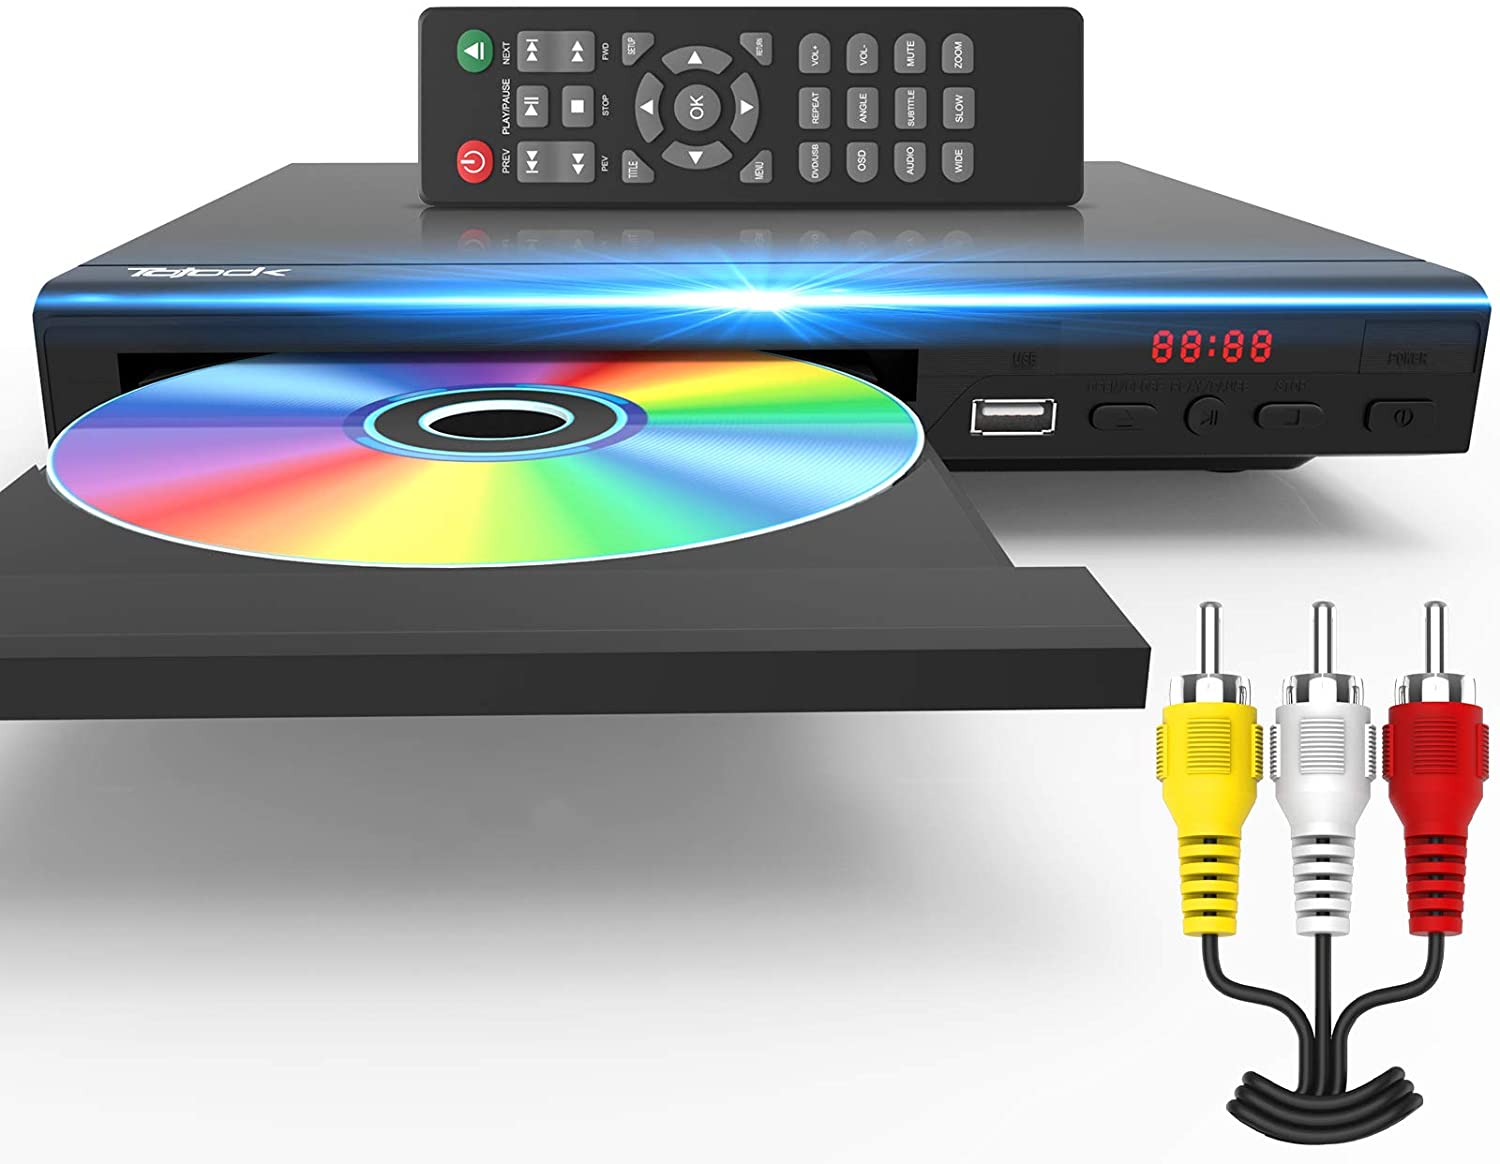
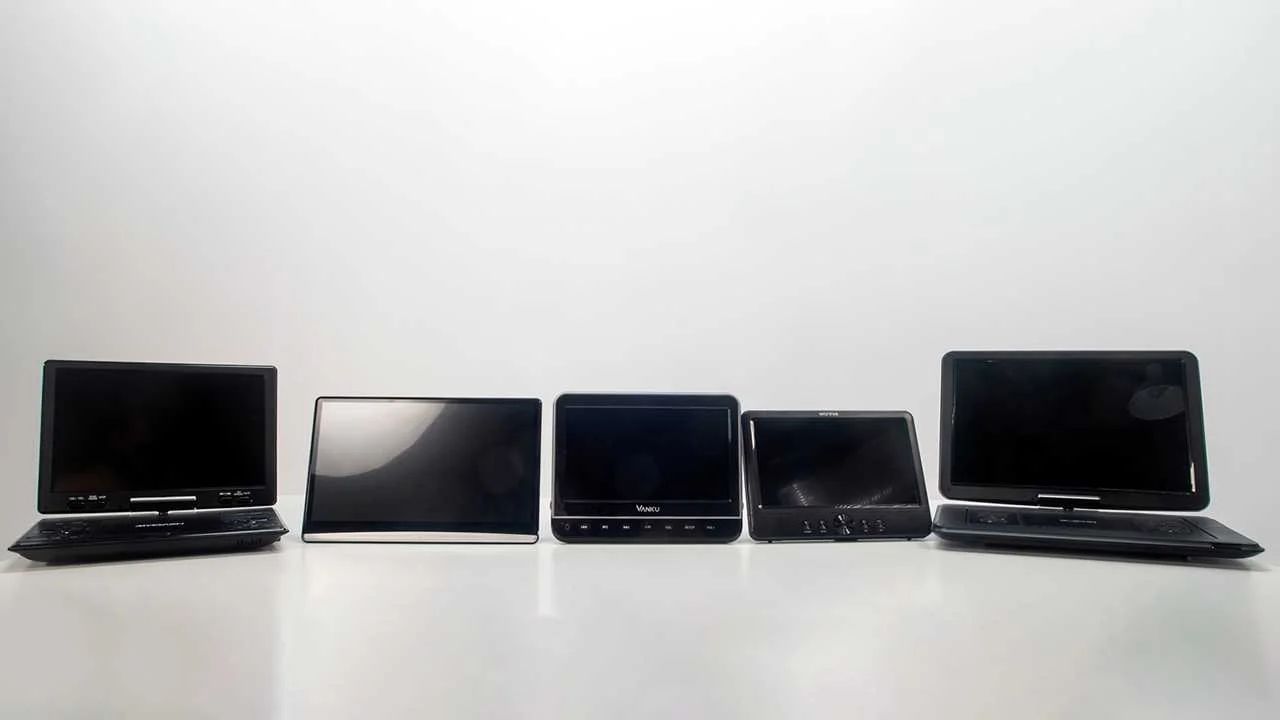
1. DVD player: This is the primary device that will play your DVDs. Make sure it is in good working condition and has audio output capabilities.
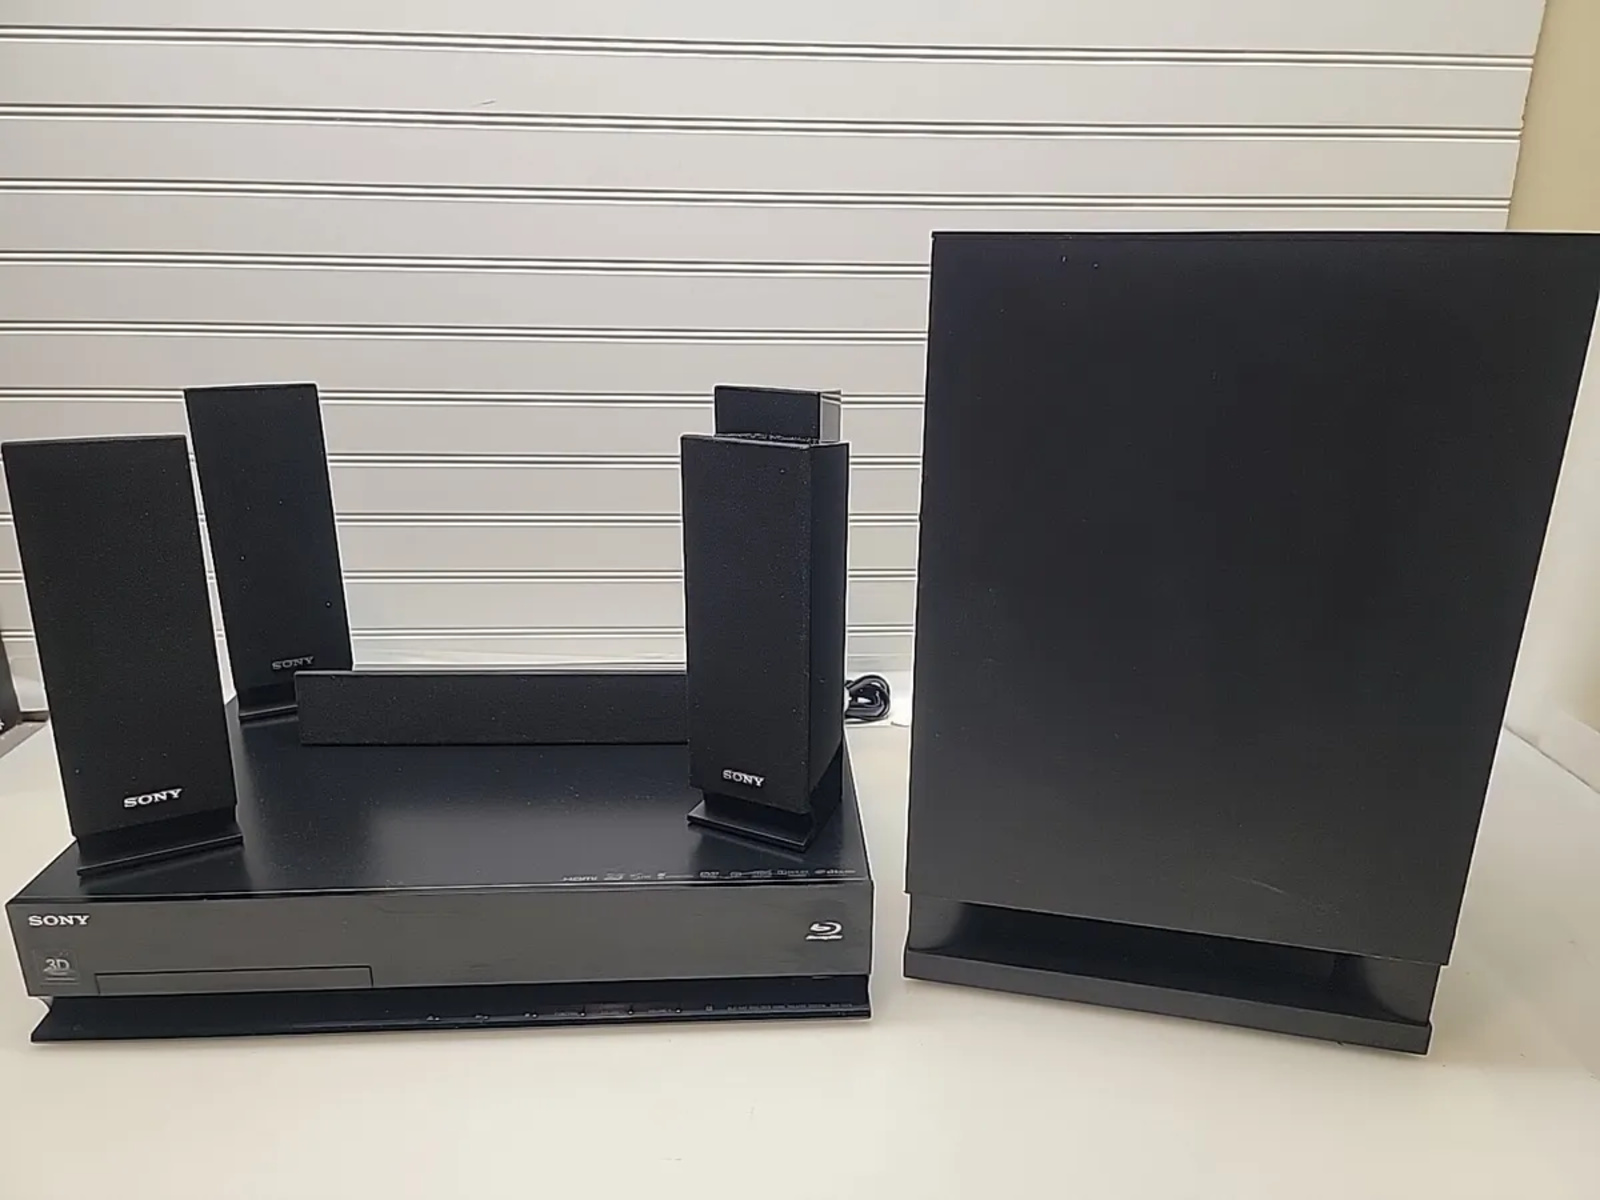
2. Surround sound system: This refers to a set of speakers and an AV receiver that will provide the surround sound experience. You’ll need a receiver that has audio input options compatible with your DVD player.
3. HDMI or audio cables: Depending on the available connections on your DVD player and surround sound system, you’ll need HDMI cables or audio cables to establish the audio connection. HDMI cables are recommended for better audio and video quality.
4. Television: While not directly related to the surround sound system setup, you’ll need a TV to display the video output from your DVD player. Ensure that your TV has compatible audio output options for connecting it to the surround sound system.
5. Power cables: Don’t forget to have power cables on hand for your DVD player, surround sound system, and TV. Make sure you have enough power outlets nearby to accommodate all the devices.
Additional items that may be helpful include a remote control for the surround sound system and any necessary batteries.
Once you have gathered all the necessary equipment, you can move on to the next step: determining the audio connections.
Step 2: Determine the audio connections
Determining the correct audio connections between your DVD player and surround sound system is crucial to ensure proper audio playback. The specific audio outputs and inputs will vary depending on the models and types of equipment you have. Here are some common audio connection options to consider:
1. HDMI connection: If your DVD player and surround sound system both support HDMI, this is the recommended option. HDMI cables carry both audio and video signals in a single cable, providing high-quality audio and video output. Simply connect an HDMI cable from the HDMI output port on your DVD player to an HDMI input port on your surround sound system.
2. Digital optical connection: Many DVD players and surround sound systems have a digital optical audio output/input. This connection uses a fiber optic cable to transmit digital audio signals. Check if your DVD player and surround sound system have digital optical ports and connect them using a digital optical cable.
3. RCA/AV connection: Older DVD players and surround sound systems may have RCA/AV connections. These usually consist of red, white, and yellow cables. The red and white cables are for audio, while the yellow cable is for video. Connect the red and white audio cables from the DVD player’s audio output to the corresponding audio input on the surround sound system.
4. HDMI ARC connection: If your TV has an HDMI ARC (Audio Return Channel) port, you can use this option to simplify the audio connection. Connect an HDMI cable from the HDMI ARC port on your TV to the HDMI ARC input on your surround sound system. Then, connect an HDMI cable from the DVD player to one of the HDMI inputs on the TV.
It’s essential to consult the user manuals for your DVD player, surround sound system, and TV to identify the specific input and output options. Once you have determined the appropriate audio connections, proceed to the next step: setting up the surround sound system.
Step 3: Set up the surround sound system
Before connecting your DVD player, it’s important to properly set up your surround sound system. Here are the steps to follow:
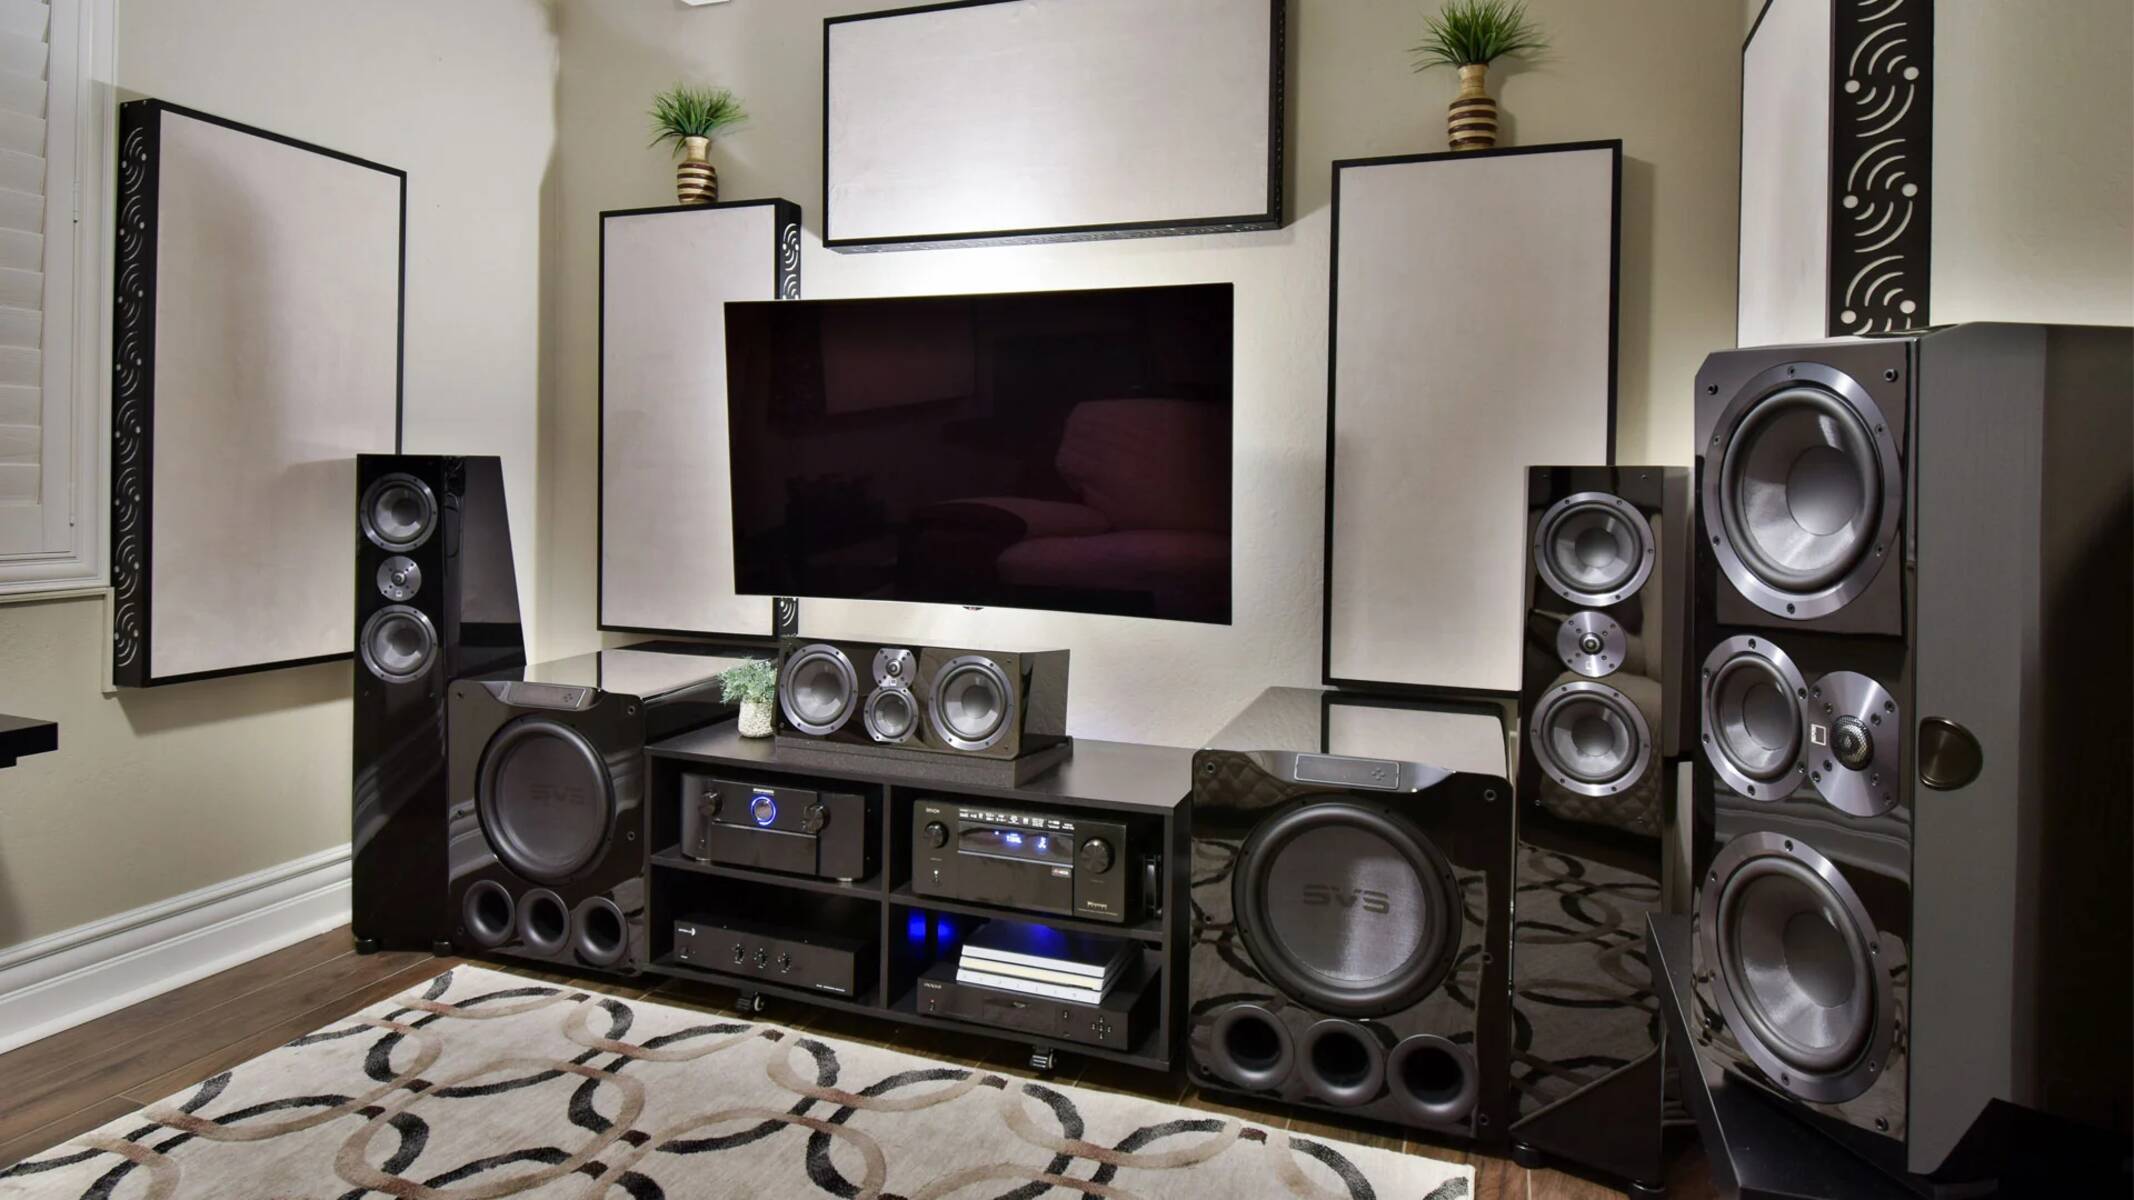
1. Position the speakers: Determine the optimal placement for your surround sound speakers. The front speakers should be positioned on either side of your TV or display, facing towards the viewers. The center speaker should be placed above or below the TV, at ear level. The rear speakers should be positioned behind the listeners, ideally at ear level or slightly above.
2. Connect the speakers to the AV receiver: Identify the speaker terminals on the AV receiver and connect each speaker to its corresponding terminal. Make sure to match the positive (+) and negative (-) terminals on both the speakers and the receiver.
3. Place the subwoofer: The subwoofer is responsible for the low-frequency sounds, providing deep and powerful bass. Place it in a corner or near the front speakers for optimal performance. Connect the subwoofer to the AV receiver using the appropriate cable.
4. Connect the AV receiver to the power source: Plug in the AV receiver and connect it to a power outlet with the provided power cable. Make sure the receiver is turned off before plugging it in.
5. Power on the surround sound system: Turn on the AV receiver and follow the on-screen instructions, if applicable, to complete the initial setup process. Configure any relevant settings such as speaker size, distance, and volume levels.
At this point, your surround sound system should be up and running. Now, it’s time to move on to the next step: connecting the DVD player to the surround sound system.
Step 4: Connect the DVD player to the surround sound system
Now that your surround sound system is set up, it’s time to connect your DVD player to it for optimal audio playback. Follow these steps for a successful connection:
1. Determine the audio connection: Refer back to Step 2 to identify the appropriate audio connection option for your specific equipment. Whether it’s HDMI, digital optical, RCA/AV, or HDMI ARC, ensure that you have the necessary cables ready.
2. Connect the audio cable: Take the audio cable that corresponds to your chosen audio connection option and plug one end into the audio output port on your DVD player. Then, plug the other end into the corresponding audio input port on your surround sound system. Make sure the connections are secure.
3. Configure the audio input: On the AV receiver, select the audio input option that corresponds to the connection you made in the previous step. This will inform the receiver to prioritize the audio input from the DVD player.
4. Check the video connection: Connect an HDMI cable from the HDMI output port on your DVD player to an available HDMI input port on your TV. This will ensure that the video signal from the DVD player is properly displayed on your TV.
5. Power on and test the setup: Turn on your DVD player, surround sound system, and TV. Select the appropriate input source on your TV to display the DVD player’s video output. Play a DVD and adjust the volume on your surround sound system to test the audio quality. If the audio is coming from the surround sound speakers, congratulations! You have successfully connected your DVD player to the surround sound system.
Remember, depending on the specific models and types of equipment you have, there may be additional steps or settings to configure. Consult the user manuals for your DVD player and surround sound system for any specific instructions or troubleshooting tips.
Now that your DVD player is successfully connected to the surround sound system, you can sit back, relax, and enjoy an immersive audio experience while watching your favorite movies.
Step 5: Test the audio setup
After connecting your DVD player to the surround sound system, it’s essential to test the audio setup to ensure everything is working correctly. Here are some steps to follow:
1. Play a DVD: Insert a DVD into your DVD player and start playing it. Make sure the audio is set to play through your surround sound system. Pay close attention to the sound quality and ensure that it is coming from the correct speakers.
2. Check surround sound functionality: Choose a DVD that is known for its surround sound capabilities or includes a test audio track. This will allow you to verify whether the surround sound speakers are functioning correctly. Listen for sound effects that move from speaker to speaker, creating an enveloping audio experience.
3. Adjust audio settings: Use the remote control for your surround sound system to adjust the audio settings according to your preference. You can increase or decrease the volume, adjust the balance between different speakers, and explore any additional audio enhancement features your system may offer.
4. Test different audio sources: Aside from DVDs, try playing various other audio sources, such as CDs, streaming services, or gaming consoles. This will allow you to test the compatibility and performance of your surround sound system with different types of media.
5. Verify synchronization: Pay attention to any audio-video synchronization issues. If you notice a delay between the audio and video, you may need to adjust the settings on your DVD player or AV receiver to correct the synchronization.
6. Fine-tune the setup: If you feel that the sound balance or volume levels need further adjustment, take the time to fine-tune the setup. Experiment with different equalizer settings or speaker positions to achieve the desired audio quality.
By thoroughly testing the audio setup, you can ensure that your DVD player is seamlessly integrated with your surround sound system, providing you with an immersive and cinematic audio experience.
Remember, if you encounter any issues during the testing phase or if the audio doesn’t meet your expectations, consult the user manuals for your DVD player and surround sound system for troubleshooting tips. They may provide specific instructions to address common audio-related problems.
With a successfully tested audio setup, you can now enjoy your favorite movies, music, and games with enhanced audio quality that will truly transform your home entertainment experience.
Conclusion
Connecting your DVD player to a surround sound system can greatly enhance your home entertainment experience. By following the step-by-step process outlined in this guide, you can enjoy immersive and high-quality audio while watching your favorite movies.
In this guide, we started by emphasizing the importance of gathering the necessary equipment, including the DVD player, surround sound system, cables, and a television. Next, we discussed the various audio connection options, such as HDMI, digital optical, and RCA/AV, and the importance of determining the compatible connections for your specific equipment.
We then covered the essential step of setting up the surround sound system, including positioning the speakers, connecting them to the AV receiver, and ensuring proper power connections. With the surround sound system properly set up, we moved on to connecting the DVD player to the surround sound system using the appropriate audio cables.
Lastly, we highlighted the significance of testing the audio setup, playing a DVD, and checking the surround sound functionality. We encouraged you to try different audio sources and adjust the settings as necessary to fine-tune the audio quality.
By following these steps and testing the audio setup thoroughly, you can create a cinematic audio experience right in your own home. However, it’s important to note that the specific procedures and instructions may vary depending on the equipment you have. Always consult the user manuals for your DVD player and surround sound system for any specific guidelines or troubleshooting tips.
Now, sit back, relax, and enjoy the immersive audio experience that your connected DVD player and surround sound system bring to your home entertainment. Get ready to be amazed by the rich and dynamic audio that will transport you into the heart of the action.