Introduction
Inserting a SIM card into your iPhone XR is a fundamental step in setting up your device for mobile connectivity. Whether you're activating a new phone or switching to a different carrier, understanding the process of inserting a SIM card is crucial. This comprehensive guide will walk you through the step-by-step procedure, ensuring that you can seamlessly complete this task with confidence.
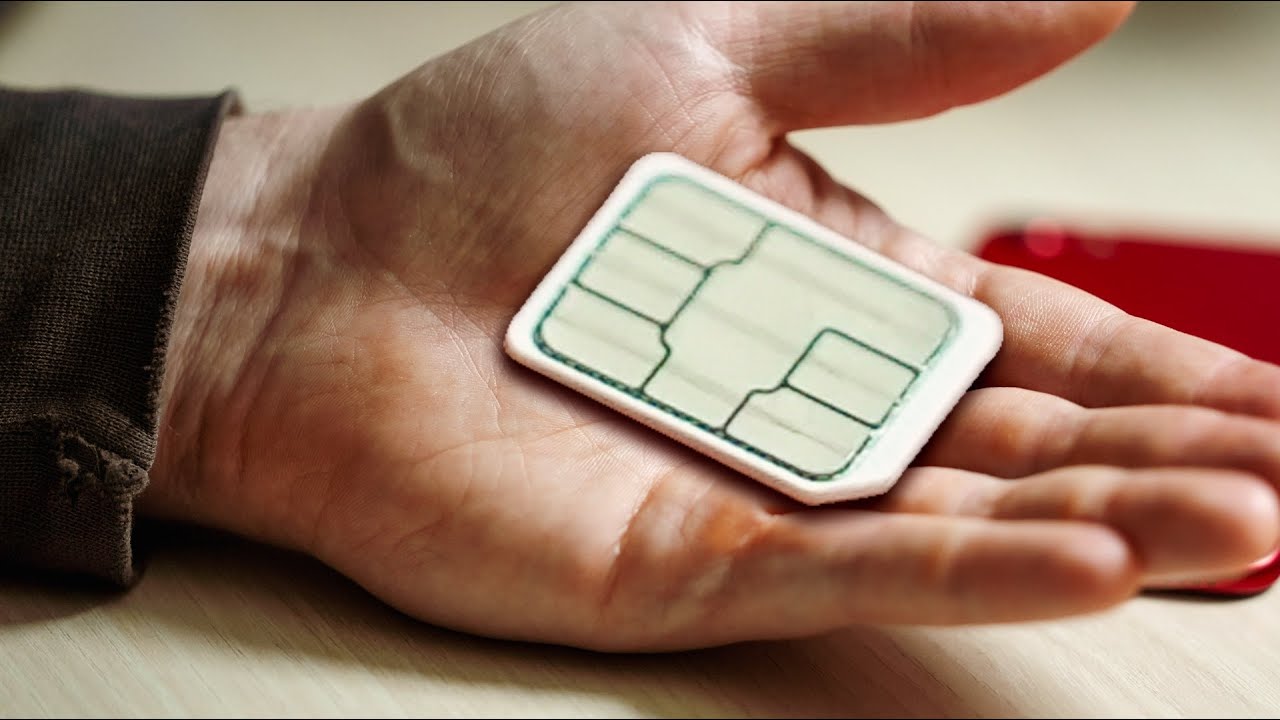
The SIM card, or Subscriber Identity Module, plays a pivotal role in enabling your iPhone XR to connect to a mobile network. It stores essential information such as your phone number, carrier details, and contacts, making it an indispensable component of your device. By following the instructions outlined in this guide, you will be equipped to effortlessly insert or replace a SIM card in your iPhone XR.
The process of inserting a SIM card may seem daunting at first, especially for those new to the world of smartphones. However, with the right guidance, you can navigate this task with ease. This guide aims to demystify the process, providing clear and concise instructions that will empower you to handle this essential aspect of device setup.
As you embark on this journey to insert a SIM card into your iPhone XR, rest assured that you are not alone. Countless individuals have successfully completed this process, and with the help of this guide, you too can join their ranks. Whether you're an experienced iPhone user or a newcomer to the Apple ecosystem, this step-by-step tutorial will equip you with the knowledge and confidence to tackle the task at hand.
With the groundwork laid out in this introduction, you are now ready to delve into the step-by-step instructions for inserting a SIM card into your iPhone XR. Let's embark on this journey together, empowering you to take control of your device's connectivity and embark on a seamless mobile experience.
Step 1: Locate the SIM Card Tray
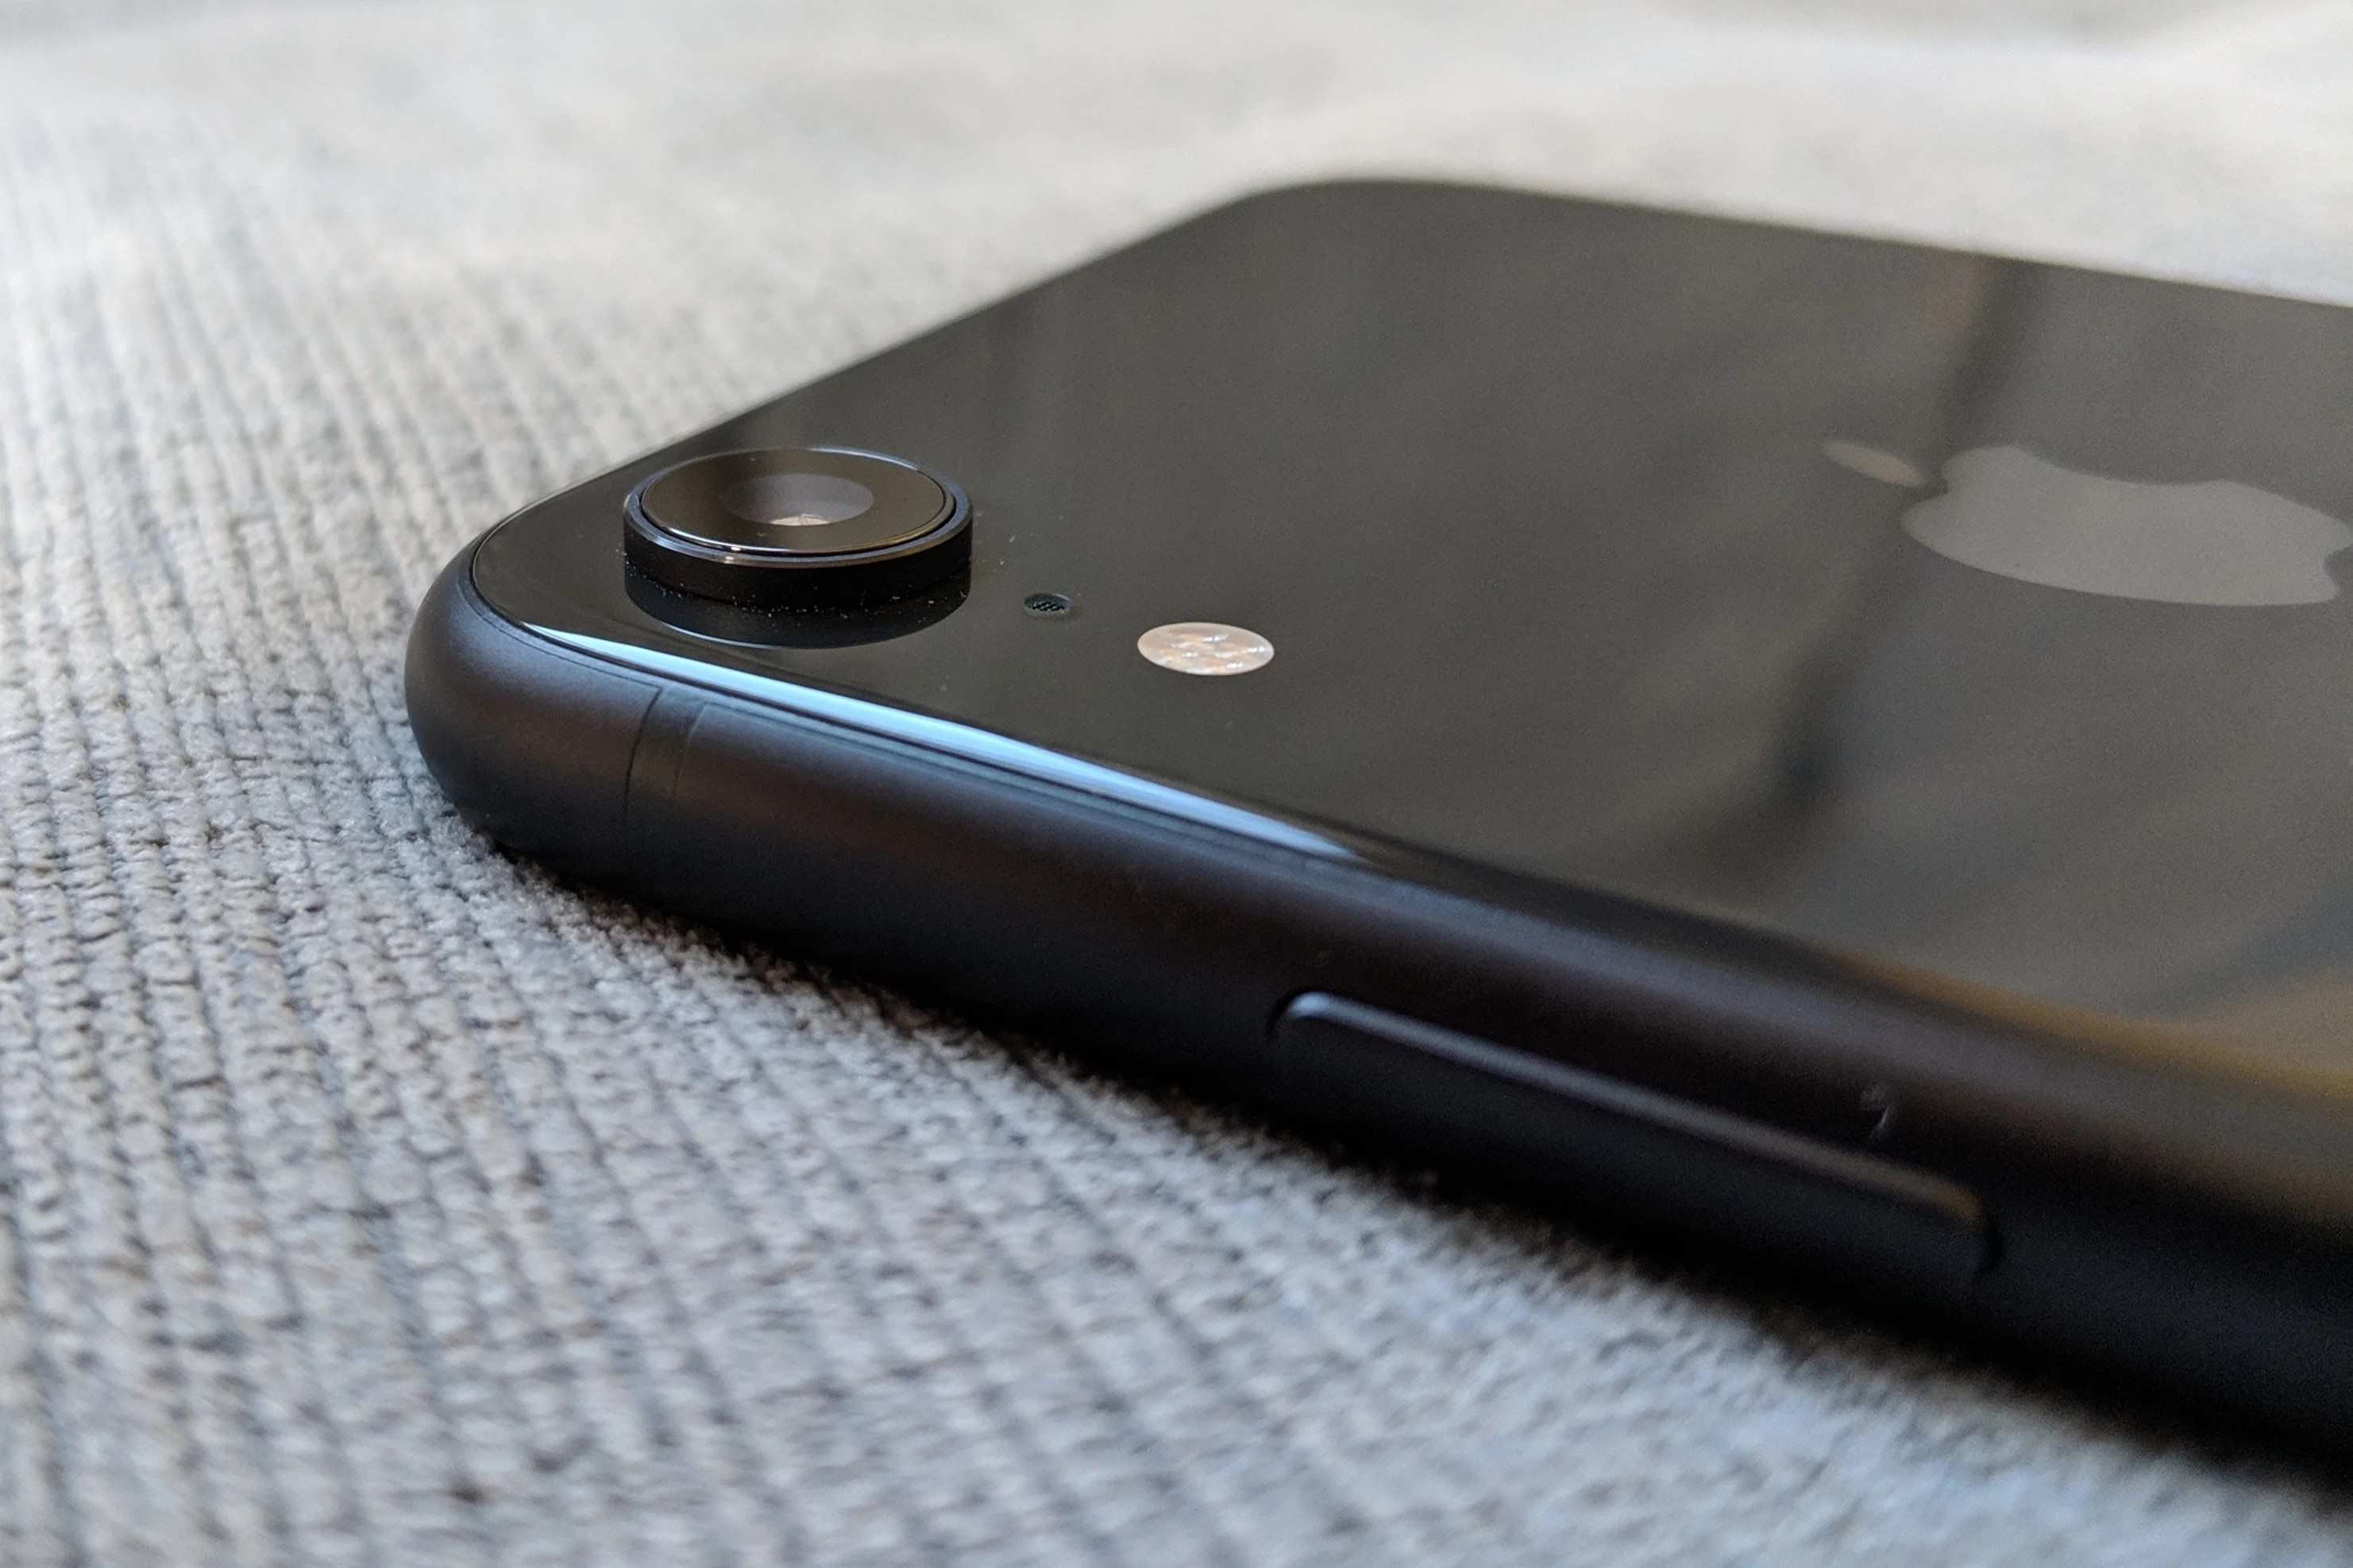
The first step in inserting a SIM card into your iPhone XR is to locate the SIM card tray. This small yet crucial component is designed to securely hold the SIM card within your device. To begin, you will need to identify the precise location of the SIM card tray on your iPhone XR.
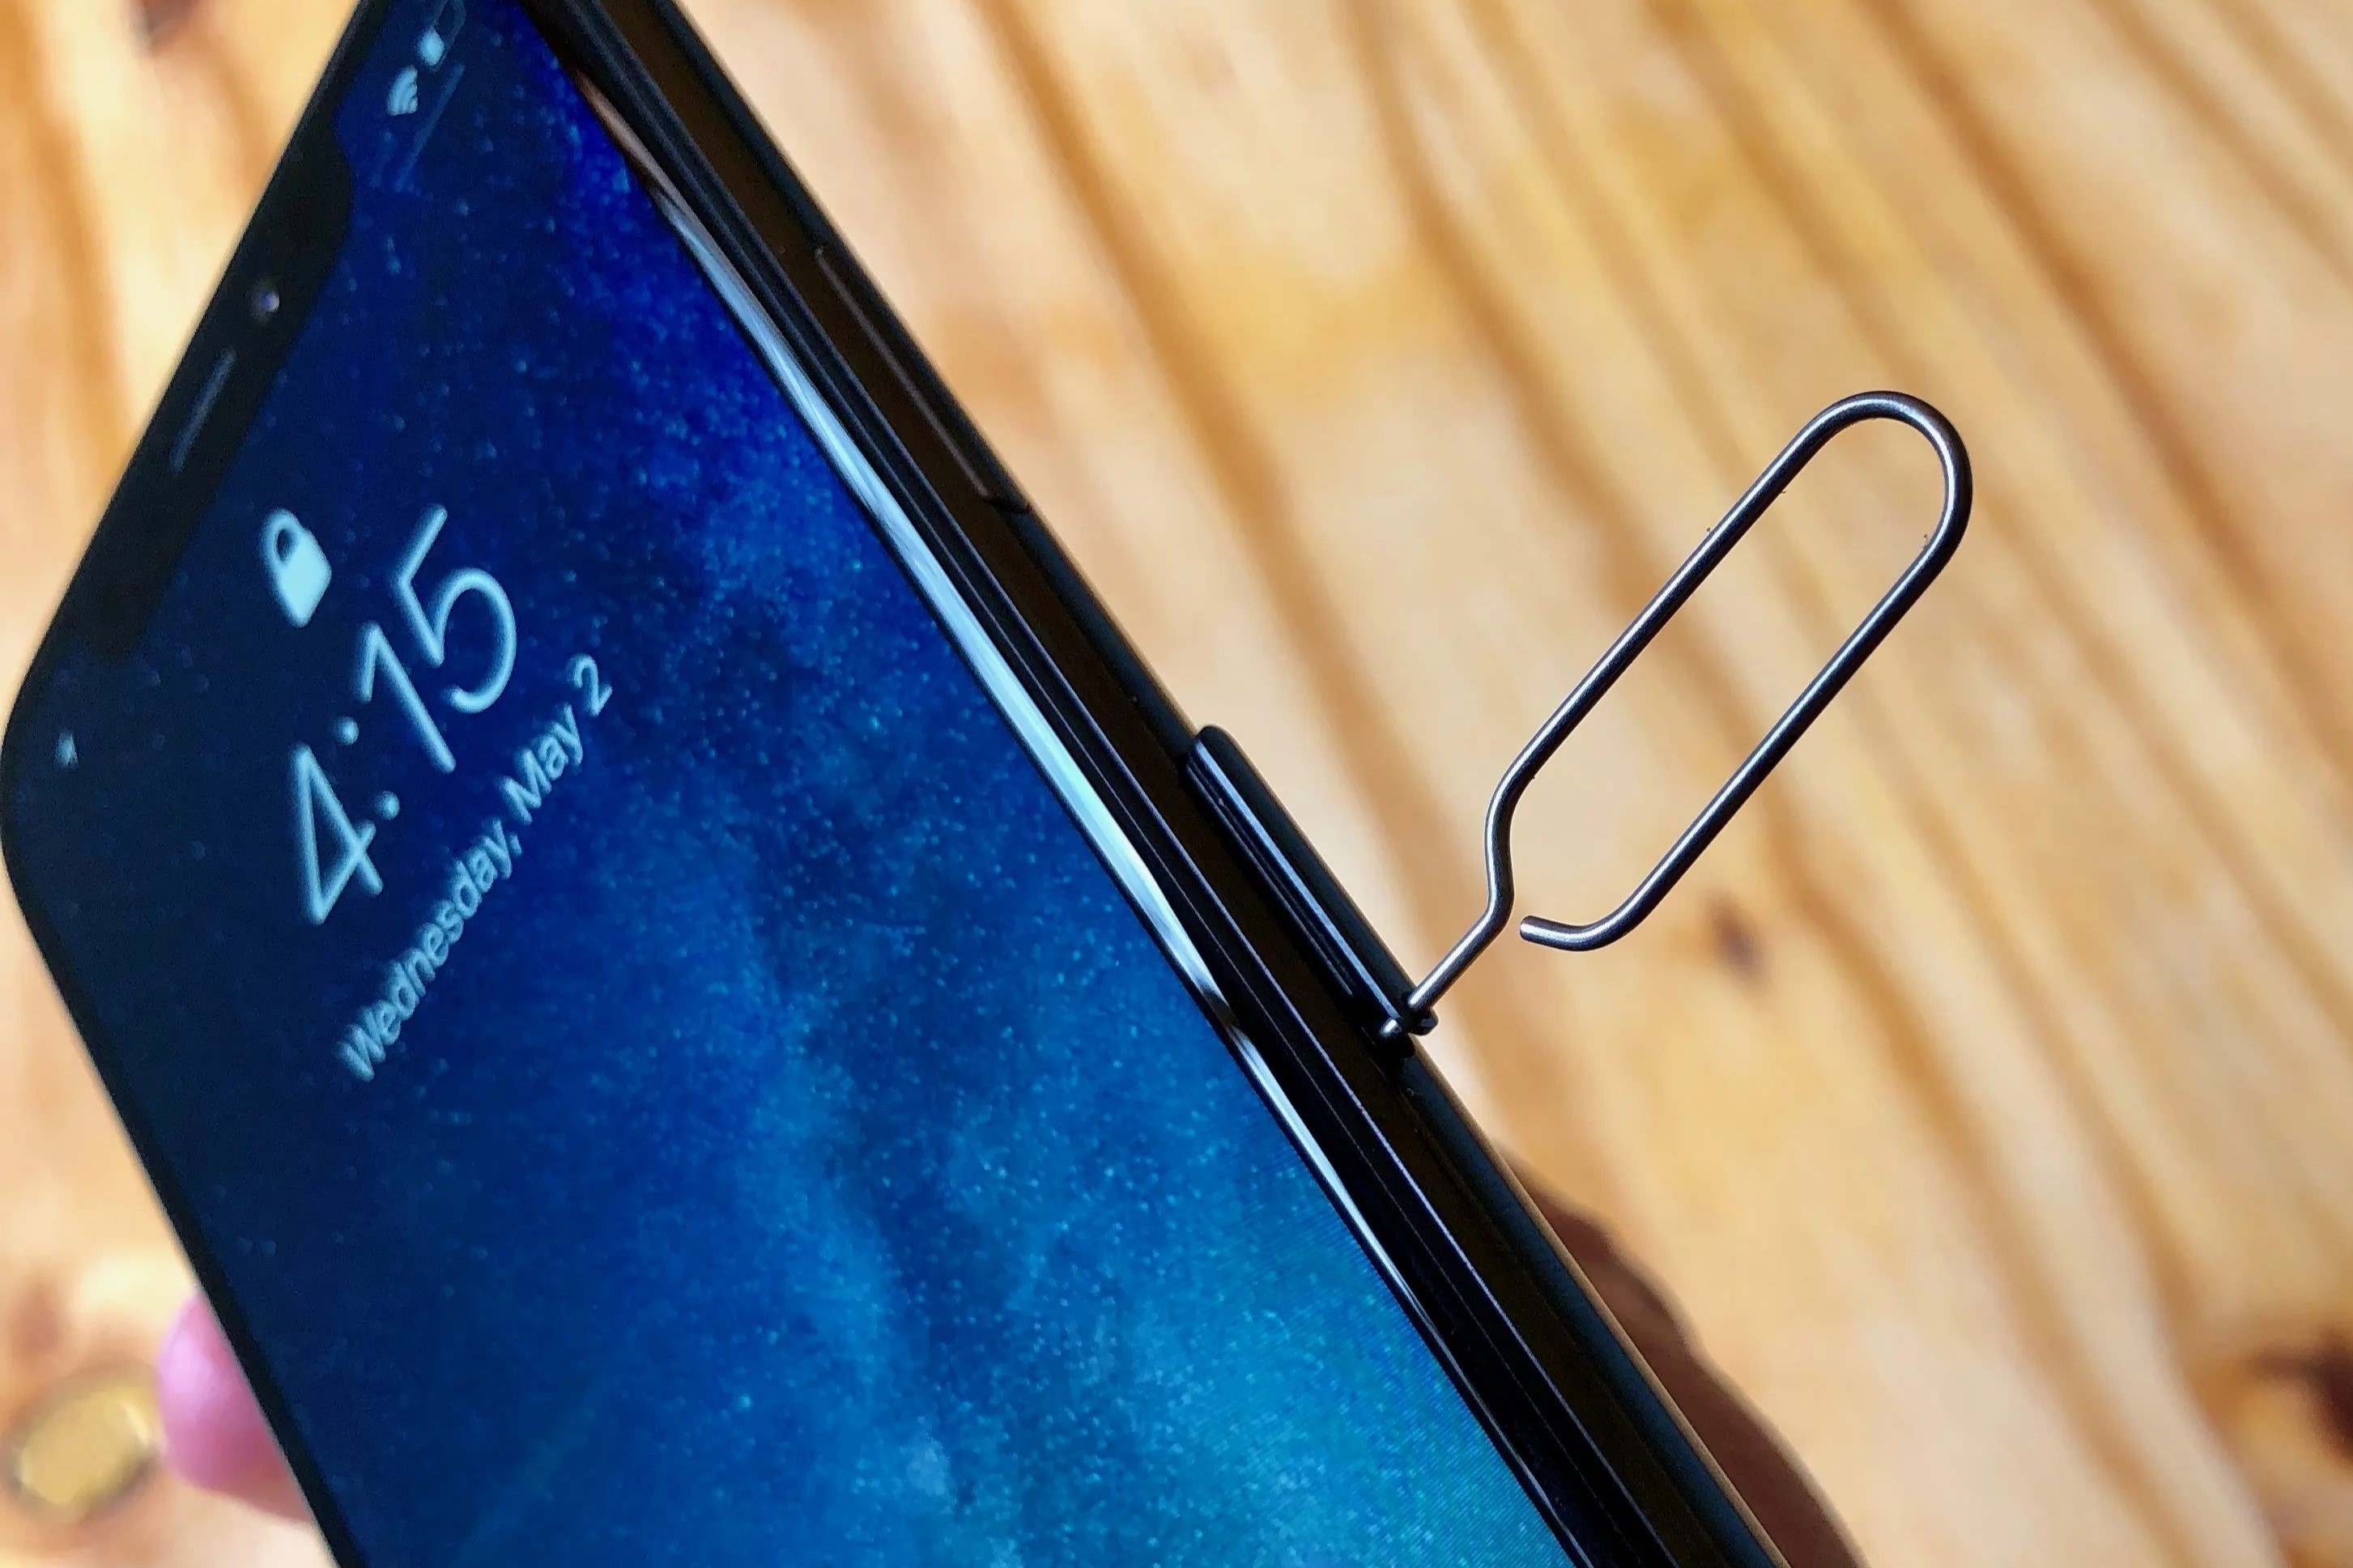
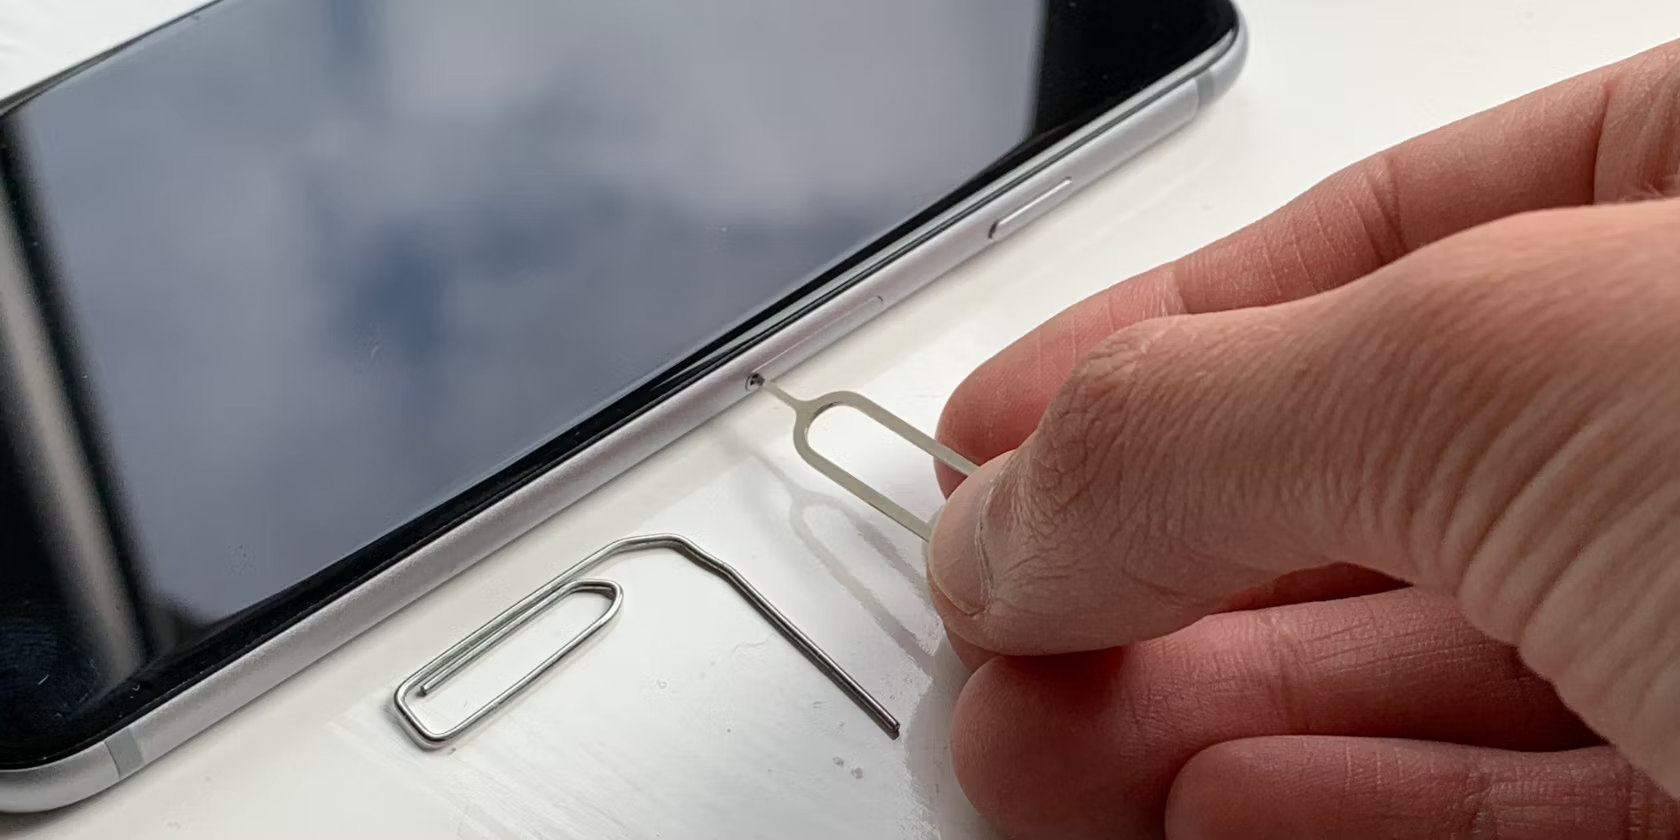
The SIM card tray is typically situated on the right-hand side of the device. Look for a small pinhole or slot along the edge of your iPhone XR. This slot is the access point to the SIM card tray. It is important to handle your device with care and attention during this process to avoid any accidental damage.
Once you have located the slot, you will need to use the SIM eject tool provided by Apple or a suitable alternative, such as a paperclip. Insert the eject tool into the pinhole or slot, applying gentle pressure to initiate the release of the SIM card tray. As you do so, you should feel a slight resistance, indicating that the tray is disengaging from its locked position.
Upon successful insertion of the eject tool, the SIM card tray will begin to emerge from the device. Carefully grasp the exposed edge of the tray and slowly slide it out, taking care to avoid applying excessive force. It is essential to handle the SIM card tray delicately to prevent any damage to the tray or the device itself.
By following these instructions, you will have successfully located the SIM card tray on your iPhone XR, setting the stage for the subsequent steps in the SIM card insertion process. With the tray now accessible, you are ready to proceed to the next step and continue the journey of setting up your device for seamless mobile connectivity.
As you familiarize yourself with the location of the SIM card tray, you are one step closer to completing the process of inserting a SIM card into your iPhone XR. This foundational step lays the groundwork for the subsequent actions, empowering you to take control of your device's connectivity with confidence and precision.
Step 2: Eject the SIM Card Tray
With the SIM card tray now accessible, the next crucial step is to eject the tray from your iPhone XR. Ejecting the SIM card tray allows for the seamless insertion of the SIM card, enabling you to establish a vital link between your device and the mobile network.
To initiate the ejection process, ensure that the iPhone XR is powered on and the display is active. This will provide a clear indication of the device's status, allowing you to proceed with confidence. Take a moment to confirm that any active calls or data transfers are paused or completed, minimizing any potential disruptions during the SIM card insertion process.
With the iPhone XR in a ready state, proceed to carefully insert the provided SIM eject tool or a suitable alternative, such as a paperclip, into the pinhole or slot located adjacent to the SIM card tray. Apply gentle and consistent pressure to the tool, maintaining a steady hand to avoid any unnecessary force.
As the eject tool engages with the internal mechanism, you will feel a subtle resistance, indicating that the SIM card tray is disengaging from its locked position. Continue to apply gentle pressure, allowing the tray to gradually emerge from the device. Exercise caution and precision during this step to prevent any damage to the tray or the device itself.
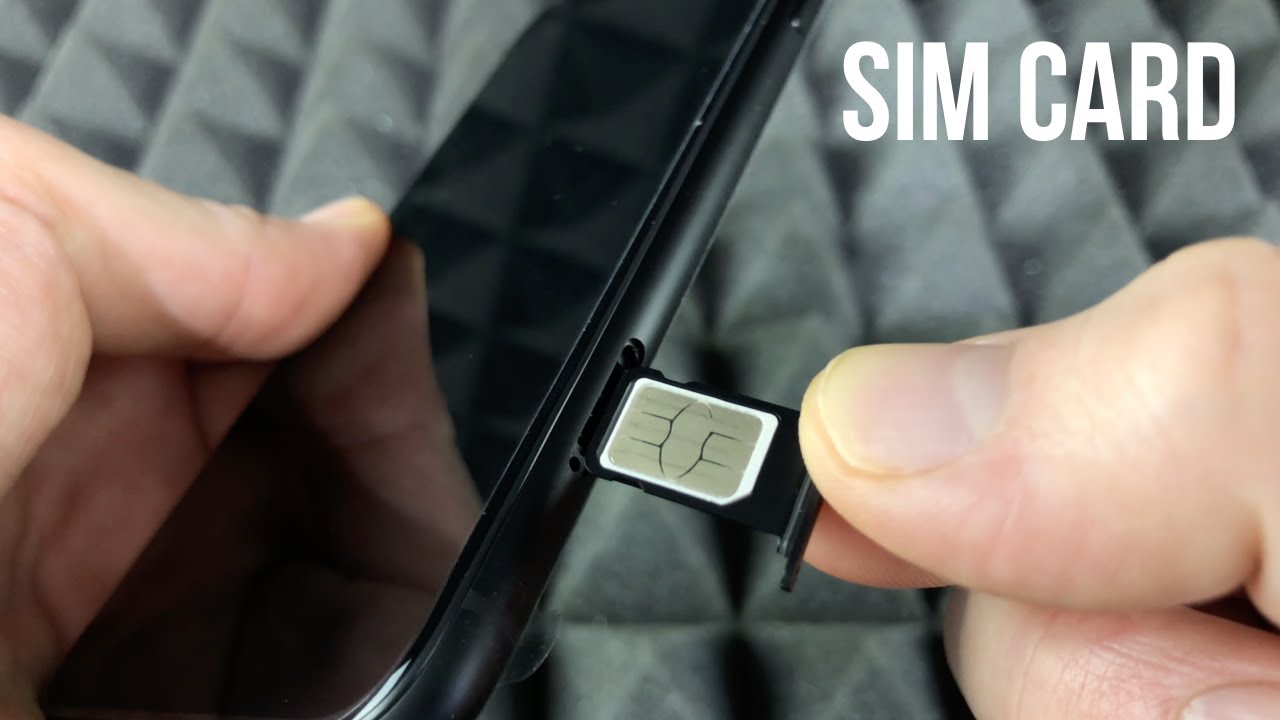
Once the SIM card tray has been partially ejected, delicately grasp the exposed edge of the tray and slowly slide it out from the iPhone XR. Take care to maintain a steady and controlled movement, ensuring that the tray remains level and aligned with the device. By doing so, you can prevent any unintended strain on the tray or the internal components of the device.
As the SIM card tray reaches its fully ejected position, carefully remove it from the iPhone XR, taking note of its orientation and the position of the SIM card slot. With the tray now in hand, you are ready to proceed to the next step and seamlessly insert the SIM card into your iPhone XR, setting the stage for a seamless mobile connectivity experience.
By successfully ejecting the SIM card tray from your iPhone XR, you have overcome a pivotal hurdle in the process of setting up your device for mobile connectivity. This accomplishment marks a significant milestone, bringing you one step closer to harnessing the full potential of your iPhone XR and embarking on a seamless mobile experience.
Step 3: Insert the SIM Card
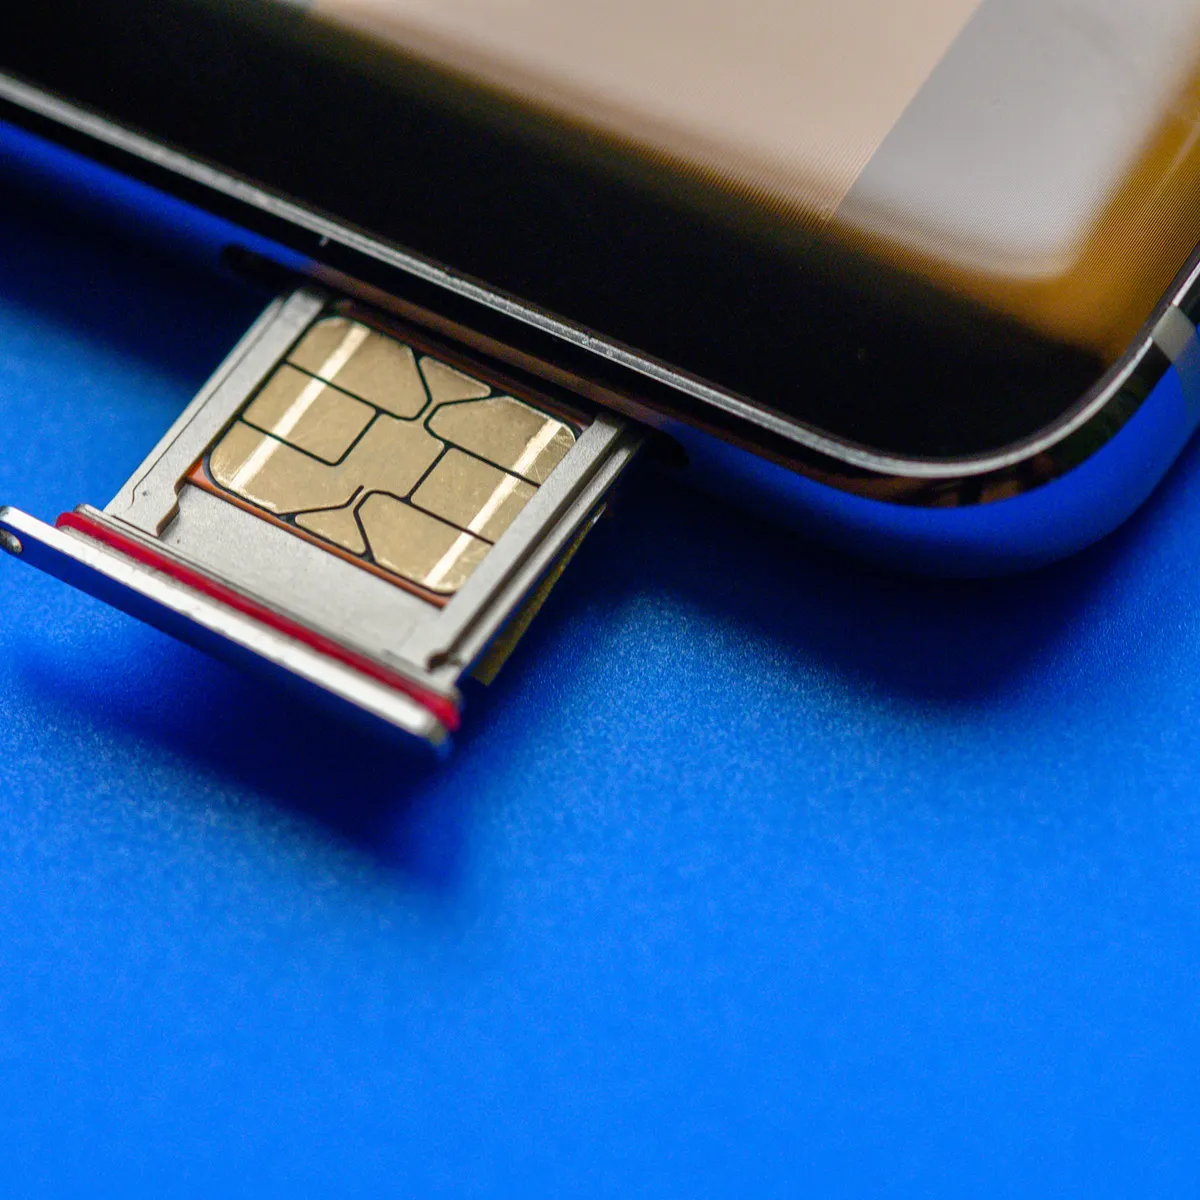
With the SIM card tray successfully ejected from your iPhone XR, the next critical step is to insert the SIM card into the designated slot. The SIM card serves as the gateway to mobile connectivity, allowing your device to establish a connection with your chosen carrier's network. By following the instructions outlined in this section, you will seamlessly integrate the SIM card into your iPhone XR, paving the way for uninterrupted communication and data access.
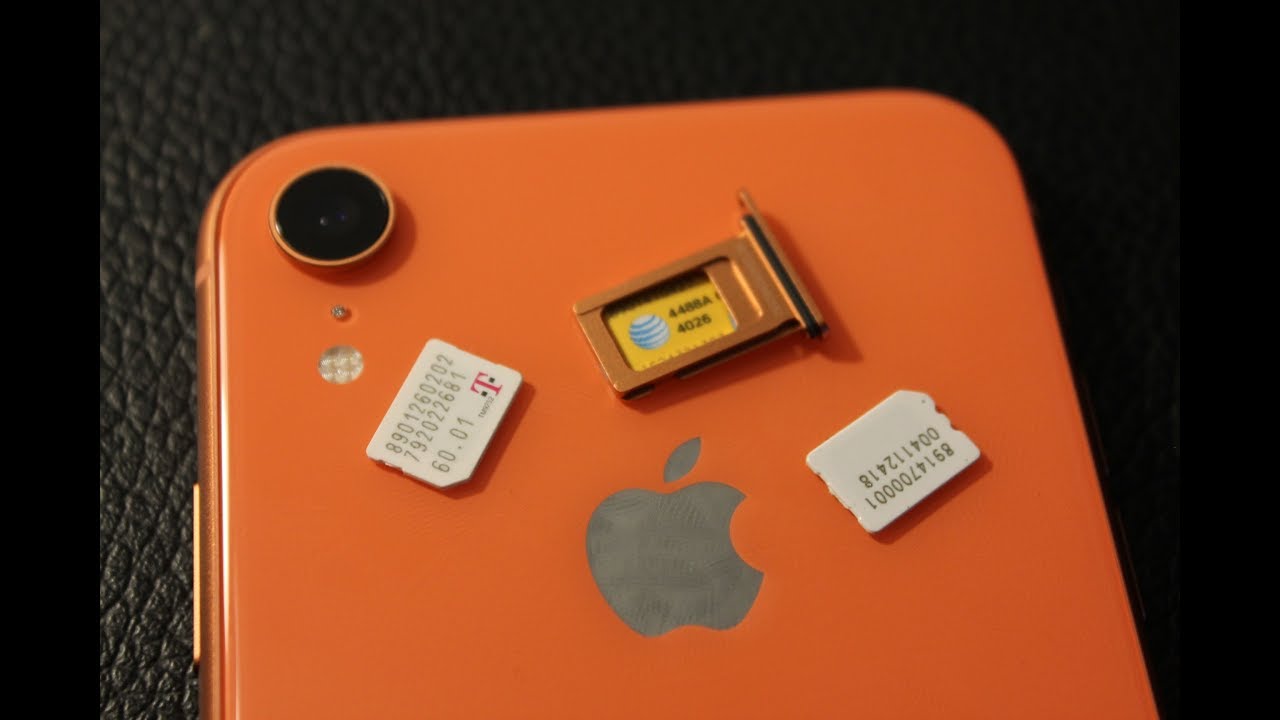
Before proceeding, take a moment to examine the SIM card and identify its unique orientation. Most SIM cards are designed with a notched corner or a specific logo that indicates the correct positioning for insertion. Aligning the SIM card correctly is crucial to ensure a secure fit and optimal functionality within your device.
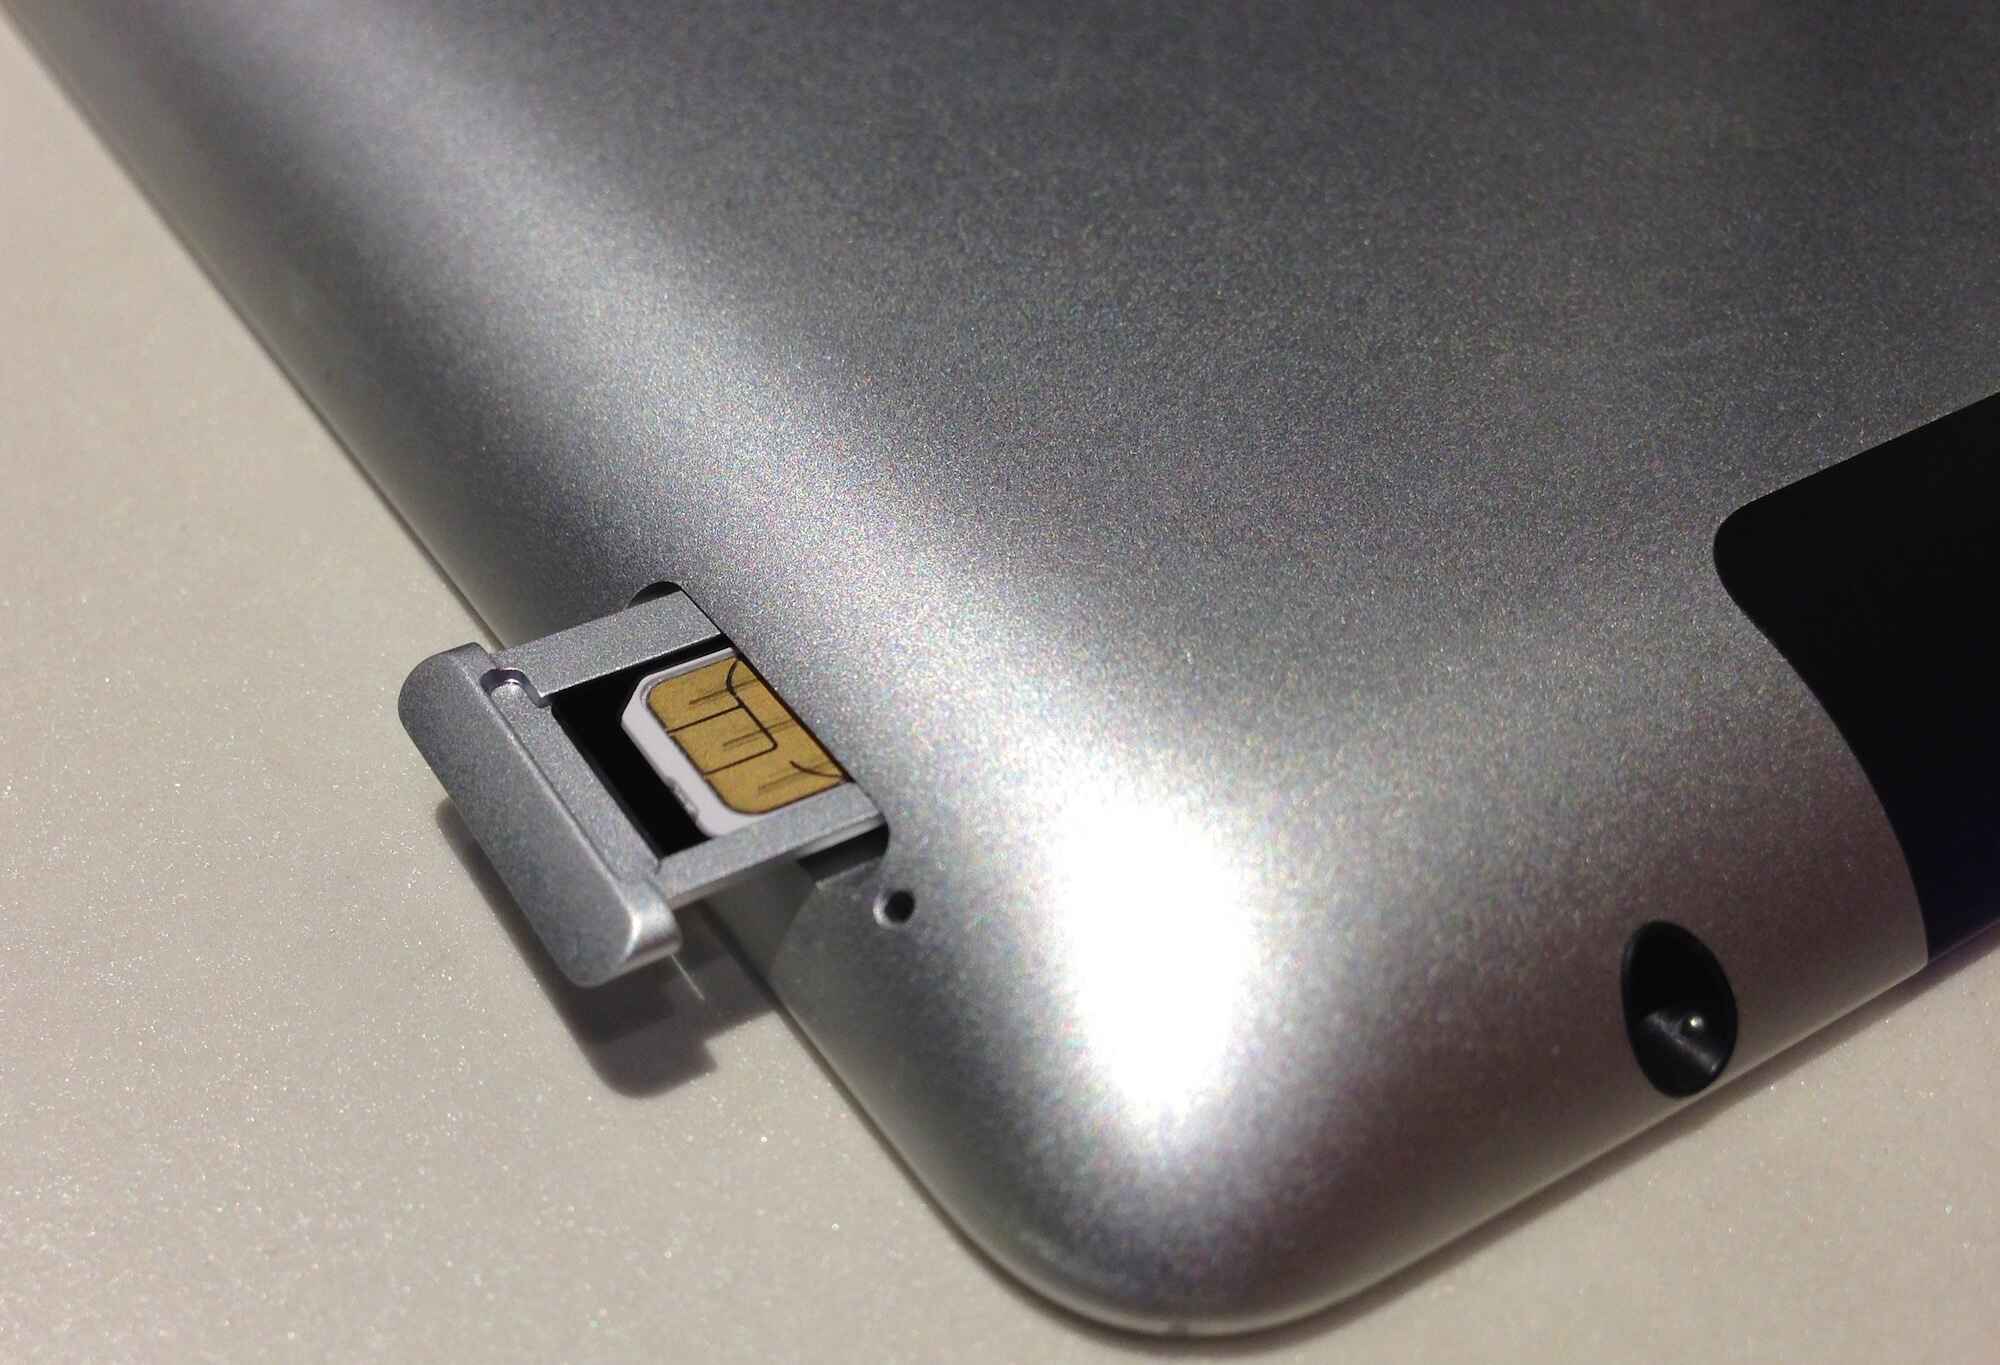
Carefully place the SIM card onto the SIM card tray, ensuring that it aligns with the designated slot. Take note of any guides or markings within the slot that correspond to the size and shape of the SIM card, as these indicators will help you position the card accurately.
Once the SIM card is aligned with the slot, gently press down on the card to initiate a secure fit within the tray. Exercise caution to avoid applying excessive force, as the delicate nature of the SIM card requires gentle handling to prevent any damage.
As the SIM card settles into place, take a moment to ensure that it sits flush within the tray and aligns with the surrounding edges. A properly inserted SIM card will sit securely within the tray, with minimal protrusion beyond its boundaries.
With the SIM card now integrated into the tray, carefully position the tray back into the SIM card slot on your iPhone XR. Slide the tray back into the device with a smooth and controlled motion, ensuring that it aligns seamlessly with the surrounding frame.
As the tray reenters the iPhone XR, you will feel a subtle resistance, indicating that it is securely in place. Gently press on the tray to ensure that it sits flush with the device, completing the process of inserting the SIM card into your iPhone XR.
By following these detailed instructions, you have successfully inserted the SIM card into your iPhone XR, establishing a vital link between your device and the mobile network. This accomplishment marks a significant milestone in setting up your device for seamless connectivity, empowering you to harness the full potential of your iPhone XR for communication and data access.
Step 4: Reinsert the SIM Card Tray
With the SIM card securely inserted into your iPhone XR, the final step in the process of setting up your device for seamless mobile connectivity is to reinsert the SIM card tray. This essential component, once securely in place, ensures that the SIM card remains firmly seated within your device, enabling uninterrupted access to the mobile network.
To begin, carefully align the SIM card tray with the corresponding slot on the right-hand side of your iPhone XR. Take note of the orientation of the tray, ensuring that it aligns seamlessly with the surrounding frame. The tray should slide back into the device with minimal resistance, indicating that it is positioned correctly.
As you guide the SIM card tray back into the iPhone XR, maintain a steady and controlled motion to prevent any jarring or misalignment. The tray should glide smoothly into place, settling securely within the device's frame. Exercise caution to avoid any abrupt movements that may disrupt the positioning of the tray or the SIM card within it.
Once the SIM card tray is fully reinserted into the iPhone XR, take a moment to ensure that it sits flush with the device's exterior. Gently press on the tray to verify that it is securely in place, with no protrusion or misalignment. This final check ensures that the SIM card remains stable within the device, safeguarding its functionality and connectivity.
With the SIM card tray successfully reinserted, the process of setting up your iPhone XR for mobile connectivity is now complete. The SIM card, securely housed within the device, serves as the gateway to seamless communication and data access, empowering you to leverage the full capabilities of your iPhone XR.
By following these detailed instructions, you have seamlessly completed the process of inserting and securing the SIM card within your iPhone XR. Your device is now primed for uninterrupted mobile connectivity, allowing you to embark on a seamless communication experience and harness the full potential of your iPhone XR.
Conclusion
In conclusion, the process of inserting a SIM card into your iPhone XR is a fundamental step in setting up your device for seamless mobile connectivity. By following the step-by-step instructions outlined in this guide, you have gained the knowledge and confidence to navigate this essential task with precision and ease.
From locating the SIM card tray to securely reinserting it into your device, each step in this process plays a critical role in ensuring the seamless integration of the SIM card. As the gateway to mobile connectivity, the SIM card is a vital component that enables your iPhone XR to establish a connection with your chosen carrier's network, empowering you to communicate and access data with unparalleled convenience.
As you embark on this journey, it is important to approach each step with care and attention to detail. By familiarizing yourself with the location of the SIM card tray and delicately ejecting and inserting it, you have demonstrated a commitment to handling your device with precision and care. This approach not only safeguards the integrity of your iPhone XR but also ensures the optimal functionality of the SIM card within the device.
With the SIM card securely in place, housed within the reinserted tray, your iPhone XR is now primed for uninterrupted mobile connectivity. Whether you are activating a new device or transitioning to a different carrier, the successful completion of this process marks a significant milestone in your journey to harness the full potential of your iPhone XR.
As you reflect on the journey you have undertaken, take pride in the knowledge and skills you have acquired. The ability to confidently handle essential tasks such as inserting a SIM card into your iPhone XR positions you as an empowered and informed user, ready to leverage the capabilities of your device to the fullest.
With the groundwork laid out in this guide, you are now equipped to embark on a seamless mobile experience, leveraging the power of your iPhone XR to communicate, connect, and explore a world of possibilities. As you continue to explore the capabilities of your device, may the knowledge and confidence gained from this guide serve as a foundation for your ongoing journey with your iPhone XR.