Introduction
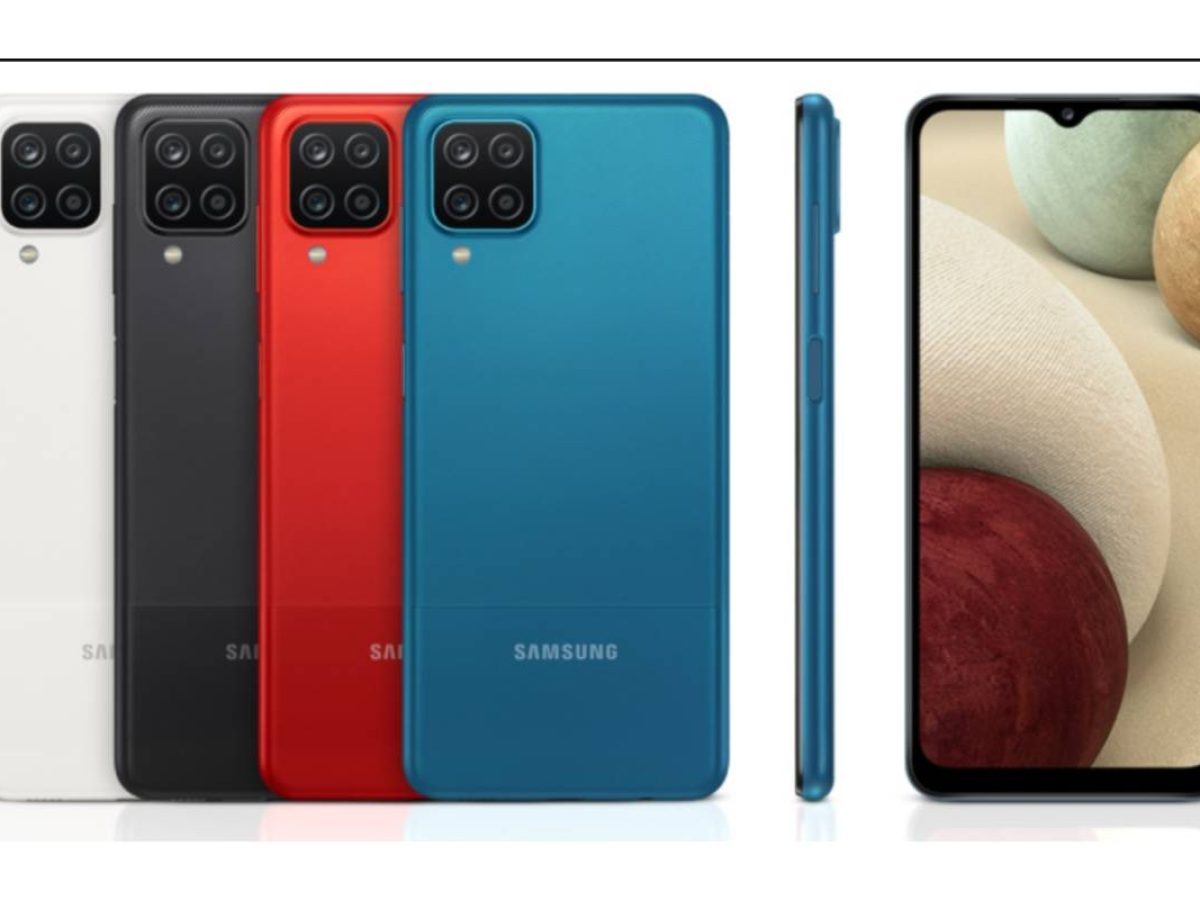
The Galaxy A12 is a popular and versatile smartphone that offers a seamless user experience and powerful performance. One of the essential tasks for new users is to insert a SIM card into the device to enable calling, texting, and data usage. While the process may seem daunting at first, it's actually quite simple and straightforward. In this comprehensive guide, we'll walk you through the step-by-step process of inserting a SIM card into your Galaxy A12, ensuring that you can quickly and easily set up your device for connectivity.
Inserting a SIM card is a fundamental aspect of setting up a new smartphone, and the Galaxy A12 is no exception. Whether you're a first-time smartphone user or a seasoned tech enthusiast, understanding how to properly insert a SIM card is essential for getting the most out of your device. By following this guide, you'll gain the confidence and knowledge needed to complete this task with ease, allowing you to fully enjoy the features and capabilities of your Galaxy A12.
With this step-by-step guide, you'll learn how to locate the SIM card tray, use the SIM eject tool, remove the SIM tray, place the SIM card correctly, and reinsert the SIM tray into your Galaxy A12. By the end of this tutorial, you'll have successfully inserted your SIM card and be ready to explore everything your smartphone has to offer.
Now, let's dive into the details and get started with the first step: locating the SIM card tray on your Galaxy A12.
Step 1: Locate the SIM card tray
The first step in inserting a SIM card into your Galaxy A12 is to locate the SIM card tray. This tray is typically located on the side of the device and is designed to securely hold the SIM card. On the Galaxy A12, you can find the SIM card tray on the upper left-hand side of the phone. Look for a small pinhole or slot that indicates the presence of the tray.
To access the SIM card tray, you will need to use the SIM eject tool that came with your device. This tool is usually a small, metal pin that is included in the packaging. If you don't have the SIM eject tool, you can use a paperclip or a similar object that fits into the pinhole.
Once you have located the SIM card tray and have the SIM eject tool ready, you're prepared to move on to the next step in the process of inserting your SIM card into the Galaxy A12.
By following these detailed instructions, you'll be well-equipped to successfully locate the SIM card tray on your Galaxy A12 and proceed with the next steps to complete the SIM card insertion process.
Step 2: Insert the SIM eject tool
With the SIM card tray located, it's time to proceed with the next crucial step: inserting the SIM eject tool. This small, metal pin or a similar object serves as the key to accessing the SIM card tray and ensuring a smooth insertion process.
First, take the SIM eject tool provided with your Galaxy A12 or a suitable alternative, such as a paperclip. Hold the device securely in one hand and identify the small pinhole on the SIM card tray, usually located near the top edge of the phone. Gently insert the SIM eject tool into the pinhole, applying slight pressure until you feel a subtle resistance. This indicates that the tool has engaged with the internal mechanism of the SIM card tray.
As you carefully push the SIM eject tool into the pinhole, you will notice the tray beginning to loosen. Continue to apply gentle pressure until the tray partially pops out of the device. At this point, you can remove the SIM eject tool and proceed to the next step, ensuring that you do not force or excessively manipulate the tool or the tray.
It's important to exercise caution and precision during this step to avoid any damage to the SIM card tray or the device itself. By inserting the SIM eject tool correctly, you'll be able to seamlessly access the tray and prepare it for the subsequent stages of the SIM card insertion process.
Successfully completing this step sets the stage for the subsequent actions required to insert the SIM card into the Galaxy A12. With the SIM eject tool in place and the tray partially released, you're now ready to move on to the next step of removing the SIM tray from the device and proceeding with the SIM card insertion process.
By following these detailed instructions, you'll effectively position the SIM eject tool to access the SIM card tray, setting the foundation for a successful and hassle-free SIM card insertion experience with your Galaxy A12.
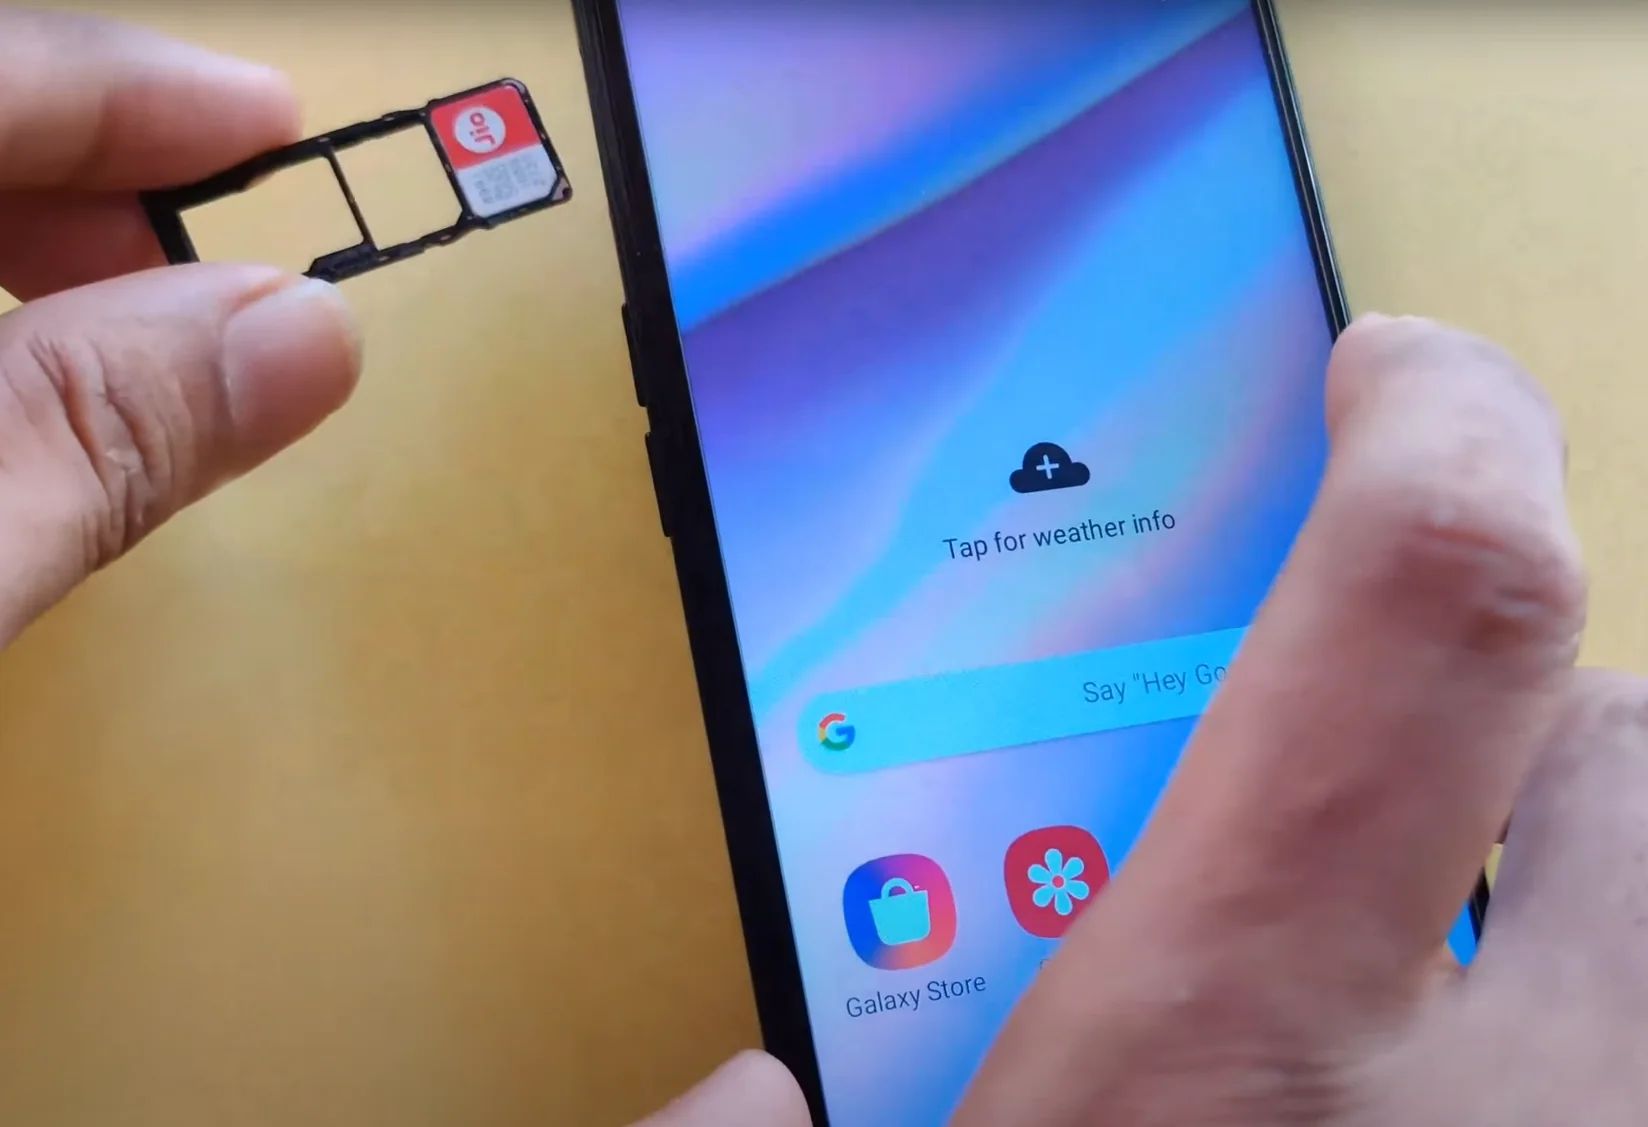
Step 3: Remove the SIM tray
With the SIM eject tool successfully inserted and the SIM card tray partially released, the next step is to carefully remove the tray from your Galaxy A12. This process requires precision and attention to detail to ensure that the SIM card can be inserted correctly and securely.
Once the SIM tray has been partially released, gently grasp the tray and carefully pull it out of the device. It's essential to exercise caution and avoid applying excessive force during this step to prevent any damage to the tray or the device itself.
As you carefully remove the SIM tray, pay attention to its orientation and the position of the existing SIM card slot. Take note of how the tray aligns with the device to ensure that you can easily reinsert it after placing the SIM card.
Upon successfully removing the SIM tray, set it aside in a secure location to prevent misplacement or damage. This will allow you to focus on the next critical step of placing the SIM card into the tray, ensuring that the process proceeds smoothly and without any complications.
By following these detailed instructions, you'll effectively remove the SIM tray from your Galaxy A12, setting the stage for the subsequent actions required to insert the SIM card securely and seamlessly. With the tray now removed, you're ready to proceed to the next step of placing the SIM card into the tray, marking significant progress in the SIM card insertion process.
Successfully completing this step demonstrates your meticulous approach to handling the SIM tray, ensuring that you can proceed with confidence and precision as you continue to set up your Galaxy A12 for optimal connectivity and functionality.
Step 4: Place the SIM card in the tray
With the SIM tray successfully removed from your Galaxy A12, you have reached a pivotal stage in the process of inserting your SIM card. Placing the SIM card into the tray requires precision and attention to detail to ensure that it is positioned correctly for seamless functionality within your device.
Begin by carefully examining the SIM card and identifying its specific orientation. Most SIM cards have a notched corner that aligns with a corresponding notch inside the SIM tray. This design ensures that the SIM card can only be inserted in one direction, preventing any potential errors in placement.
Once you have familiarized yourself with the orientation of the SIM card, gently position it within the designated area on the SIM tray. Take care to align the notched corner of the SIM card with the corresponding notch inside the tray, ensuring a perfect fit. It's crucial to handle the SIM card delicately to avoid any damage to its surface or internal components.
As you place the SIM card into the tray, ensure that it sits flat and flush without any protrusions or misalignments. A secure and proper fit is essential to guarantee that the SIM card functions optimally within your Galaxy A12, enabling seamless connectivity and communication capabilities.
After securely placing the SIM card into the tray, take a moment to double-check its positioning and alignment. Verifying that the SIM card sits correctly within the tray will help prevent any potential issues or connectivity disruptions once the tray is reinserted into the device.
Successfully completing this step demonstrates your meticulous approach to handling the SIM card, ensuring that it is positioned correctly within the tray for optimal functionality. With the SIM card securely in place, you're now prepared to proceed to the final step of reinserting the SIM tray into your Galaxy A12, marking significant progress in the SIM card insertion process.
By following these detailed instructions, you'll effectively position the SIM card within the tray, setting the stage for the seamless integration of your SIM card into your Galaxy A12. This careful and precise approach ensures that you can proceed with confidence and precision as you continue to set up your device for optimal connectivity and functionality.
Step 5: Reinsert the SIM tray
With the SIM card securely placed in the tray, the final step in the process of inserting a SIM card into your Galaxy A12 is to reinsert the tray into the device. This step is crucial to ensure that the SIM card is properly integrated into the device, allowing you to access calling, texting, and data services seamlessly.
Begin by carefully aligning the SIM tray with the corresponding slot on the side of your Galaxy A12. Take note of the orientation of the tray to ensure that it fits correctly into the device. The tray should slide into the slot smoothly and without resistance if properly aligned.
As you gently guide the SIM tray back into the device, ensure that it sits flush and level with the surrounding surface. Avoid applying excessive force during this process to prevent any potential damage to the tray or the device. A smooth and controlled reinsertion of the tray is essential to maintaining the integrity of the SIM card and the device itself.
Once the SIM tray is securely back in place, take a moment to verify that it sits flush with the device's exterior and that no gaps or misalignments are present. This visual inspection will help confirm that the tray is properly seated and that the SIM card is ready for activation and use.
With the SIM tray successfully reinserted into your Galaxy A12, you have completed the final step of the SIM card insertion process. Your device is now fully prepared to access mobile services, and the SIM card is seamlessly integrated, allowing you to enjoy uninterrupted connectivity and communication capabilities.
By following these detailed instructions, you have effectively reinserted the SIM tray into your Galaxy A12, ensuring that the SIM card is securely integrated into the device. This careful and precise approach sets the stage for a seamless and hassle-free SIM card insertion experience, allowing you to fully leverage the connectivity features of your Galaxy A12.
Conclusion
Congratulations! You have successfully completed the process of inserting a SIM card into your Galaxy A12. By following this comprehensive step-by-step guide, you have gained the knowledge and confidence needed to set up your device for seamless connectivity and communication.
The Galaxy A12 offers a host of impressive features and capabilities, and with your SIM card securely in place, you are now ready to explore everything this powerful smartphone has to offer. Whether it's making calls, sending texts, or accessing high-speed data, your Galaxy A12 is primed to deliver a smooth and reliable mobile experience.
As you reflect on the journey of inserting your SIM card, it's important to appreciate the simplicity and elegance of the process. What may have initially seemed like a daunting task has been effortlessly navigated, thanks to the clear and detailed instructions provided in this guide. The seamless integration of your SIM card into the Galaxy A12 is a testament to your ability to tackle essential tasks with precision and confidence.
With your SIM card in place, you can now take full advantage of the Galaxy A12's impressive display, powerful performance, and advanced camera capabilities. Whether you're capturing stunning photos, streaming your favorite content, or staying connected with friends and family, your Galaxy A12 is your gateway to a world of possibilities.
As you embark on your journey with the Galaxy A12, remember that the proper insertion of your SIM card is just the beginning. This device is designed to enrich your digital lifestyle, and with your SIM card seamlessly integrated, you are poised to experience the full spectrum of its innovative features and functionalities.
In conclusion, the successful insertion of your SIM card into the Galaxy A12 marks the initiation of a fulfilling and connected experience with your smartphone. With the knowledge and expertise gained from this guide, you are well-equipped to make the most of your Galaxy A12 and enjoy a seamless and immersive mobile experience.
Welcome to a world of limitless connectivity and boundless possibilities with your Galaxy A12.