Introduction
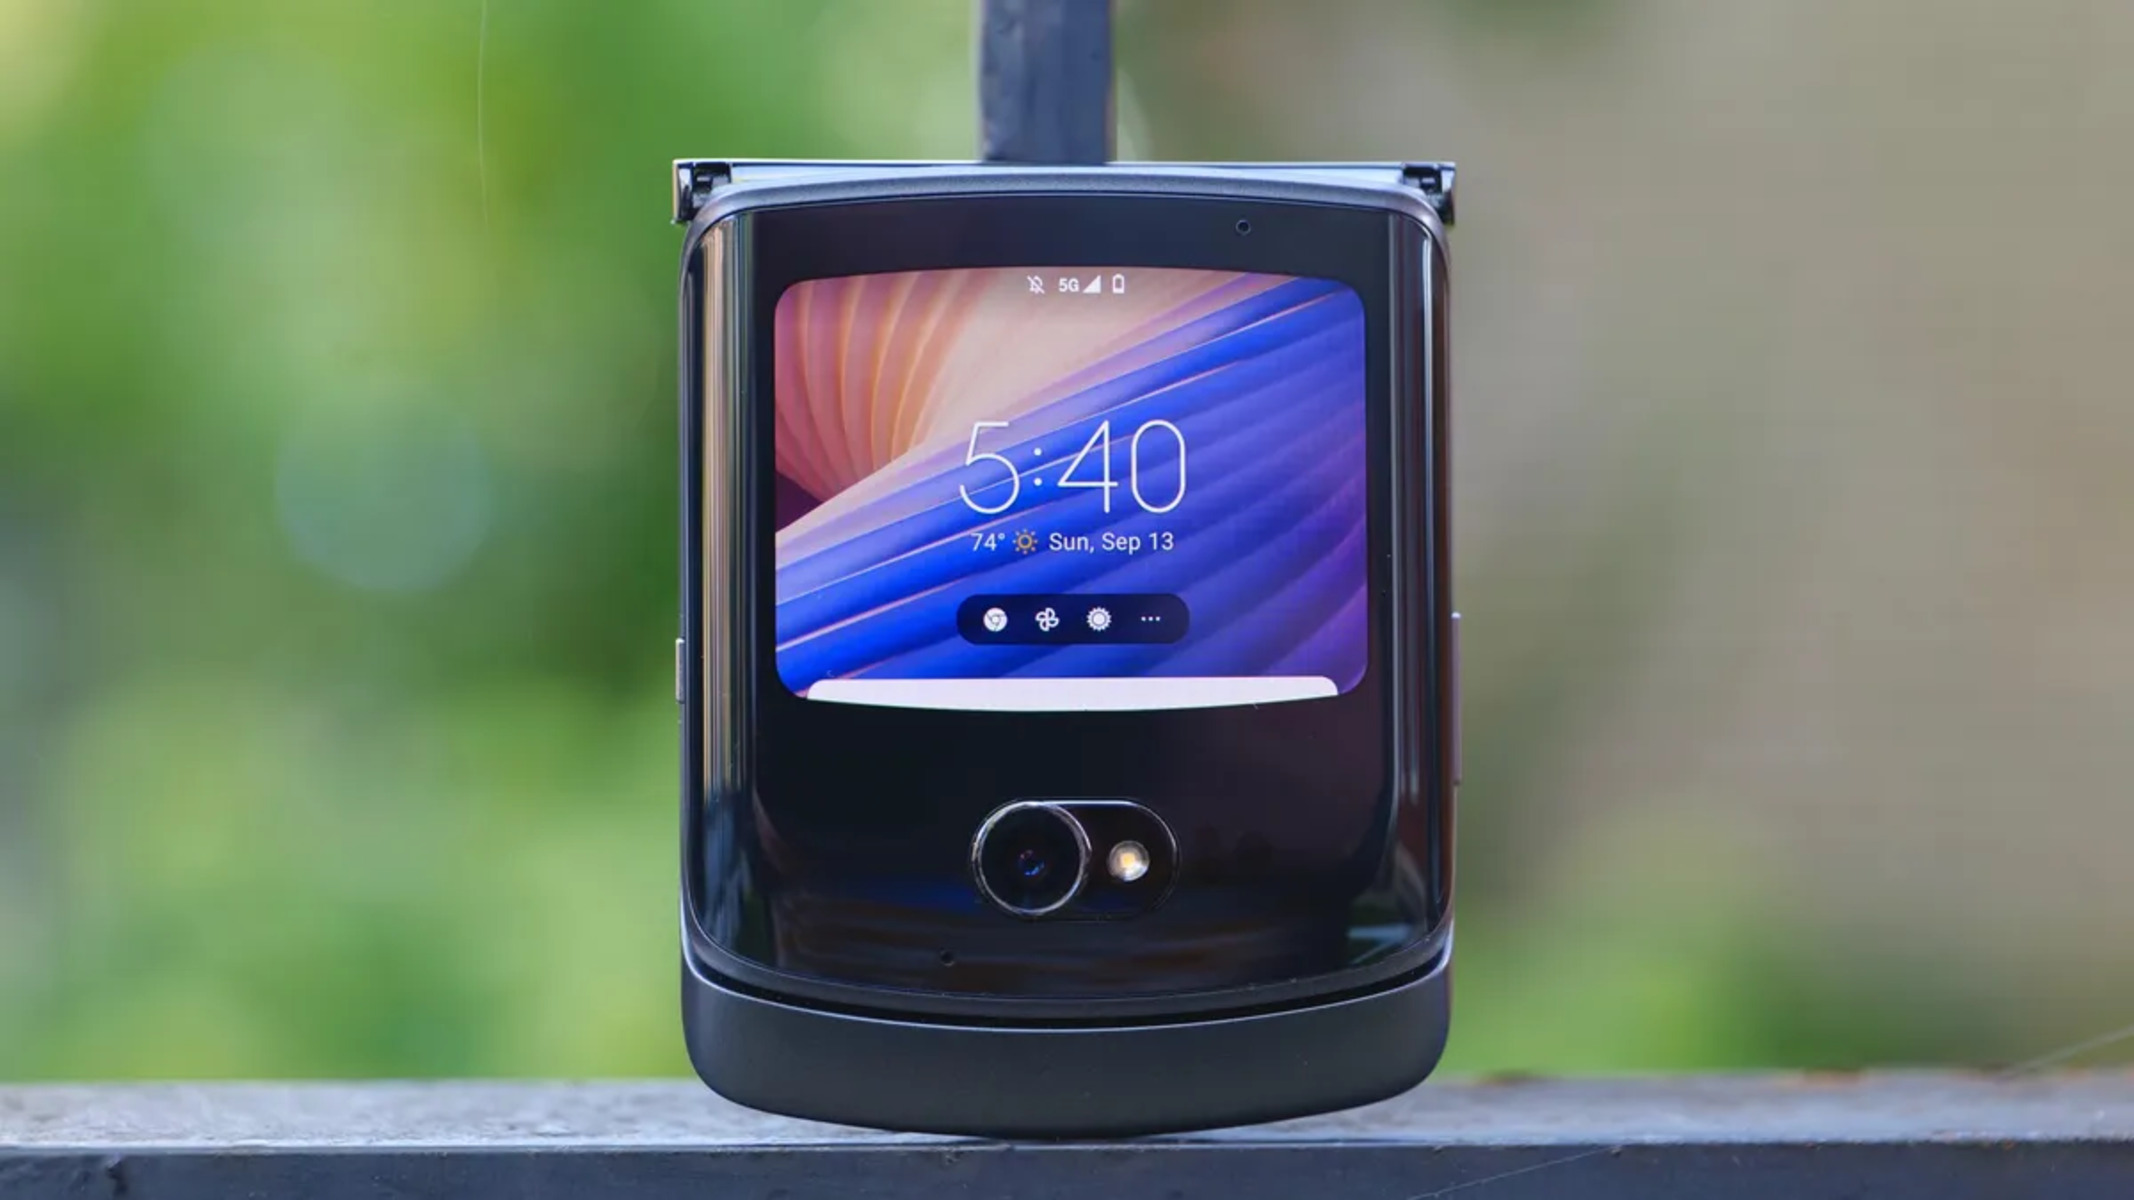
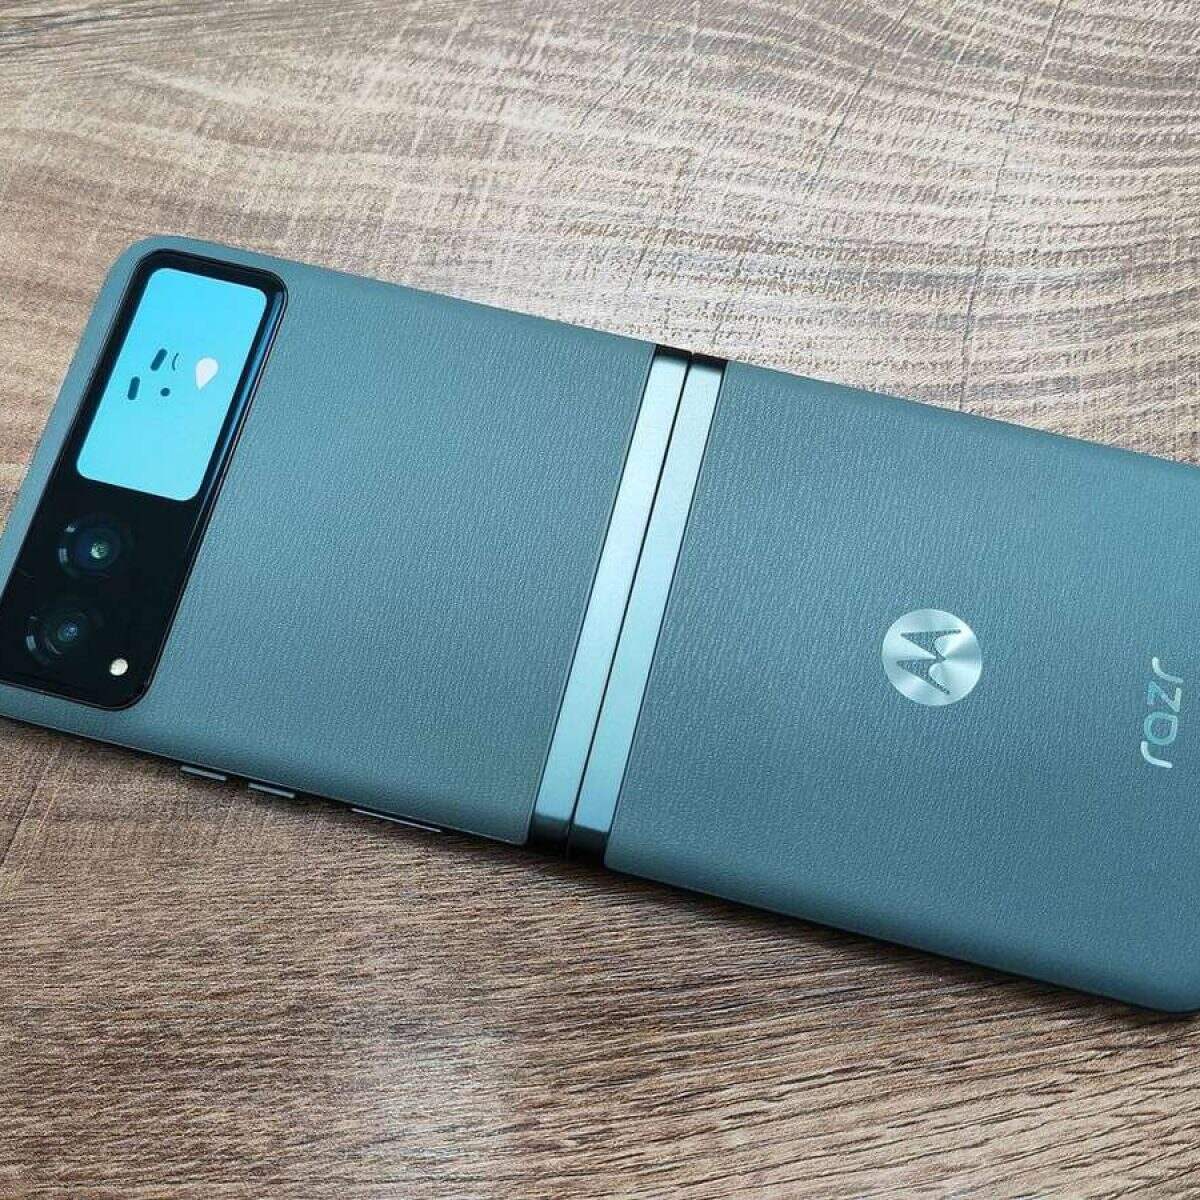
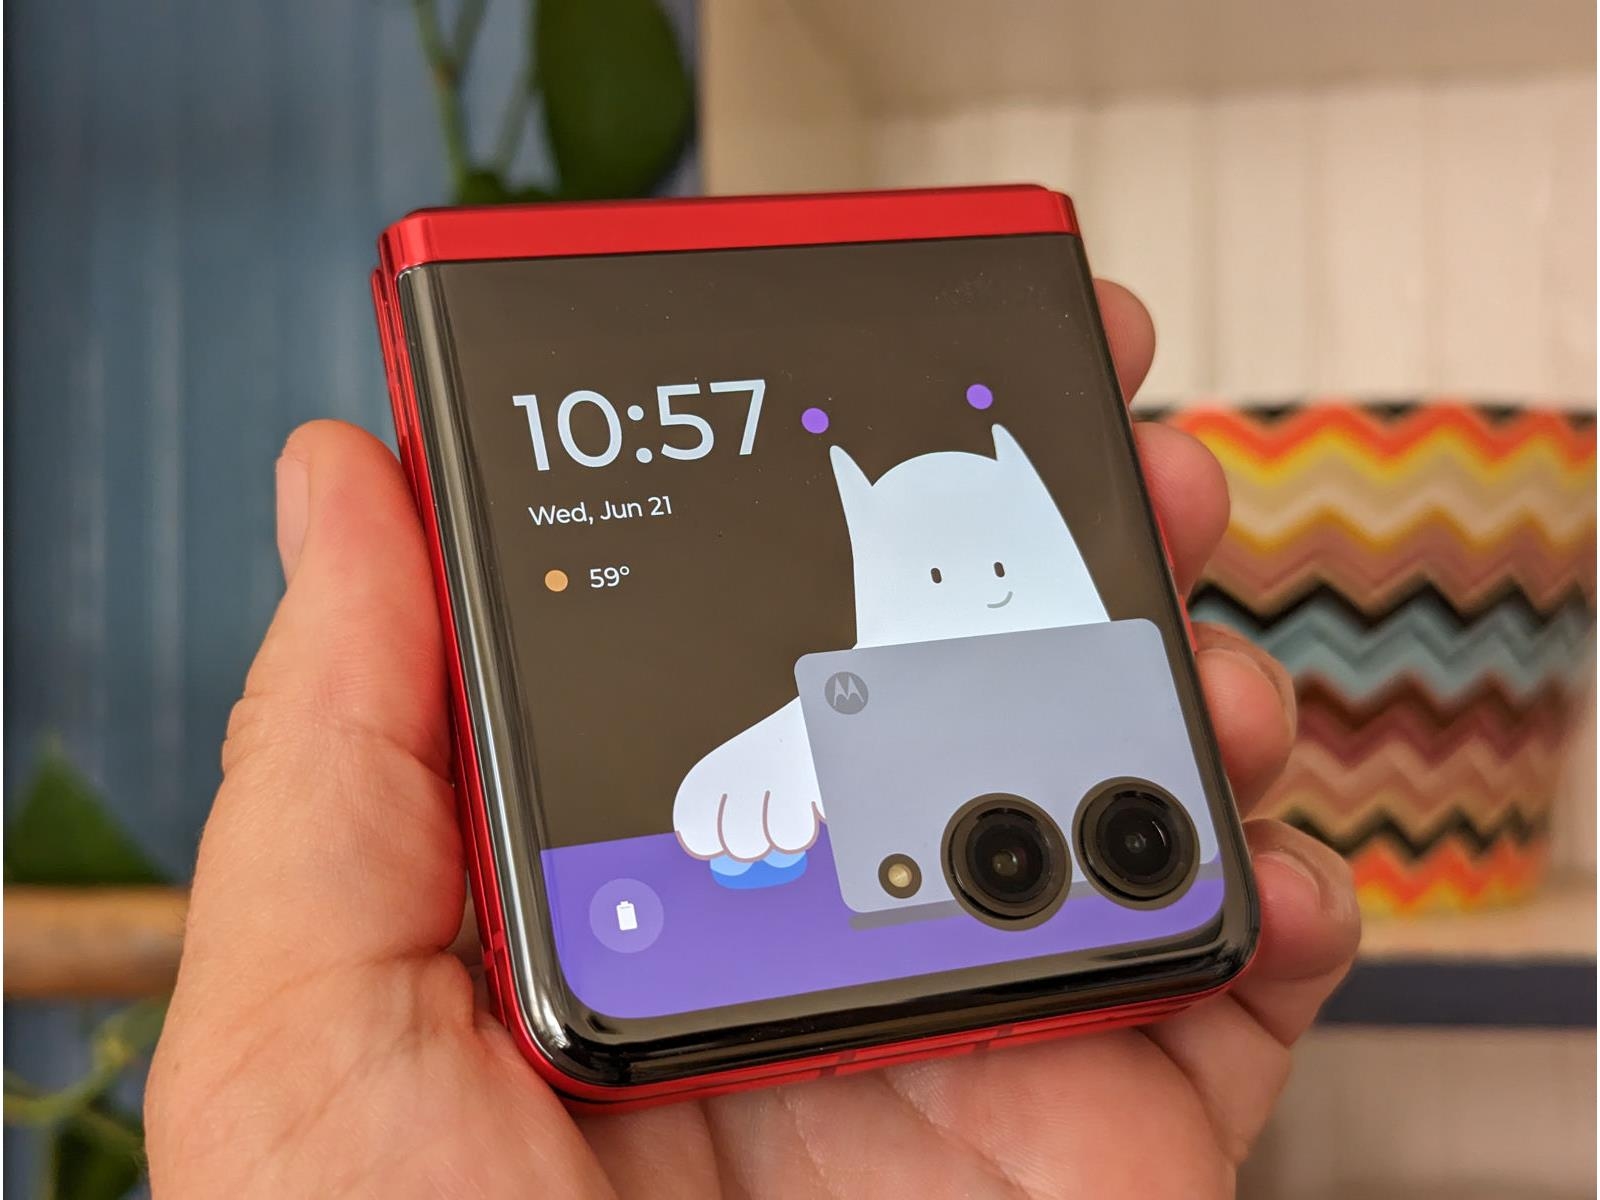
In the fast-paced world of mobile technology, smartphones have become indispensable tools for both personal and professional use. With their advanced capabilities and sleek designs, smartphones have evolved into powerful devices that can perform a wide range of tasks. One such smartphone that has garnered attention for its impressive features is the Motorola Razr.
The Motorola Razr boasts a stunning display, robust performance, and a host of innovative functionalities that cater to the diverse needs of users. However, to fully harness the potential of this cutting-edge device, it is essential to explore its advanced settings and features. One such feature that holds significant importance for developers, enthusiasts, and advanced users is USB debugging.
USB debugging plays a crucial role in the realm of mobile devices, offering a gateway to advanced troubleshooting, development, and customization options. By enabling USB debugging on the Motorola Razr, users can unlock a plethora of possibilities, allowing them to delve deeper into the device's system and optimize its performance.
This article aims to provide a comprehensive guide on enabling USB debugging on the Motorola Razr, catering to both novice users and tech-savvy individuals. By understanding the significance of USB debugging and its impact on the overall functionality of the device, users can elevate their smartphone experience to new heights. Whether it's exploring custom ROMs, debugging applications, or optimizing system performance, USB debugging empowers users to take control of their Motorola Razr in a meaningful and impactful way.
In the following sections, we will delve into the intricacies of USB debugging, elucidate the reasons for enabling it on the Motorola Razr, and provide a step-by-step guide to activate this feature. By the end of this article, readers will gain a comprehensive understanding of USB debugging and its pivotal role in maximizing the potential of their Motorola Razr.
What is USB Debugging?
USB debugging is a feature that allows an Android device, such as the Motorola Razr, to communicate with a computer over a USB connection while using the Android SDK (Software Development Kit). This functionality is particularly valuable for developers, enthusiasts, and advanced users as it facilitates a direct line of communication between the device and a computer, enabling a range of advanced operations and diagnostics.
When USB debugging is enabled, the Android device becomes accessible to the computer as a development tool. This means that developers can deploy and debug applications directly on the device, streamlining the app development process. Additionally, USB debugging grants access to the device's system logs, allowing developers to identify and troubleshoot issues more effectively.
Beyond its utility for developers, USB debugging also plays a pivotal role in customizing and optimizing the Android device. By enabling USB debugging, users gain the ability to access advanced settings and features that are typically hidden from standard users. This includes the ability to modify system files, install custom ROMs, and execute powerful commands through a connected computer.
Furthermore, USB debugging serves as a gateway to enhanced system diagnostics and performance optimization. It enables users to monitor system processes, analyze performance metrics, and diagnose potential issues that may impact the device's functionality. This level of access empowers users to take a proactive approach to device maintenance and performance enhancement.
In essence, USB debugging is a fundamental feature that bridges the gap between an Android device and a computer, unlocking a realm of advanced functionalities and diagnostic capabilities. By understanding the significance of USB debugging and its impact on the overall functionality of the Motorola Razr, users can harness the full potential of their device and explore a myriad of customization and development opportunities.
Why Enable USB Debugging on Your Motorola Razr?
Enabling USB debugging on your Motorola Razr unlocks a realm of advanced functionalities and diagnostic capabilities, making it an essential feature for users who seek to maximize the potential of their device. Whether you are a developer, enthusiast, or advanced user, USB debugging empowers you to delve deeper into the system, customize the device, and streamline the app development process.
For developers, USB debugging serves as a pivotal tool in the app development lifecycle. By enabling this feature, developers gain the ability to deploy and debug applications directly on the Motorola Razr, significantly expediting the development process. This direct line of communication between the device and a computer streamlines the testing and debugging of applications, leading to more efficient development cycles and enhanced app quality.
Beyond its utility for developers, USB debugging opens the door to customization and optimization opportunities. Enabling this feature grants users access to advanced settings and features that are typically hidden from standard users. This includes the ability to modify system files, install custom ROMs, and execute powerful commands through a connected computer. By harnessing these capabilities, users can personalize their device to align with their preferences and explore a diverse range of customizations that enhance the overall user experience.
Moreover, USB debugging facilitates enhanced system diagnostics and performance optimization. With this feature enabled, users can monitor system processes, analyze performance metrics, and diagnose potential issues that may impact the device's functionality. This level of access empowers users to take a proactive approach to device maintenance and performance enhancement, ensuring that the Motorola Razr operates at its optimal capacity.
In essence, enabling USB debugging on your Motorola Razr is not just about accessing advanced features; it's about unlocking the full potential of your device. Whether you are a developer looking to streamline app development, an enthusiast seeking to customize your device, or an advanced user aiming to optimize system performance, USB debugging is the gateway to a myriad of possibilities. By understanding the significance of USB debugging and its impact on the overall functionality of the Motorola Razr, users can harness the full potential of their device and explore a diverse array of customization and development opportunities.
How to Enable USB Debugging on Your Motorola Razr
Enabling USB debugging on your Motorola Razr is a straightforward process that unlocks a plethora of advanced functionalities and diagnostic capabilities. Whether you are a developer, enthusiast, or advanced user, activating USB debugging empowers you to delve deeper into the system, customize the device, and streamline the app development process. Here's a step-by-step guide to enable USB debugging on your Motorola Razr:
-
Access the Settings: Begin by unlocking your Motorola Razr and navigating to the home screen. From there, locate and tap on the "Settings" icon, which resembles a gear or cogwheel. The Settings menu serves as the central hub for configuring various aspects of your device, including the USB debugging feature.
-
Navigate to Developer Options: Within the Settings menu, scroll down and look for the "System" category. Tap on "System" to expand the options, and then select "Developer options." If you do not see the Developer options listed, you may need to enable them by tapping on "About phone" and then tapping on the "Build number" multiple times until you see a message indicating that Developer options have been enabled.
-
Enable USB Debugging: Once you have accessed the Developer options, scroll through the settings until you find the "USB debugging" option. It is typically located under the "Debugging" section. Toggle the switch next to "USB debugging" to enable this feature. A prompt may appear to confirm your action; simply tap "OK" to proceed.
-
Grant Permission: After enabling USB debugging, your Motorola Razr may prompt you to grant permission for USB debugging when connected to a computer. Select "Always allow from this computer" to establish a secure and persistent connection for debugging purposes.
-
Connect to a Computer: With USB debugging enabled, you can now connect your Motorola Razr to a computer using a USB cable. Upon connecting the device, you may receive a notification on the Razr's screen asking for permission to allow USB debugging from the connected computer. Grant permission by tapping "Allow," thereby establishing a secure and authorized connection for debugging and development activities.
By following these simple steps, you have successfully enabled USB debugging on your Motorola Razr, unlocking a wealth of advanced capabilities and diagnostic functionalities. Whether you are embarking on app development, exploring customizations, or optimizing system performance, USB debugging empowers you to take control of your device in a meaningful and impactful way. With this feature activated, you are poised to explore the full potential of your Motorola Razr and leverage its advanced capabilities to enhance your mobile experience.