Introduction
Transferring photos from your Xperia Z3 to a Windows computer is a seamless process that allows you to effortlessly manage and store your precious memories. Whether you want to free up space on your device or simply back up your photos, there are several convenient methods to achieve this. In this article, we will explore three efficient ways to import photos from your Xperia Z3 to your Windows computer. Each method offers its own set of advantages, catering to different preferences and technical capabilities.
By following the step-by-step instructions provided in this guide, you will gain a deeper understanding of how to navigate the transfer process with ease. Whether you prefer the simplicity of using a USB cable, the flexibility of a memory card, or the comprehensive features of Sony's Xperia Companion software, you will find a method that suits your specific needs.
As we delve into each method, you will discover the unique benefits and potential challenges associated with transferring photos using different approaches. Additionally, we will highlight the importance of maintaining a secure and organized photo library, emphasizing the significance of regular backups to safeguard your cherished moments.
With a focus on user-friendly instructions and practical tips, this guide aims to empower you with the knowledge and confidence to seamlessly import photos from your Xperia Z3 to your Windows computer. Whether you are a tech-savvy individual or a novice user, you will find valuable insights and actionable guidance to streamline the photo transfer process.
As we embark on this journey to simplify the photo import process, let's explore the diverse methods available to effortlessly transfer your cherished photos from your Xperia Z3 to your Windows computer.
Method 1: Using USB Cable
Transferring photos from your Xperia Z3 to a Windows computer using a USB cable offers a straightforward and direct approach. This method is ideal for individuals who prefer a simple and reliable way to transfer their photos without the need for additional hardware or software. By following these step-by-step instructions, you can effortlessly import your photos and organize them on your Windows computer.
-
Connect Your Devices: Begin by connecting your Xperia Z3 to your Windows computer using a compatible USB cable. Once connected, ensure that your Xperia Z3 is unlocked and the screen is active to facilitate the data transfer process.
-
Enable File Transfer Mode: Upon connecting your Xperia Z3 to your computer, you may need to select the appropriate USB connection mode on your device. This can typically be done by swiping down from the top of your Xperia Z3's screen to access the notification panel, then selecting the option for file transfer or MTP (Media Transfer Protocol).
-
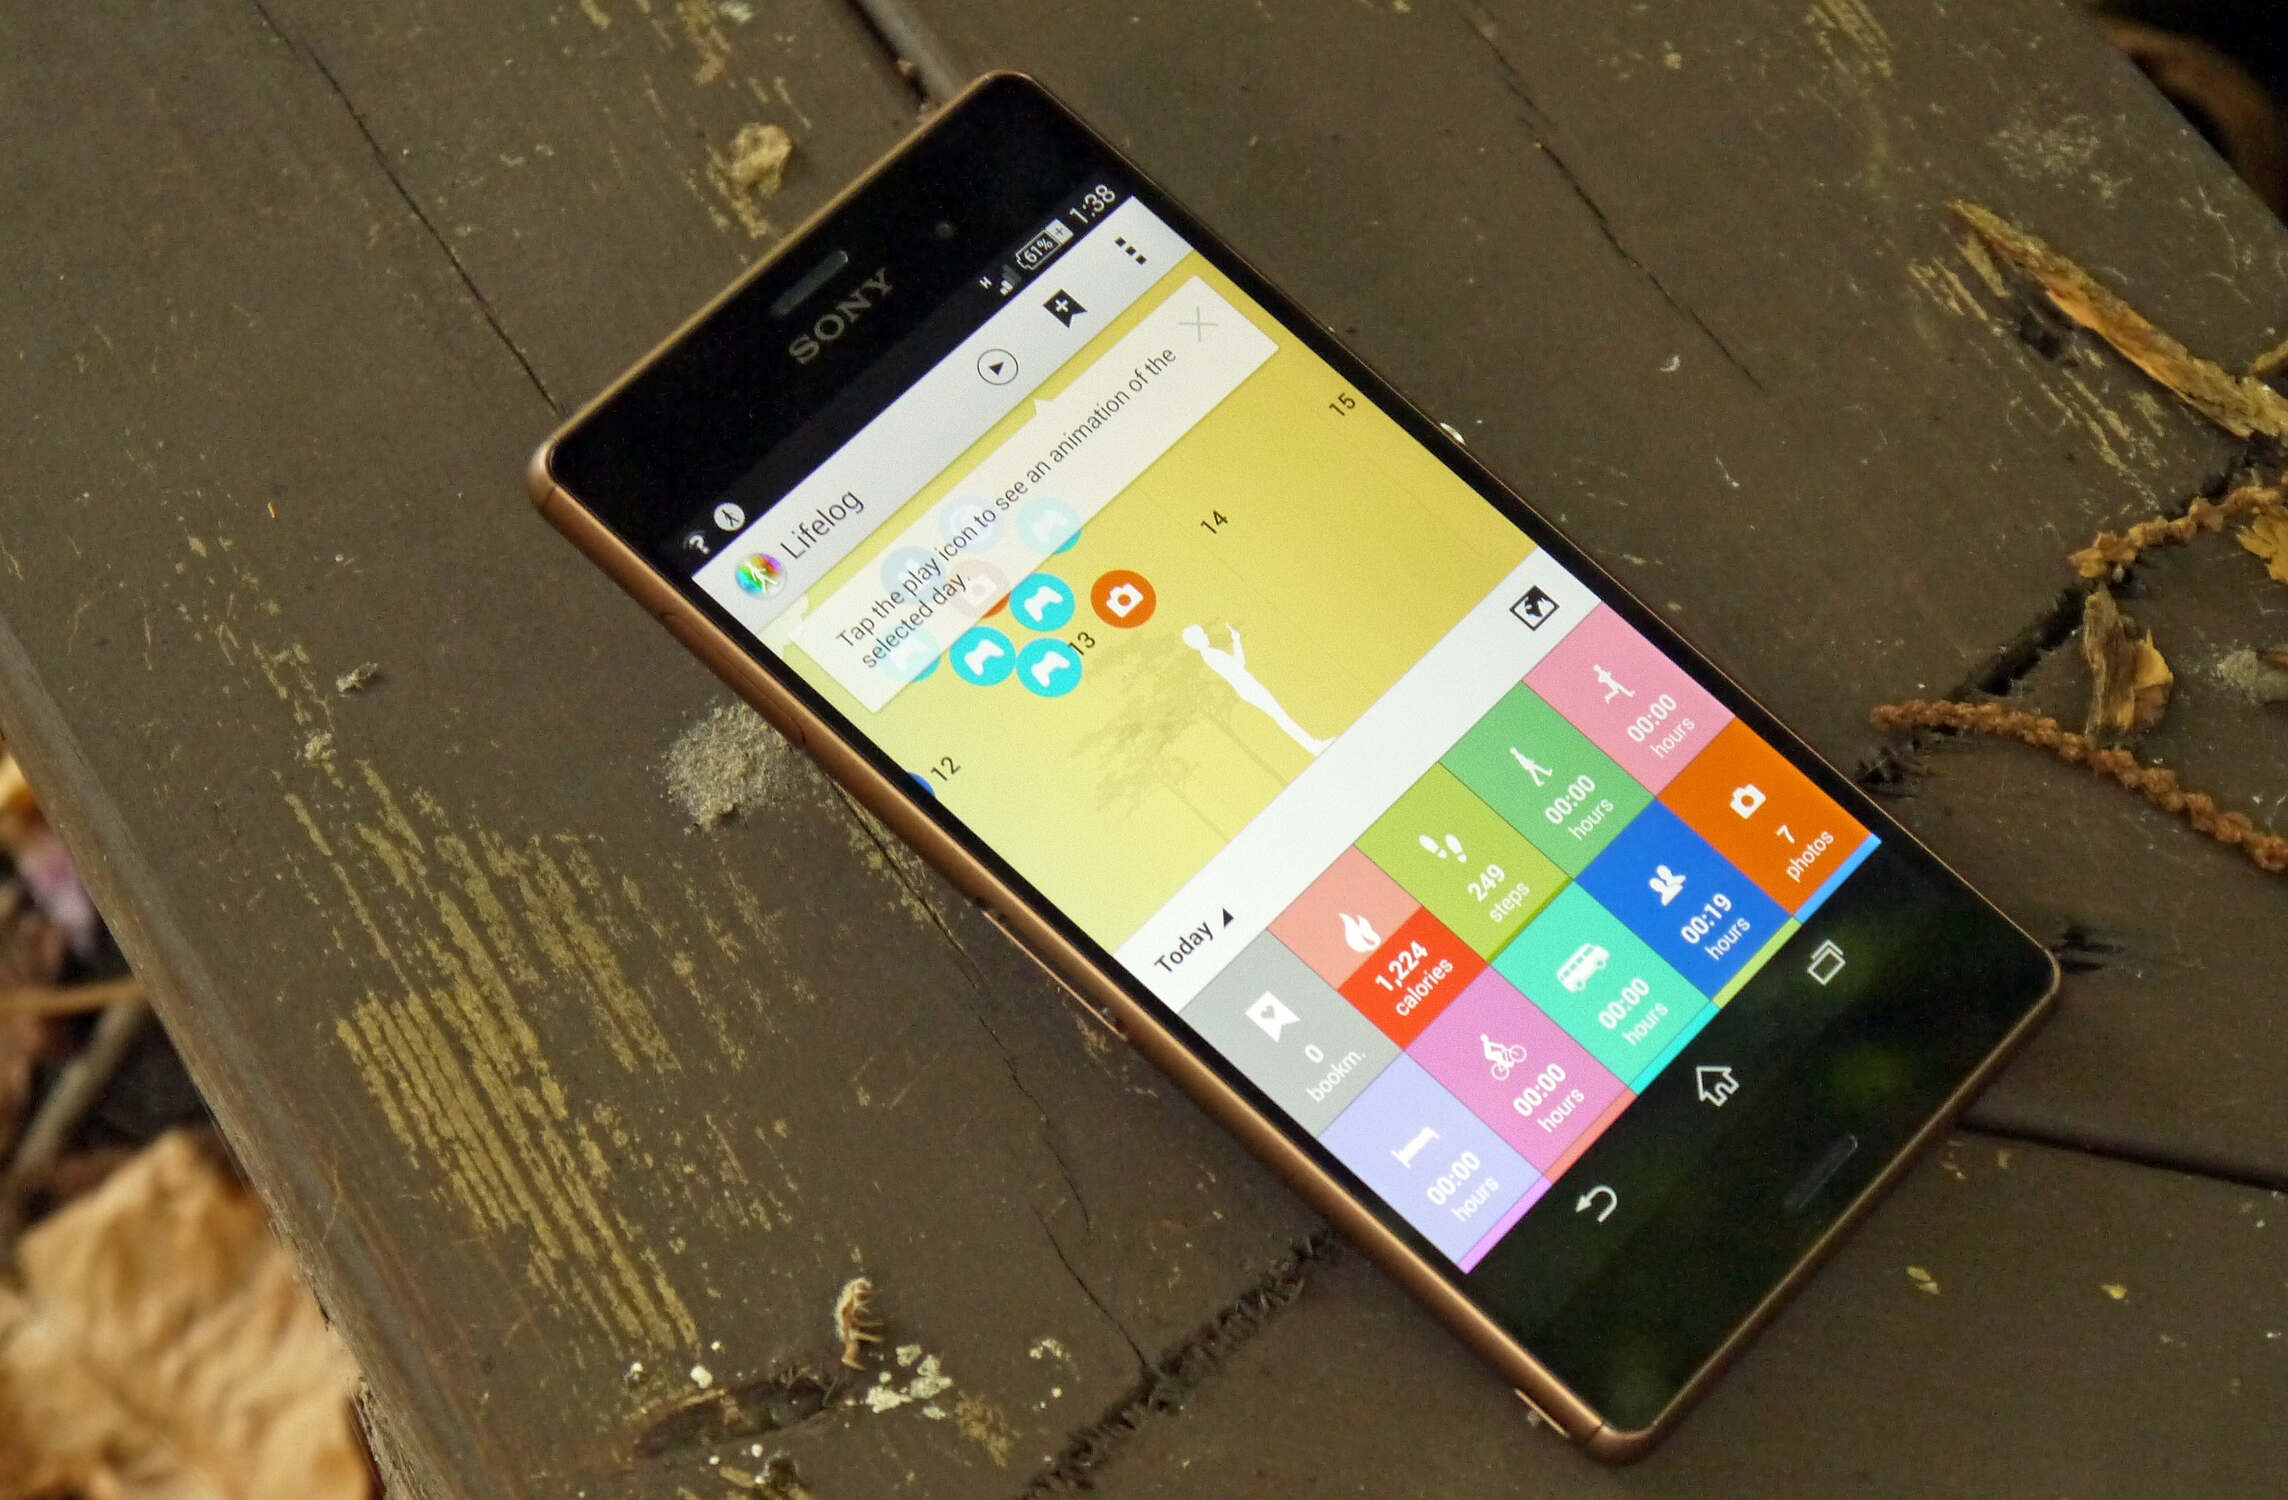
Access Your Photos: After enabling file transfer mode, your Windows computer should recognize your Xperia Z3 as a removable storage device. Navigate to the "This PC" or "My Computer" section on your computer and locate your Xperia Z3 device. Open the device to access the internal storage or SD card, where your photos are stored.
-
Transfer Your Photos: Once you have accessed the internal storage or SD card of your Xperia Z3, you can simply drag and drop the desired photos from your device to a folder on your Windows computer. Alternatively, you can copy and paste the photos to the desired location on your computer's storage.
-
Organize Your Photos: Upon successfully transferring your photos, take the opportunity to organize them into specific folders or albums on your Windows computer. This will help you maintain a structured and easily accessible photo library.
By following these steps, you can efficiently transfer your photos from your Xperia Z3 to your Windows computer using a USB cable. This method provides a convenient way to manage your photo collection and ensures that your cherished memories are securely stored on your computer for future enjoyment and safekeeping.
Method 2: Using Memory Card
Transferring photos from your Xperia Z3 to a Windows computer using a memory card offers a versatile and convenient approach, particularly for individuals who prefer a flexible and portable solution. By utilizing a memory card, you can easily transfer your photos without the need for a direct device-to-computer connection. This method is especially beneficial for users who want to manage their photo collection on the go or prefer to maintain a physical backup of their photos. Here's a detailed guide on how to seamlessly transfer photos using a memory card:
-
Prepare Your Memory Card: Begin by ensuring that your memory card is properly inserted into your Xperia Z3. If your photos are stored on the device's internal storage, you may need to move them to the memory card to facilitate the transfer process. This can typically be done through the built-in file manager or photo gallery app on your Xperia Z3.
-
Access Your Photos: Once your photos are stored on the memory card, remove the card from your Xperia Z3 and insert it into a compatible memory card reader on your Windows computer. Alternatively, if your computer has a built-in SD card slot, you can directly insert the memory card for access.
-
Transfer Your Photos: Upon inserting the memory card into your computer, navigate to the designated drive or storage location representing the memory card. You should be able to access your photos directly from the memory card, allowing you to copy and paste them to a folder on your Windows computer.
-
Organize Your Photos: After transferring your photos, take the opportunity to organize them into specific folders or categories on your Windows computer. This will enable you to maintain a well-structured photo library, making it easier to locate and enjoy your cherished memories.
Using a memory card to transfer photos from your Xperia Z3 to your Windows computer provides a portable and efficient solution for managing your photo collection. Whether you're traveling or simply prefer the flexibility of a memory card, this method empowers you to maintain control over your photos and ensure that they are securely stored on your computer for future access and backup.
Method 3: Using Sony's Xperia Companion Software
Utilizing Sony's Xperia Companion software to transfer photos from your Xperia Z3 to a Windows computer offers a comprehensive and user-friendly approach. This method is particularly advantageous for individuals who seek a seamless and feature-rich solution that provides enhanced control over the photo transfer process. By leveraging the capabilities of Xperia Companion, you can efficiently manage your photo collection and ensure that your cherished memories are securely backed up on your Windows computer. Here's a detailed guide on how to utilize Sony's Xperia Companion software for effortless photo transfer:
-
Download and Install Xperia Companion: Begin by downloading and installing the Xperia Companion software on your Windows computer. You can obtain the latest version of Xperia Companion from Sony's official website or through the designated software distribution platforms. Once installed, launch the Xperia Companion application to initiate the photo transfer process.
-
Connect Your Xperia Z3: Using a compatible USB cable, connect your Xperia Z3 to your Windows computer. Upon establishing the connection, Xperia Companion will detect your device and display relevant information about your Xperia Z3, including its storage capacity and available content.
-
Navigate to Photo Transfer: Within the Xperia Companion interface, navigate to the section dedicated to photo management or file transfer. This feature is designed to facilitate the seamless transfer of photos from your Xperia Z3 to your Windows computer, providing a user-friendly interface for organizing and selecting the photos you wish to transfer.
-
Select and Transfer Photos: Once you have accessed the photo transfer section, you can select individual photos or entire albums from your Xperia Z3 for transfer to your Windows computer. Xperia Companion offers intuitive tools for organizing and previewing your photos, allowing you to make informed decisions about the content you want to transfer.
-
Initiate the Transfer Process: After selecting the desired photos, initiate the transfer process within Xperia Companion. The software will efficiently copy the selected photos from your Xperia Z3 to the designated location on your Windows computer, ensuring that the transfer is executed seamlessly and without data loss.
-
Verify and Organize: Upon completion of the transfer process, verify that your photos have been successfully imported to your Windows computer. Take the opportunity to organize your photos into specific folders or categories, enhancing the accessibility and organization of your photo library.
By leveraging Sony's Xperia Companion software, you can streamline the photo transfer process and gain access to advanced features for managing your photo collection. This method empowers you to maintain a secure and organized backup of your cherished photos on your Windows computer, providing peace of mind and convenient access to your memories whenever you need them.
Conclusion
In conclusion, the process of importing photos from your Xperia Z3 to your Windows computer offers a range of convenient and efficient methods, each tailored to suit different preferences and technical capabilities. Whether you opt for the simplicity of using a USB cable, the flexibility of a memory card, or the comprehensive features of Sony's Xperia Companion software, you have the tools to effortlessly manage and store your precious memories.
By exploring the diverse methods available, you can seamlessly transfer your cherished photos and ensure they are securely backed up on your Windows computer. The use of a USB cable provides a direct and straightforward approach, ideal for users who prefer a reliable and uncomplicated method. This method allows for easy organization and management of your photo collection, empowering you to maintain a well-structured library of memories.
Alternatively, utilizing a memory card offers a portable and versatile solution for transferring photos, catering to individuals who value flexibility and convenience. Whether you're on the go or prefer the physical backup provided by a memory card, this method enables you to maintain control over your photos and ensures they are securely stored on your Windows computer for future access and backup.
Furthermore, Sony's Xperia Companion software presents a comprehensive and user-friendly approach to photo transfer, offering advanced features and enhanced control over the process. By leveraging the capabilities of Xperia Companion, you can efficiently manage your photo collection and maintain a secure and organized backup on your Windows computer. This method provides peace of mind and convenient access to your cherished memories whenever you need them.
In essence, the seamless import of photos from your Xperia Z3 to your Windows computer is not only a practical necessity but also a means of preserving and celebrating your most treasured moments. By following the step-by-step instructions provided in this guide, you can gain a deeper understanding of how to navigate the transfer process with ease. Whether you are a tech-savvy individual or a novice user, the methods outlined in this guide empower you with the knowledge and confidence to effortlessly manage and store your precious memories.
As you embark on your journey to streamline the photo import process, remember that maintaining a secure and organized photo library is essential for safeguarding your cherished moments. Regular backups and thoughtful organization will ensure that your photos remain easily accessible and well-protected, allowing you to relive and share your memories for years to come.