Building a robot at home is not as hard as it seems at first glance. Robots are in use all around us while many people do not realize that learning how to make a robot does not require expertise in electronics and computer programming. In fact, making a robot is easier than you expect.
This is because even experts of the think of robots as intelligent systems while the definition of a robot says these are machines that are able to carry out a complex series of actions automatically. In this sense, your electric toothbrush is also a robot as it automatically performs a series of actions your grandfather had performed manually.
Actually, nearly half of all manual and physical world activity is forecast to be performed by robots by 2022, according to the World Economic Forum.
Will Robots Replace Humans At Work?

We now make robots as sophisticated that they can perform many activities once considered only doable by humans and robotic machines are entering even more fields as artificial intelligence and machine learning algorithms mature.
Nonetheless, those who are interested in how do you make a robot should be aware that more sophisticated robots really require advanced knowledge in electronics and coding as well as access to industrial equipment to build such robots. Nonetheless, you will show you how to build a robot at home following a number of easy steps.
How To Make A Robot: Design Aspects
When you start studying how to make your own robots, you realize that you can actually assemble a robot in an hour or so and without having access to very advanced technology. Making robots is about using a power source, moving parts and, most important, attaching sensors that tell your robot what actions to perform.
When you are advancing your knowledge of how to build a real robot, you also learn that it does need coding either – sensors can do the work at the level of physical actions and without a single line of programming code.
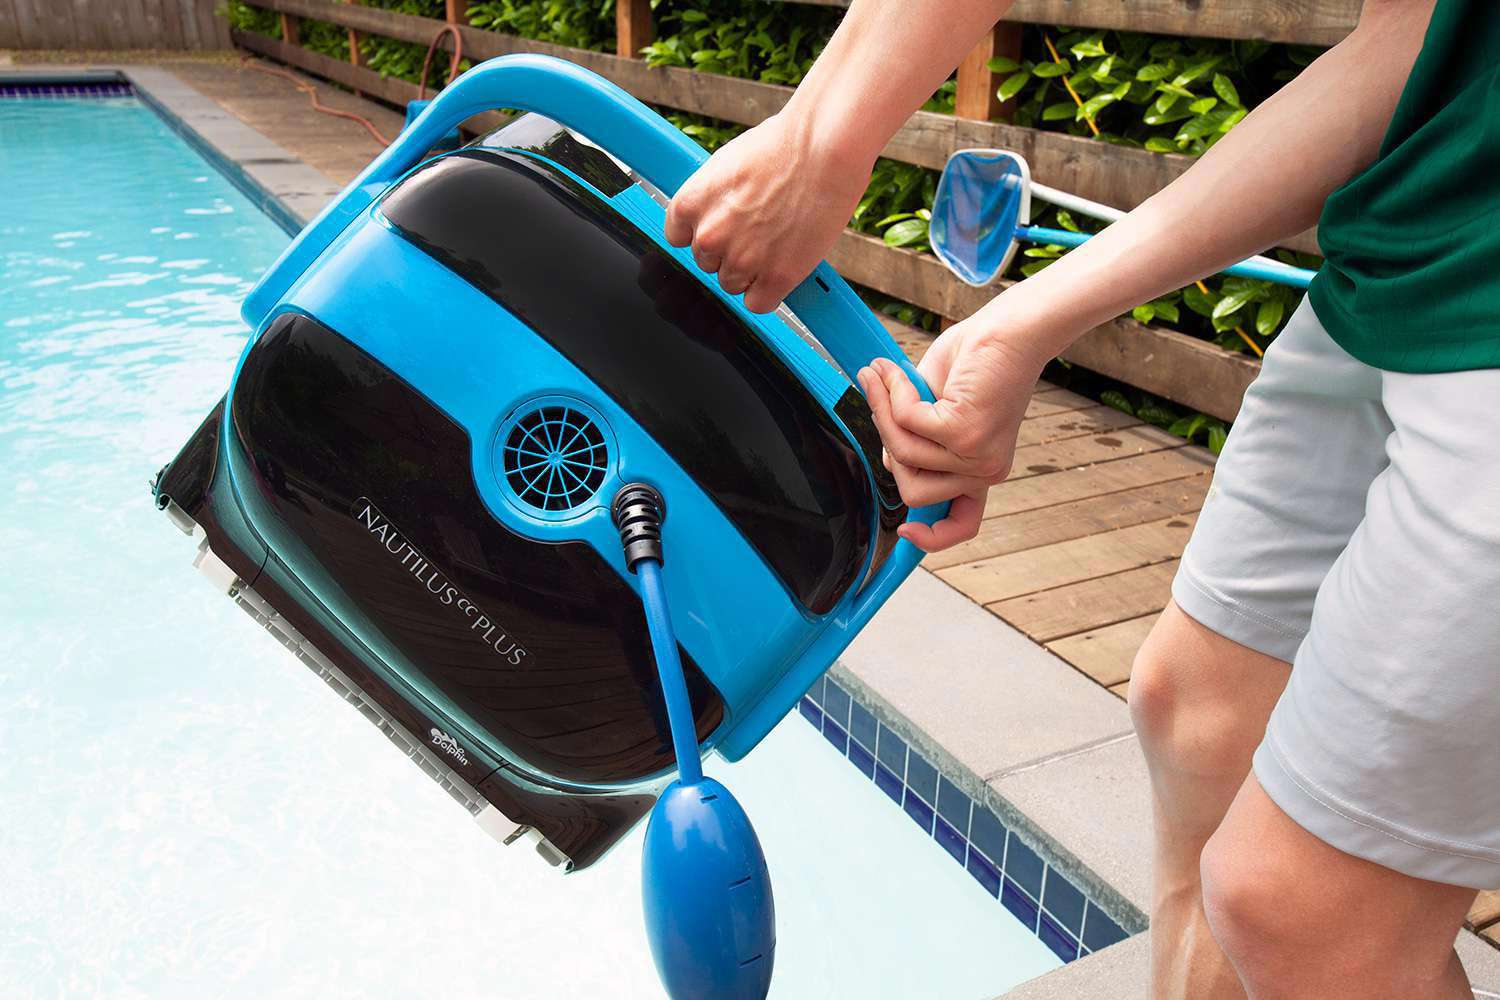
A robotic vacuum cleaner, for instance, does not require artificial intelligence to operate. And we will show you how to build a real robot that resembles the movement of a 1,000-dollar automated vacuum cleaner by using parts that cost only a few bucks.
How To Make A Robot For Under $100
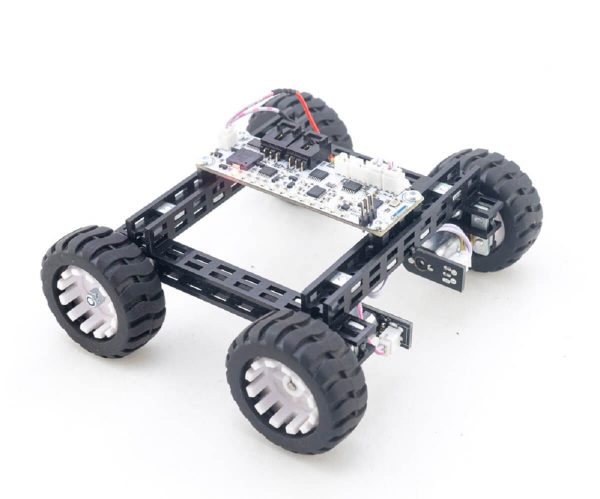
Your robotic vacuum cleaner is looking smart as it is driving around the house bypassing obstacles and turning right or left when hitting a wall. You can build a real robot like that using just five simple components:
- Four wheels
- A chassis
- Two motors
- Four switches
- Four paperclips
Do not forget to buy also a battery to power up your first home-made robot.
When you have all the parts in place, take your time to attach the four wheels to the chassis of your first robot. The result is look like the one on the image below.
Now comes the fun part – how to make a robot that acts intelligently.
How To Build A Self-Driving Robot
Well, our robot will not exactly avoid walls but will drive back when it hits one and will then head in a new direction. Which is actually smart enough for a beginner engineer.
Our robot’s design sports two small electrical engines that each power up the wheels on the left side and on the right side of the car, respectively. You can attach them to only one pair of wheels, with the first motor powering one left-side wheel and the other driving its neighbor on the right side.
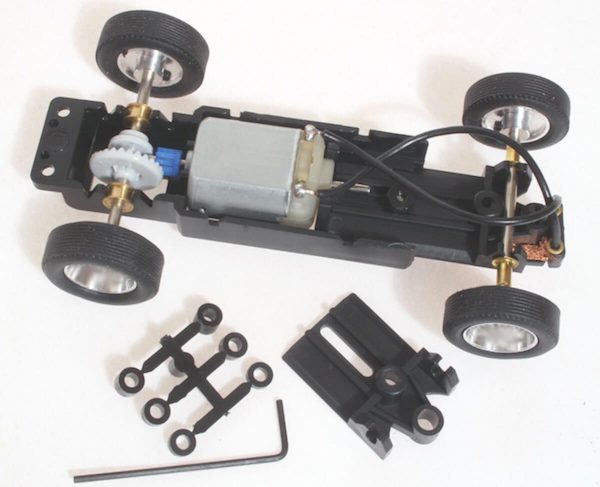
Thus, you can add switches to each engine that reverse the wheels’ motion direction. You are adding one switch to the front and the back of your chassis – two on the left side and two on the right side. After you have the switches in place, you need sensors to activate them.
Attach one paperclip to each switch. You can actually make it work by attaching a longer hardwire to each switch but make sure it moves back and forth when pressed in order for the switch to work.
Then, comes the time to add the battery which you fix somewhere on the chassis.
How To Build A Robot’s Chassis
It is simple. Let’s name the four corners of our robot’s chassis A, B, C, and D – starting from the upper-left corner and going clockwise.
When sensor A hits a wall or another obstacle, it reverses the wheeling direction of the left-sided wheels (or wheel) backward. The right-sided wheels are still rotating toward the wall. Hence, the wheels on the two sides of the car are rotating in opposite directions.
The result is that your robot vehicles start to turn back and on the left. When it completes the turn, the paperclip in point D hits the wall, thus switching the direction of rotation of left-sided wheels once again. Now, the wheels on both sides rotate in the same direction and your “smart” robot is heading forward at full speed.
Concluding Words
You now can enjoy your first robot, but be on alert that your intended robotic application will determine the whole robot design of any machine. For instance, you do not put wheels on a robot that will roam a swampy land shaft and you do not need legs for a robot that works in outer space where no gravity is available.
People often associate robots with androids but when you decide how to build a real robot the anthropoid design should be your least concern. Building a robot at home should follow these basic principles of robotics that put function before design.
![How To Make A Robot: Ultimate Guide [Updated 2020]](https://robots.net/wp-content/uploads/2019/10/how_to_make_robots-01-383x1024.jpg)