Introduction
Welcome to the world of Acer Aspire notebooks and solid state drives (SSDs). If you are a tech enthusiast or a computer user looking for advanced storage solutions, you might have heard of SSDs and their benefits. In this article, we will explore what a solid state drive looks like in an Acer Aspire notebook and how it contributes to enhancing the performance of your device.
As technology continues to advance, the traditional hard disk drives (HDDs) are increasingly being replaced by SSDs due to the numerous advantages they offer. SSDs are flash memory devices that enable faster data access, improved durability, and enhanced reliability compared to HDDs.
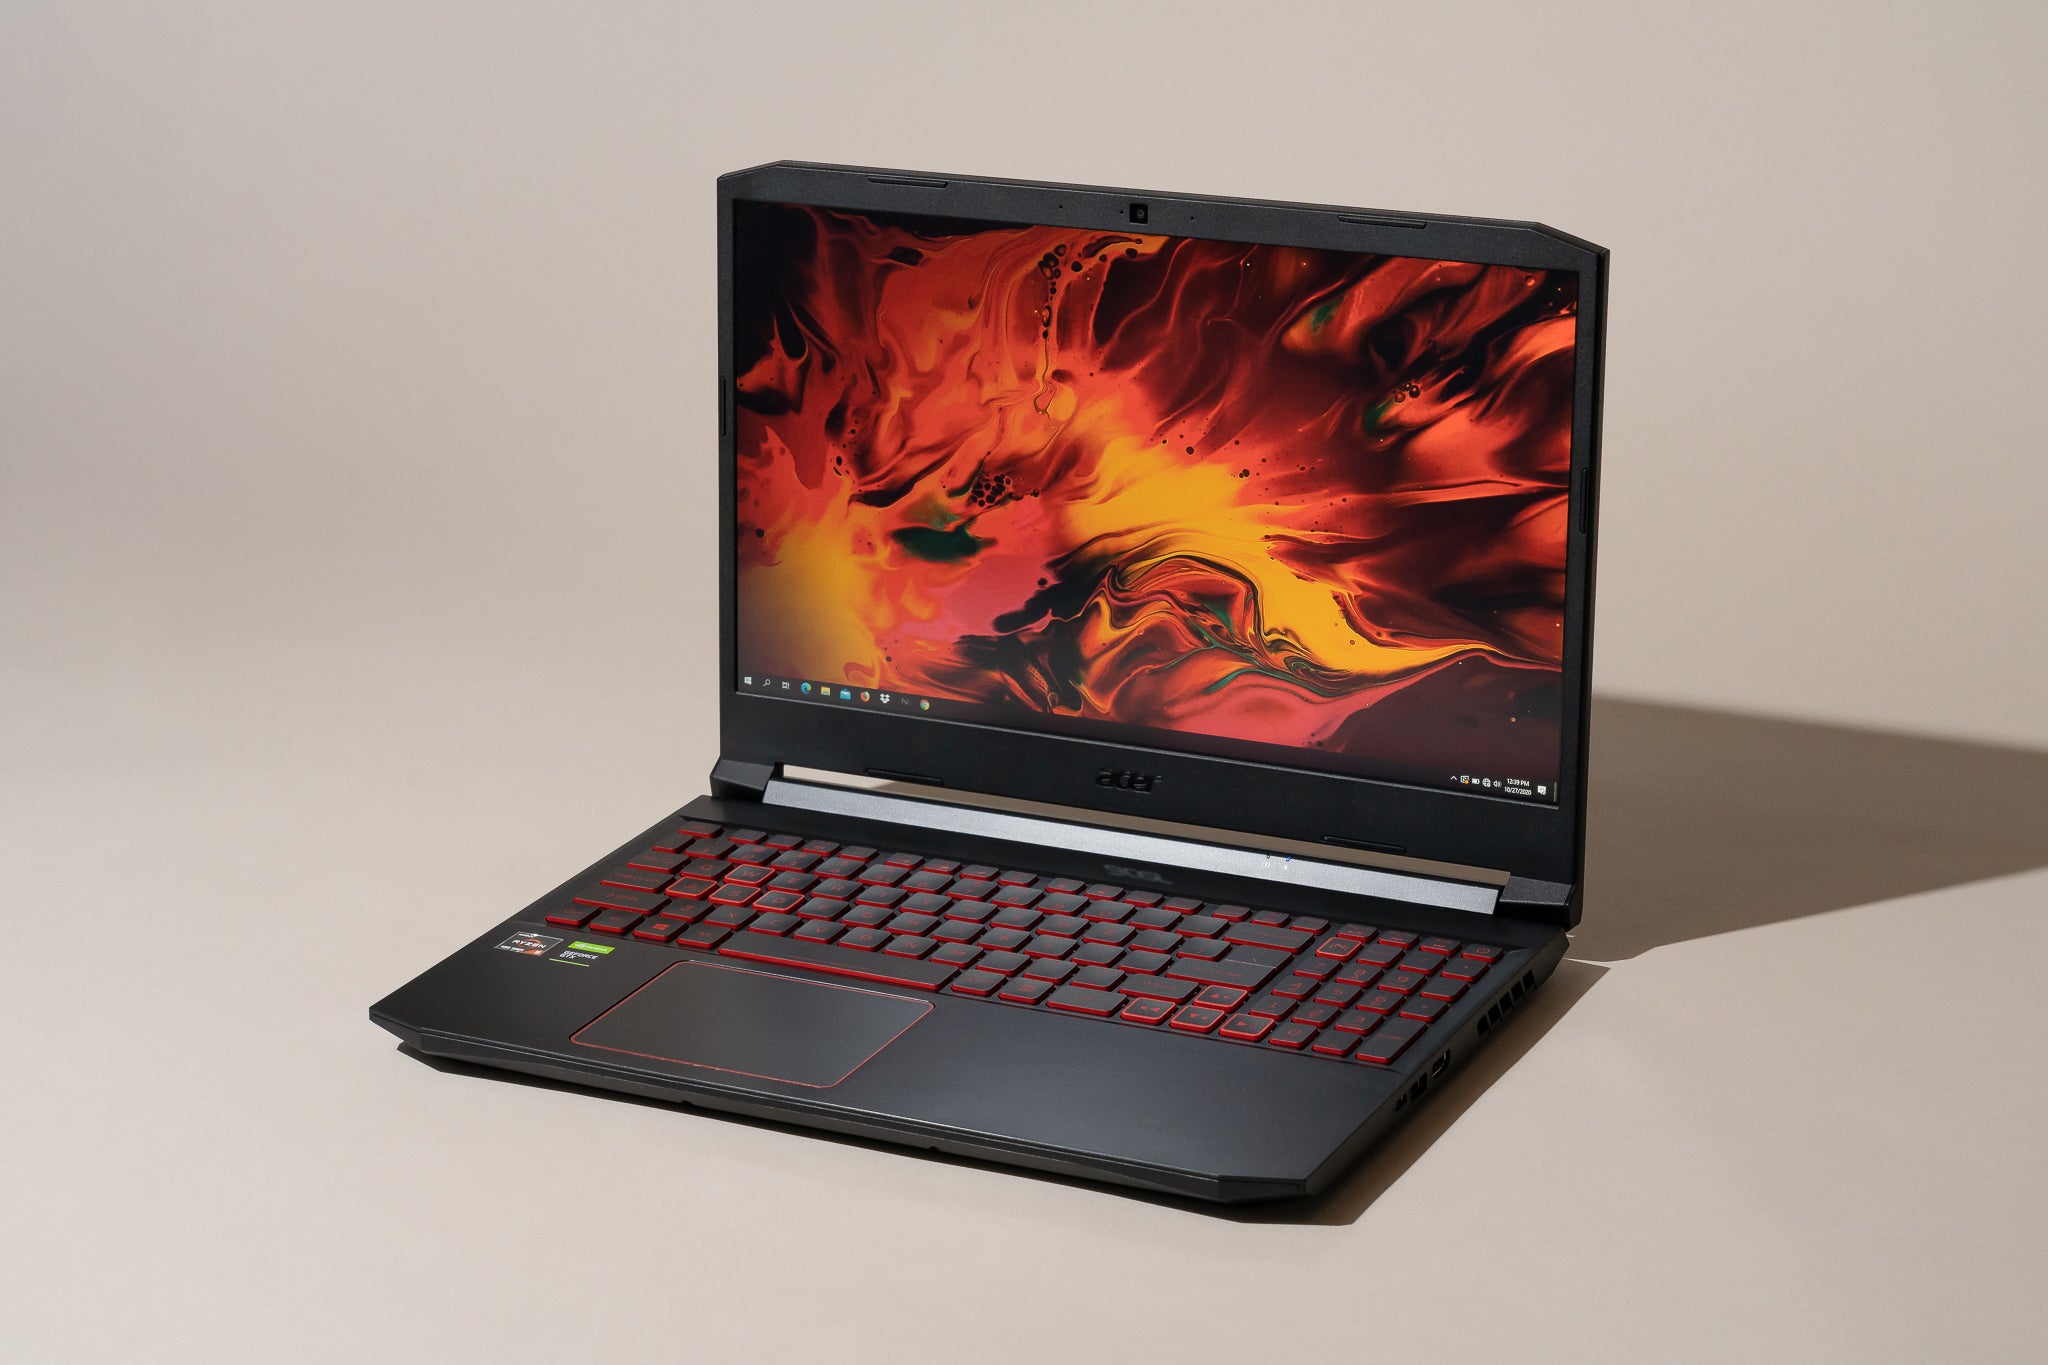
Understanding the internals of an Acer Aspire notebook is essential in order to visualize how a solid state drive fits into the overall design. The Acer Aspire series is known for its sleek and compact design, making it a popular choice among users who prioritize portability without compromising performance.
In the following sections, we will delve into the details of solid state drives and their benefits, as well as provide insights into identifying and accessing the SSD in an Acer Aspire notebook. By the end of this article, you will have a comprehensive understanding of what a solid state drive looks like in an Acer Aspire notebook and how to make the most of its capabilities.
Overview of Solid State Drives
A solid state drive (SSD) is a storage device that uses integrated circuits to store data persistently. Unlike traditional hard disk drives (HDDs), which use spinning disks and mechanical read/write heads, SSDs are based on flash memory technology. This results in significantly faster data access times, improved durability, and enhanced shock resistance.
One of the key advantages of SSDs is their speed. With no moving parts involved, data can be accessed and transferred at a much higher rate compared to HDDs. This leads to faster boot times, quicker application launches, and reduced file transfer durations. This enhanced performance greatly benefits both personal and professional users, enabling them to complete tasks more efficiently and enjoy a seamless computing experience.
Another important aspect of SSDs is their durability. The absence of moving parts means there are fewer potential points of failure, making SSDs more resistant to physical shocks and vibrations. This makes them ideal for use in portable devices such as laptops, where accidental bumps or drops may occur. Additionally, SSDs are not affected by magnetic fields, which can corrupt data on traditional HDDs.
SSDs also excel in energy efficiency. They consume less power compared to HDDs, making them an excellent choice for devices that prioritize battery life, such as laptops and tablets. This means you can enjoy longer usage times and reduce energy consumption, contributing to a more environmentally friendly computing experience.
Furthermore, SSDs generate less noise and heat compared to HDDs. The absence of moving parts eliminates the mechanical sounds associated with traditional hard drives, providing a quieter computing environment. SSDs also produce less heat during operation, which is especially beneficial in smaller devices with limited cooling capabilities.
In summary, solid state drives offer several advantages over traditional hard disk drives. Their high-speed performance, increased durability, improved energy efficiency, and reduced noise and heat make them a popular choice for users seeking enhanced storage solutions. Now that we have an overview of SSDs, let’s dive into the specifics of identifying a solid state drive in an Acer Aspire notebook.
Benefits of Solid State Drives
Solid state drives (SSDs) offer a range of significant benefits that make them a preferred choice for many computer users. Let’s explore some of these advantages:
1. Faster Performance: One of the main benefits of SSDs is their blazing-fast speed. With their flash memory technology, SSDs can read and write data much faster than traditional hard disk drives (HDDs). This translates into quicker boot times, faster application launches, and improved overall system responsiveness.
2. Enhanced Reliability: Since SSDs have no moving parts, they are more reliable and durable compared to HDDs. Traditional hard drives are susceptible to mechanical failures, such as head crashes or motor failures. SSDs, on the other hand, are not affected by these issues, making them more resistant to shock, vibrations, and other physical damage.
3. Improved Power Efficiency: SSDs consume less power than HDDs, resulting in better energy efficiency. This is particularly advantageous for laptops and other portable devices, as it helps extend battery life and reduce the need for frequent recharging. It also contributes to a cooler and quieter operation, as less power leads to less heat generation.
4. Noiseless Operation: While traditional hard drives produce noise due to the spinning disks and moving parts, SSDs operate silently. This lack of mechanical components not only makes your computer quieter but also eliminates the distraction typically associated with HDDs during heavy disk usage.
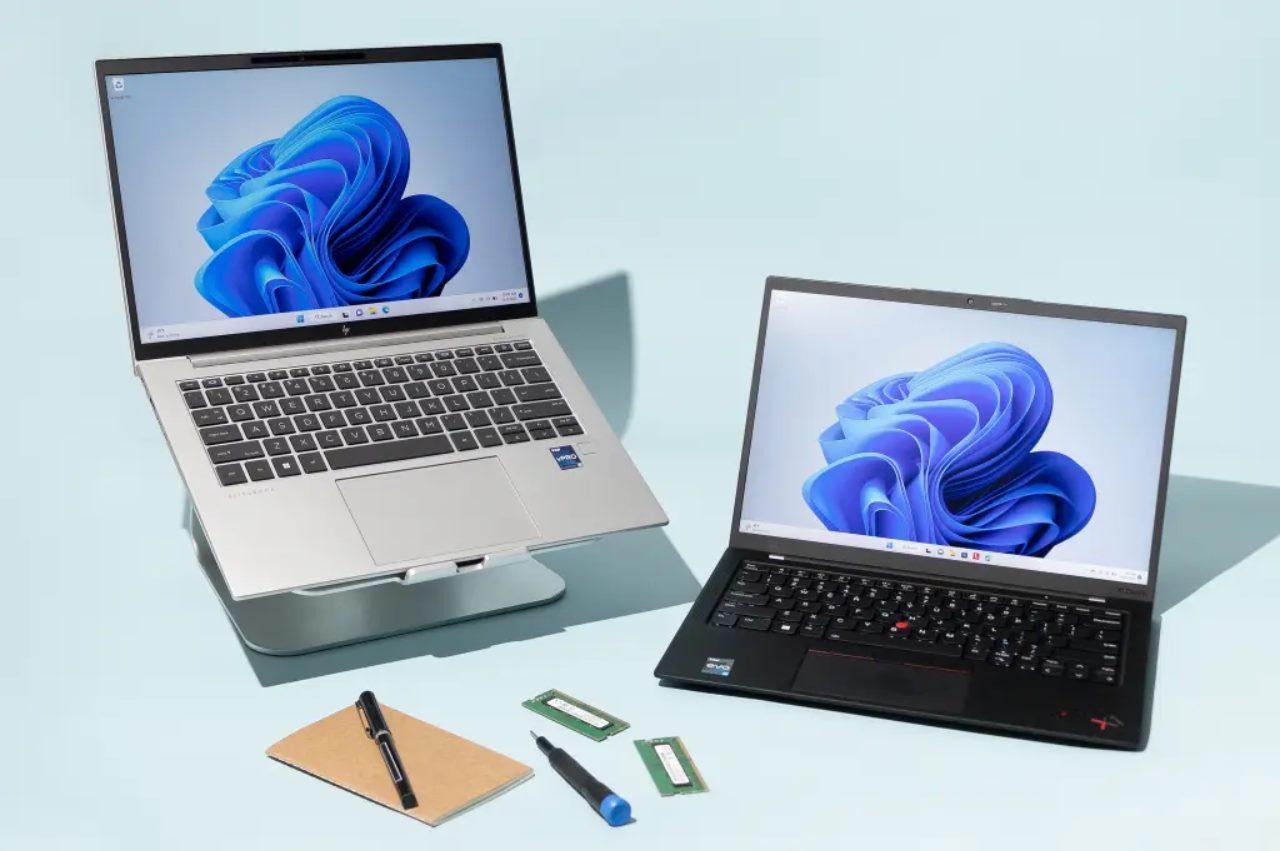
5. Compact and Lightweight: Solid state drives are much smaller and lighter than traditional hard drives. This makes them a perfect fit for slim and lightweight devices like ultrabooks and tablets, where space and weight are at a premium. Compact SSDs also allow for more flexibility when it comes to installing them in different form factors.
6. Secure Data Storage: SSDs offer secure data storage capabilities, including robust encryption options and advanced error-checking mechanisms. This ensures that your sensitive information remains protected, even in the event of device theft or unauthorized access.
7. Reduced Seek Times: Unlike HDDs, which require moving read/write heads to physically locate data on spinning disks, SSDs have near-instantaneous seek times. This means that data can be accessed and retrieved much more quickly, resulting in improved data retrieval and transfer speeds.
These benefits of solid state drives make them an attractive choice for users looking for faster, more reliable, and efficient storage solutions. Now that we understand the advantages of SSDs, let’s dive into the internal components of an Acer Aspire notebook to identify the solid state drive.
Acer Aspire Notebook: Understanding the Internal Components
Before we explore what a solid state drive (SSD) looks like in an Acer Aspire notebook, let’s familiarize ourselves with the internal components of this popular device.
The Acer Aspire notebook series is known for its sleek design and powerful performance. These notebooks typically house a range of essential components that work together to deliver an excellent user experience. Let’s take a closer look at some of these key components:
1. Processor: The processor, or CPU (Central Processing Unit), is the “brain” of the computer. It executes instructions, performs calculations, and manages data processing tasks. Acer Aspire notebooks often feature powerful processors from Intel or AMD, ensuring smooth and efficient multitasking capabilities.
2. Memory (RAM): Random Access Memory (RAM) is vital for running multiple applications simultaneously and for quick data access. Acer Aspire notebooks come with various RAM configurations, allowing users to choose the right amount of memory based on their needs. Higher RAM capacity leads to improved system performance and smoother multitasking.
3. Graphics Card: Acer Aspire notebooks often come equipped with dedicated graphics cards from manufacturers like NVIDIA or AMD. This enhances the device’s ability to handle graphics-intensive tasks such as gaming, video editing, and graphic design. It ensures smoother graphics rendering and better overall visual experience.
4. Display: Acer Aspire notebooks feature vibrant displays with high resolutions, providing crisp and clear visuals. Whether you’re watching movies, editing photos, or working on documents, the display on an Acer Aspire notebook ensures an immersive viewing experience.
5. Storage Drive: Now, let’s focus on the storage drive, which is where the solid state drive (SSD) comes into play. Traditional HDDs have been the go-to storage option for many years, but SSDs have gained popularity due to their exceptional speed and reliability.
6. Solid State Drive (SSD): The SSD is the main storage device in an Acer Aspire notebook. It is responsible for storing the operating system, applications, documents, media files, and other data. The SSD in an Acer Aspire notebook is typically smaller and lighter than an HDD, contributing to the device’s overall portability.
7. Battery: Acer Aspire notebooks are designed with long-lasting batteries to ensure extended usage times. The battery capacity and performance vary depending on the model and the specific user requirements. Longer battery life allows for better mobility and productivity, especially when you are on the go.
Understanding these internal components is crucial to identifying and accessing the solid state drive in an Acer Aspire notebook. In the next section, we will learn how to locate the SSD in your Acer Aspire notebook and understand its physical appearance.
Identifying the Solid State Drive in an Acer Aspire Notebook
Now that we have a basic understanding of the internal components of an Acer Aspire notebook, let’s dive into how to identify the solid state drive (SSD) in your device.
The SSD is the primary storage device in an Acer Aspire notebook, responsible for storing your data, operating system, and applications. To identify the SSD, follow these steps:
1. Manufacturer Documentation: Start by referring to the manufacturer’s documentation or user manual that came with your Acer Aspire notebook. These resources often provide information about the internal components and their locations, including the SSD.
2. Device Manager: Another way to identify the SSD is through the Device Manager on your Acer Aspire notebook. Open the Device Manager by right-clicking on the Start menu and selecting “Device Manager.” Look for the “Disk drives” section, where you should find the SSD listed by its model name or number.
3. Task Manager: You can also use the Task Manager to identify the SSD. Press the Ctrl+Shift+Esc keys simultaneously to open the Task Manager. Click on the “Performance” tab and then select “Disk.” Look for the SSD, which should be listed along with its storage capacity.
4. Physical Inspection: If you prefer a hands-on approach, you can physically inspect your Acer Aspire notebook to locate the solid state drive. Keep in mind that opening the device may void any warranty, so proceed with caution. Look for a small, rectangular-shaped component inside your notebook, usually positioned horizontally. The SSD is typically connected to the motherboard via a data cable.
5. Software Tools: There are several software tools available that can provide detailed information about your computer’s hardware, including the SSD. Programs such as CPU-Z, Speccy, or CrystalDiskInfo can help you identify the SSD model and other relevant details.
Once you have successfully identified the solid state drive in your Acer Aspire notebook, you can move on to understanding its physical appearance, which we will explore in the next section.
It is worth noting that the specific steps for identifying the SSD may vary slightly depending on the Acer Aspire model and the operating system you are using. Therefore, it is recommended to refer to the device documentation or the manufacturer’s website for accurate and model-specific instructions.
Physical Appearance of a Solid State Drive in an Acer Aspire Notebook
Now that we have identified the solid state drive (SSD) in your Acer Aspire notebook, let’s take a closer look at its physical appearance. Understanding the physical characteristics of the SSD will help you correctly identify and handle it when performing any maintenance or replacement tasks.
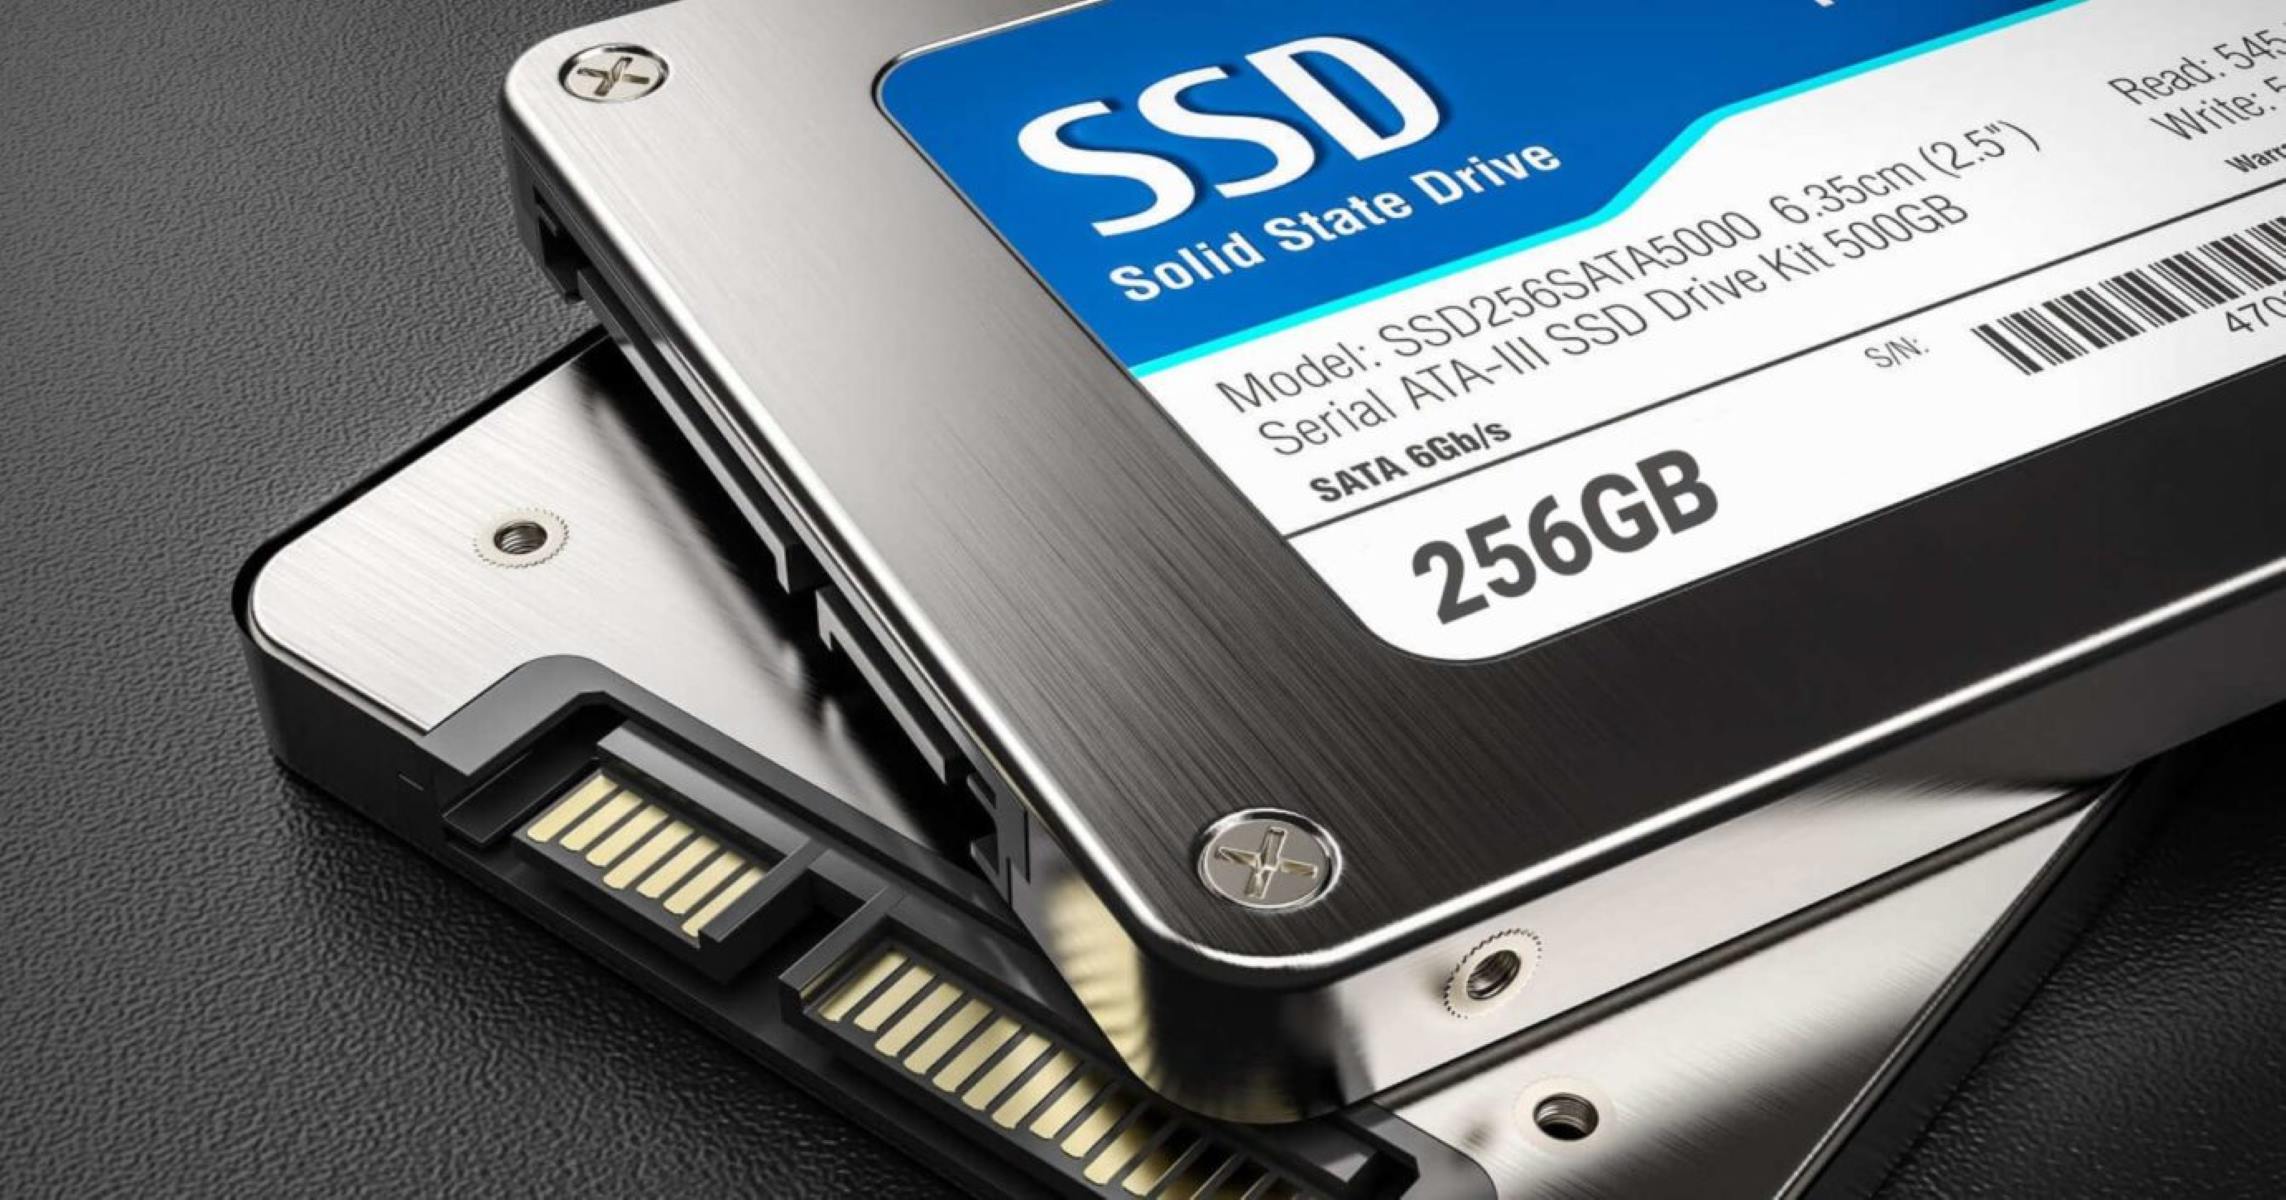
1. Size and Form Factor: The SSD in an Acer Aspire notebook is typically smaller and lighter than traditional hard disk drives (HDDs). It is designed to fit into specific form factors, such as the 2.5-inch form factor commonly found in laptops. This smaller size allows for greater flexibility in terms of laptop design and aids in the overall weight reduction of the device.
2. Connector: The SSD in an Acer Aspire notebook is connected to the motherboard via a connector called the SATA (Serial Advanced Technology Attachment) connector. This connector allows for data transfer between the SSD and other components of the notebook. SATA connectors usually have a thin, L-shaped design and multiple metal pins for secure connection.
3. Solid State Storage Chips: The SSD consists of solid-state storage chips typically made of NAND flash memory. These chips store your data and operate without any moving parts, contributing to their durability and faster data access speeds. The number of storage chips may vary depending on the capacity of the SSD.
4. Label or Sticker: The SSD in an Acer Aspire notebook often has a label or sticker on it. This label may contain crucial information such as the SSD model name, storage capacity, and other specifications. It is essential to keep this information handy for future reference or when looking for a compatible replacement SSD.
5. Mounting Screws: On some Acer Aspire notebook models, the SSD may be secured to the device using mounting screws. These screws hold the SSD firmly in place to prevent any movement or damage during regular usage. If you need to replace the SSD, make sure to remove and reattach the mounting screws correctly.
6. Protective Casing: The SSD may be enclosed in a protective casing or metal housing. This casing provides physical protection and also helps dissipate heat generated during SSD operation. The casing may also have ventilation holes to ensure proper airflow and temperature regulation.
It is essential to handle the SSD with care, avoiding any excessive force or physical impact that could damage the delicate components inside. When performing any maintenance or replacement tasks, make sure to follow the manufacturer’s guidelines or consult a professional if you are unsure.
Now that we have explored the physical appearance of a solid state drive in an Acer Aspire notebook, let’s move on to the practical aspect of accessing and replacing the SSD in your device.
How to Access and Replace the Solid State Drive in an Acer Aspire Notebook
If you need to replace or upgrade the solid state drive (SSD) in your Acer Aspire notebook, follow these steps to safely access and replace the SSD:
1. Backup Your Data: Before making any hardware changes, it is crucial to back up your data to prevent any loss or corruption. You can use external hard drives, cloud storage solutions, or data migration software to create a backup of your important files and documents.
2. Power Off and Disconnect: Power off your Acer Aspire notebook and disconnect it from any power source. Make sure to also remove any external devices or cables connected to the notebook.
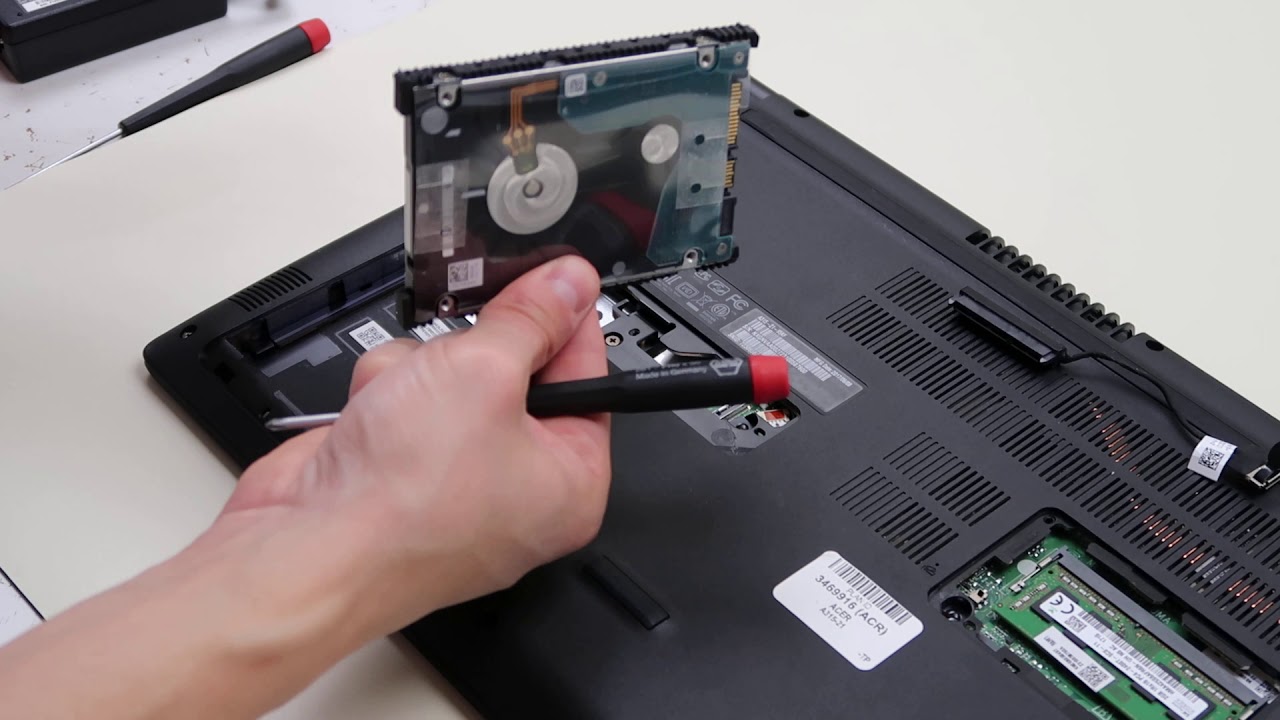
3. Remove the Back Cover: Most Acer Aspire notebooks have a removable back cover that provides access to the internal components. Use a screwdriver, following the instructions in the user manual, to remove the screws securing the back cover. Gently pry the cover open, being careful not to force it and risk damaging the components inside.
4. Locate the SSD: Once the back cover is removed, you should be able to locate the solid state drive (SSD). It is usually positioned in a designated slot or bay, often secured with screws or brackets. Take note of how the SSD is connected to the motherboard via the SATA connector.
5. Disconnect and Remove the SSD: Carefully disconnect the SATA connector from the SSD, ensuring not to pull on the cable itself. If the SSD is secured with screws or brackets, remove them using a screwdriver. Gently slide out the SSD from its slot or bay, being cautious not to apply excessive force.
6. Install the New SSD: Before installing the new SSD, compare its physical dimensions and specifications with the original SSD to ensure compatibility. Align the new SSD with the slot or bay, and gently slide it in. If required, secure it with screws or brackets using the instructions provided with the new SSD.
7. Connect the SATA Connector: Reconnect the SATA connector to the new SSD. Make sure the connection is secure but avoid applying excessive force. Double-check that the connector is aligned correctly to avoid any misalignment issues.
8. Reassemble the Notebook: Carefully place the back cover back onto the notebook and secure it with the screws. Make sure all the screws are tightened evenly and not over-tightened. Ensure the cover is properly aligned with the notebook’s chassis before tightening the screws completely.
9. Power On and Verify: Once the notebook is reassembled, reconnect it to the power source and power it on. Verify that the new SSD is recognized by the system by checking the Device Manager or using software tools that display hardware information. You can also restore your data from the backup made in Step 1.
It is important to note that accessing and replacing the SSD may vary depending on the specific Acer Aspire model and its design. Therefore, it is advisable to consult the user manual or seek assistance from a professional if you are unsure about the process.
By following these steps, you can safely and effectively access and replace the solid state drive in your Acer Aspire notebook, allowing you to enjoy the benefits of increased storage capacity or improved performance.
Conclusion
In this article, we have explored the solid state drive (SSD) in an Acer Aspire notebook, understanding its physical appearance, benefits, and the process of accessing and replacing it. SSDs bring a range of advantages to Acer Aspire notebooks, including faster performance, enhanced reliability, improved power efficiency, and quieter operation.
We learned how to identify the SSD in an Acer Aspire notebook using various methods such as referring to manufacturer documentation, checking the Device Manager, and physically inspecting the device. We also discussed the physical appearance of the SSD, including its size, connector, solid-state storage chips, label or sticker, mounting screws, and protective casing.
Furthermore, we provided a step-by-step guide on how to access and replace the SSD in an Acer Aspire notebook, emphasizing the need to back up data, power off the notebook, remove the back cover, locate and disconnect the SSD, install the new SSD, and finally reassemble the notebook.
It is important to note that the specific steps and details may vary depending on the Acer Aspire model and the operating system being used. Therefore, always refer to the manufacturer’s documentation or consult a professional if you have any doubts or concerns.
By understanding the internal components and physical characteristics of the SSD in an Acer Aspire notebook, you can make informed decisions regarding storage upgrades or replacement. Whether you’re seeking increased storage capacity or improved performance, the SSD in an Acer Aspire notebook is a crucial component that plays a significant role in enhancing your overall computing experience.
So, go ahead and embrace the power of solid state drives in your Acer Aspire notebook, unlocking the true potential of your device with faster data access, improved durability, and enhanced reliability.