Introduction
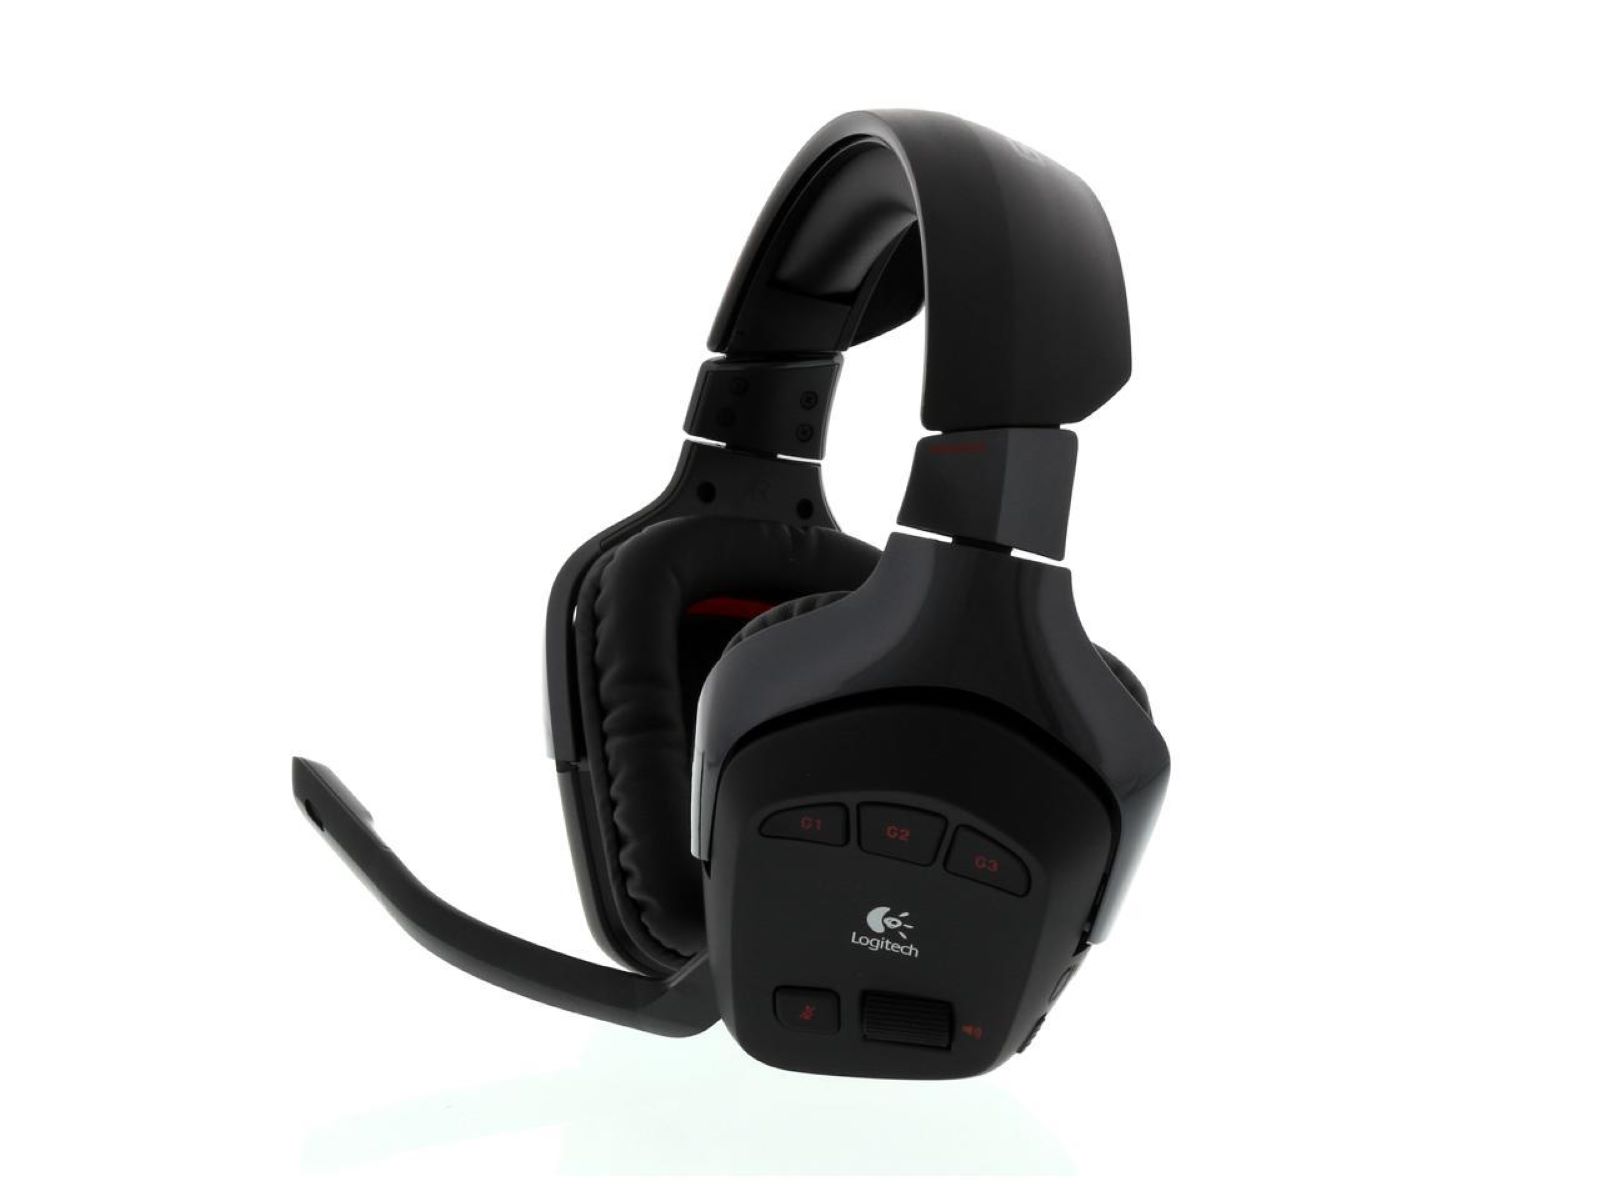
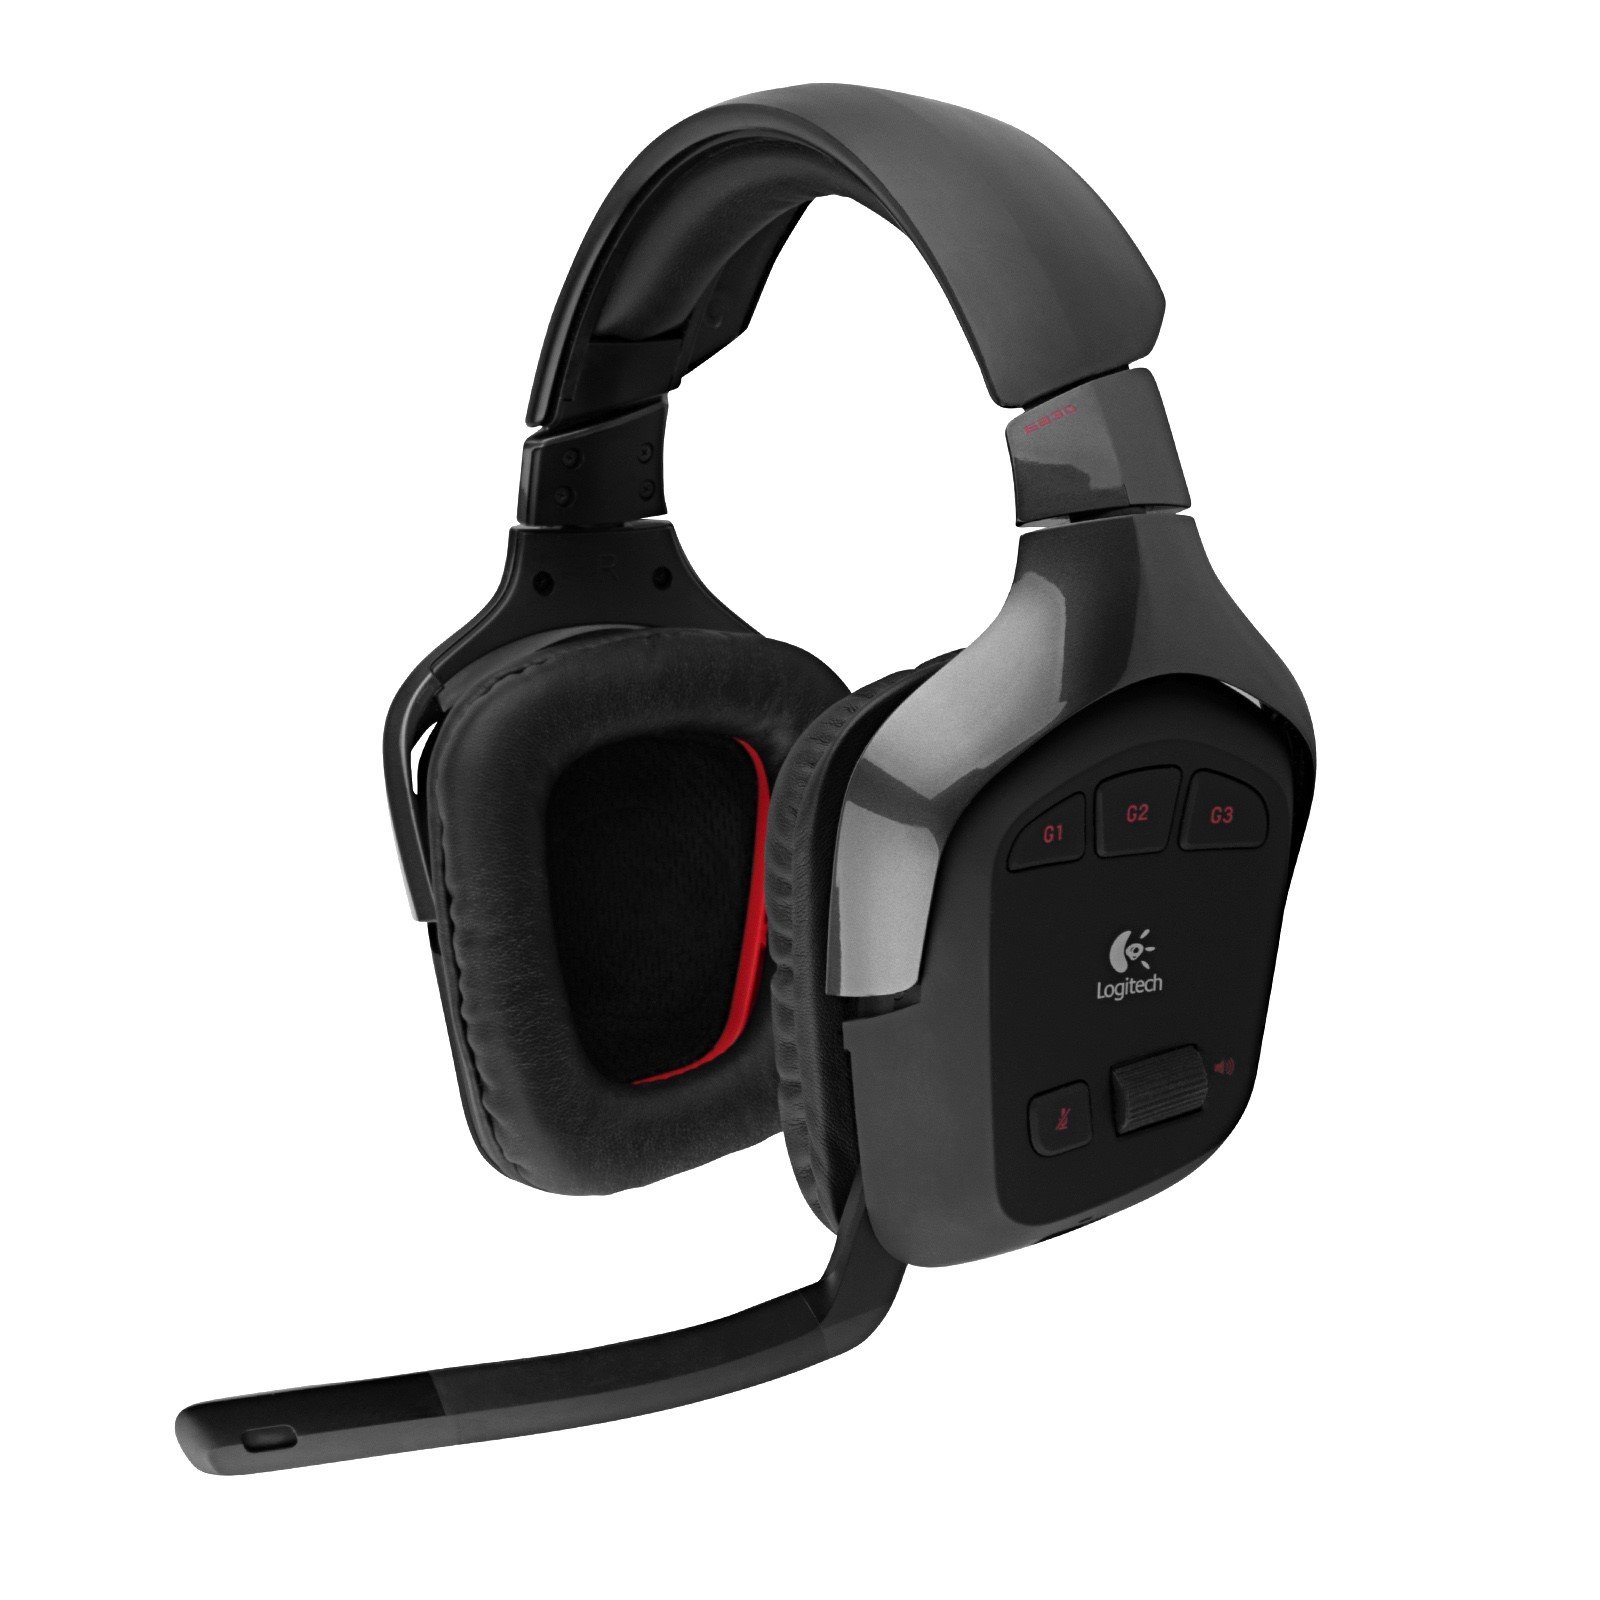
Welcome to this guide on how to turn on surround sound on the Logitech G930 headset. If you’re a gaming enthusiast or someone who enjoys immersive audio experiences, then you’re in the right place. The Logitech G930 is a high-quality wireless headset that offers exceptional sound performance, allowing you to fully immerse yourself in your favorite games, movies, or music.
Surround sound technology creates a realistic and immersive audio environment by simulating multiple audio channels. This gives you a sense of directional sound, making the gaming or entertainment experience more immersive and lifelike. By enabling surround sound on your Logitech G930 headset, you can transform your gaming sessions and audio experiences to a whole new level.
In this guide, we will walk you through the step-by-step process of enabling surround sound on the Logitech G930 headset. Whether you’re a seasoned gamer or a casual user, this guide will help you make the most out of your headset and enhance your overall audio experience.
It is worth mentioning that in order to enable surround sound on the Logitech G930 headset, you will need to install the Logitech Gaming Software, which is a dedicated software that allows you to customize and optimize the settings of your Logitech gaming peripherals. So, let’s get started with the installation process and dive into the world of surround sound.
Step 1: Installing Logitech Gaming Software
The first step in enabling surround sound on your Logitech G930 headset is to install the Logitech Gaming Software. This software is specifically designed to provide you with complete control over your Logitech gaming peripherals, including the G930 headset.
Follow these steps to install the Logitech Gaming Software:
- Visit the official Logitech website and navigate to the Logitech Gaming Software download page.
- Click on the download link to start the download process. The software is compatible with both Windows and Mac operating systems, so select the appropriate version for your computer.
- Once the download is complete, locate the installer file and double-click on it to initiate the installation process.
- Follow the on-screen instructions to complete the installation. Make sure to read and accept the license agreement before proceeding.
- Once the installation is complete, you will be prompted to launch the Logitech Gaming Software. Ensure that your Logitech G930 headset is connected to your computer before launching the software.
After successfully installing the Logitech Gaming Software, you are now ready to proceed to the next step of the process, which involves connecting your Logitech G930 headset to your computer.
Note: If you already have the Logitech Gaming Software installed on your computer, make sure it is updated to the latest version to ensure compatibility and access to all the features and settings for your Logitech G930 headset.
Step 2: Connecting the Logitech G930 headset
Now that you have installed the Logitech Gaming Software, it’s time to connect your Logitech G930 headset to your computer. The G930 headset offers wireless connectivity, allowing you to move around freely without being tethered to your device.
Follow these steps to connect your Logitech G930 headset:
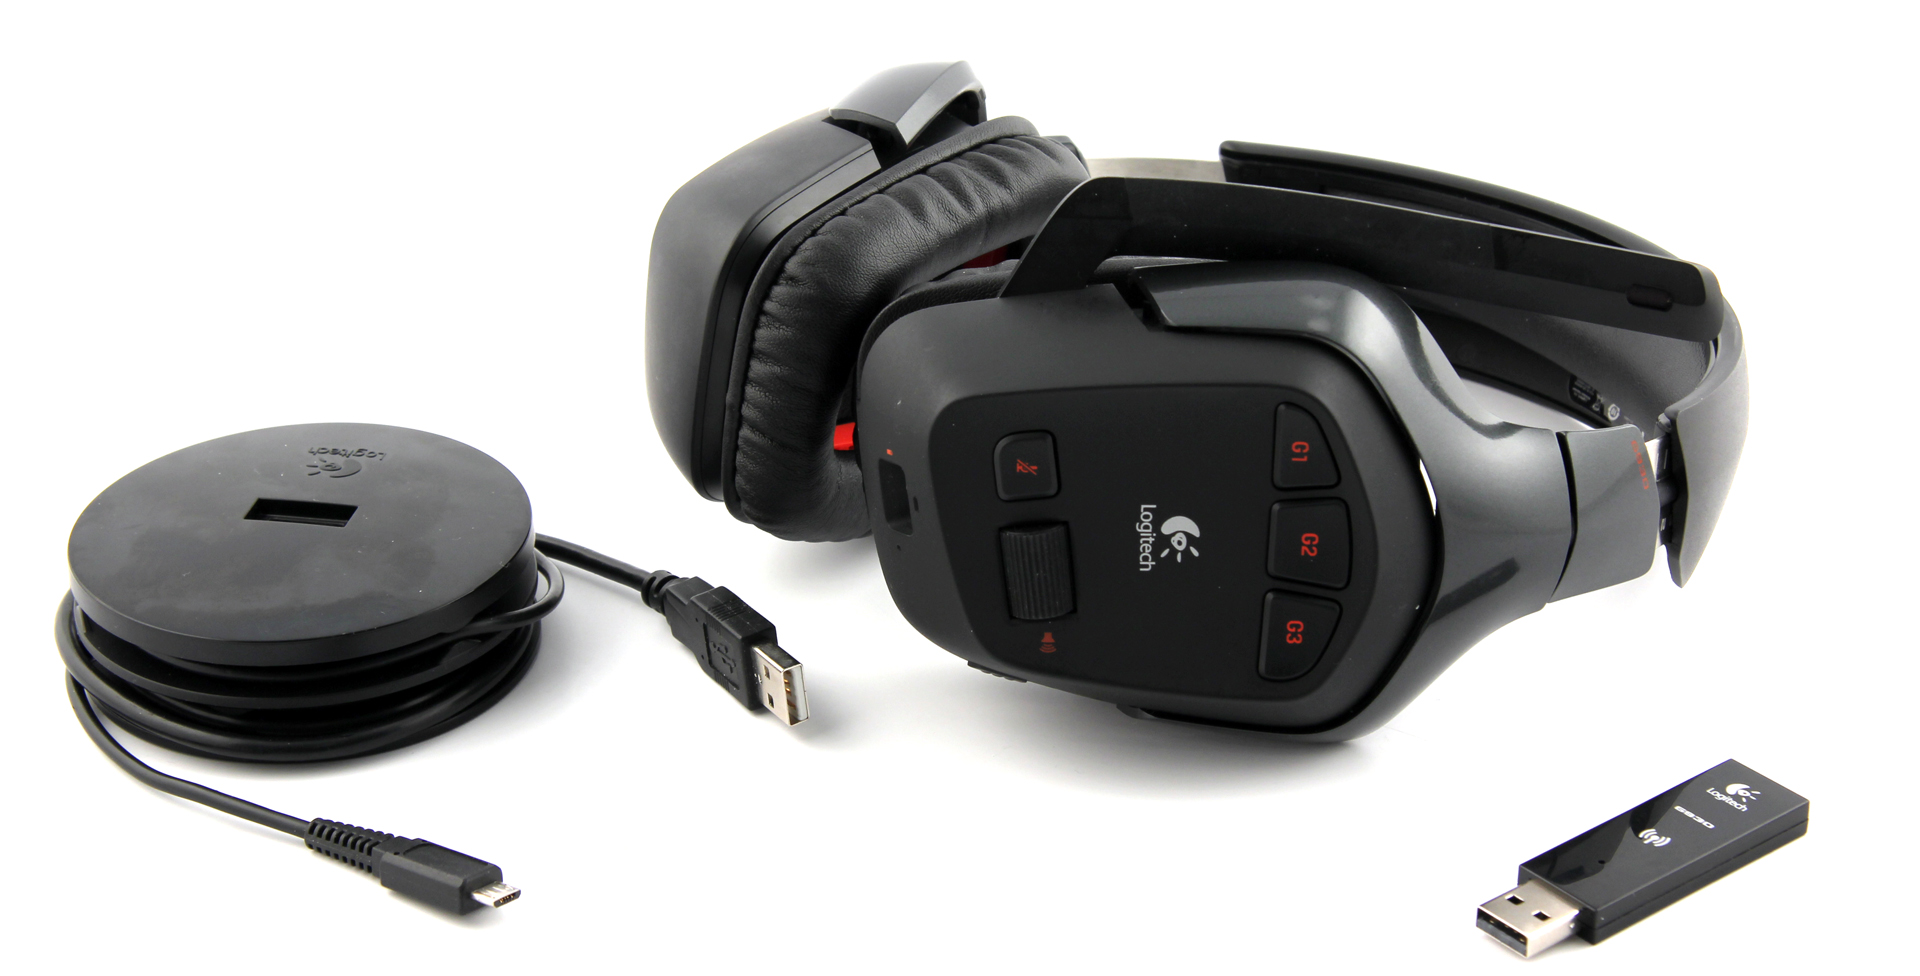
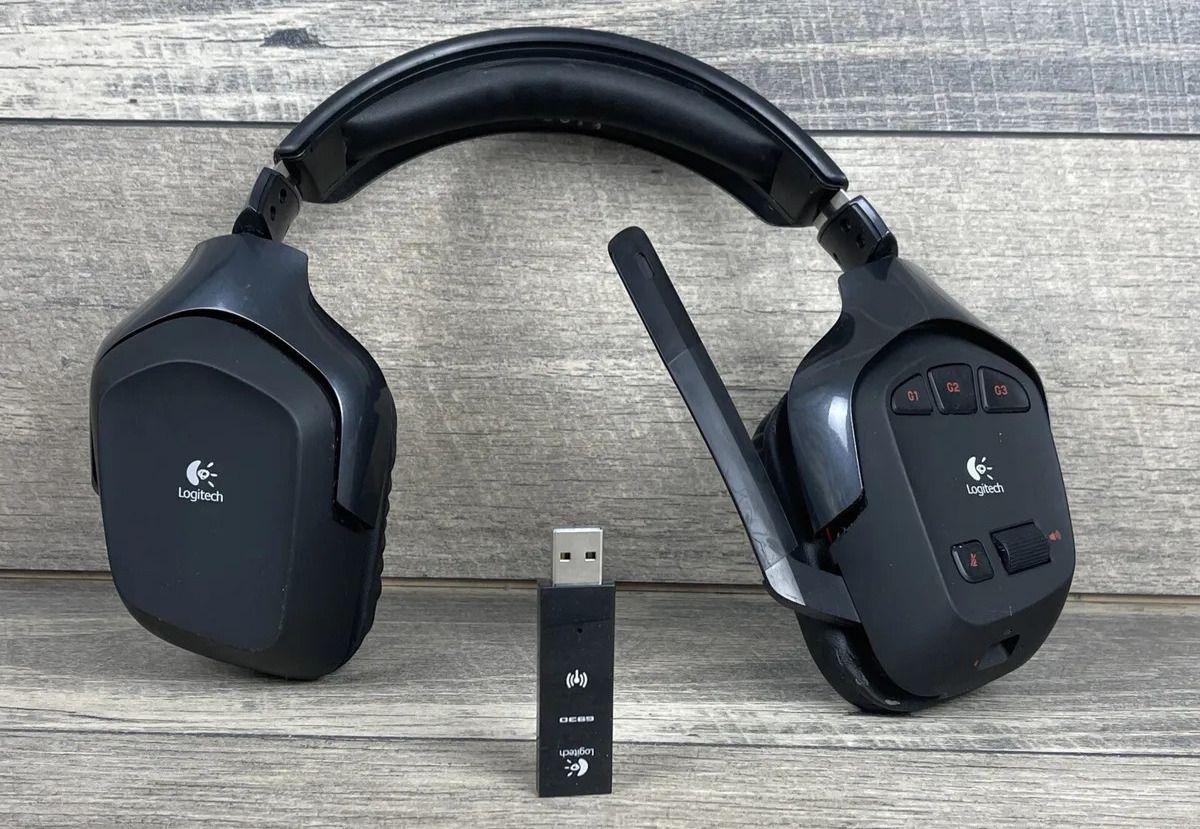
- Locate the USB wireless adapter that comes with your Logitech G930 headset. It should look like a small USB dongle.
- Insert the USB wireless adapter into an available USB port on your computer. Make sure to use a USB 2.0 port for optimal performance.
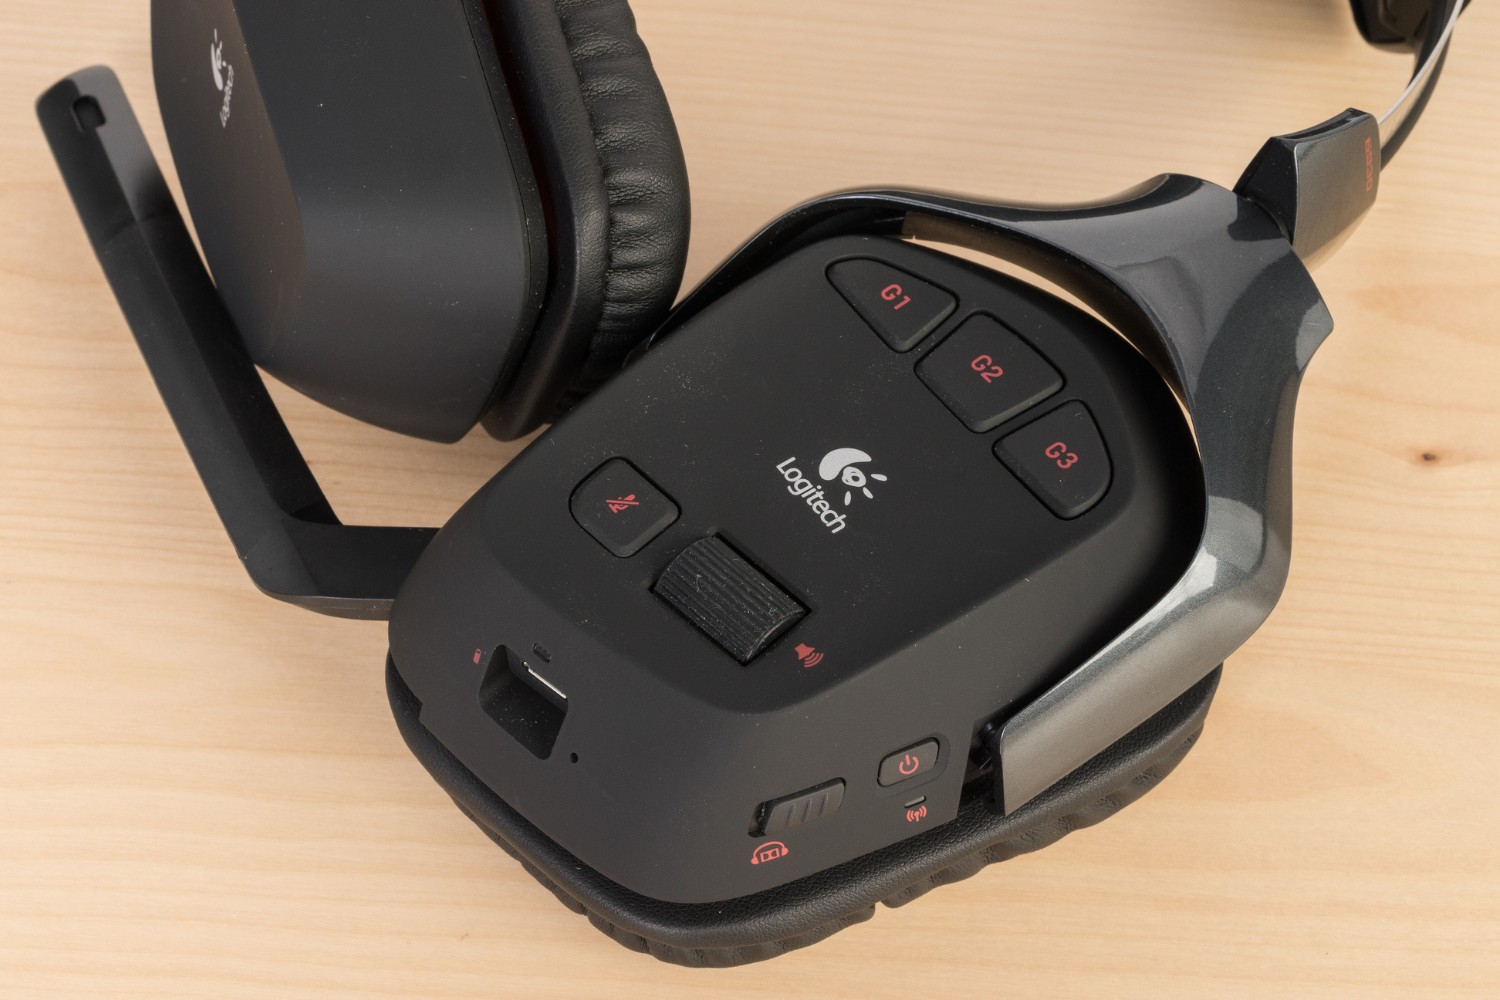
- Turn on your Logitech G930 headset by sliding the power switch located on the headset. The power indicator light should illuminate.
- Press and hold the connect button on the USB wireless adapter for a few seconds. The LED on the adapter will start blinking rapidly, indicating that it is searching for your headset.
- Within a few moments, your Logitech G930 headset will establish a wireless connection with the USB adapter. The LED on the headset will stop blinking, and you will hear a beep, indicating a successful connection.
Once the connection is established, your Logitech G930 headset is now ready to use. The wireless range of the headset is typically around 40 feet, so you can move freely within that range without losing the signal.
It is important to ensure that the USB wireless adapter is securely connected to your computer and that there are no obstructions or interference that may degrade the wireless signal. Additionally, make sure that the headset is charged or connected to a power source to ensure uninterrupted usage.
Now that your Logitech G930 headset is successfully connected, it’s time to move on to the next step and launch the Logitech Gaming Software.
Step 3: Launching Logitech Gaming Software
After connecting your Logitech G930 headset to your computer, it’s time to launch the Logitech Gaming Software. This intuitive software allows you to customize and optimize various settings for your Logitech gaming peripherals, including the G930 headset.
Follow these steps to launch the Logitech Gaming Software:
- Locate the Logitech Gaming Software icon on your desktop or in your Start menu. It is usually represented by a white icon with a blue Logitech logo.
- Double-click on the Logitech Gaming Software icon to launch the application.
- Alternatively, you can right-click on the icon and select “Open” from the context menu.
- Once the Logitech Gaming Software is launched, you will see a user-friendly interface that allows you to access various customization options for your Logitech peripherals.
If you have not yet installed the Logitech Gaming Software, refer to Step 1 for the installation process.
Upon launching the Logitech Gaming Software, ensure that your Logitech G930 headset is turned on and connected to your computer. The software should automatically detect your headset and display it in the connected devices list.
With the Logitech Gaming Software now open and your G930 headset recognized, you are one step closer to enabling surround sound for an immersive audio experience. In the next step, we will navigate to the surround sound settings within the software.
Step 4: Navigating to the Surround Sound settings
Now that you have launched the Logitech Gaming Software, it’s time to navigate to the surround sound settings for your Logitech G930 headset. These settings will allow you to enable and customize the surround sound experience according to your preferences.
Follow these steps to navigate to the surround sound settings:
- In the Logitech Gaming Software interface, locate and select your Logitech G930 headset from the list of connected devices. It should be displayed with its model name.
- Once your headset is selected, you will see the available settings and options specifically for the G930 headset.
- Navigate to the “Sound” or “Audio” tab within the Logitech Gaming Software. The exact location of this tab may vary depending on the version of the software you have installed.
- Within the “Sound” or “Audio” tab, you should see an option related to surround sound. This may be labeled as “Surround Sound” or “Virtual Surround Sound.”
By accessing the surround sound settings within the Logitech Gaming Software, you gain control over the virtual 7.1 surround sound capabilities of your Logitech G930 headset. Surround sound technology simulates a multi-channel audio experience, allowing you to hear sounds from different directions, enhancing immersion and spatial awareness while gaming or watching movies.
In the next step, we will explore how to enable surround sound on your Logitech G930 headset.
Step 5: Enabling Surround Sound
Now that you have navigated to the surround sound settings within the Logitech Gaming Software, it’s time to enable the surround sound feature on your Logitech G930 headset. Enabling surround sound will enhance your audio experience, providing a more immersive and realistic sound environment.
Follow these steps to enable surround sound:
- In the surround sound settings within the Logitech Gaming Software, locate the toggle or checkbox that enables surround sound functionality. It may be labeled as “Enable Surround Sound” or something similar.
- Click on the toggle or checkbox to enable surround sound.
- Some versions of the Logitech Gaming Software may provide additional customization options for surround sound. Explore these options to adjust the surround sound settings according to your preference.
- Once you have enabled surround sound, make sure to save the settings before proceeding.
Enabling surround sound on your Logitech G930 headset will allow you to experience multi-channel audio, enhancing your gaming sessions, movie watching, and music listening. You will be able to hear directional cues, footsteps, and environmental sounds with greater accuracy, giving you a competitive edge in games and a more immersive entertainment experience.
With surround sound enabled, you’re now ready to further customize and fine-tune the surround sound settings to suit your specific audio preferences. In the next step, we will explore how to adjust the surround sound settings within the Logitech Gaming Software.
Step 6: Adjusting Surround Sound Settings
Now that you have enabled surround sound on your Logitech G930 headset, you have the option to further customize and adjust the surround sound settings according to your preferences. Fine-tuning these settings can enhance the immersive audio experience and optimize it for different types of content.
Follow these steps to adjust the surround sound settings:
- In the Logitech Gaming Software interface, navigate back to the surround sound settings for your Logitech G930 headset.
- Look for options such as “Surround Sound Mode,” “Equalizer,” or “Sound Presets.”
- Explore these options to find the settings that best suit your audio preferences. You can adjust parameters like bass, treble, mids, and other audio enhancements.
- Some versions of the Logitech Gaming Software may provide additional customization options, such as room size simulation or sound profiles for specific genres.
- Experiment with different settings and listen carefully to the changes in the audio output as you make adjustments. Find the balance that provides the best surround sound experience for you.
- Remember to save your settings to apply the adjustments.
Keep in mind that the optimal surround sound settings can vary depending on the content you are experiencing. Gaming, movies, and music may require different settings to ensure the best audio experience. Don’t hesitate to fine-tune the settings to match your preferences and maximize your enjoyment.
Once you have adjusted the surround sound settings to your liking, you’re ready to test the functionality and ensure everything is working as expected. In the next step, we will explore how to test the surround sound capabilities of your Logitech G930 headset.
Step 7: Testing Surround Sound Functionality
After enabling and adjusting the surround sound settings on your Logitech G930 headset, it’s important to test the functionality to ensure that the surround sound is working as intended. Testing the surround sound will allow you to verify the immersive audio experience and ensure that sounds are being accurately reproduced from different directions.
Follow these steps to test the surround sound functionality:
- Open a media player or launch a game that supports surround sound.
- Ensure that the audio settings within the media player or game are properly configured to utilize surround sound.
- Put on your Logitech G930 headset and position yourself in the center of the soundstage.
- Play a surround sound test video, audio clip, or enter a game with a known surround sound sequence.
- As the audio plays, pay close attention to the directionality of the sounds.
- Listen for sounds moving from left to right or front to back, and focus on how the positional audio enhances the immersion.
- If the surround sound is working correctly, you should be able to easily identify the direction of sounds and experience a more immersive and realistic audio environment.
If you encounter any issues during the testing phase, double-check the surround sound settings in the Logitech Gaming Software to ensure they are properly enabled and adjusted. You may also want to make sure that all audio drivers and software are up to date and compatible with your system.
By testing the surround sound functionality, you can ensure that your Logitech G930 headset is providing the immersive audio experience you desire. With a properly configured surround sound setup, you can fully enjoy your games, movies, and music with enhanced audio precision and immersion.
Now that you have successfully tested the surround sound functionality, you can sit back, relax, and immerse yourself in the rich and lifelike audio experience provided by your Logitech G930 headset.
Conclusion
Congratulations! You have successfully learned how to turn on and customize surround sound on your Logitech G930 headset. By following the step-by-step guide, you have taken full advantage of the immersive audio capabilities of your headset, elevating your gaming and entertainment experiences to a whole new level.
The Logitech G930 headset, paired with the Logitech Gaming Software, allows you to enjoy virtual 7.1 surround sound, providing enhanced spatial awareness and a more realistic audio environment. With surround sound enabled, you can accurately pinpoint the direction of sounds, immerse yourself in detailed audio landscapes, and gain a competitive edge in games.
Remember, it is crucial to install and keep the Logitech Gaming Software up to date to access the latest features and settings for your Logitech G930 headset. Exploring the software allows you to further customize and adjust the audio settings to suit your preferences and the content you are consuming.
Whether you’re gaming, watching movies, or listening to music, surround sound enhances your overall audio experience. By enabling surround sound, adjusting the settings, and testing the functionality, you have unlocked the full potential of your Logitech G930 headset and can enjoy a more immersive audio journey.
Now, it’s time to grab your Logitech G930 headset, connect it wirelessly to your computer, launch your favorite game or media, and experience the rich, directional sound that surround sound brings. Get ready to be completely immersed in a whole new audio world!
Thank you for following this guide, and we hope you enjoy the incredible surround sound experience provided by your Logitech G930 headset!


