Introduction
Welcome to the world of wireless charging with your Samsung device! Charging your phone or tablet has never been more convenient, thanks to the technology of wireless chargers. Say goodbye to tangled cables and the hassle of constantly plugging and unplugging your device. With a wireless charger, you can simply place your Samsung device on the charging pad and watch as it powers up effortlessly.
Wireless charging is a revolutionary feature that is becoming increasingly popular among smartphone users. It utilizes electromagnetic fields to transfer energy from the charging pad to your device, eliminating the need for a physical connection. This technology offers a seamless, clutter-free charging experience that is both efficient and convenient.
In this guide, we will walk you through the steps of using a wireless charger with your Samsung device. Whether you have a Samsung Galaxy S21, Note20, or any other compatible model, we’ll help you make the most of this innovative charging method.
Before we dive into the details, it’s important to note that not all Samsung devices are compatible with wireless charging. If you have an older model or a device that doesn’t support this feature, you may need to explore other charging options. However, if you have a compatible Samsung device, let’s get started on your journey to wireless charging convenience!
Step 1: Check compatibility with your Samsung device
Before you begin using a wireless charger with your Samsung device, it’s crucial to ensure that your device is compatible with this technology. Not all Samsung models support wireless charging, so it’s essential to check your device’s specifications.
The easiest way to determine if your device is wireless charging compatible is to look for the Qi wireless charging logo. Qi is the standard wireless charging technology used by most smartphone manufacturers, including Samsung. Look for the Qi logo on your device’s packaging or in the user manual.
If you can’t find the Qi logo, you can also check your device’s compatibility through a quick online search. Visit the official Samsung website or consult reputable technology forums for information on specific device models and their wireless charging capabilities.
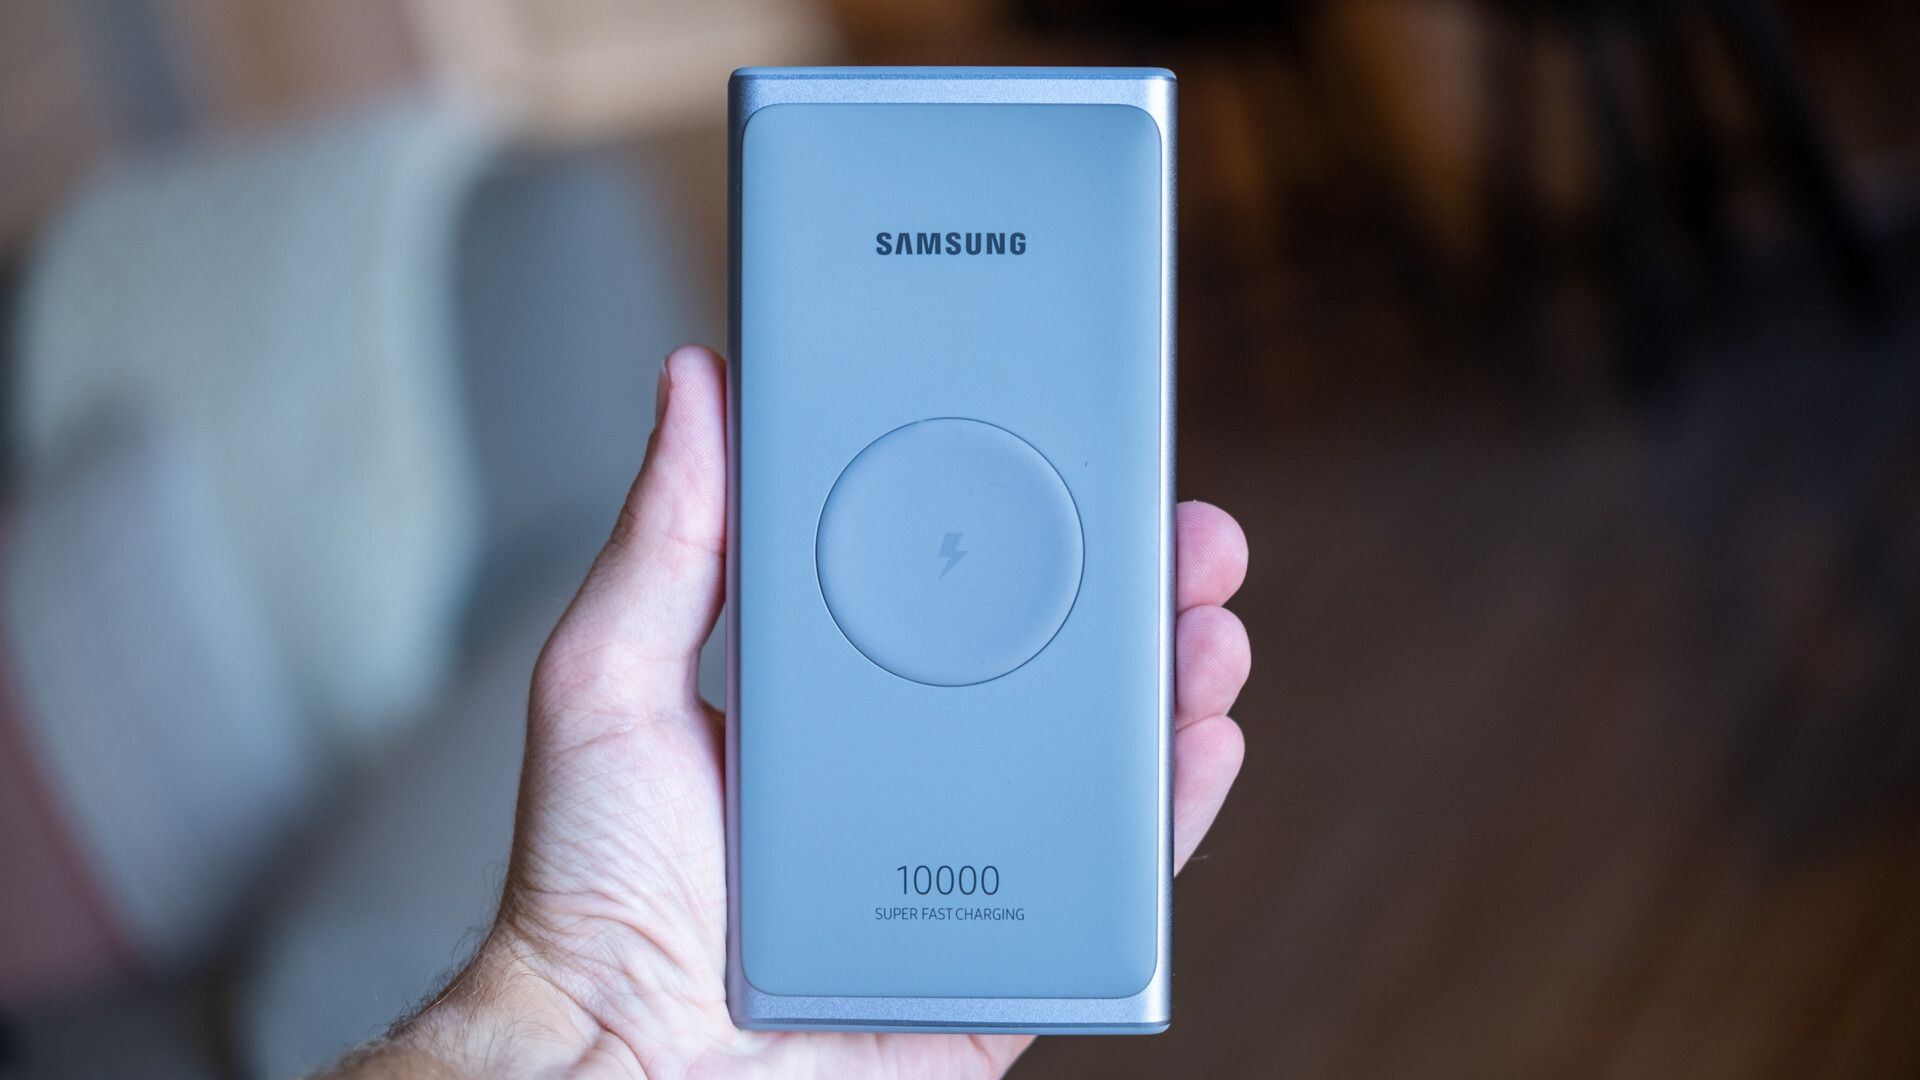
Once you’ve confirmed that your device supports wireless charging, you’re ready to move on to the next step. If, unfortunately, your Samsung device isn’t compatible with wireless charging, don’t worry! There are still other ways to enhance your charging experience, such as using fast charging cables or portable power banks.
Now that you’ve checked the compatibility of your Samsung device, it’s time to explore the different wireless charger options available. From charging pads to stands, there are various styles to choose from, each offering unique features and functionalities. In the next step, we’ll guide you through the process of selecting the right wireless charger for your Samsung device.
Step 2: Choose the right wireless charger
Now that you know your Samsung device is compatible with wireless charging, it’s time to choose the perfect wireless charger to suit your needs. With a wide range of options available in the market, it’s important to consider a few factors before making your decision.
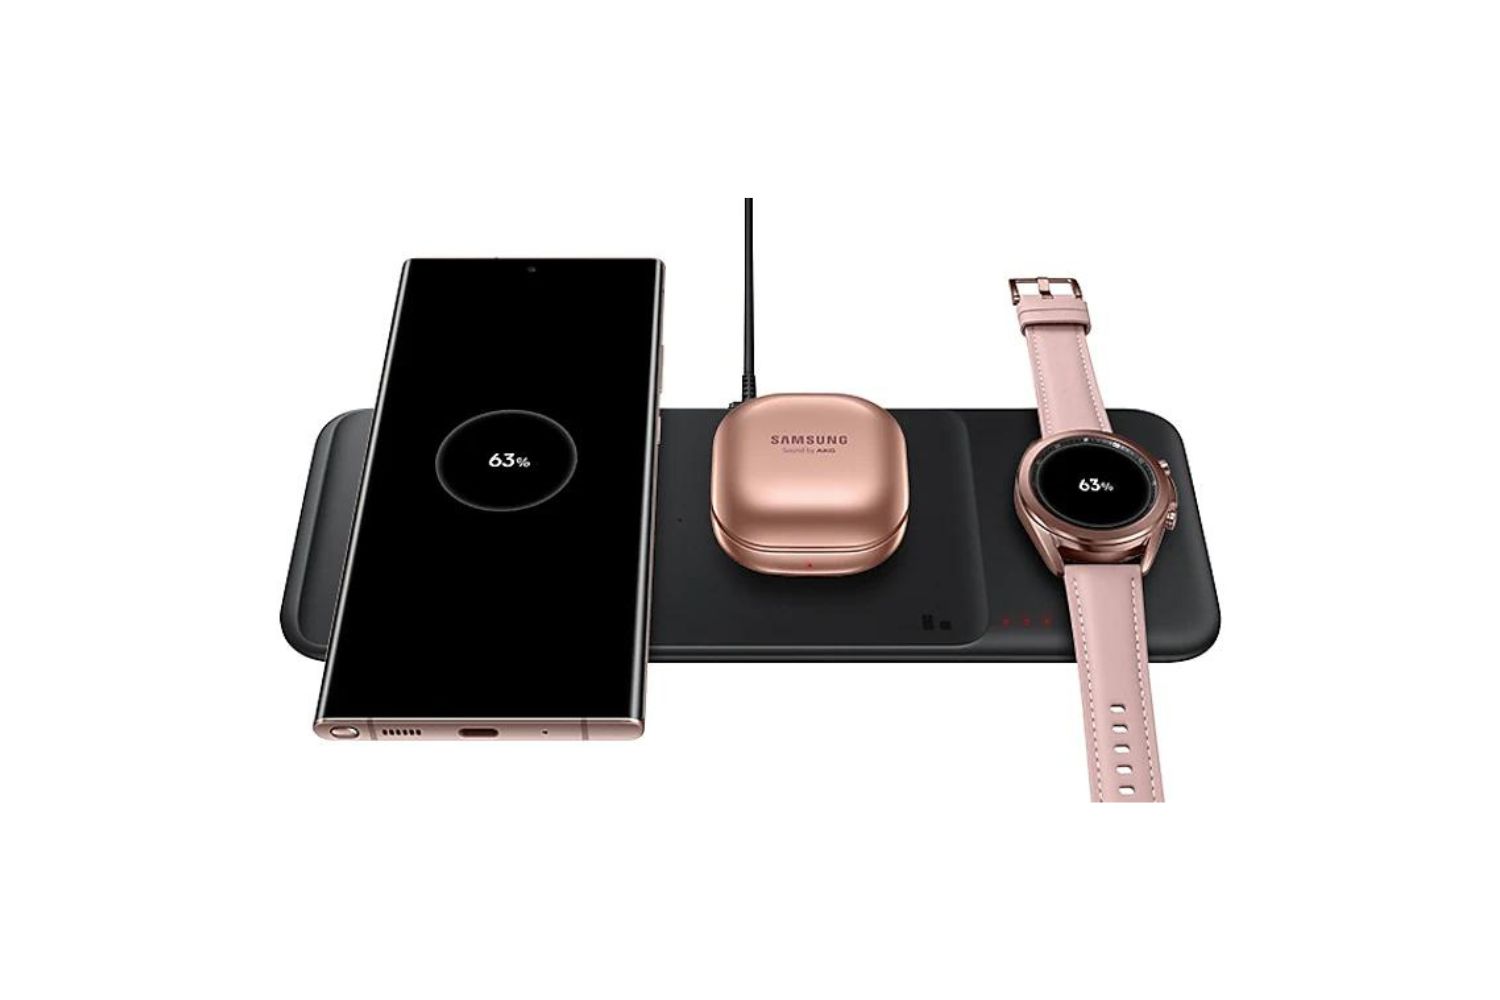
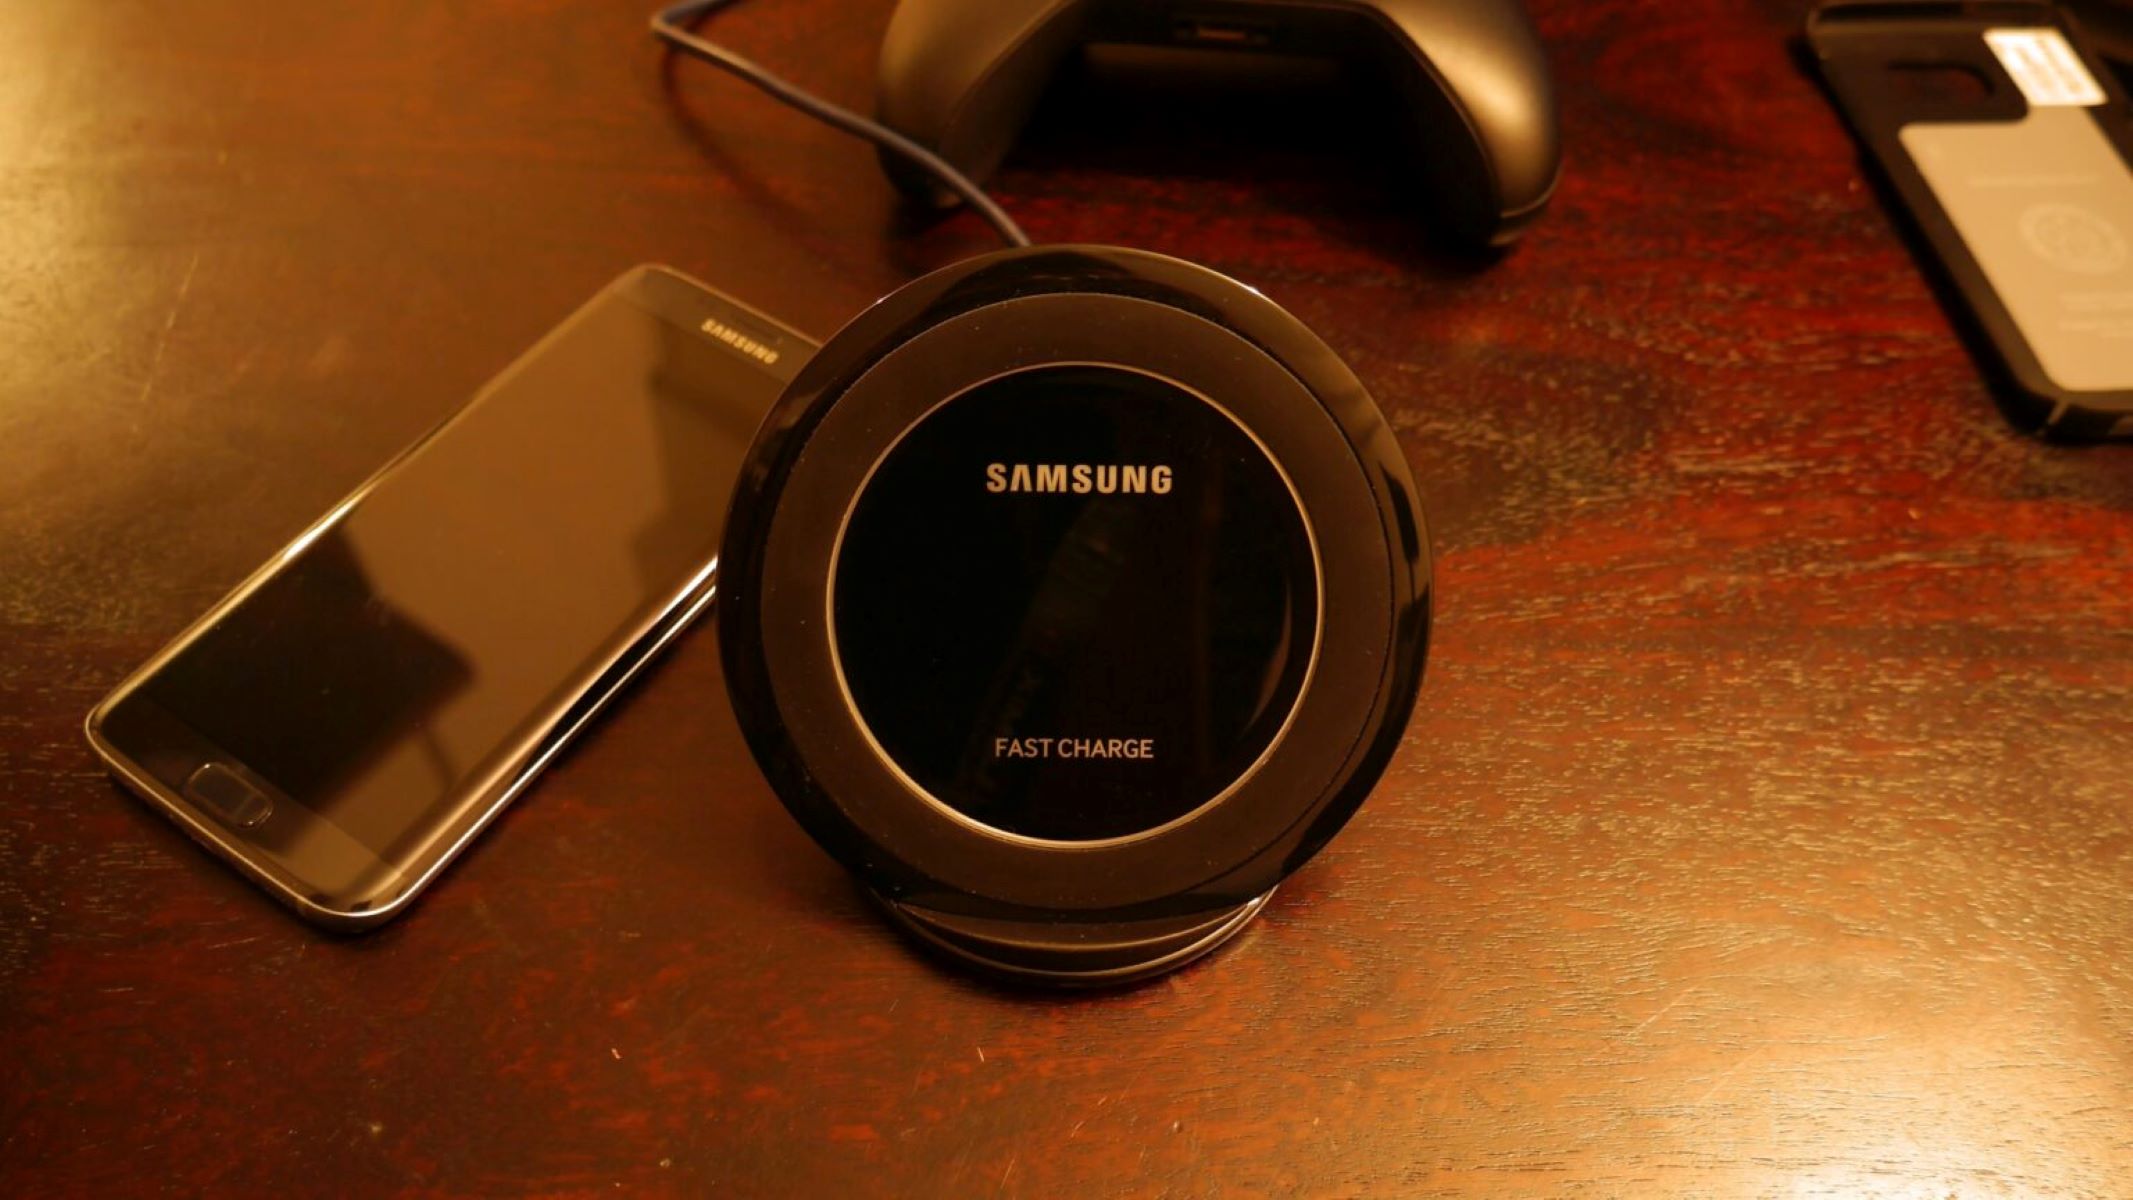
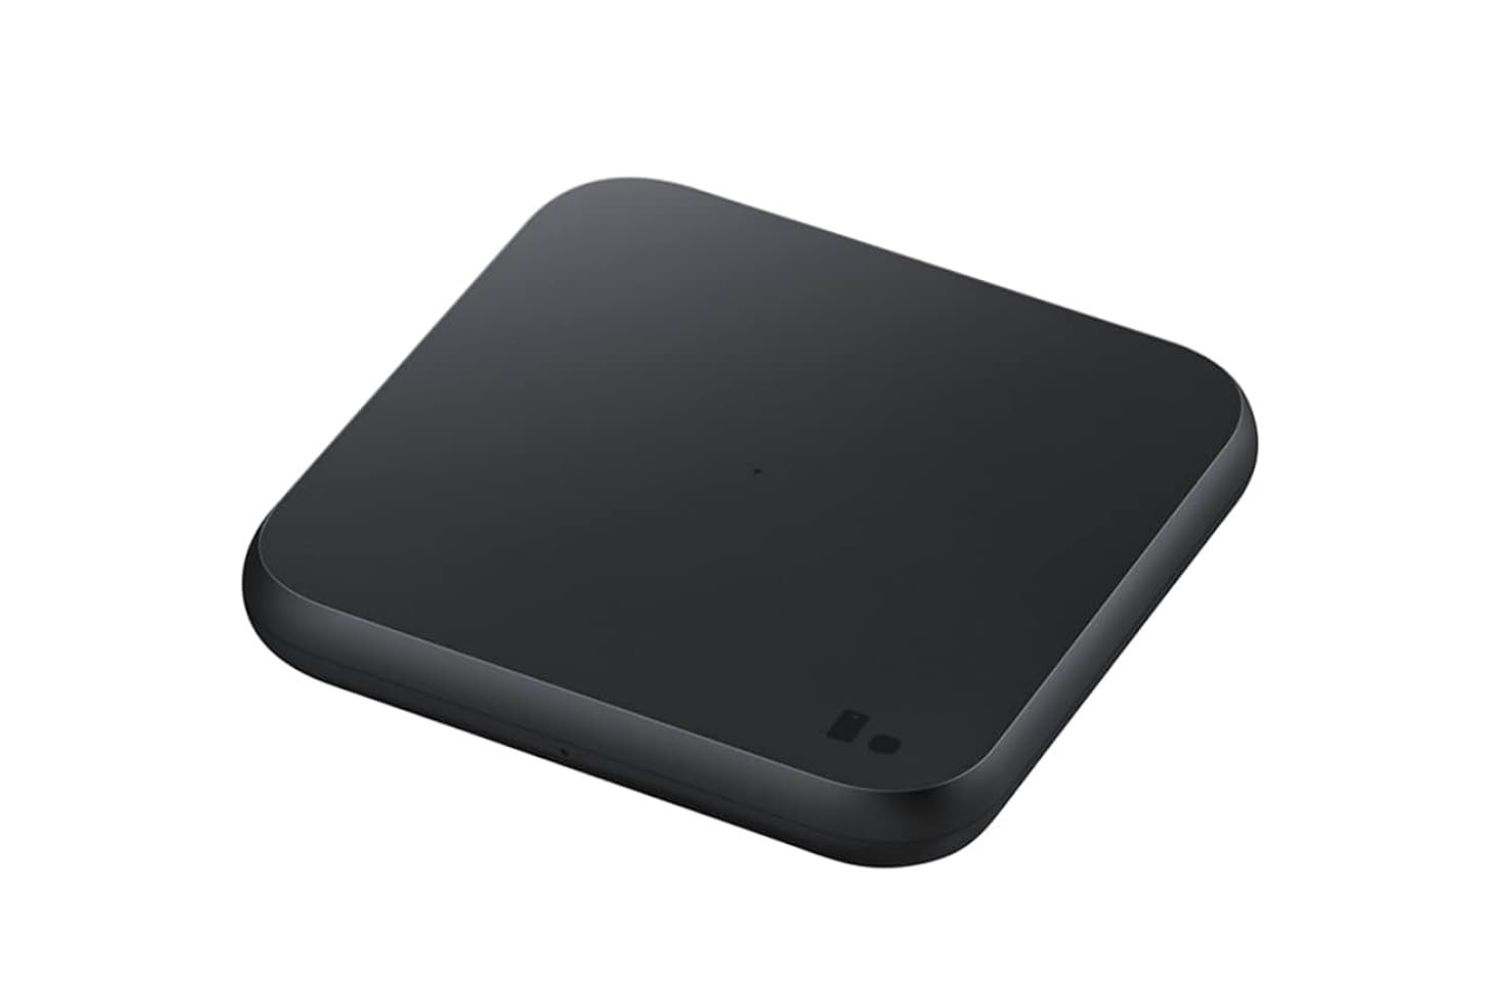
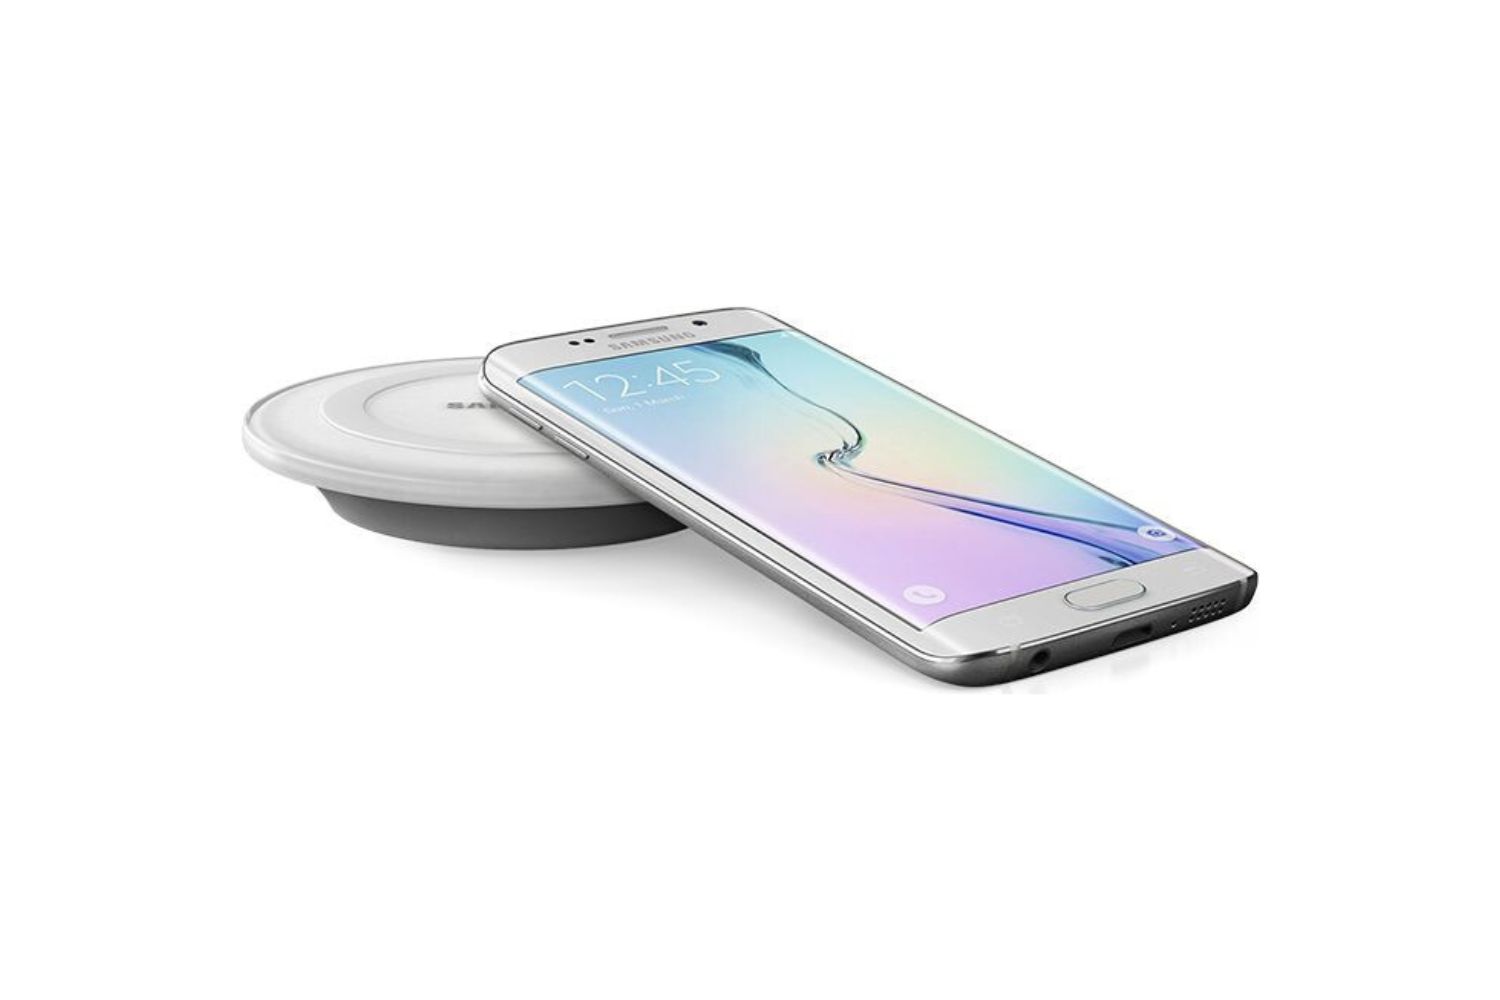
1. Charging Pad or Stand: Wireless chargers come in two primary forms – charging pads and stands. Charging pads lie flat on a surface, allowing you to place your Samsung device on top. Charging stands, on the other hand, hold your device upright, making it easier to view notifications while charging. Consider your preference and usage scenarios to determine which style is more suitable for you.
2. Charging Speed: Wireless chargers have different power output ratings, which can affect the charging speed of your device. If you want faster charging, look for a wireless charger that supports a higher power output, such as 10W or 15W. Keep in mind that the charging speed may also depend on your Samsung device’s capabilities.
3. Design and Compatibility: Consider the design and compatibility of the wireless charger. Look for a charger that complements your personal style and fits seamlessly into your surroundings. Additionally, ensure that the charger is specifically designed for Samsung devices or is universally compatible with Qi-enabled devices.
4. Additional Features: Some wireless chargers come with additional features that can enhance your charging experience. For example, certain models have built-in cooling fans to prevent overheating or LED indicators to show the charging status. Evaluate these added features and decide if they are important to you.
5. Brand Reputation and Reviews: Lastly, take into account the reputation of the brand and read reviews from other users. Choose a reputable brand known for its quality wireless chargers and positive customer feedback.
By considering these factors, you can select a wireless charger that matches your preferences and ensures optimal charging performance for your Samsung device. Once you’ve chosen the right wireless charger, move on to the next step, where we’ll guide you on positioning the charger for effective wireless charging.
Step 3: Positioning the wireless charger
Now that you have your wireless charger ready, it’s time to position it for optimal charging efficiency. Proper placement of the charger ensures a strong and stable connection between the charger and your Samsung device, leading to a seamless charging experience.
1. Find a Level Surface: Start by finding a flat and stable surface to place your wireless charger. Whether it’s a table, desk, or nightstand, make sure the surface is level and can accommodate the charger and your device comfortably.
2. Clear the Area: Remove any obstructions or objects from the charging area to ensure a clear path for the wireless charging signal. Avoid placing the charger near metal objects, magnets, or other electronic devices that may interfere with the charging process.
3. Center Your Device: Position your Samsung device in the center of the wireless charger. Most wireless chargers have a designated charging area marked by a symbol or indicator. Align your device with this area to ensure the best charging efficiency.
4. Remove Phone Cases or Covers: If your Samsung device is in a protective case or cover, consider removing it before placing it on the wireless charger. Some thick or metallic cases can hinder the charging process by blocking the wireless charging signal. However, if your case is specifically designed for wireless charging, you can leave it on.
5. Adjust the Angle (For Charging Stands): If you’re using a charging stand, adjust the angle to your preferred viewing position. Ensure that your device rests securely on the stand to prevent any accidental slips or falls during the charging process.
Remember, the position and alignment of your device on the wireless charger are critical for a successful charging connection. Take a moment to fine-tune the placement before moving on to the next step.
In the following step, we’ll guide you through plugging in the wireless charger, ensuring a proper power supply for your charging needs.
Step 4: Plugging in the wireless charger
Now that you have positioned your wireless charger, it’s time to connect it to a power source. Follow these steps to ensure a proper power supply for your charging needs.
1. Locate the Power Cable: Start by locating the power cable that came with your wireless charger. It is usually a USB cable that connects to the charging pad or stand.
2. Plug into a Power Outlet: Connect the USB end of the cable to the wireless charger and plug the other end into a power outlet. Ensure that the power outlet is easily accessible and has a stable power supply.
3. Check the Indicator Light (if applicable): Some wireless chargers have indicator lights to show the charging status. Once the charger is plugged in, look for a light or LED indicator on the charger to confirm that it is receiving power.
4. Consider Using a Wall Adapter: If the wireless charger didn’t come with a wall adapter, you can connect it to a USB wall adapter or use a USB port on a computer or laptop. Make sure that the adapter or USB port can provide sufficient power to the charger.
5. Verify the Stability: Ensure that the wireless charger is stable and securely placed on the surface you chose earlier. Check for any wobbling or loose connections that may disrupt the charging process.
Once you have plugged in the wireless charger and verified its stability, the charging pad or stand is now ready to provide power to your Samsung device. In the next step, we will guide you through the process of placing your Samsung device on the wireless charger for charging.
Step 5: Placing your Samsung device on the wireless charger
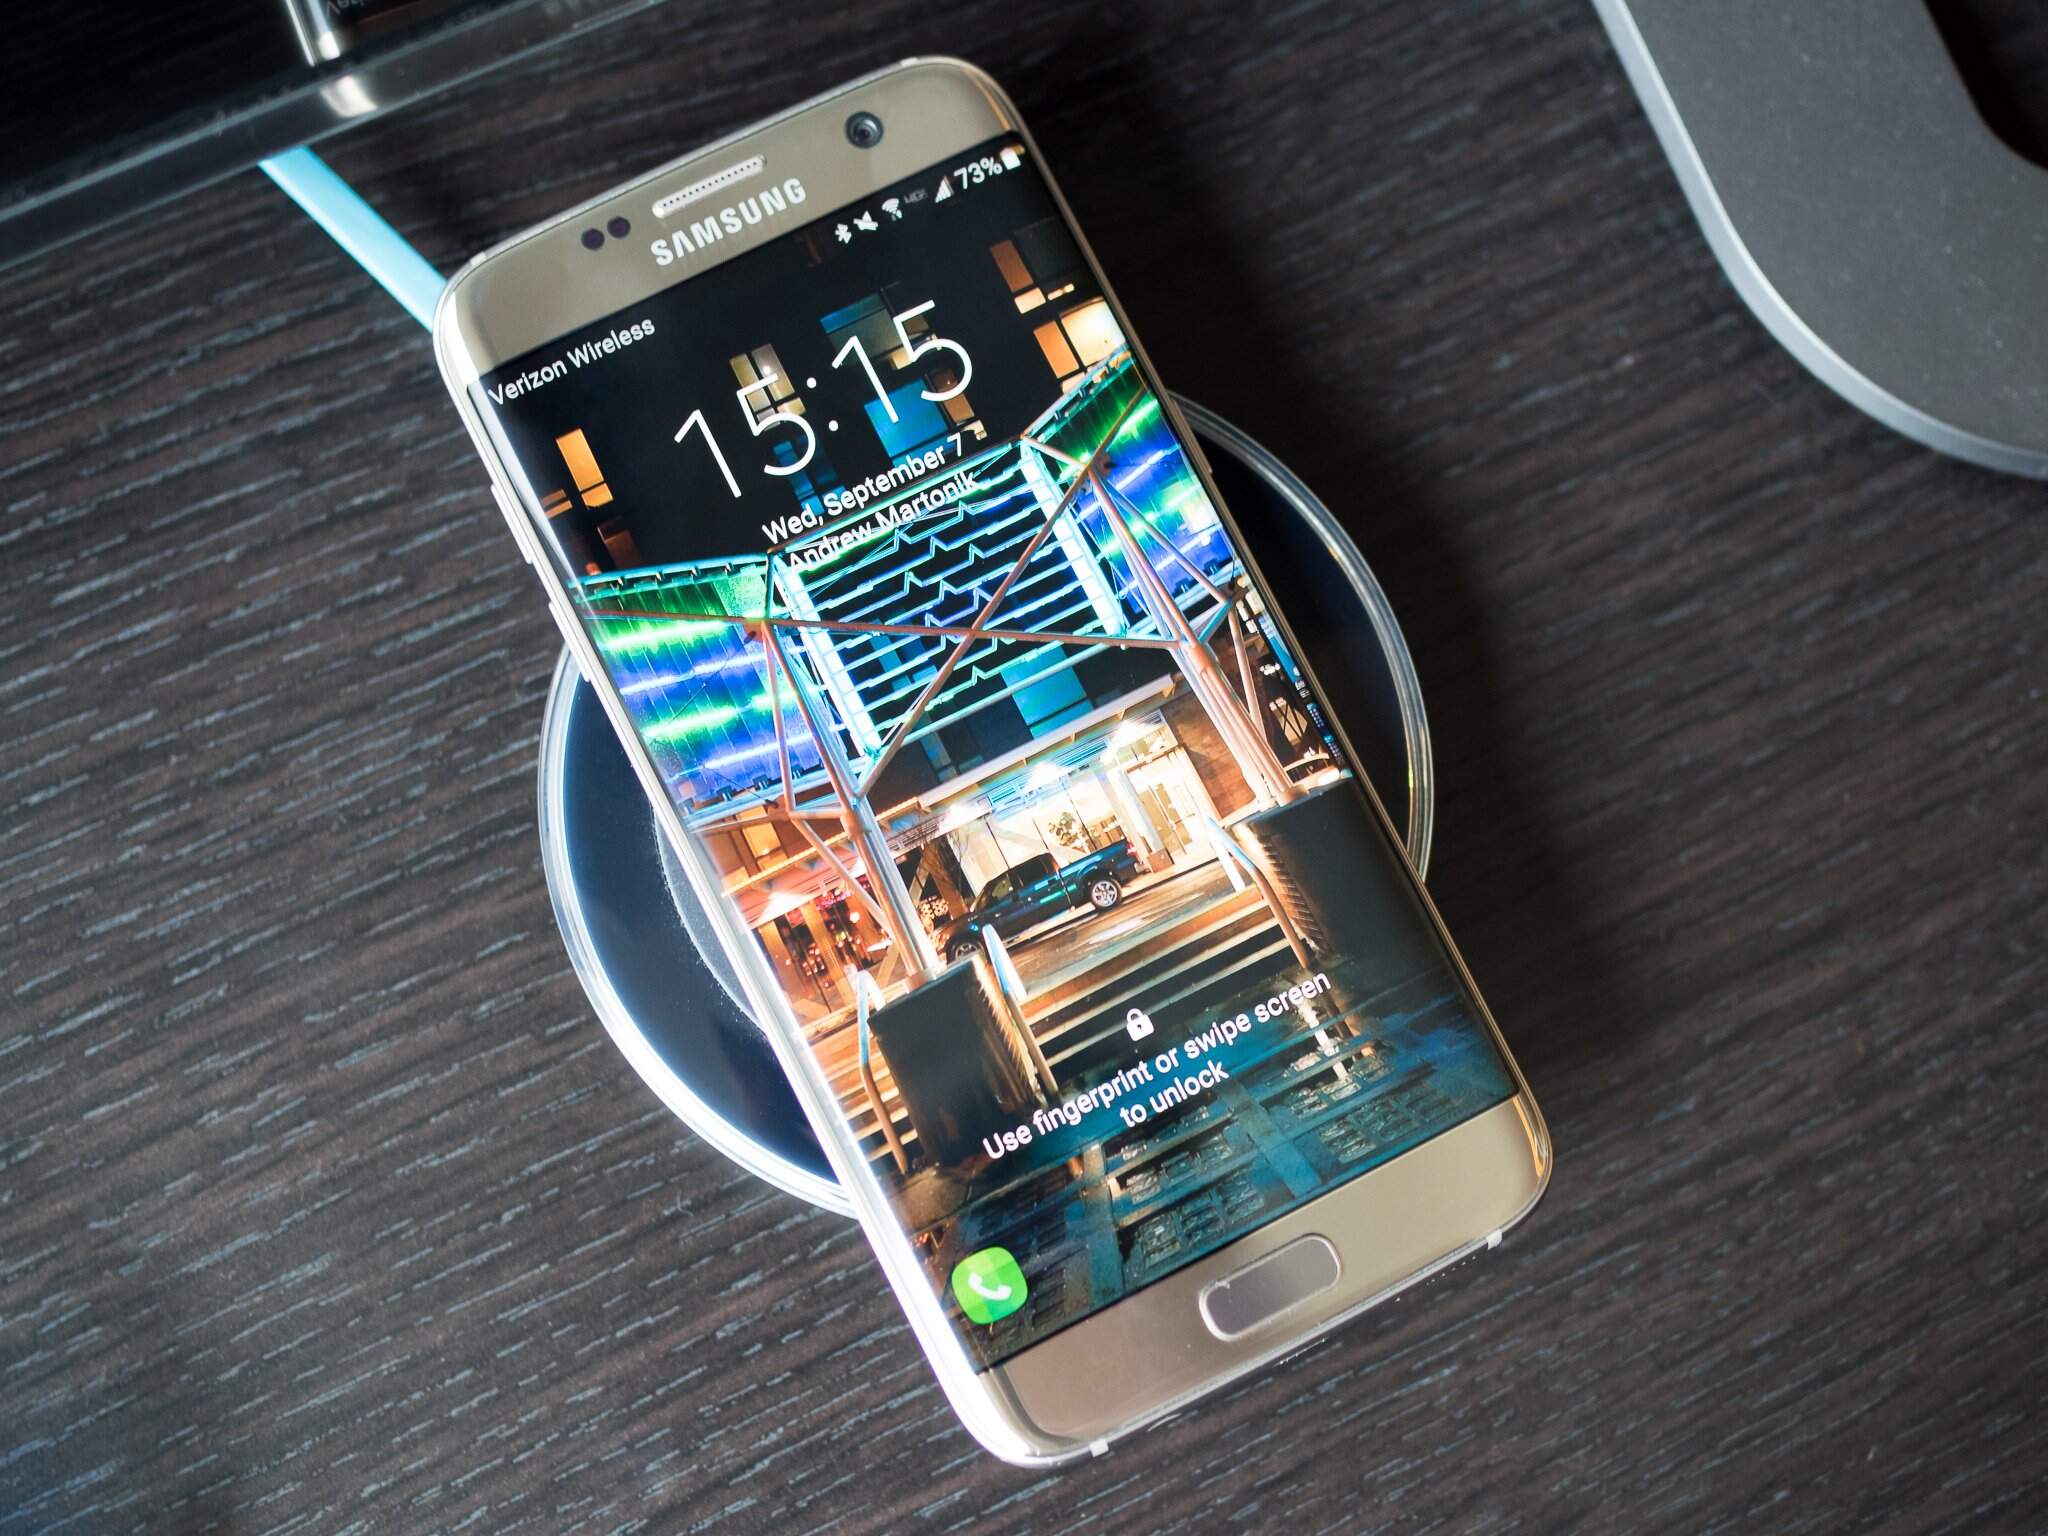
Now that your wireless charger is connected and ready, it’s time to place your Samsung device on the charging pad or stand. Follow these steps to ensure a proper and secure placement for efficient charging.
1. Align your device with the Charging Area: Position your Samsung device in line with the marked charging area on the wireless charger. This area is typically indicated by a symbol or indicator that shows where you should place your device for optimal charging.
2. Center your Device: Make sure your device is centered on the charging area to establish a strong connection with the charger. Proper alignment will ensure that the wireless charging coils on both the charger and your device can communicate effectively.
3. Place your Device Face Up: Ensure that the screen of your Samsung device is facing upwards while placing it on the wireless charger. This will allow you to monitor the charging progress and access any notifications that may appear during the charging process.
4. Verify Contact and Stability: Gently press your Samsung device onto the charging area of the wireless charger to make sure it is in contact with the charging coils. Verify that there is no wobbling or movement that could lead to an interrupted charging connection.
5. Double-check the Indicator (if applicable): Some wireless chargers have LED indicators or lights that show the charging status. Look for a confirmation light on the charger to ensure that the connection between the charger and your Samsung device has been successfully established.
Keep in mind that the exact placement and alignment may vary depending on the specific wireless charger you are using. Refer to the user manual or manufacturer’s instructions for any device-specific guidelines.
Now that your Samsung device is securely positioned on the wireless charger, we can move on to the next step – ensuring a successful charging connection.
Step 6: Ensuring a successful charging connection
Now that your Samsung device is placed on the wireless charger, it’s crucial to ensure that a successful charging connection is established. Follow these steps to check the charging status and troubleshoot any potential issues:
1. Check for Charging Indicator:
Look for a charging indicator on your Samsung device’s screen or on the wireless charger itself. Most Samsung devices will display a charging icon or notification on the screen, indicating that the device is successfully connected to the wireless charger and charging is in progress. Additionally, some wireless chargers have LED lights that change color or blink to indicate charging status.
2. Adjust Device Placement:
If you don’t see a charging indicator, double-check the placement of your Samsung device on the wireless charger. Make sure it is centered, aligned properly, and in constant contact with the charging coils. Adjust the position if needed and check for the charging indicator again.
3. Check for Obstacles:
Ensure that there are no obstacles or foreign objects between your Samsung device and the wireless charger. Metallic objects, credit cards, or magnetic phone attachments can interfere with the wireless charging process. Remove any obstructions and reposition your device on the charger to establish a clear charging connection.
4. Restart or Realign the Charger:
If you still encounter issues, restart your Samsung device and try repositioning the wireless charger. Sometimes, a simple reset or a slight adjustment can resolve connectivity problems and establish a successful charging connection.
5. Verify Compatibility:
Double-check that your Samsung device is indeed compatible with the wireless charger you are using. Ensure that it supports Qi wireless charging technology, as well as any specific requirements mentioned by the charger’s manufacturer.
If, after troubleshooting, you are still unable to establish a successful charging connection, it’s recommended to consult the user manual or contact the wireless charger’s manufacturer for further assistance.
Now that you have verified the charging connection, let’s move on to the next step and monitor the progress of your Samsung device’s charging on the wireless charger.
Step 7: Monitoring the charging progress
Once your Samsung device is successfully connected and charging on the wireless charger, it’s important to monitor the progress to ensure a timely and efficient charging experience. Follow these steps to keep an eye on the charging progress:
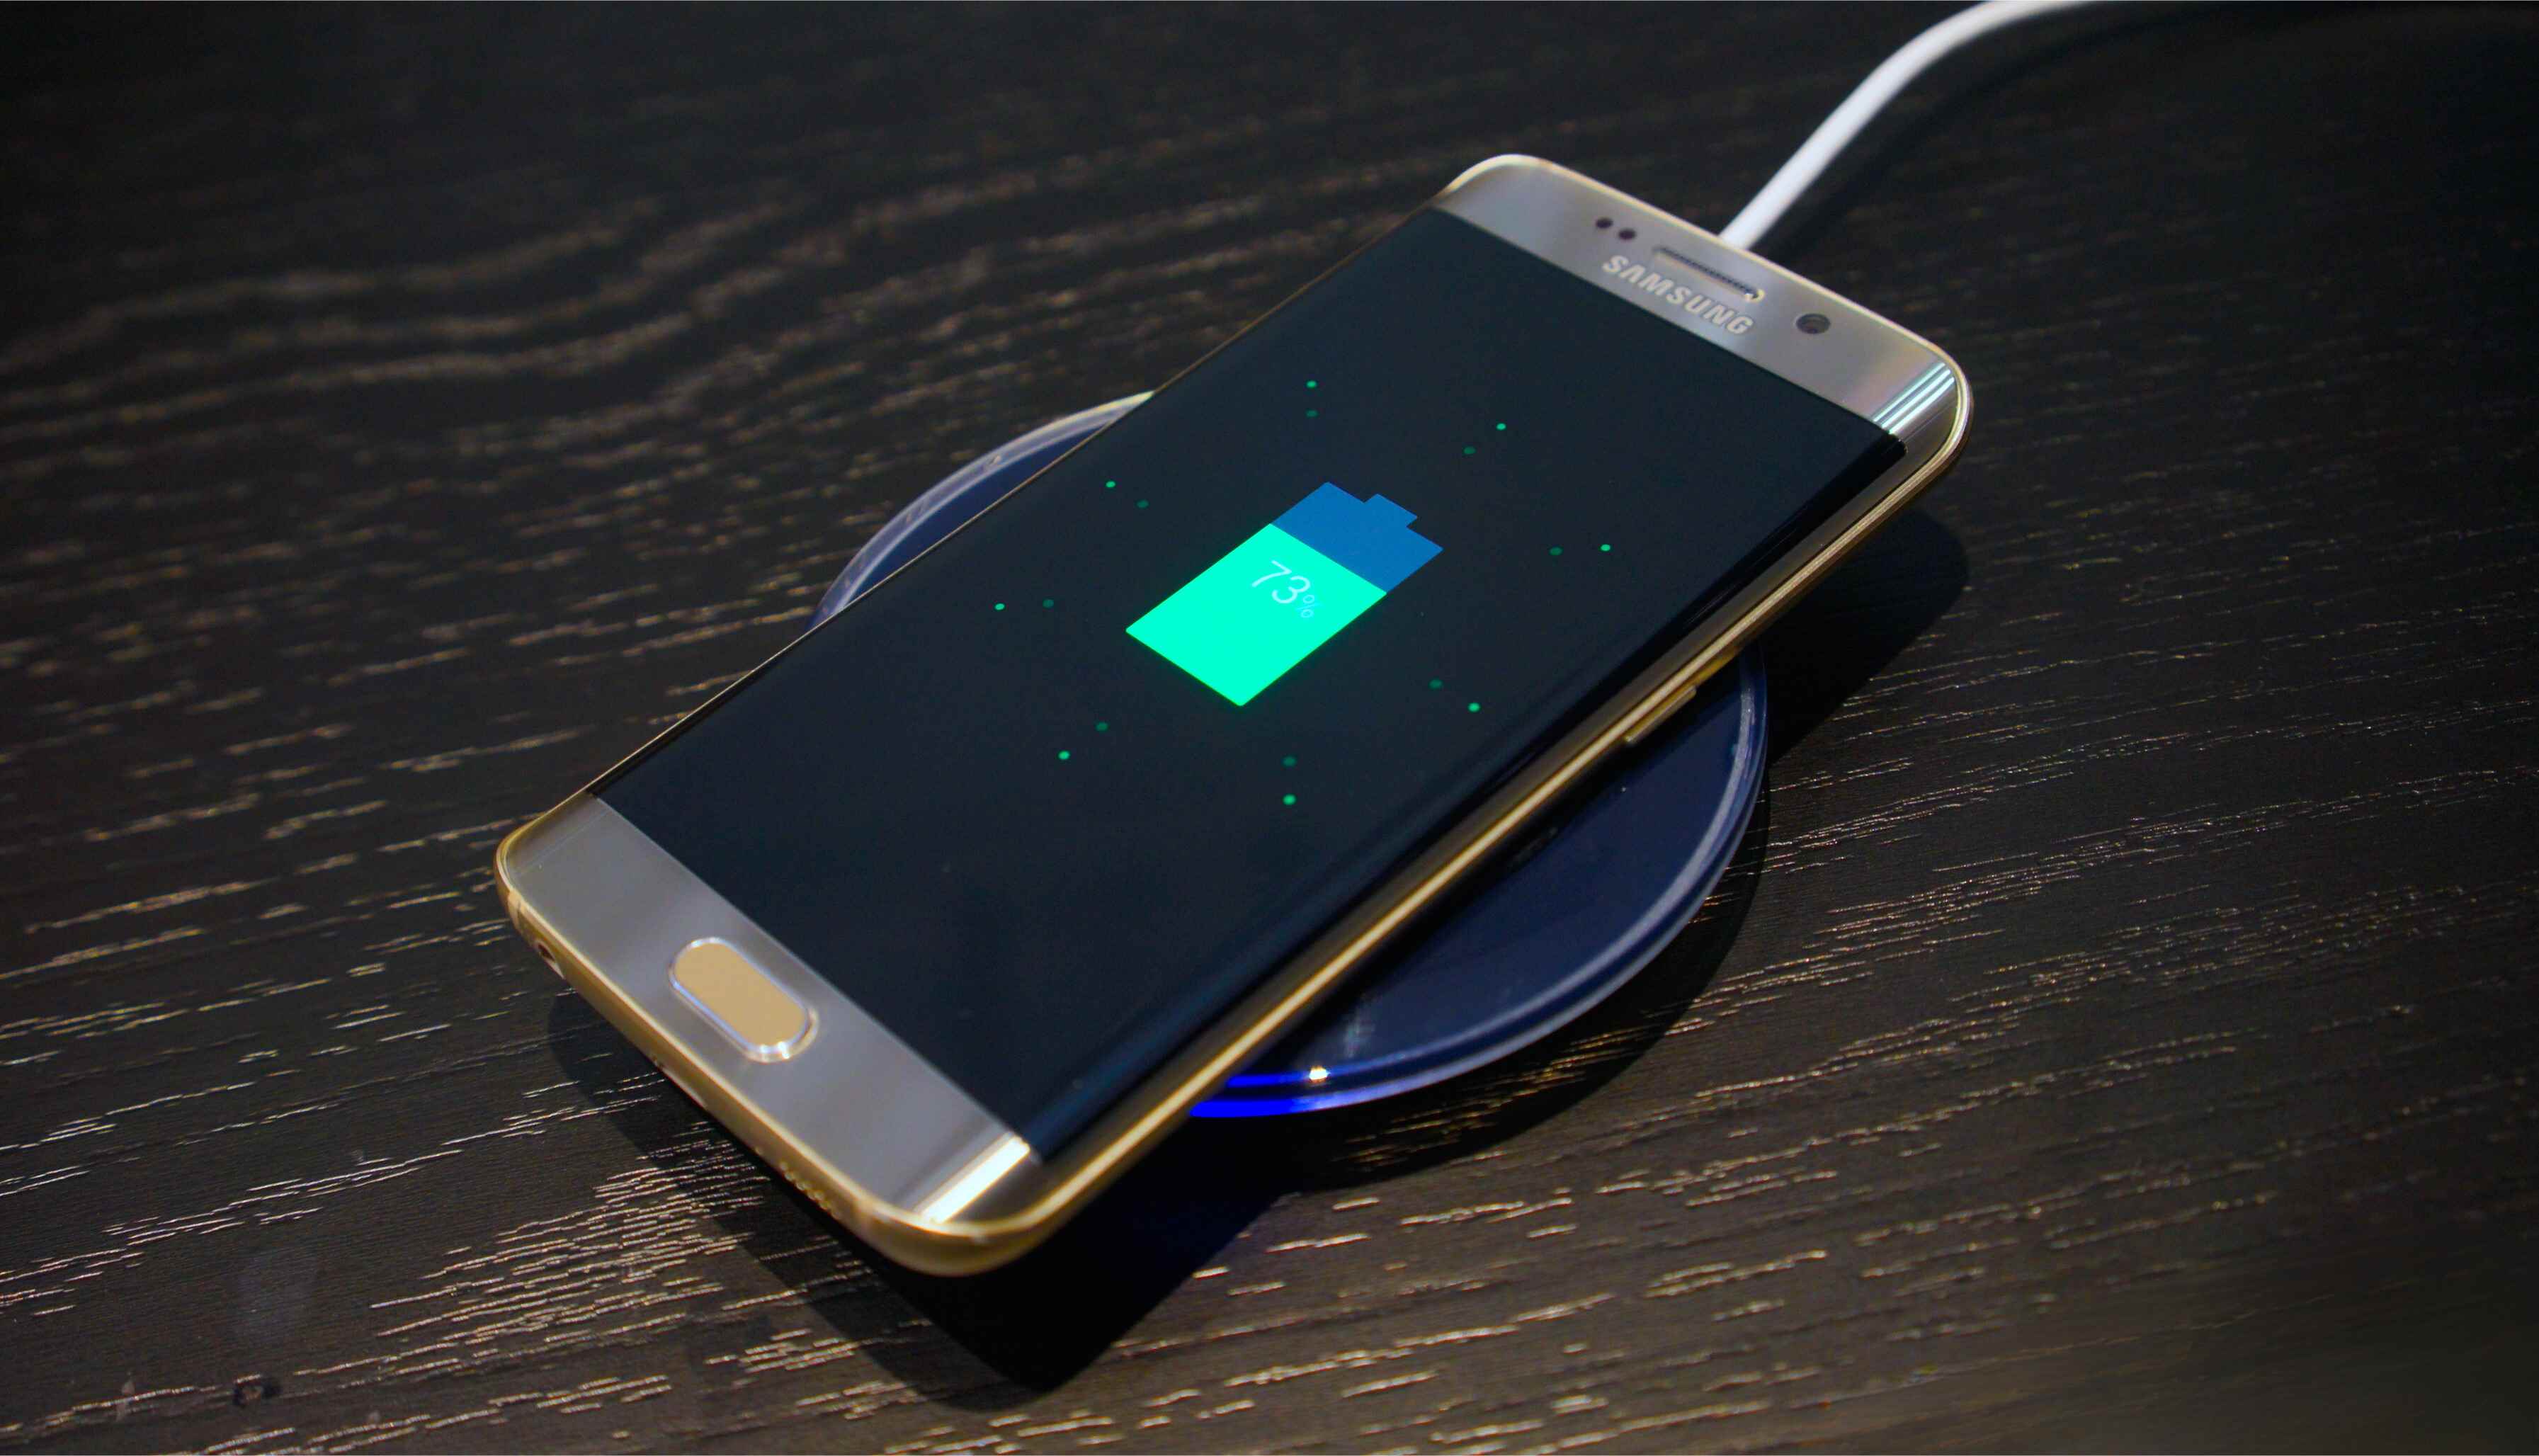
1. Check the Charging Icon:
Keep an eye on the charging icon or notification displayed on your Samsung device’s screen. This icon signifies that your device is receiving power from the wireless charger. You may also notice a percentage indicator that shows the battery level increasing as it charges.
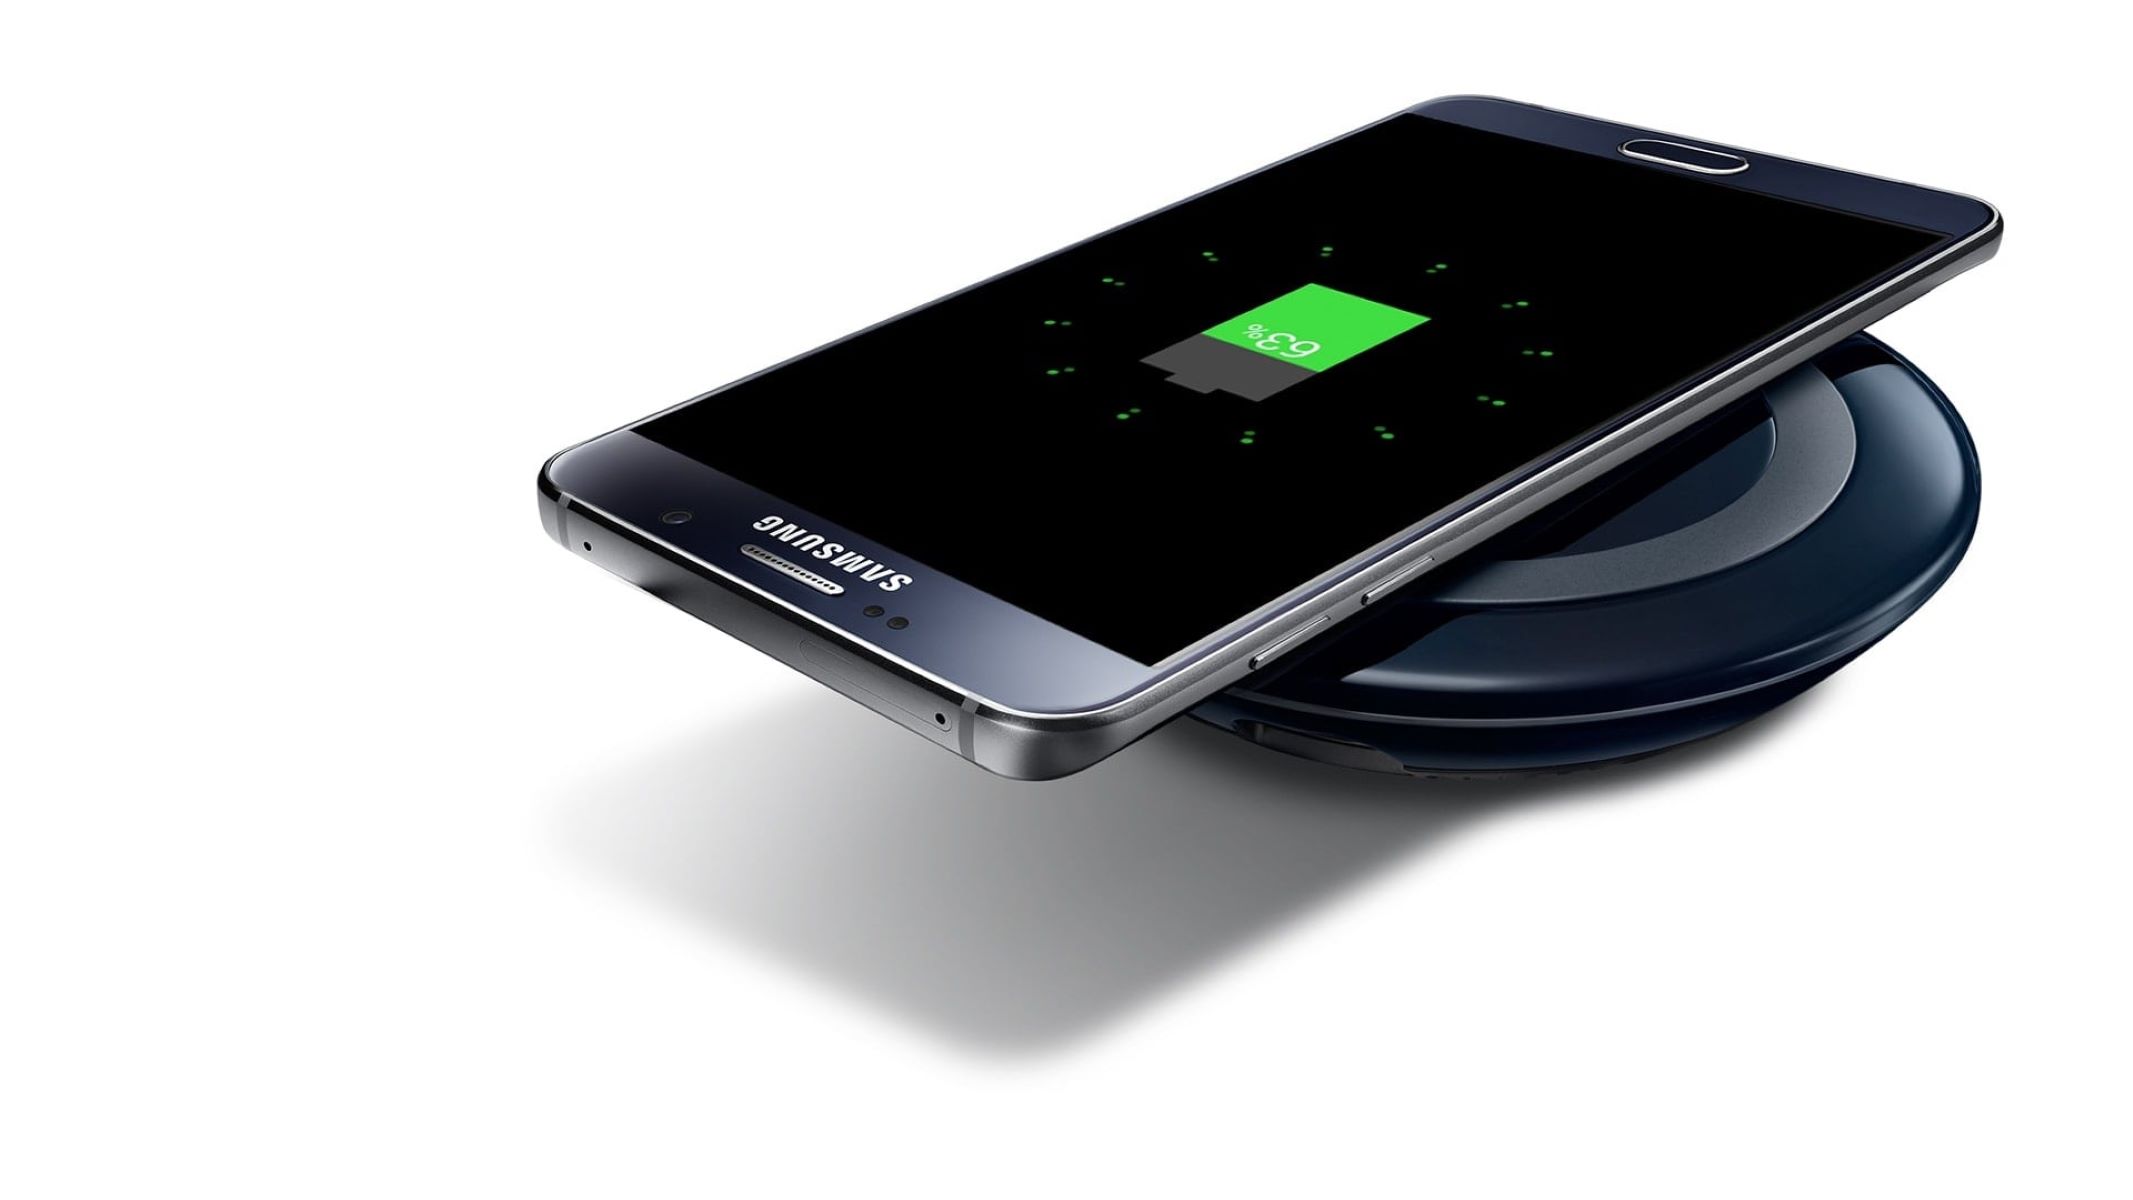
2. Observe LED Indicators (if applicable):
If your wireless charger has LED lights or indicators, these can provide additional information about the charging status. Some chargers use different colors or blinking patterns to indicate various charging stages, such as low battery, charging in progress, or fully charged. Familiarize yourself with the LED indicators specific to your wireless charger.
3. Take Note of Charging Time:
Keep track of the time it takes for your Samsung device to reach a specific charge level. This will help you gauge the charging speed and estimate how long it will take to fully charge your device. Remember that charging times can vary depending on the battery capacity and charging speed supported by your device and charger.
4. Prevent Overcharging:
While wireless charging is convenient, it’s essential to prevent overcharging your Samsung device. Most wireless chargers are designed to automatically stop charging once your device reaches a certain battery level, preventing overcharging and potential battery damage. However, it’s still a good practice to remove your device from the charger once it reaches 100% to conserve battery health.
5. Avoid Interrupting the Connection:
Ensure that your Samsung device remains on the wireless charger without any interruptions during the charging process. Moving or removing the device can lead to a disrupted charging connection, slowing down the charging speed or even stopping the charging altogether.
By monitoring the charging progress, you can ensure that your Samsung device is being charged efficiently and effectively on the wireless charger. In the next step, we will guide you on safely removing your device from the wireless charger once the desired battery level is achieved.
Step 8: Removing your Samsung device from the wireless charger
Once your Samsung device has reached the desired battery level or is fully charged, it’s time to safely remove it from the wireless charger. Follow these steps to ensure a smooth disconnection:
1. Check the Charging Status:
Before removing your device from the wireless charger, check the charging icon or notification on the screen to confirm that it is fully charged or has reached your desired battery level. This will help you avoid interrupting a charging session prematurely.
2. Reduce Battery Strain:
While wireless charging is convenient, continuous charging can put strain on your device’s battery. To preserve battery health, unplug your Samsung device from the charger once it reaches 100% or when you have achieved your desired battery level.
3. Lift the Device Carefully:
Gently lift your Samsung device straight up from the wireless charger, ensuring that you do not jostle or damage the device or the charger. Avoid pulling it off at an angle or forcefully detaching it, as this can potentially damage the charging coils or connections.
4. Store the Charger Safely:
Once your device is removed, safely unplug the wireless charger from the power source and store it in a secure place. Keep the charger in a location where it won’t be damaged or exposed to excessive heat or moisture.
5. Reinstall Phone Case or Cover:
If you had removed the protective case or cover before placing your device on the wireless charger, you can now reinstall it carefully. Ensure that it fits securely and doesn’t interfere with future wireless charging sessions.
Removing your Samsung device from the wireless charger marks the completion of the charging process. By following these steps, you can ensure the safety of your device and the longevity of your wireless charging setup.
Now that you have successfully completed all the steps, you can enjoy the convenience of wireless charging with your Samsung device. Say goodbye to tangled cables and effortlessly keep your device powered up whenever needed!
Conclusion
Congratulations! You have successfully learned how to use a wireless charger with your Samsung device. By following the steps outlined in this guide, you can enjoy the convenience of wireless charging and say goodbye to the hassle of tangled cables.
We started by checking the compatibility of your Samsung device with wireless charging technology. It’s essential to ensure that your device supports wireless charging before proceeding.
Then, we discussed the importance of choosing the right wireless charger for your needs. Whether you prefer a charging pad or stand, considering factors like charging speed, design, and additional features will help you make an informed decision.
We then moved on to positioning the wireless charger correctly. Ensuring a level surface, clearing any obstacles, and centering your device are crucial for a successful charging connection.
Plugging in the wireless charger and verifying its stability were the next steps. Connecting the charger to a power outlet, checking indicator lights (if applicable), and using a stable power source are essential for ensuring proper charging.
With the wireless charger set up, we guided you through placing your Samsung device on the charging pad or stand. Aligning your device with the charging area, centering it, and ensuring contact and stability are key for efficient charging.
Next, we provided steps for ensuring a successful charging connection. Checking for charging indicators, adjusting placement, and identifying any obstacles or compatibility issues were necessary to troubleshoot and establish a secure connection.
To monitor the charging progress, we advised you to keep an eye on the charging icon or notification on your device’s screen, observe any LED indicators on the charger, and take note of the charging time.
Once your Samsung device reached the desired battery level, we emphasized the importance of removing it from the wireless charger to prevent overcharging and battery strain.
Finally, we concluded by guiding you on how to safely remove your Samsung device from the wireless charger and store the charger properly.
Now you can enjoy the convenience and simplicity of wireless charging with your Samsung device. Make sure to follow these steps for a seamless charging experience and keep your device powered up whenever you need it.