Introduction
Welcome to the delightful world of homemade ice cream with the Kitchen Living Ice Cream Maker. Whether you’re a dessert enthusiast or someone who enjoys trying new recipes, this innovative appliance will revolutionize your ice cream-making experience. With its user-friendly design and a plethora of delicious possibilities, you can create creamy, flavorful ice creams, sorbets, and frozen yogurts – all in the comfort of your own kitchen. Get ready to indulge your taste buds and impress your friends and family with your irresistible frozen creations.
Unleash your creativity and become the master of your own ice cream paradise. The Kitchen Living Ice Cream Maker is a versatile and easy-to-use appliance that allows you to experiment with various flavors, textures, and mix-ins to craft personalized frozen treats that suit your taste preferences. From classic vanilla and chocolate to exotic flavors like strawberry basil or salted caramel, the choices are endless.
With this ice cream maker, you can wave goodbye to store-bought ice cream filled with preservatives and artificial ingredients. Instead, you’ll be using fresh, high-quality ingredients to create homemade ice cream that excites the taste buds and leaves you craving for more.
Whether you’re a beginner or a seasoned ice cream artisan, this guide will walk you through the process of using the Kitchen Living Ice Cream Maker. From unboxing the appliance to serving your perfectly frozen creations, I’ll provide you with detailed instructions, tips, and tricks to ensure a successful ice cream-making journey. So, let’s dive in and get ready to have a scoop of frozen joy!
Unboxing the Kitchen Living Ice Cream Maker
When you get your hands on the Kitchen Living Ice Cream Maker, the excitement of making your own delectable frozen treats is just beginning. Taking the time to unbox and familiarize yourself with this appliance will ensure a smooth start to your ice cream-making adventure.
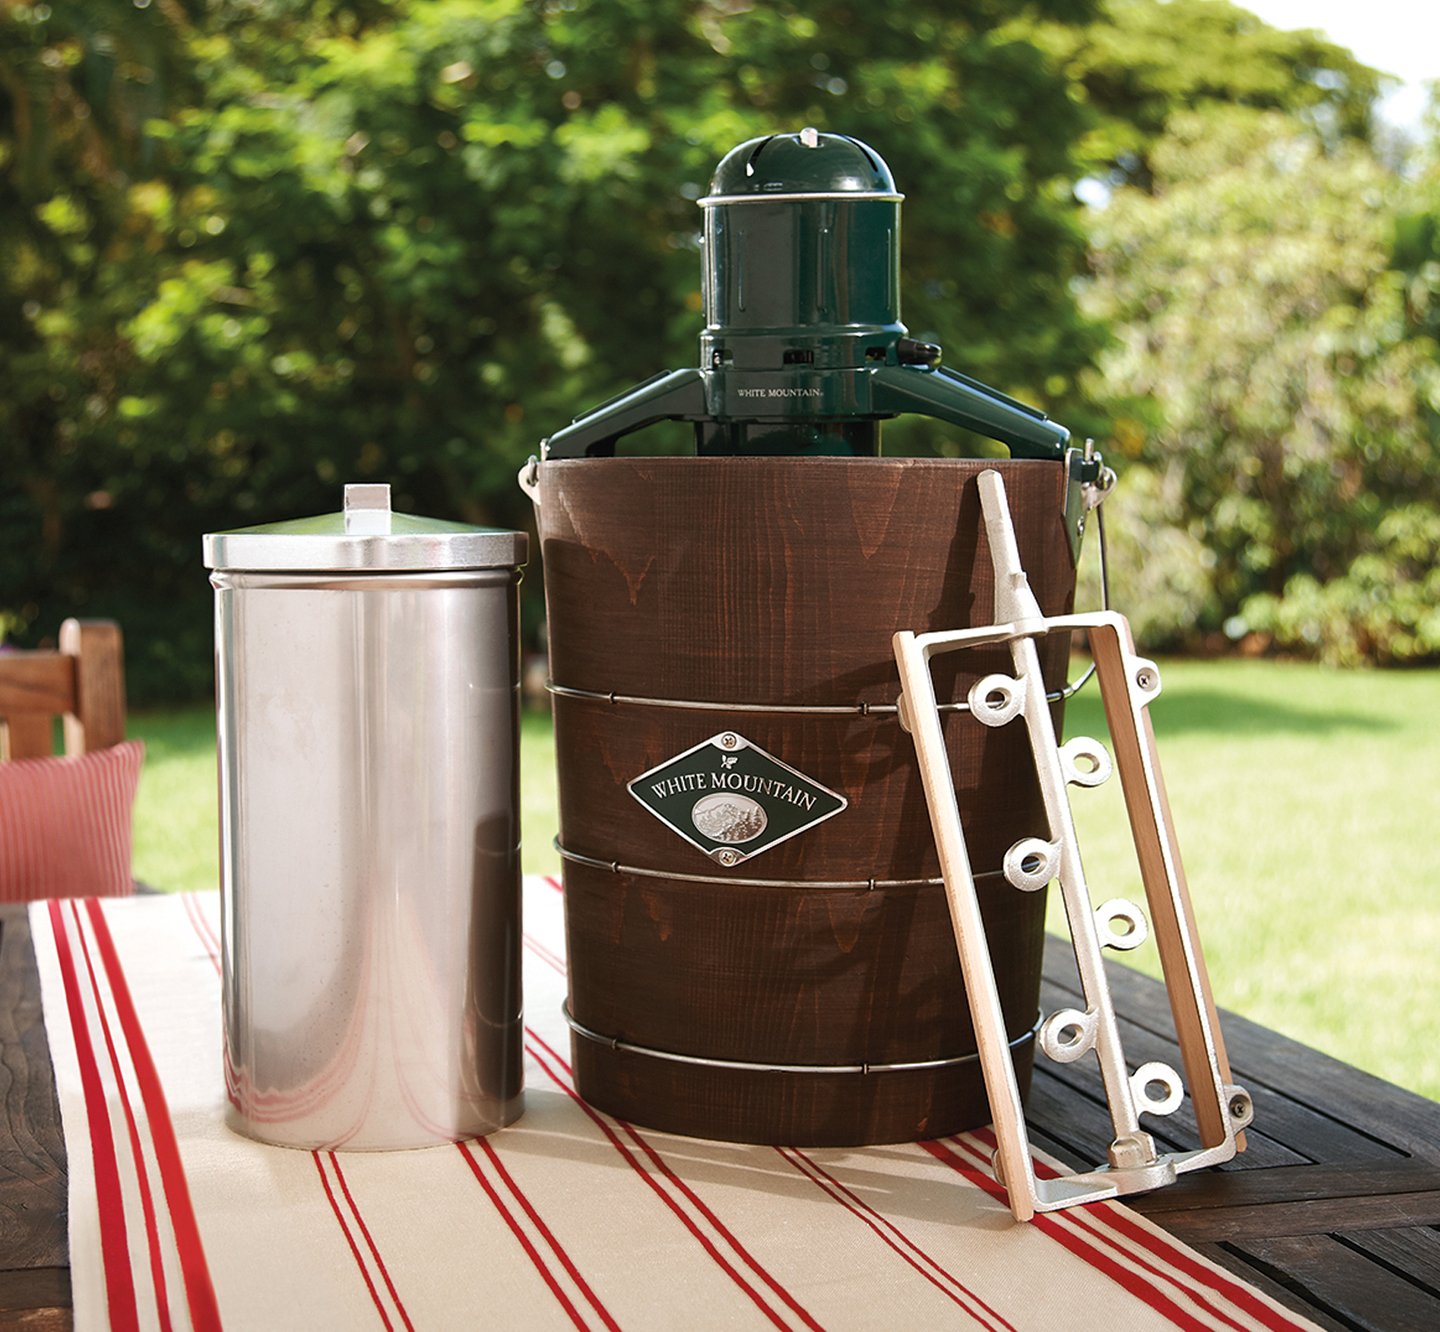
Start by carefully unpacking the box and gently removing the ice cream maker and its components. Place them on a clean, dry surface and take a moment to admire the sleek and compact design of the machine.
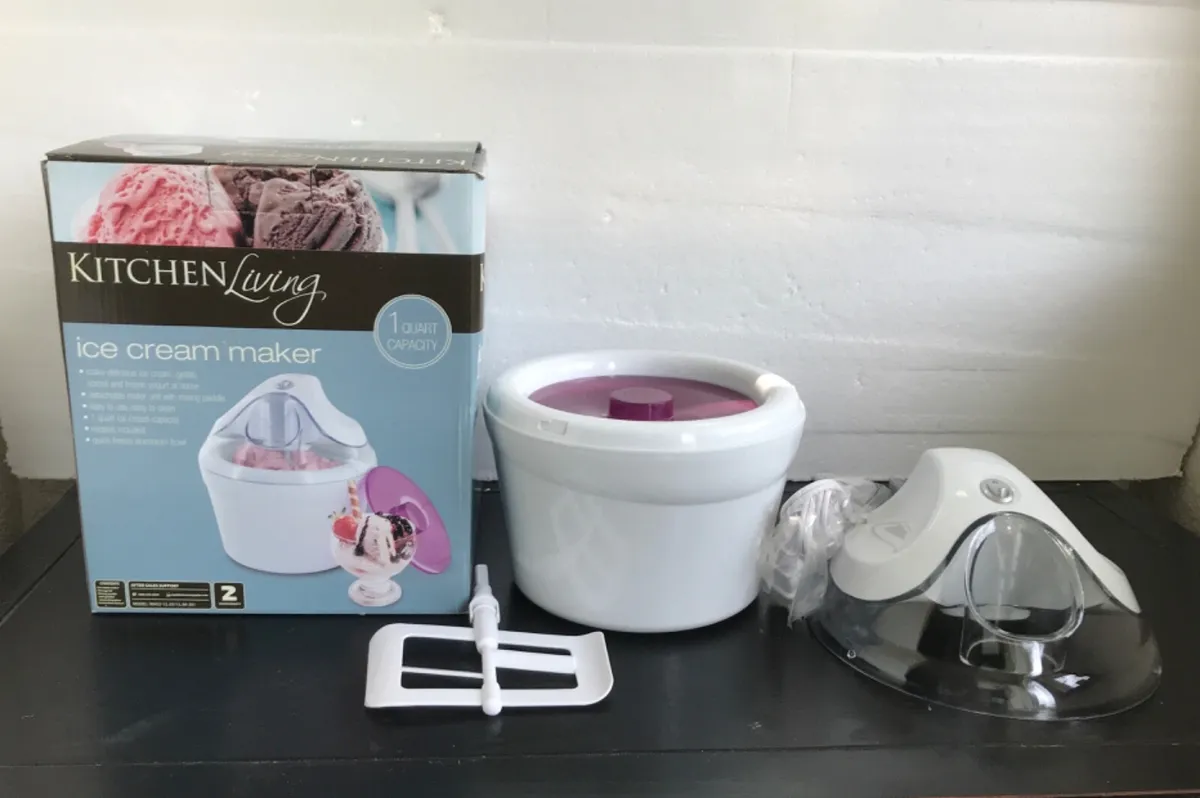
Inside the box, you’ll find the main unit of the ice cream maker, a removable freezer bowl, a lid with a motor, a paddle or dasher, and an instruction manual. Each component plays a vital role in the ice cream-making process, so it’s important to handle them with care.
Inspect the components to make sure everything is intact and free from any damage. If you notice any defects or missing parts, contact the manufacturer or retailer to resolve the issue promptly.
Before using the ice cream maker for the first time, give all the components a gentle wash with mild dish soap and warm water. This step will help remove any residue or dust that may have accumulated during the packaging and shipping process.
Once cleaned, dry the components thoroughly and reassemble the ice cream maker. Make sure the freezer bowl is securely placed on the main unit, and the paddle or dasher engages properly with the motor. This will ensure smooth operation during the ice cream-making process.
With the Kitchen Living Ice Cream Maker unboxed and ready to go, you’re now one step closer to creating your own frozen masterpieces. The next section will guide you through the process of assembling the ice cream maker so you can get started on your ice cream-making journey.
Assembling the Ice Cream Maker
Now that you have unboxed the Kitchen Living Ice Cream Maker, it’s time to assemble the machine and prepare it for the ice cream-making process. The assembly process is straightforward, and within minutes, you’ll be ready to start creating your delicious frozen treats.
Start by placing the main unit of the ice cream maker on a stable and level surface. Make sure the machine is unplugged before proceeding with the assembly.
Next, take the removable freezer bowl and insert it into the main unit. The bowl should fit snugly and securely onto the base. Ensure that it is placed correctly so that the paddle or dasher can rotate freely inside the freezer bowl.
Once the freezer bowl is in place, carefully attach the lid with the motor onto the main unit. Ensure that the lid is aligned properly and snaps firmly into place. The lid is essential as it houses the motor and control panel, enabling the ice cream maker to operate smoothly.
Take a moment to familiarize yourself with the control panel on the lid. Depending on the model of your Kitchen Living Ice Cream Maker, the control panel may include various buttons or dials to set the desired freezing time or choose different operating modes. Refer to the instruction manual for specific details on how to use the control panel effectively.
With the assembly complete, double-check that all the components are securely in place. Ensure that the freezer bowl is properly attached, the lid is firmly secured, and the paddle or dasher is correctly aligned with the motor.
Before moving on to the next step, ensure that the ice cream maker is placed in a location where it has sufficient ventilation and space to operate effectively. The machine should be placed on a flat and stable surface, away from direct sunlight or sources of heat.
With the Kitchen Living Ice Cream Maker fully assembled and in its proper position, you’re now ready to move on to the next step: preparing the ice cream mixture. Stay tuned for the upcoming section, where you’ll learn how to create the perfect base for your homemade frozen treats.
Preparing the Ice Cream Mixture
Now that your Kitchen Living Ice Cream Maker is assembled and ready to go, it’s time to prepare the ice cream mixture. The base of any great ice cream starts with a well-crafted mixture that balances flavors and provides a smooth and creamy texture.
First, gather all the ingredients you’ll need for your chosen ice cream flavor. Whether you’re making classic vanilla or experimenting with unique flavor combinations, ensure you have everything on hand before you begin.
In a mixing bowl, combine the following ingredients to create the ice cream base:
- Heavy cream or whole milk: This provides the richness and creaminess in the ice cream.
- Granulated sugar or other sweeteners: Add sweetness to the ice cream mixture. Adjust the amount based on your preference.
- Flavorings: Use extracts (such as vanilla, almond, or mint) or other flavorings (like cocoa powder, matcha powder, or fruit puree) to infuse the ice cream with distinctive tastes.
- Egg yolks (optional): If you prefer a custard-based ice cream, you can incorporate beaten egg yolks into the mixture. This will add richness and help achieve a smoother texture.
Combine the ingredients in the mixing bowl and whisk them together until the sugar has dissolved and the mixture is well-blended. If using egg yolks, temper them by slowly adding a small amount of the hot cream mixture while whisking continuously. This will prevent the eggs from curdling when added to the warm mixture.
Once your ice cream base is prepared, cover the bowl with plastic wrap or a lid and refrigerate it for at least an hour, or overnight if possible. Chilling the mixture allows the flavors to meld and develops a better texture in the finished ice cream.
While your ice cream mixture is chilling, it’s a great time to start thinking about mix-ins. Whether you want to add crushed cookies, chopped nuts, or swirls of caramel, the next section will explore how to incorporate these delightful additions into your homemade ice cream.
Chilling the Ice Cream Mixture
After preparing the ice cream mixture for your Kitchen Living Ice Cream Maker, the next crucial step is to chill it properly. Chilling the mixture allows the flavors to meld together, enhances the texture, and ensures a smoother freezing process.
Once you have prepared the ice cream base by combining the ingredients, transfer the mixture to a container that has a tight-fitting lid. This will prevent any unwanted flavors or odors from seeping in during the chilling process.
Place the container of ice cream mixture in the refrigerator for a minimum of one hour. Chilling it for a longer duration, such as overnight, will yield even better results. The extended chilling time allows the flavors to fully develop and provides for a creamier texture in your homemade ice cream.
While chilling the ice cream mixture, it’s important to not overlook the temperature of the freezer bowl for your Kitchen Living Ice Cream Maker. The freezer bowl needs to be properly frozen before you can start the actual ice cream-making process.
Typically, the freezer bowl should be placed in the freezer for a minimum of 12 to 24 hours before you plan to use it. Be sure to check the instructions provided with your specific model as freezing times may vary. Ensure that the freezer temperature is set to the optimal level, typically around 0°F (-18°C).
It’s important to note that the freezer bowl must be completely frozen before you begin making ice cream. If it’s not fully frozen, your ice cream may not churn properly, resulting in a less-than-ideal consistency.
Once both the ice cream mixture and the freezer bowl are adequately chilled and frozen, you’re ready to move on to the exciting part – using the Kitchen Living Ice Cream Maker to turn your ice cream dreams into a reality. The next section will guide you through the process of using the machine, so be prepared for a wonderful ice cream-making experience.
Using the Ice Cream Maker
Now that your ice cream mixture is chilled and the freezer bowl is frozen, it’s time to put the Kitchen Living Ice Cream Maker to work and start churning out delicious frozen treats. Using this user-friendly appliance is a breeze, and you’ll be enjoying homemade ice cream in no time!
Start by taking the freezer bowl out of the freezer and placing it onto the base of the ice cream maker. Make sure that it sits firmly and securely before proceeding.
Next, assemble the paddle or dasher by attaching it to the motor located in the lid of the ice cream maker. Ensure that it aligns properly with the spindle inside the freezer bowl.
Pour the chilled ice cream mixture into the freezer bowl, being careful not to overfill it. Remember that the mixture will expand as it freezes, so leave some room for it to expand and churn properly.
Once the ice cream mixture is in the freezer bowl, carefully place the lid with the attached paddle onto the base. Make sure it fits snugly and locks into place to prevent any leaks or spills during the churning process.
Now it’s time to power up the Kitchen Living Ice Cream Maker. Plug in the machine and turn it on using the control panel or the designated power switch. Depending on your model, you may have options to select the desired churning time or speed.
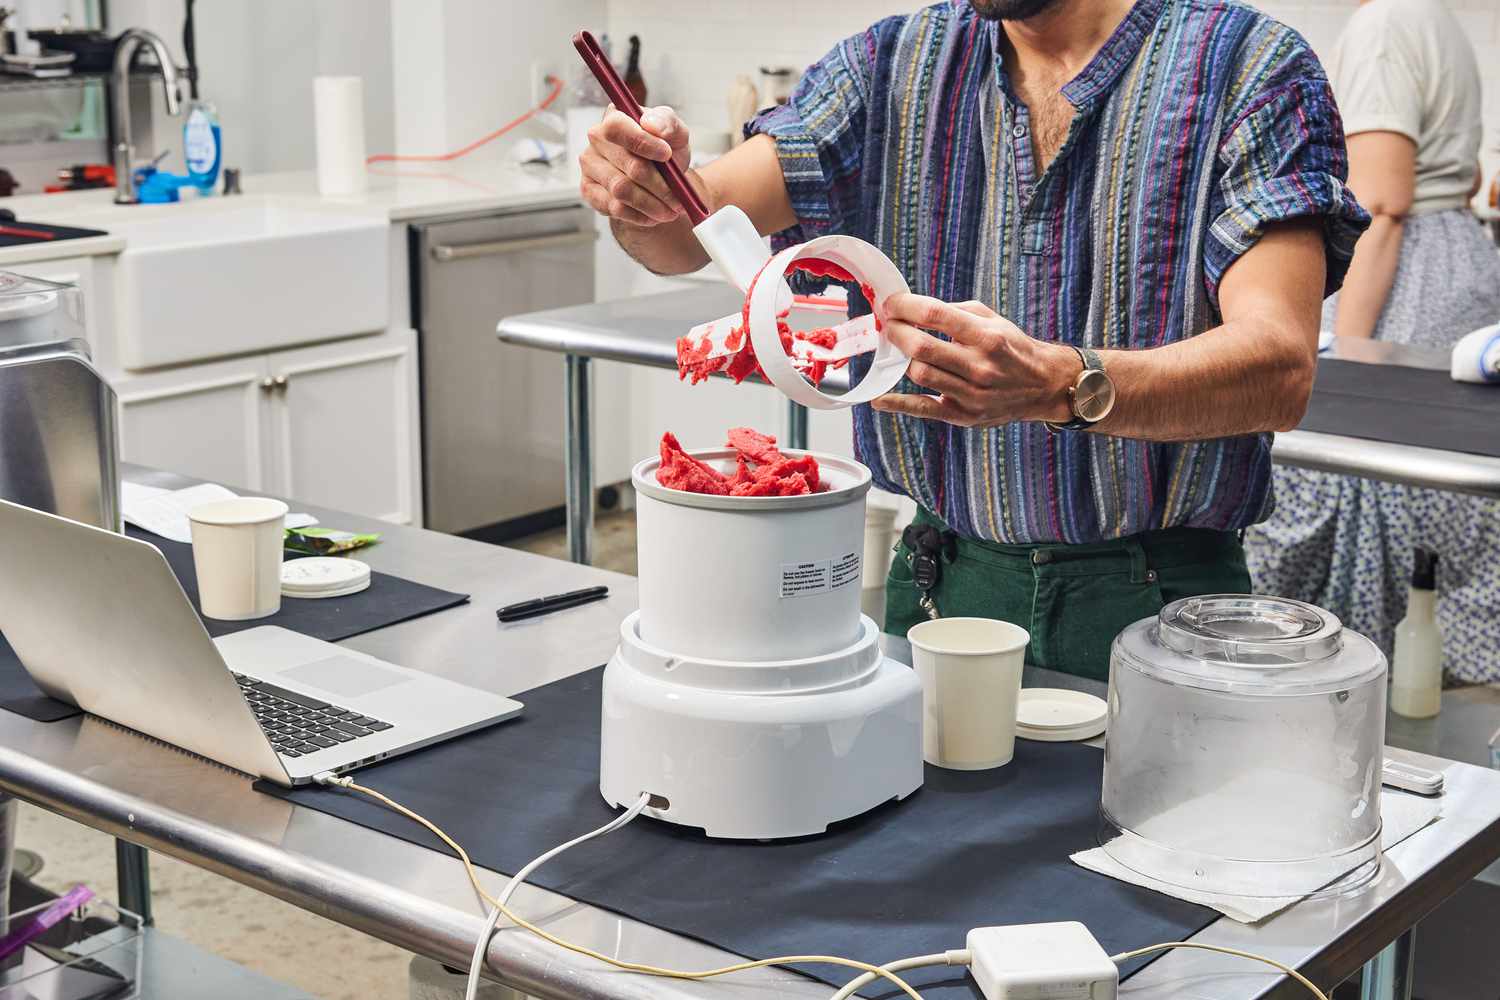
Allow the ice cream maker to churn the mixture for the recommended time or until the desired consistency is achieved. This typically takes around 20 to 30 minutes, but your specific model’s instructions will provide more precise guidance.
During the churning process, you may hear the motor running while the paddle rotates, incorporating air into the mixture and transforming it into a creamy, flavorful ice cream. It’s an exciting sight to watch your mixture transform into a frozen delight!
Once the ice cream reaches the desired consistency, you can turn off the ice cream maker and remove the lid. Be prepared for a mouthwatering aroma as you unveil your freshly churned ice cream.
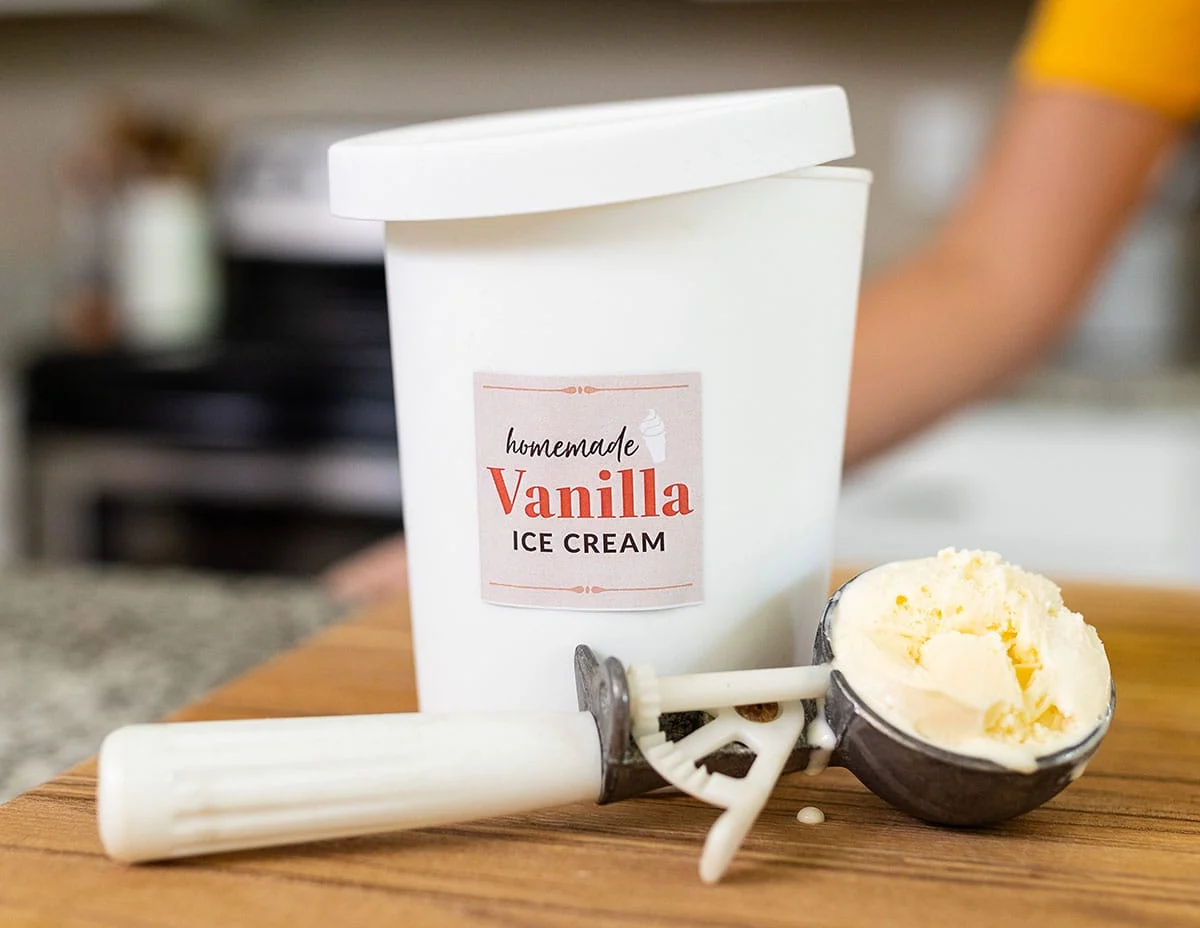
The Kitchen Living Ice Cream Maker allows you to taste your ice cream as soon as it’s done churning. Use a spatula or spoon to scoop out a small amount and experience the fruits of your labor. If you prefer a firmer texture, you can transfer the ice cream to an airtight container and place it in the freezer for a couple of hours to further firm up.
With the ice cream ready, it’s time to unleash your creativity and have fun with toppings, sauces, or enjoying it as is. Get ready to savor the satisfaction of homemade ice cream made effortlessly with the Kitchen Living Ice Cream Maker.
Adding Mix-ins
One of the joys of homemade ice cream is the ability to customize it with various mix-ins, adding layers of flavors, textures, and surprises to your frozen creations. Whether you’re a fan of classic combinations or love experimenting with unique mix-ins, the Kitchen Living Ice Cream Maker allows you to easily incorporate these delightful additions into your homemade ice cream.
Once your ice cream mixture has finished churning, you can begin adding your desired mix-ins. Here are a few popular options to consider:
- Chopped Nuts: Walnuts, pecans, almonds, or peanuts can add a satisfying crunch and nutty flavor to your ice cream.
- Crushed Cookies: Oreo cookies, chocolate chip cookies, or graham crackers crumbled into your ice cream create delicious pockets of contrasting texture.
- Fruit Swirls: Swirling in fresh fruit puree, such as strawberry or raspberry, adds a burst of fruity goodness throughout your ice cream.
- Candy Pieces: Crushed candy bars, chocolate chips, or caramel bits can bring a sweet surprise to your ice cream.
- Caramel or Fudge Sauce: Drizzling a swirl of caramel or fudge sauce into the ice cream as you add mix-ins will result in irresistible ribbons of sweet goodness.
- Flavored Extracts: Enhance the flavor of your ice cream by adding a few drops of extracts like mint, almond, or coconut.
To add mix-ins to your freshly churned ice cream, simply remove the lid of the ice cream maker and gently fold them into the mixture using a spatula or spoon. Be sure not to overmix, as you want to maintain the integrity of the mix-ins and distribute them evenly throughout the ice cream.
Feel free to experiment and get creative with different mix-in combinations. The possibilities are endless, and you can truly make each batch of ice cream unique to your taste preferences. Just remember to select mix-ins that complement the base ice cream flavor and add harmony to the overall experience.
Once you have added the mix-ins, you can transfer the ice cream to a lidded container and place it in the freezer to further firm up. Allow it to freeze for a couple of hours or until it reaches your desired consistency.
Now, it’s time to savor your homemade masterpiece, complete with delectable mix-ins. Share your creations with friends and family or enjoy a guilt-free indulgence all to yourself. The Kitchen Living Ice Cream Maker allows you to take control of your frozen desserts and enjoy the perfect blend of flavors and textures.
Freezing and Storing the Ice Cream
Once you’ve prepared and added your desired mix-ins to your homemade ice cream, it’s time to freeze and store it properly to maintain its freshness and creamy texture. Taking the necessary steps to store your ice cream correctly will ensure that it stays delicious for future enjoyment.
Transfer the freshly churned ice cream from the Kitchen Living Ice Cream Maker into an airtight container. Ensure that the container is freezer-safe and has a tight-fitting lid to prevent air and ice crystals from forming.
Smooth the surface of the ice cream with a spatula or the back of a spoon to eliminate any air pockets. This helps maintain the desired texture and prevents ice crystals from forming.
Place the container of ice cream in the freezer, ideally in the coldest part of the freezer where the temperature remains consistent. This will help prevent the ice cream from experiencing temperature fluctuations that can result in a loss of quality.
Allow the ice cream to freeze for a minimum of two to four hours, or until it reaches the desired firmness. However, note that the exact freezing time may vary depending on your freezer’s temperature and the specific recipe of the ice cream.
When you’re ready to enjoy your homemade ice cream, remove the container from the freezer and let it sit at room temperature for a few minutes. This will allow the ice cream to soften slightly, making it easier to scoop and serve.
As you scoop the ice cream, be mindful of using a sturdy and well-rounded ice cream scoop to create beautiful, smooth servings. Run the scoop under warm water between scoops to make it easier to glide through the frozen ice cream.
After serving, promptly return the remaining ice cream to the freezer to maintain its consistency and prevent melting. Make sure to tightly seal the container to avoid any potential exposure to odors or freezer burn.
It’s worth noting that homemade ice cream is best consumed within a few weeks for optimal flavor and texture. While it may technically remain safe to consume for a longer period, freezer burn and decreased quality may occur over time.
Now that you know how to freeze and store your homemade ice cream properly, you can always have a sweet treat on hand whenever cravings strike. Get ready to enjoy the fruits of your labor and savor the delightful flavors you’ve created with the Kitchen Living Ice Cream Maker.
Cleaning and Maintenance
Proper cleaning and maintenance of your Kitchen Living Ice Cream Maker will help ensure its longevity and keep it in excellent working condition for future ice cream-making adventures. Taking a few extra minutes to care for your appliance after each use will help maintain its performance and allow you to enjoy countless batches of homemade ice cream.
After you’ve finished making ice cream, unplug the machine and allow it to cool down before beginning the cleaning process. This will ensure your safety and prevent any damage to the appliance.
Start by removing any remaining ice cream or mixture from the freezer bowl and lid. Use a spatula or spoon to scoop out as much as possible, being careful not to damage the components.
Next, disassemble the ice cream maker by removing the freezer bowl from the base and separating the paddle or dasher from the lid. Rinse these components with warm water to remove any residual ice cream or mixture. Avoid using abrasive cleaners or scouring pads, as they can scratch the surfaces.
Once rinsed, use a mild dish soap and a soft sponge or cloth to wash the removable parts of the ice cream maker. Gently scrub away any stubborn residue, making sure to pay attention to the paddle or dasher and the lid. Rinse thoroughly to remove any soap residue.
Clean the main unit of the ice cream maker by wiping it down with a damp cloth. Pay attention to any spills or drips that may have occurred during the ice cream-making process. Avoid submerging the main unit in water to prevent damage to the motor and electrical components.
Allow all the components to air dry completely or use a soft, absorbent towel to dry them thoroughly before reassembling the ice cream maker.
When the machine is fully dry, reassemble the ice cream maker by attaching the freezer bowl to the main unit and placing the paddle or dasher back into the lid. Ensure that all components fit securely and align properly.
Store the ice cream maker in a clean, dry place away from direct sunlight or extreme temperatures. This will help protect the appliance and prevent any potential damage.
Regular maintenance includes checking the power cord for any sign of wear or damage. If you notice any issues, contact the manufacturer or a professional for assistance in repairing or replacing the cord.
By following these simple cleaning and maintenance tips, you can prolong the life of your Kitchen Living Ice Cream Maker and continue to enjoy homemade frozen desserts for years to come.
Troubleshooting Common Issues
While the Kitchen Living Ice Cream Maker is designed to make your ice cream-making experience smooth and enjoyable, occasional issues may arise. Understanding common problems and their solutions will help you troubleshoot and overcome any hurdles that come your way. Here are some common issues and how to address them:
1. Ice Cream Not Freezing Properly: If you find that your ice cream mixture is not freezing to the desired consistency, ensure that the freezer bowl is fully frozen. Double-check that it has been in the freezer for the recommended amount of time as stated in the manual. Additionally, make sure the mixture is chilled thoroughly before churning and that you are not overfilling the freezer bowl, as this can impede freezing.
2. Ice Cream Not Churning: If the paddle or dasher is not spinning or the ice cream mixture is not churning, check to ensure that the lid is securely attached and that the paddle is properly aligned and engaged with the motor. If the issue persists, it might be due to a motor or power supply problem. Refer to the manual for troubleshooting steps or contact customer support for assistance.
3. Ice Crystals in Ice Cream: The formation of ice crystals can occur if the ice cream is not stored properly. Ensure that the ice cream is stored in airtight containers to prevent excess moisture and freezer burn. Smooth the surface before freezing and minimize the amount of air incorporated during the churning process.
4. Motor Overheating: If you notice that the motor becomes excessively hot during the ice cream-making process, it could be due to extended use or an issue with the machine. Allow the motor to cool down for a few minutes before resuming or reduce the amount of consecutive batches you make. If the problem persists, consult the manual or seek professional help to determine the cause.
5. Unusual Noises or Vibrations: If you experience unusual noises or excessive vibrations during operation, there may be an issue with the paddle, motor, or other parts. Check to ensure that all components are securely attached and aligned correctly. If the problem persists, discontinue use and consult the manual or contact customer support for further assistance.
Remember to consult the instruction manual provided with your specific Kitchen Living Ice Cream Maker for model-specific troubleshooting steps and guidance. If you encounter persistent issues that you are unable to resolve, it is recommended to reach out to the manufacturer’s customer support for expert assistance.
By familiarizing yourself with these common troubleshooting techniques, you’ll be well-equipped to address any challenges that may arise during the ice cream-making process. Don’t let setbacks deter you from enjoying the delicious homemade treats that the Kitchen Living Ice Cream Maker can create.
Conclusion
Congratulations! You have reached the end of this guide on how to use the Kitchen Living Ice Cream Maker. Your journey into the world of homemade ice cream is filled with endless possibilities and delicious delights. With the knowledge and tips shared in this guide, you’re now equipped to create your own creamy, customized ice creams, sorbets, and frozen yogurts.
The Kitchen Living Ice Cream Maker offers a convenient and fun way to indulge in your favorite frozen treats anytime, right in the comfort of your own kitchen. From unboxing the machine to assembling it, preparing the ice cream mixture, and adding mix-ins, each step has been carefully outlined to ensure your success.
Remember to experiment with flavors and mix-ins to create unique combinations that suit your taste preferences. Whether you enjoy classic flavors like vanilla and chocolate or prefer to venture into more adventurous territory with exotic ingredients, the possibilities are limited only by your imagination.
Proper cleaning and maintenance of your ice cream maker will keep it in excellent working condition for years to come. Follow the recommended cleaning procedures outlined in this guide to keep your appliance in its best shape and ready for your next ice cream-making adventure.
Finally, don’t be discouraged by any troubleshooting issues that may arise along the way. With a little patience and the troubleshooting tips provided, you’ll be able to overcome any hurdles and continue delighting in your homemade frozen creations.
Now it’s time to unleash your creativity, gather your ingredients, and start making your own decadent and flavor-packed ice cream. The Kitchen Living Ice Cream Maker is your gateway to endless enjoyment and the perfect treat to share with friends and family or savor all to yourself. Get ready to embark on a journey of sweet, frozen bliss!