Introduction
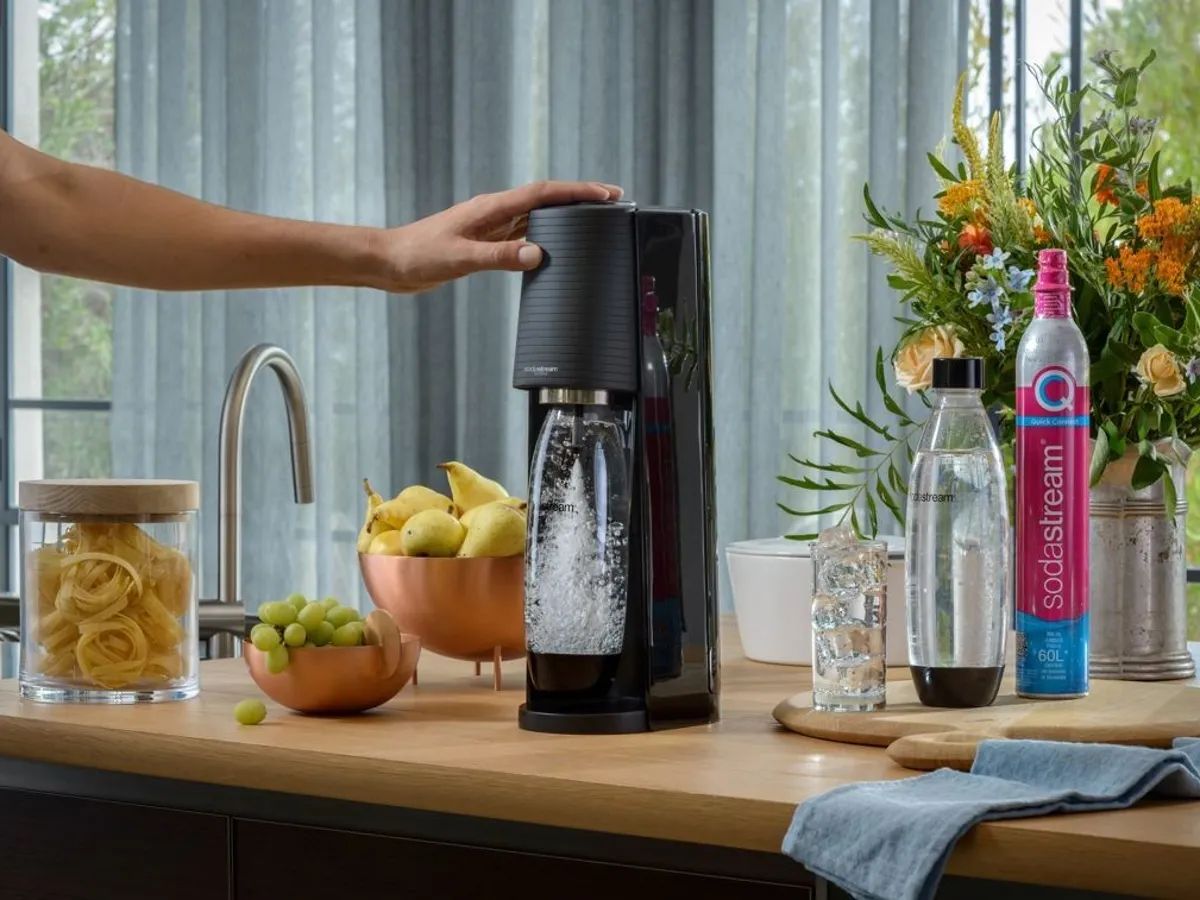
Are you tired of spending money on carbonated beverages from the store? Do you want to reduce your environmental footprint by reducing plastic bottle waste? If so, a soda maker can be the perfect solution for you. With a soda maker, you can create your own fizzy drinks at home using tap water and flavorful syrups.
Soda makers have become increasingly popular in recent years, as people are looking for convenient and eco-friendly ways to enjoy carbonated beverages. Not only do they offer cost savings over store-bought sodas, but they also allow you to customize the level of carbonation and add your favorite flavors.
In this article, we will guide you through the process of using a soda maker, from assembly and setup to carbonating water and adding flavors. We will also provide tips on cleaning and maintenance to ensure the longevity of your soda maker. Let’s dive in and discover how you can become a master at creating your own fizzy drinks!
Safety Precautions
When using a soda maker, it’s important to prioritize safety to avoid any accidents or mishaps. Here are some key safety precautions to keep in mind:
- Read the instructions: Before using your soda maker, carefully read the manufacturer’s instructions and follow them accordingly. Each soda maker may have specific guidelines and safety precautions, so familiarize yourself with them.
- Carbonate in a well-ventilated area: When carbonating water, make sure you do it in a well-ventilated area, such as near an open window or in the kitchen where there is good airflow. This will prevent any build-up of carbon dioxide gas.
- Use clean, cold water: It’s important to use clean, cold water when carbonating. Avoid using hot water as it can cause excessive pressure and potentially lead to accidents.
- Do not over-carbonate: Follow the recommended guidelines provided by the manufacturer to avoid over-carbonating the water. Over-carbonation can cause the bottle to burst under pressure, so it’s crucial to be mindful of the carbonation level.
- Avoid forceful removal of the bottle: After carbonating the water, do not forcefully remove the bottle from the soda maker. Follow the instructions on how to release the pressure safely before removing the bottle.
- Keep children and pets away: Ensure that children and pets are kept at a safe distance while operating the soda maker. It’s best to use the soda maker in an area that is not easily accessible to them.
- Clean and maintain regularly: Regularly clean and maintain your soda maker as per the manufacturer’s instructions. This will prevent any blockages or build-up in the system and ensure its efficient functioning.
By following these safety precautions, you can enjoy your soda maker while minimizing any potential risks. Remember, safety should always be the top priority when handling any appliance or equipment.
Assembly and Setup
Setting up your soda maker is a straightforward process that typically requires minimal effort. Here’s a step-by-step guide to help you with the assembly and setup:
- Unbox and inspect: Start by unboxing your soda maker and carefully inspecting all the components. Ensure that everything is in good condition and nothing is missing.
- Attach the CO2 canister: Locate the CO2 canister compartment on your soda maker. Depending on the model, it may be at the back or bottom of the machine. Insert the canister into the designated slot and screw it in securely.
- Attach the bottle: Take the BPA-free plastic bottle that came with your soda maker and attach it to the machine. Most soda makers have a simple twist-and-lock mechanism to securely hold the bottle in place.
- Check the carbonation level: Some soda makers come with a carbonation level indicator that allows you to adjust the level of fizziness. Set the desired carbonation level according to your preference, ranging from light to strong carbonation.
- Secure the bottle: Make sure the bottle is tightly secured to prevent any leakage during the carbonation process. Give it a gentle shake to ensure it doesn’t come loose.
- Plug in the soda maker: If your soda maker has a power cord, plug it into a convenient electrical outlet. This is typically applicable for soda makers with additional features such as LED indicators or automated carbonation.
- Prep the soda maker: Once everything is securely in place, your soda maker is ready to use. Familiarize yourself with the control buttons and options available on the machine.
It’s important to note that the assembly and setup process may vary slightly depending on the brand and model of your soda maker. Therefore, it’s always recommended to refer to the instruction manual provided by the manufacturer for precise instructions.
Now that you’ve successfully set up your soda maker, let’s move on to the next step: carbonating water!
Carbonating Water
Carbonating water is the heart of using a soda maker. It’s what gives your homemade sodas those delightful bubbles. Here’s how to carbonate water using your soda maker:
- Fill the bottle: Fill the BPA-free plastic bottle provided with your soda maker with cold tap water. It’s important to use cold water as it carbonates more effectively.
- Attach the bottle: Attach the filled bottle to the soda maker by placing it in the designated holder and securing it in place.
- Carbonation process: Depending on your soda maker, you may have a manual push-button or automated carbonation process. Follow the instructions provided by the manufacturer to initiate the carbonation process.
- Carbonation duration: The length of time required for carbonation varies from machine to machine. It’s typically recommended to hold down the carbonation button for a few seconds or follow the specific instructions on your soda maker.
- Release the pressure: Once the carbonation process is complete, release the pressure slowly by gently turning or pressing the release valve. This prevents any sudden bursts of pressure when removing the bottle.
- Check carbonation level: Unscrew the bottle and give it a taste test to check the level of carbonation. If it’s not fizzy enough, you can repeat the carbonation process for a stronger bubble sensation.
Remember to avoid over-carbonating the water, as excessive pressure can cause the bottle to burst. Follow the guidelines provided by the manufacturer on the recommended amount of carbonation for optimal results.
Now that you know how to carbonate water with your soda maker, let’s move on to the fun part: adding flavors to create your favorite sodas!
Adding Flavors
One of the biggest advantages of using a soda maker is the ability to add your own flavors and create a variety of delicious sodas. Here’s how you can add flavors to your carbonated water:
- Syrups: The easiest way to add flavor to your homemade sodas is by using flavored syrups. These syrups come in a wide range of flavors, from classic options like cola and lemon-lime to more adventurous choices like cherry or ginger. Simply pour a small amount of syrup into your carbonated water, starting with a teaspoon or as per the recommended serving size.
- Fruit juices and extracts: Another option is to add fruit juices or extracts to your carbonated water. This allows you to create refreshing and natural sodas with your favorite fruits. Experiment with different combinations or use a single fruit juice for a straightforward flavor.
- Herbs and spices: Get creative by adding herbs and spices to your homemade sodas. Mint leaves, basil, ginger, cinnamon, or even lavender can infuse unique and aromatic flavors into your carbonated water.
- Fresh fruits: For a burst of freshness, consider adding fresh fruit slices or muddled fruits to your soda. Citrus fruits like lemon, lime, or orange work particularly well. You can either muddle the fruits to extract their juices or simply drop a few slices into your drink.
- Bitters or extracts: Enhance the complexity of your homemade sodas by adding a dash of bitters or extracts. These concentrated flavorings can add depth and unique notes to your drink, giving it a more sophisticated taste.
Remember to start with small amounts of flavors and adjust to your preference. You can always add more if you want a stronger flavor, but it’s harder to dilute an overpowering taste. Mix and match different flavors and ingredients to discover your signature soda creations.
Now that you know how to add flavors to your carbonated water, let’s move on to the next section: cleaning and maintenance to ensure the longevity of your soda maker.
Cleaning and Maintenance
Proper cleaning and maintenance of your soda maker are essential to keep it in good working condition and ensure the longevity of the machine. Here are some tips to help you with cleaning and maintenance:
- Regular rinsing: After each use, rinse the bottle with warm water to remove any remaining carbonation and flavor residues. This helps prevent any buildup that could affect the taste of your next batch of soda.
- Use mild detergent: For a more thorough clean, wash the bottle, caps, and other removable parts with a mild detergent and warm water. Avoid using abrasive or harsh chemicals as they can damage the materials.
- Pay attention to seals and gaskets: Check the seals and gaskets for any signs of wear or damage. If necessary, replace them to maintain a tight and secure fit.
- Descale when needed: Over time, mineral deposits or lime scale can accumulate inside the soda maker. Follow the manufacturer’s instructions to descale the machine periodically. This will help maintain optimum performance.
- Store in a clean and dry place: When not in use, store your soda maker in a clean and dry area. This prevents dust or debris from entering the machine and ensures its overall cleanliness.
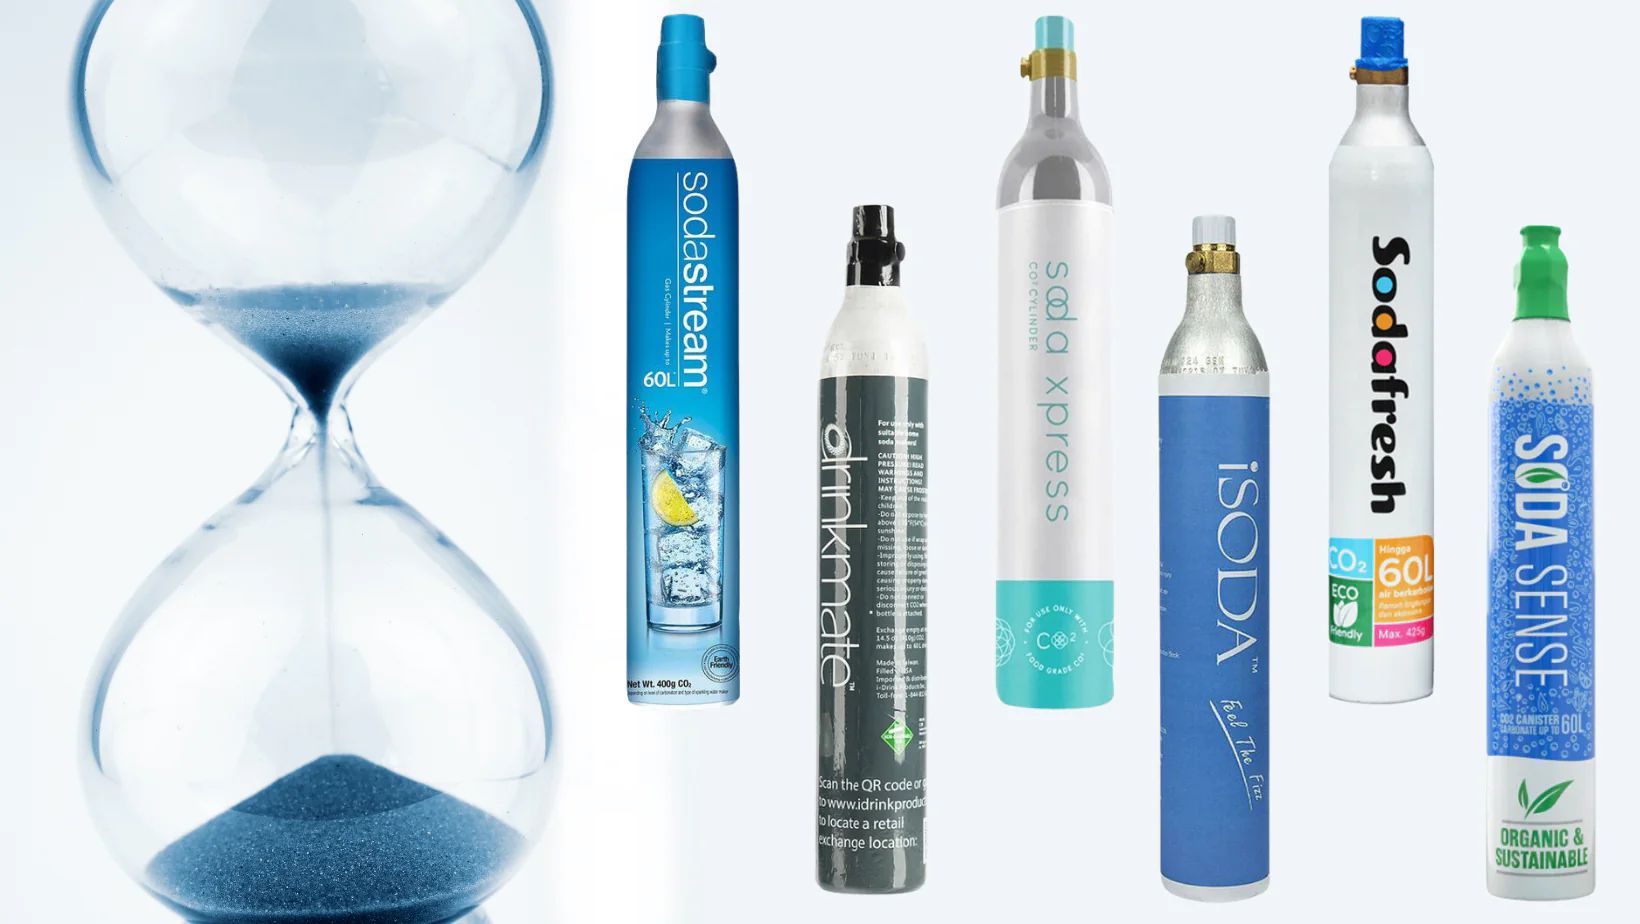
- Check CO2 canister: Monitor the level of CO2 gas in your canister and refill or replace it as needed. Most soda maker brands offer CO2 cylinder exchange programs to make it convenient for users.
By following these cleaning and maintenance practices, you can keep your soda maker in excellent condition and enjoy delicious, sparkling sodas for a long time.
Now that you know how to clean and maintain your soda maker, let’s move on to the final section: troubleshooting common issues that you may encounter.
Troubleshooting
While soda makers are generally reliable and user-friendly, sometimes you may encounter minor issues that can be easily resolved. Here are some common troubleshooting tips to help you troubleshoot and resolve any problems you may encounter:
- Low carbonation: If you find that your carbonated water is not fizzy enough, ensure that you are following the recommended carbonation process and holding down the carbonation button for a sufficient amount of time. You can also try increasing the carbonation level if your soda maker allows adjustments.
- Leakages: If you notice any leaks around the bottle or other connections, first check that the bottle is securely in place and the caps are tightly closed. If the issue persists, inspect the seals and gaskets for any damage and replace if necessary.
- Uneven carbonation: If you find that your soda has uneven carbonation, make sure you are holding the carbonation button down consistently throughout the process. Additionally, avoid shaking the bottle too vigorously after carbonation, as it can cause uneven distribution of CO2.
- Poor flavor quality: If your soda tastes off or lacks flavor, check the expiration date of your flavoring syrups or the freshness of the ingredients you use. Also, ensure that you are adding the right amount of flavoring or ingredients for a well-balanced taste.
- Machine not functioning: If your soda maker is not turning on or not carbonating at all, check the power source and make sure the electrical connection is secure. If it’s a manual soda maker, ensure that the CO2 canister is properly inserted and has enough gas.
If you are unable to resolve the issue using these troubleshooting tips, refer to the instruction manual provided by the manufacturer or reach out to their customer support for further assistance.
Now that you have some troubleshooting techniques under your belt, you’re ready to enjoy your sparkling homemade sodas!
Conclusion
Congratulations! You have now learned how to use a soda maker to create your own fizzy and flavorful drinks at home. By following the step-by-step instructions for assembly, setup, carbonation, flavoring, cleaning, and maintenance, you can enjoy a refreshing and personalized soda experience.
Not only does using a soda maker save you money in the long run, but it also allows you to reduce plastic bottle waste and customize your beverages to suit your tastes. With the ability to choose from a wide variety of flavors, fruits, herbs, and spices, you can showcase your creativity and create unique soda concoctions that cater to your preferences.
Remember to prioritize safety by following the recommended precautions and handling the soda maker with care. Regularly clean and maintain your machine to ensure its efficient performance and longevity.
Whether you’re using your soda maker to satisfy your soda cravings or to impress guests with your homemade soda creations, the possibilities are endless. So, grab your soda maker, get creative, and enjoy the fizzy delight of your very own homemade sodas!