Introduction
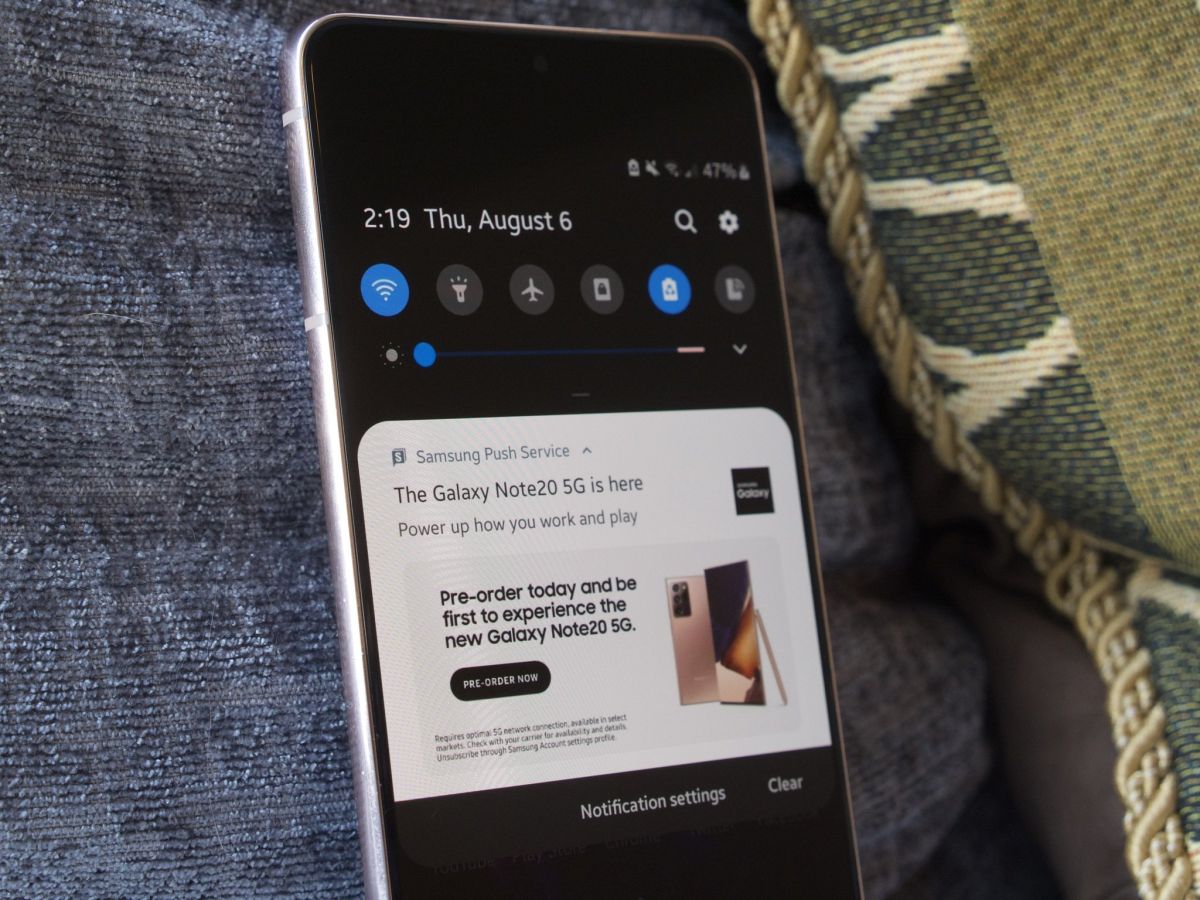
Welcome to this guide on how to stop push notifications on your Samsung tablet. If you own a Samsung tablet, you may have noticed that certain apps constantly send you push notifications, which can be disruptive and annoying. Push notifications are messages or alerts that appear on your device’s screen, notifying you of new updates, messages, or other important information from various apps. While they can be useful, too many push notifications can be overwhelming and intrusive.
Fortunately, you have the ability to control and customize the push notification settings on your Samsung tablet, allowing you to decide which apps can send you notifications and which ones to disable. In this guide, we will walk you through the steps to manage and disable push notifications, giving you more control over your device’s notifications.
By managing your push notifications, you can minimize distractions and only receive notifications from the apps that matter most to you. Whether you want to turn off notifications for certain apps or fine-tune the notification settings to better suit your needs, this guide will help you achieve a more personalized notification experience.
Please note that the exact steps and options may vary slightly depending on the model of your Samsung tablet and the version of the operating system it is running. However, the overall process should be similar and the instructions provided in this guide should be applicable to most Samsung tablets.
So, let’s get started with the first step of accessing the settings on your Samsung tablet!
Step 1: Accessing the Settings
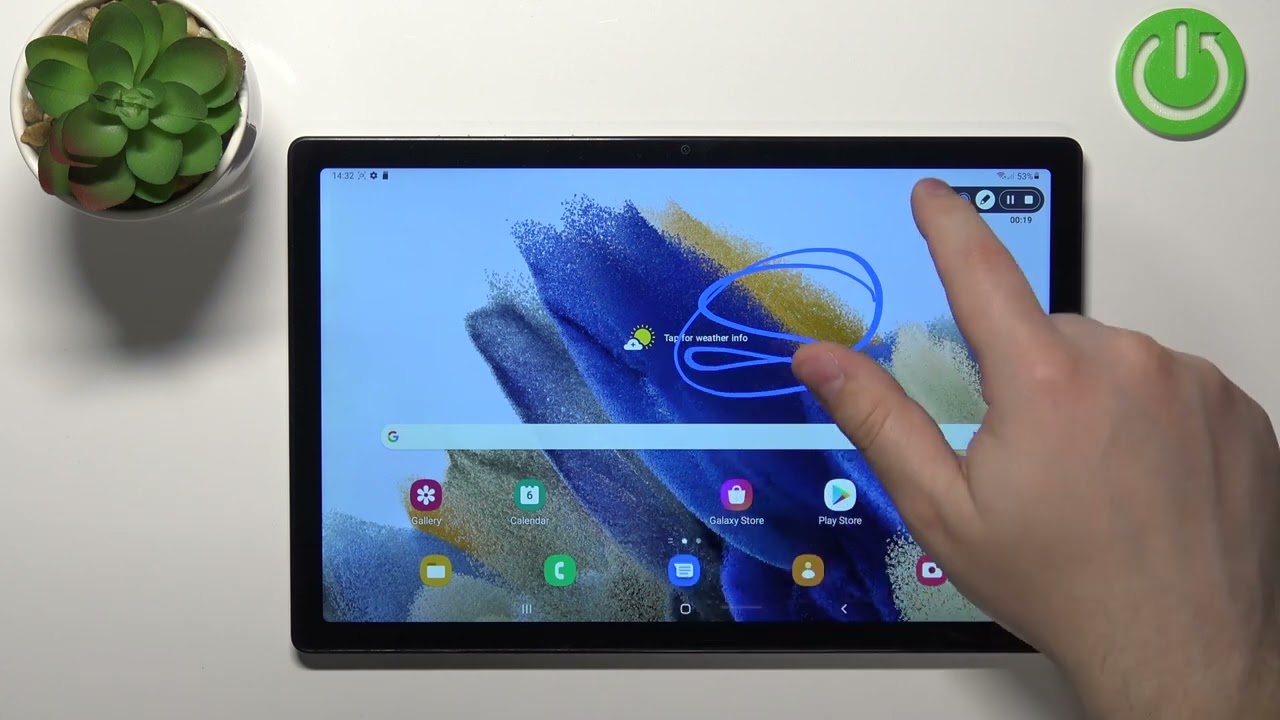
The first step to stop push notifications on your Samsung tablet is to access the device’s settings. Here’s how you can do it:
- Unlock your Samsung tablet by entering your passcode or using the fingerprint scanner.
- From the home screen, swipe down from the top of the screen to reveal the notification panel.
- In the top-right corner of the screen, you will find a gear-shaped icon. Tap on it to open the Settings app.
- Once you are in the Settings app, scroll down to find the “Notifications” option and tap on it. This will open the notification settings menu where you can manage your push notifications.
Alternatively, you can access the Settings app by tapping on the app drawer icon (usually located at the bottom-center of the home screen) and then locating the Settings app among your installed apps. Tap on the Settings app to open it, and then proceed to the next step.
Now that you have successfully accessed the Settings app on your Samsung tablet, you are ready to move on to the next step of selecting the notifications settings.
Step 2: Selecting Notifications
After accessing the Settings app on your Samsung tablet, the next step is to select the notifications settings. Here’s how you can do it:
- In the Notifications settings menu, you will see a list of options related to notifications. Look for the option labeled “Notifications” or “App Notifications.” Tap on it to proceed.
- On the next screen, you will see a list of all the apps installed on your Samsung tablet. These are the apps that can send you push notifications.
- Scroll through the list and select the app for which you want to manage the notifications. Tap on the app name to access its notification settings.
Tapping on an app will take you to its specific notification settings menu, where you can customize how that app sends you notifications. The available options may vary depending on the app, but commonly included options are:
- Show Notifications: This option allows you to enable or disable notifications from the selected app.
- Notification Style: You can customize the appearance and behavior of notifications for the app, such as the sound, vibration, or LED light.
- Priority: Adjusting the priority of notifications determines how prominently they are displayed on your device.
- Lock Screen: You can choose whether or not to display notifications from the app on the lock screen.
Repeat the process for each app you want to manage notifications for. By selecting and customizing the notifications settings for individual apps, you can have greater control over which notifications you receive and how they are displayed.
Now that you have learned how to select notifications for specific apps, let’s move on to the next step of managing individual app notifications.
Step 3: Managing Individual App Notifications
Now that you have accessed the notification settings and selected the specific app for which you want to manage notifications, it’s time to learn how to manage individual app notifications on your Samsung tablet. Follow the steps below:
- In the app’s notification settings, you will see various options that allow you to customize how notifications are delivered from that app.
- First, look for the option labeled “Show Notifications” or a similar option. Toggle this switch to enable or disable notifications for the app.
- If you want to further customize the way notifications are displayed, you can explore additional settings such as “Notification Style,” “Priority,” and “Lock Screen” options. These options may vary depending on the app.
By managing individual app notifications, you can choose to disable notifications for certain apps that you find less important or enable notifications for apps that you rely on for timely updates. This level of customization allows you to have a more streamlined and personalized notification experience on your Samsung tablet.
Repeat these steps for each app you wish to manage notifications for. Remember that you have the flexibility to fine-tune the notification settings according to your preferences for each individual app.
Now that you know how to manage individual app notifications, let’s move on to the next step of disabling push notifications for apps altogether.
Step 4: Disabling Push Notifications for Apps
If you want to completely disable push notifications for specific apps on your Samsung tablet, follow the steps below:
- Access the notification settings for the app by following the steps mentioned in the previous sections.
- In the app’s notification settings, look for the option labeled “Show Notifications” or a similar option. Toggle this switch to the off position to disable notifications for that app.
By disabling push notifications for an app, you will no longer receive any notifications from that app. This can be helpful for apps that tend to send frequent or nonessential notifications, reducing distractions and allowing you to focus on what’s important.
Repeat these steps for each app you want to disable push notifications for.
Remember, disabling push notifications for apps does not mean you won’t receive any updates or notifications from those apps. It simply means that the notifications will not be pushed to your device’s screen. You can still manually open the apps to check for any updates or messages at your convenience.
Now that you know how to disable push notifications for specific apps, let’s move on to the next step of disabling push notifications for system apps.
Step 5: Disabling Push Notifications for System Apps
In addition to third-party apps, your Samsung tablet may also have system apps that send push notifications. If you want to disable push notifications for system apps, follow the steps below:
- Access the notification settings menu as mentioned earlier.
- Look for the “System Apps” or “Android System” option. Tap on it to view the system apps on your Samsung tablet.
- Scroll through the list of system apps and select the app for which you want to disable push notifications.
- In the app’s notification settings, locate the “Show Notifications” option and toggle the switch to the off position to disable push notifications for that system app.
Disabling push notifications for system apps can help declutter your notification panel and minimize unnecessary interruptions. Keep in mind that some system apps may be essential for the smooth functioning of your Samsung tablet, so be cautious about disabling notifications for critical system apps.
Repeat these steps for each system app you wish to disable push notifications for.
Now that you have learned how to disable push notifications for system apps, let’s move on to the next step of customizing notification settings.
Step 6: Customizing Notification Settings
Customizing the notification settings on your Samsung tablet allows you to fine-tune how notifications are displayed and behave. Follow the steps below to customize your notification settings:
- Access the notification settings menu as described earlier.
- Look for the options labeled “Sound,” “Vibration,” or “LED Light.” These options control how notifications are indicated on your device.
- Select the desired sound, vibration pattern, or LED light color for notifications.
- Additionally, you may find options like “Do Not Disturb” or “Quiet Hours” that allow you to set specific times during which notifications are silenced.
- Explore other options in the notification settings menu, such as “Notification Style” or “Lock Screen,” to further customize the appearance and behavior of notifications on your Samsung tablet.
By customizing the notification settings, you can personalize the way notifications are presented to you, ensuring they align with your preferences and needs. You have the flexibility to choose notification sounds that are pleasing to you, set vibration patterns that are noticeable but not too intrusive, and even customize the LED light color for specific apps or types of notifications.
Experiment with the various options in the notification settings menu to find the settings that work best for you and enhance your overall notification experience on your Samsung tablet.
Congratulations! You have now successfully learned how to stop push notifications on your Samsung tablet by accessing the settings, selecting notifications, managing individual app notifications, disabling push notifications for apps, disabling push notifications for system apps, and customizing notification settings.
We hope this guide has helped you take control of your device’s notifications and create a more tailored and enjoyable user experience. Enjoy your Samsung tablet with fewer distractions and interruptions!
Conclusion
Managing push notifications on your Samsung tablet is essential for maintaining a distraction-free and personalized user experience. By following the steps outlined in this guide, you have learned how to access the settings, select specific notifications, customize settings for individual apps, disable push notifications for apps and system apps, and customize the overall notification settings.
With these techniques, you can now take control of the notifications that appear on your Samsung tablet’s screen. You can choose to receive notifications only from the apps that matter to you, disable notifications for apps that tend to be intrusive, and customize the appearance and behavior of notifications according to your preferences.
Remember that the specific steps and options may vary slightly depending on your Samsung tablet model and operating system version. However, the general principles and instructions provided in this guide should be applicable to most Samsung tablets.
By managing and customizing your push notifications, you can minimize distractions, reduce interruptions, and create a more focused and enjoyable user experience on your Samsung tablet. Take some time to explore the notification settings, experiment with different configurations, and find the optimal balance that works for you.
We hope this guide has empowered you to take control over your Samsung tablet’s push notifications and allowed you to use your device more efficiently and effectively. Enjoy a more personalized and uninterrupted user experience with your Samsung tablet!