Introduction
Welcome to the world of online gaming! With the rise of multiplayer games and esports, having a smooth and lag-free internet connection has become crucial for gamers. One of the key components that can impact your gaming experience is the modem you use.
In this article, we will guide you through the process of setting up your Motorola modem specifically for online gaming. Whether you’re a PC gamer or console enthusiast, optimizing your modem settings can help reduce latency, improve connection stability, and ultimately enhance your gaming performance.
Before we dive into the step-by-step instructions, it’s important to understand the role of your Motorola modem. Modems act as a bridge between your home network and the internet service provider (ISP). They receive data from your ISP and convert it into a format that your devices can understand and use.
Motorola modems are known for their reliability, performance, and user-friendly interface. By following the steps outlined in this guide, you’ll be able to maximize the potential of your Motorola modem and enjoy seamless online gaming sessions.
So, let’s get started and make sure you have everything you need: your Motorola modem, an Ethernet cable, and your gaming device (PC or gaming console) connected to the modem. Ready to level up your gaming experience? Let’s go!
Step 1: Understanding your Motorola modem
Before we begin the setup process, it’s important to familiarize yourself with the key features and functions of your Motorola modem. This knowledge will enable you to make the necessary adjustments and configurations to optimize your gaming experience.
Motorola modems come with a variety of models, so it’s essential to refer to the user manual specific to your modem. However, here are some common features you might encounter:
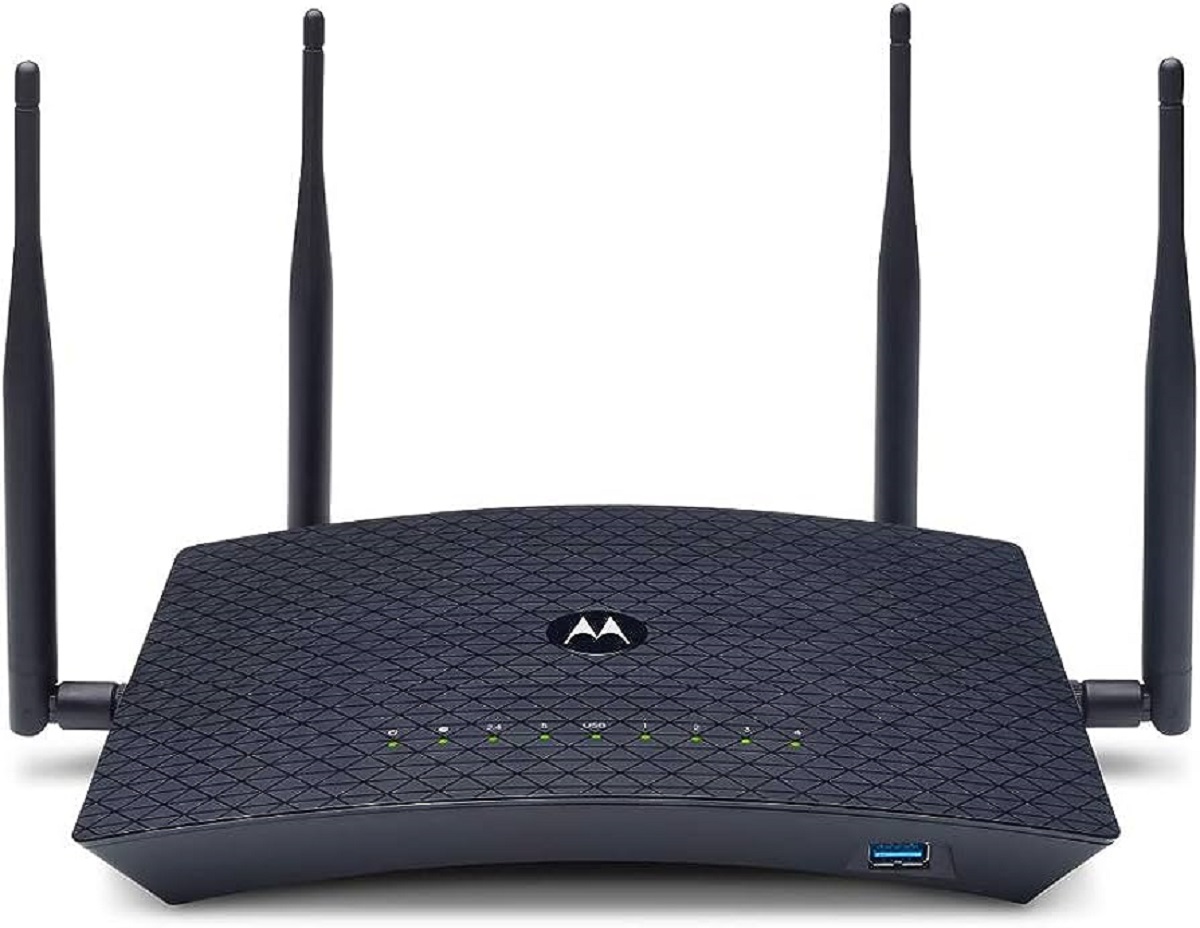
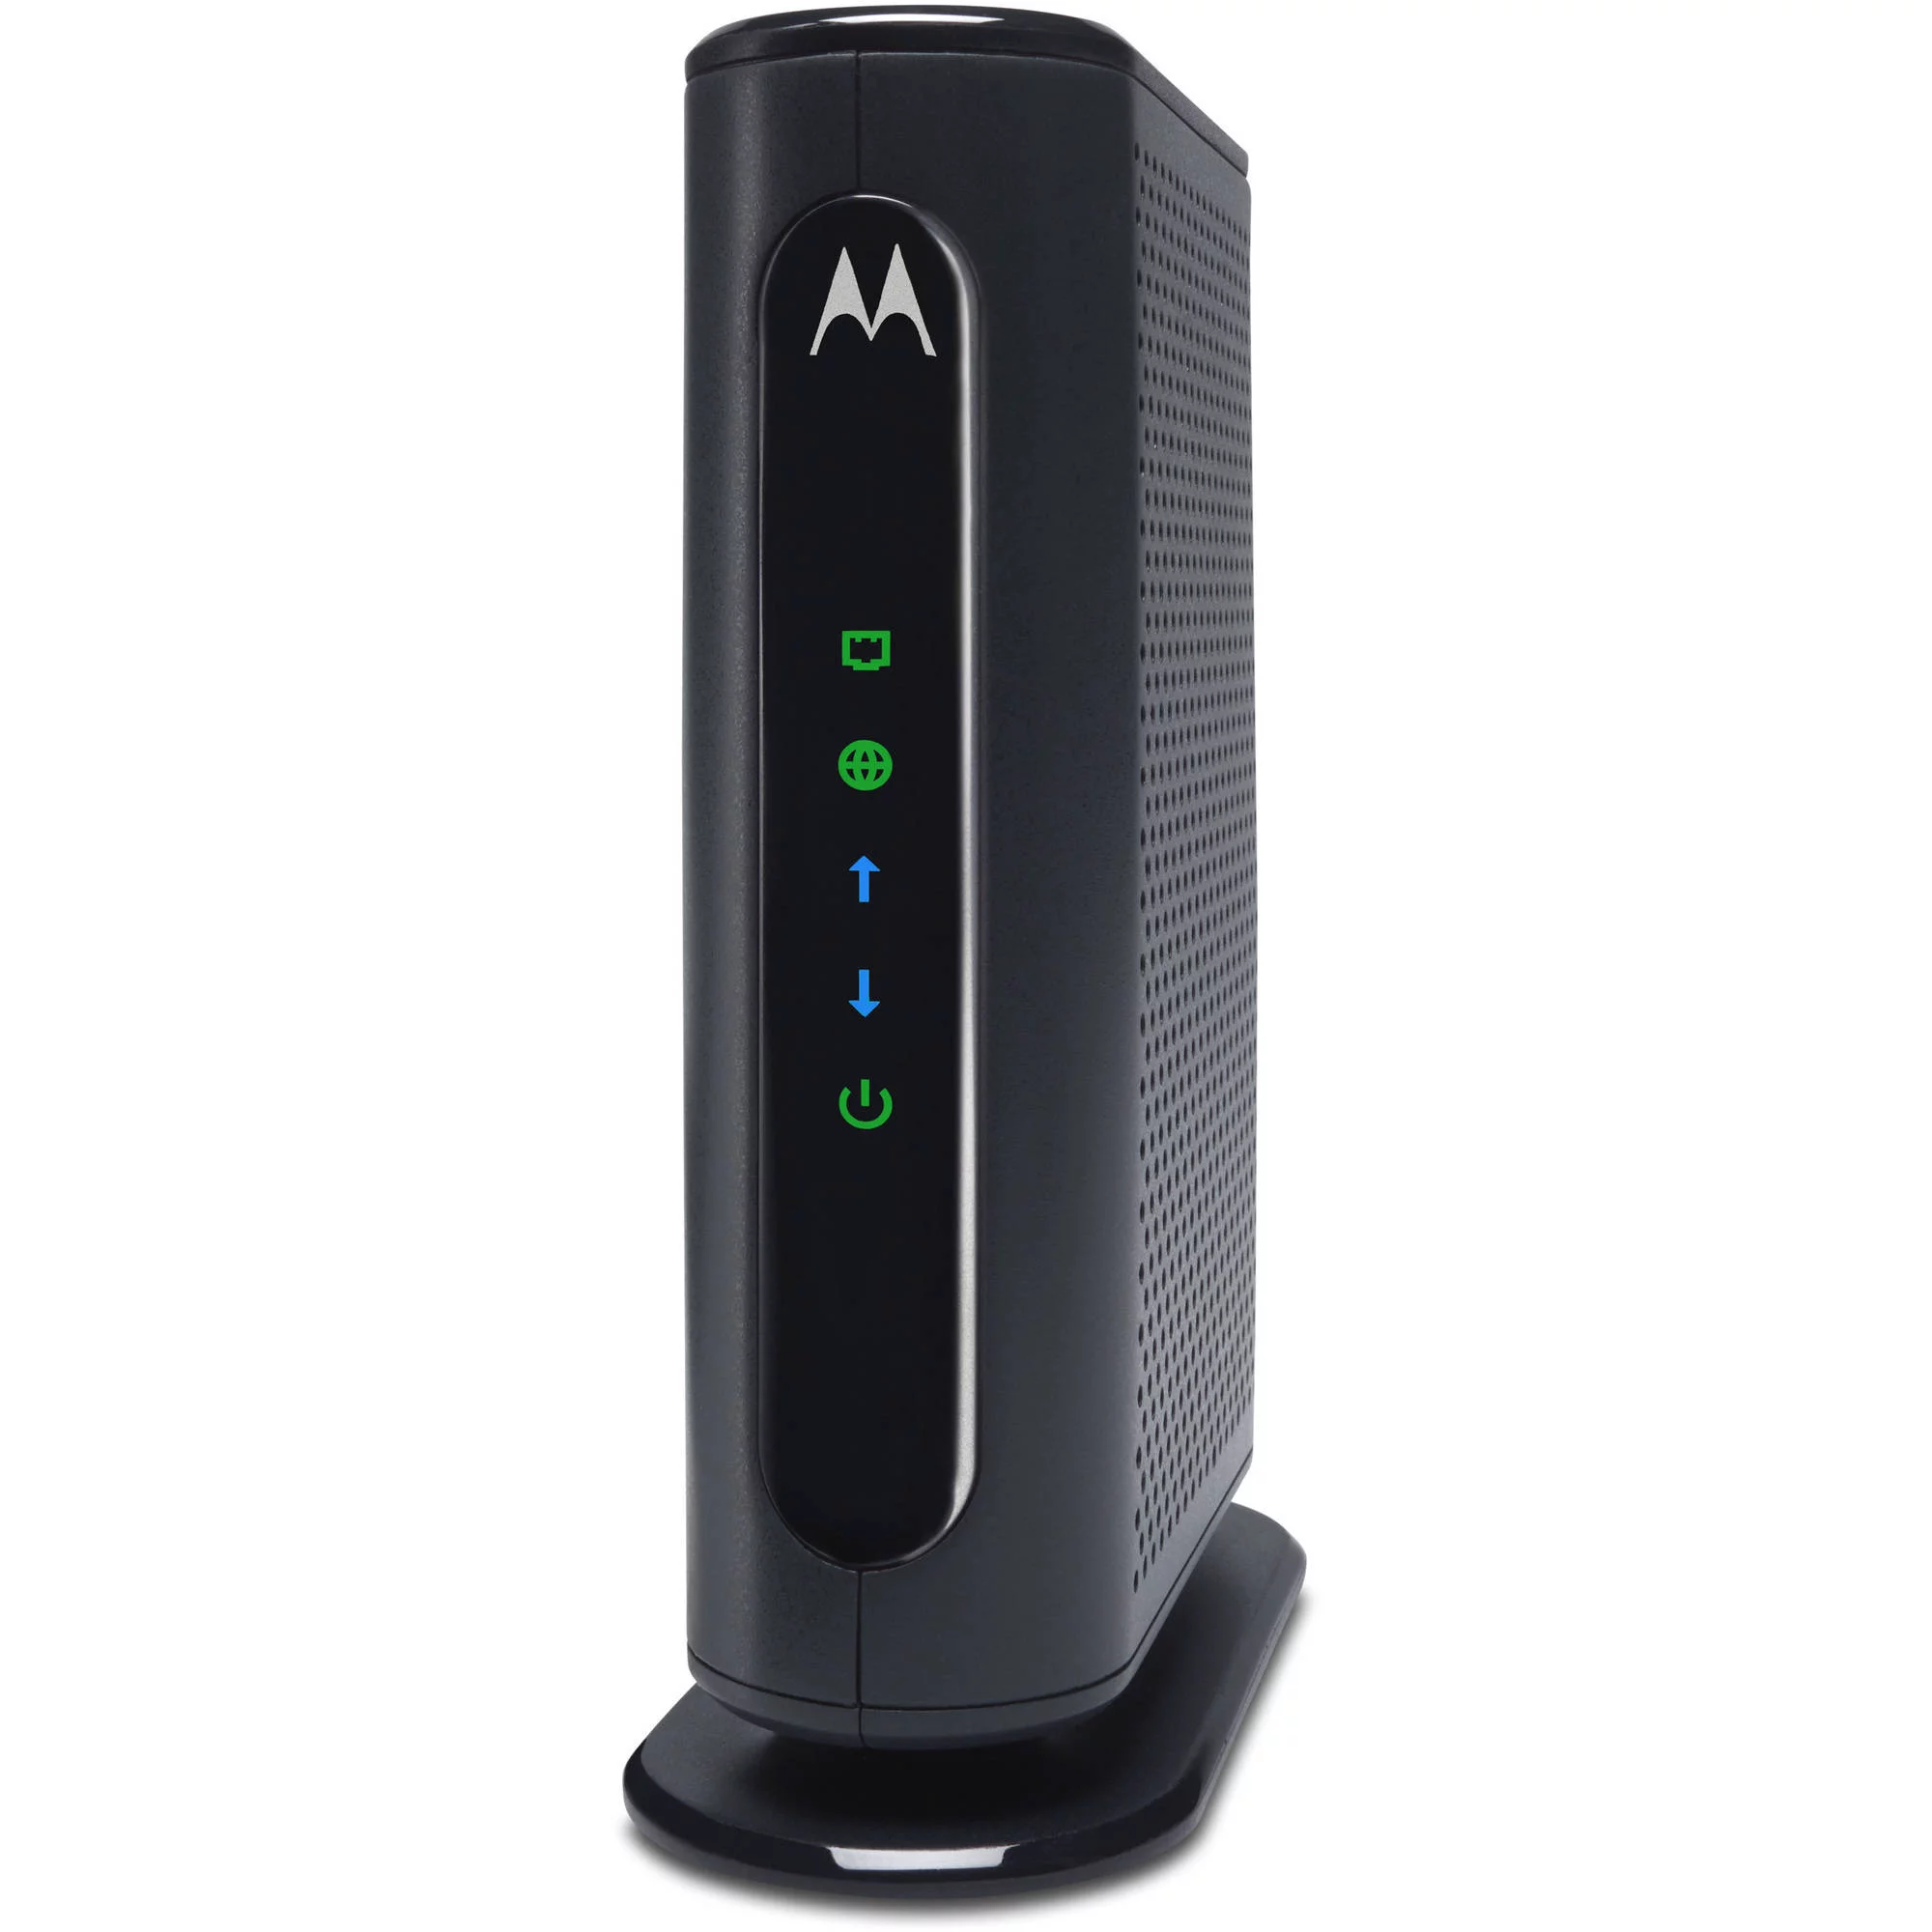
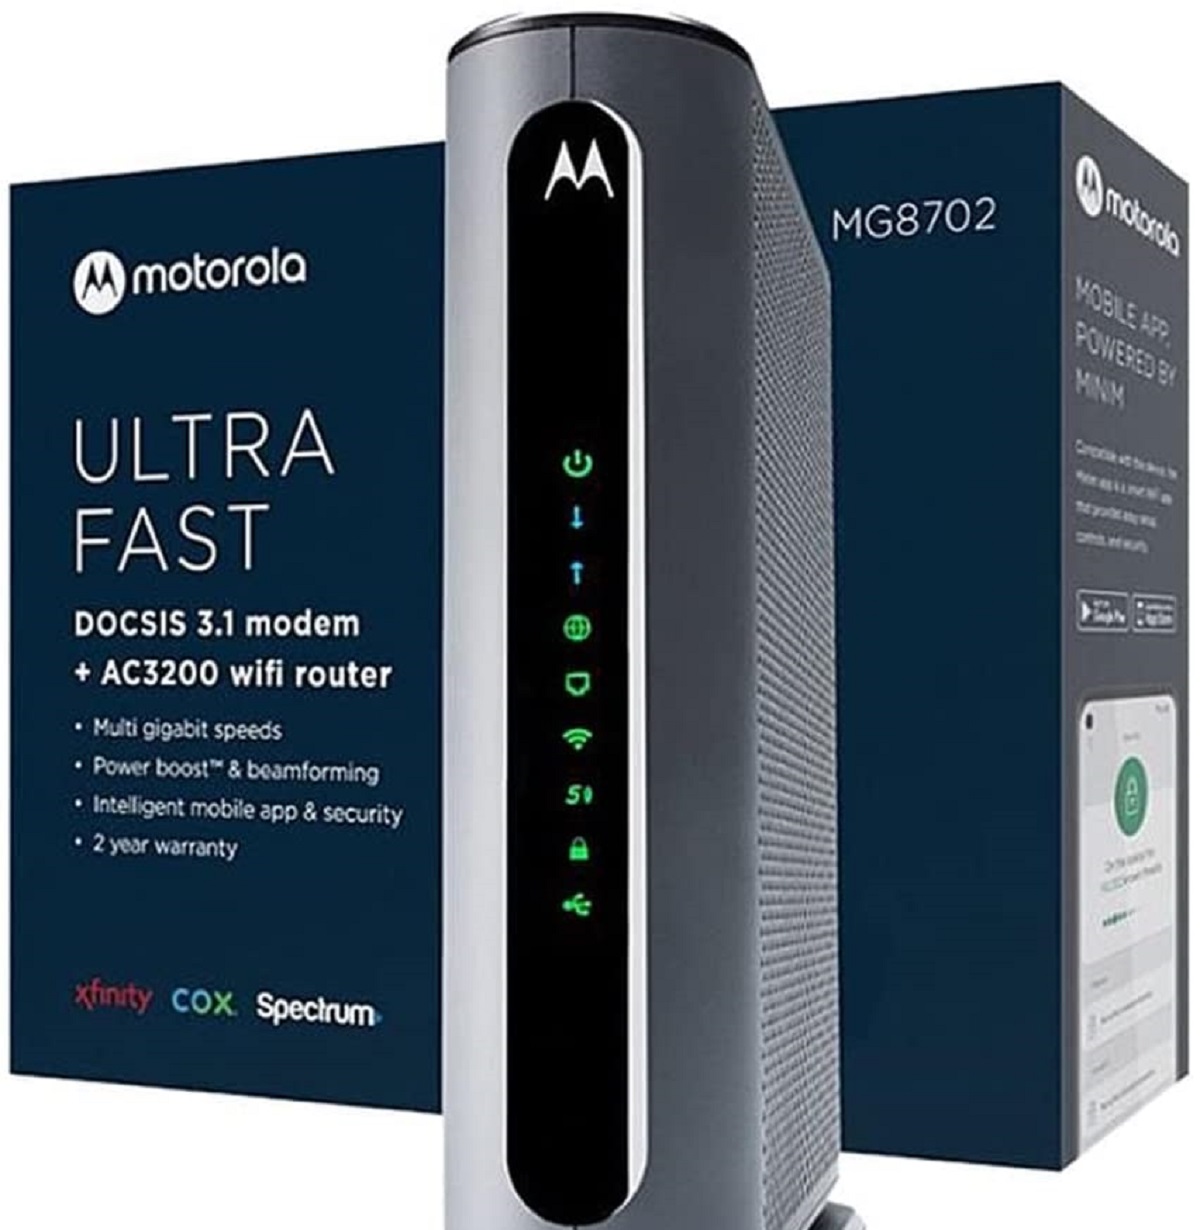
1. Modem LEDs: The front panel of your Motorola modem will typically have several LEDs indicating the status of different connections. These LEDs can provide valuable information, such as power status, internet connectivity, Ethernet connection, and Wi-Fi activity.
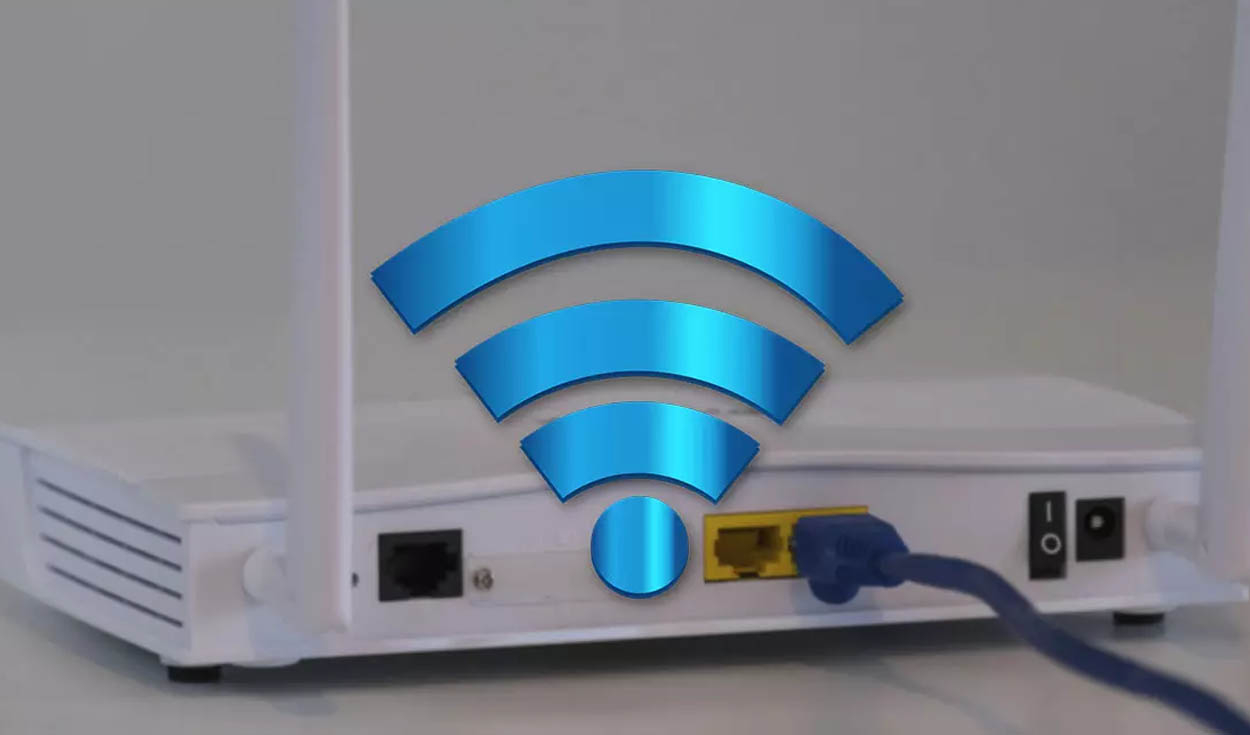
2. Ethernet Ports: Your Motorola modem will have one or more Ethernet ports where you can connect your gaming device using an Ethernet cable. These ports provide a stable and reliable connection, ideal for online gaming.
3. Wi-Fi Functionality: If you prefer wireless connectivity for your gaming device, your Motorola modem will likely have built-in Wi-Fi capabilities. This allows you to connect multiple devices without the need for Ethernet cables. However, for the best gaming performance, a wired connection is recommended.
4. Configuration Interface: Accessing the modem’s configuration interface is an essential step in the setup process. This interface allows you to make changes to various settings, including enabling gaming mode, setting up port forwarding, and optimizing modem configurations.
By understanding these features, you’ll be better equipped to navigate through the setup process and make the necessary adjustments to optimize your Motorola modem for online gaming. In the next step, we’ll cover how to connect your modem to the internet.
Step 2: Connect your modem to the internet
Now that you’re familiar with the features of your Motorola modem, it’s time to connect it to the internet. This step is crucial in ensuring a stable and reliable connection for your gaming needs.
To connect your modem to the internet, follow these steps:
- Locate your ISP’s modem connection: Look for the coaxial cable that comes from your internet service provider (ISP) and connects to your Motorola modem. This cable is typically labeled as “Cable In” or “Internet”. Connect this cable securely to the appropriate port on the back of your modem.
- Power up your modem: Plug the power adapter into your Motorola modem and connect it to an electrical outlet. Ensure that the power source is stable and reliable.
- Wait for the modem to sync: Your modem will take a few minutes to synchronize with your ISP’s network. During this time, the modem’s LEDs will indicate the progress. Wait until the “Internet” or “Online” LED is solid, indicating a successful connection to the internet.
- Connect your gaming device: If you’re connecting your gaming device via Ethernet, use an Ethernet cable to connect it to one of the Ethernet ports on the back of your modem. For wireless connectivity, refer to your modem’s user manual for instructions on connecting devices to the Wi-Fi network.
- Ensure a stable connection: Confirm that your gaming device is receiving a stable internet connection. You can do this by checking the network settings on your device or performing a speed test using an online speed testing tool.
By following these steps, you’ll successfully establish a connection between your Motorola modem and the internet. In the next step, we’ll explore how to access the modem’s configuration page.
Step 3: Access the modem’s configuration page
Accessing the configuration page of your Motorola modem is essential for making any necessary adjustments to optimize it for online gaming. This page allows you to customize settings and enable specific features that can enhance your gaming experience.
To access the configuration page of your Motorola modem, follow these steps:
- Ensure your device is connected: Make sure your gaming device is connected to your Motorola modem either through an Ethernet cable or via Wi-Fi.
- Open a web browser: Launch your preferred web browser, such as Chrome, Firefox, or Safari, on your gaming device.
- Enter the modem’s IP address: In the address bar of your web browser, enter the IP address specific to your Motorola modem. The default IP address for most Motorola modems is “192.168.0.1” or “192.168.100.1”. Consult your modem’s user manual or refer to the documentation provided by your ISP if you’re unsure.
- Log in to the configuration page: Once you’ve entered the IP address, you’ll be prompted to enter a username and password. The default credentials are often “admin” for both the username and password. However, if you’ve changed these credentials previously, use the updated login information.
- Explore the configuration options: After successfully logging in, you’ll have access to the configuration page of your Motorola modem. This page will contain various settings and options related to your modem’s functionality. Take your time to explore and familiarize yourself with the available features.
By following these steps, you’ll be able to access the configuration page of your Motorola modem. In the next step, we’ll discuss how to enable gaming mode, which can significantly improve your online gaming performance.
Step 4: Enable gaming mode on your Motorola modem
Gaming mode, also known as “Gamer Mode” or “Gaming Accelerator,” is a feature available on some Motorola modems that prioritizes network traffic for online gaming. Enabling gaming mode can help reduce latency and ensure a smoother gaming experience. Here’s how you can enable gaming mode on your Motorola modem:
- Access the modem’s configuration page: Follow the steps outlined in Step 3 to access the configuration page of your Motorola modem.
- Navigate to the gaming mode settings: Once you’re on the configuration page, look for the “Gaming Mode” or “QoS Settings” option. The exact location may vary depending on your modem model. Consult the user manual of your modem or refer to the documentation provided by your ISP for guidance.
- Enable gaming mode: On the gaming mode settings page, toggle the switch or select the option to enable gaming mode. Some modems may have additional settings to adjust the level of prioritization for gaming traffic. You can experiment with these settings to find the optimal configuration for your gaming needs.
- Save the changes: After enabling gaming mode and adjusting any additional settings, make sure to save the changes on the configuration page. This will ensure that gaming mode remains enabled even after a modem reboot or power cycle.
- Test your gaming experience: Once gaming mode is enabled, it’s a good idea to test your gaming experience to see if there are any noticeable improvements. Launch your favorite online game and assess factors like reduced latency, decreased lag, and smoother gameplay.
By enabling gaming mode on your Motorola modem, you can optimize your network for online gaming and elevate your gaming performance. In the next step, we’ll explore how to set up port forwarding for your gaming console or PC.
Step 5: Set up port forwarding for your gaming console or PC
Port forwarding allows specific internet traffic, such as gaming data, to bypass certain firewall restrictions and reach your gaming console or PC directly. Setting up port forwarding on your Motorola modem can help improve online gaming performance and reduce connectivity issues. Follow these steps to set up port forwarding:
- Access the modem’s configuration page: Refer to Step 3 to access the configuration page of your Motorola modem.
- Locate the port forwarding settings: On the configuration page, look for the section related to port forwarding or NAT (Network Address Translation). The location of these settings may vary depending on the modem model. Check the user manual or documentation provided by your ISP for guidance.
- Add a new port forwarding rule: Within the port forwarding settings, you’ll need to add a new rule to forward the necessary ports for your gaming console or PC. Consult the documentation of your game or gaming platform to find the specific ports that need to be forwarded. Common gaming ports include 80, 443, 3074, and 27015-27030.
- Enter the required information: When adding a new port forwarding rule, you’ll typically need to provide the following information:
- Protocol: Select the protocol used by your game, usually TCP or UDP.
- Internal IP address: Enter the local IP address of your gaming console or PC. You can find this in the network settings of your device or by running the “ipconfig” command in the Command Prompt or Terminal.
- External/Internal port range: Specify the range of ports to be forwarded for your game. If a single port is required, enter the same port number in both fields.
- Save the changes: After entering the necessary information, save the port forwarding rule on your modem’s configuration page.
- Restart your modem: To ensure the port forwarding settings take effect, it’s recommended to restart your Motorola modem. This can be done by power cycling the modem or using the appropriate reboot option on the configuration page.
By setting up port forwarding for your gaming console or PC, you’ll have a more open and direct connection, reducing potential connection issues and improving your online gaming experience. In the next step, we’ll discuss how to optimize modem settings for online gaming.
Step 6: Optimize modem settings for online gaming
To further enhance your online gaming experience, you can optimize specific settings on your Motorola modem. These adjustments can help improve network performance, reduce latency, and ensure a stable connection. Here are some optimization tips:
- Update firmware: Check if there is any firmware update available for your Motorola modem. Firmware updates often include performance enhancements and bug fixes. Visit the manufacturer’s website or consult the modem’s user manual for instructions on how to update the firmware.
- Disable unnecessary services: Review the modem’s configuration page and disable any unnecessary services or features that you do not use. This can free up resources and potentially improve network performance.
- Use a wired connection: Whenever possible, connect your gaming device to your modem using an Ethernet cable. Wired connections offer lower latency and more stable connections compared to wireless connections.
- Manage bandwidth: If you have multiple devices connected to your network, consider setting up Quality of Service (QoS) rules on your modem. This allows you to prioritize gaming traffic over other activities, ensuring a smoother gaming experience.
- Enable firewall and security features: Keep your gaming sessions secure by enabling the built-in firewall and security features on your Motorola modem. This can help protect against potential threats and maintain a safe gaming environment.
- Experiment with modem placement: The physical location of your modem can impact the strength and stability of your internet connection. Try placing your modem in a central location, away from obstructions, to maximize signal strength and minimize interference.
- Monitor network performance: Utilize network monitoring tools to keep an eye on your network performance. This can help you identify any issues or bottlenecks that may be impacting your gaming experience.
By implementing these optimization tips, you can fine-tune your Motorola modem for optimal online gaming performance. In the next step, we’ll discuss how to test your internet connection for gaming.
Step 7: Test your internet connection for gaming
After configuring and optimizing your Motorola modem for online gaming, it’s important to test your internet connection to ensure that everything is functioning as expected. By conducting a test, you can assess the performance of your network and make any necessary adjustments. Here’s how you can test your internet connection for gaming:
- Select a reliable speed testing tool: There are several websites and applications available that can measure your internet speed and provide valuable information about your connection. Choose a reputable speed testing tool that is known for accuracy and reliability.
- Close unnecessary applications and devices: Before conducting the test, ensure that there are no other bandwidth-intensive applications running in the background. Close any unnecessary apps and pause or disconnect devices that may be consuming a significant portion of your bandwidth.
- Run the speed test: Launch the speed testing tool and follow the instructions provided. The test will measure key factors such as download speed, upload speed, and ping. These metrics are essential for determining the quality and stability of your internet connection.
- Assess the test results: Once the test is complete, review the results to evaluate the performance of your internet connection. Pay attention to metrics such as download and upload speeds. For online gaming, a stable and consistent ping (also known as latency) is crucial. Lower latency values generally lead to better gaming experiences.
- Compare with recommended requirements: Compare the test results with the recommended requirements for the games or gaming platforms you intend to use. Check the minimum and recommended internet speeds and latency values. If your test results fall within or exceed these requirements, you can be confident in your internet connection for gaming.
- Make adjustments if necessary: If the test results indicate poor performance or higher latency than desired, consider making further adjustments to your modem settings or network configuration. Refer to the previous steps in this guide for optimizing your modem settings, enabling gaming mode, or setting up port forwarding.
By regularly testing your internet connection, you can ensure that your Motorola modem is providing the best possible performance for online gaming. If you encounter any issues during testing, don’t hesitate to consult your ISP or refer to the documentation provided by Motorola for further assistance.
Conclusion
Setting up your Motorola modem for online gaming can significantly improve your gaming experience. By following the steps outlined in this guide, you have learned how to optimize your modem’s settings and configure it for optimal performance. Let’s recap the key takeaways:
1. Understand your Motorola modem: Familiarize yourself with the features and functions of your modem to make the necessary adjustments and configurations.
2. Connect your modem to the internet: Establish a stable and reliable connection between your modem and your ISP.
3. Access the modem’s configuration page: Explore and customize settings on the configuration page to suit your gaming needs.
4. Enable gaming mode: Prioritize gaming traffic and reduce latency by enabling gaming mode on your modem.
5. Set up port forwarding: Allow specific gaming traffic to bypass firewall restrictions for a more direct connection to your gaming console or PC.
6. Optimize modem settings: Fine-tune your modem’s settings to improve network performance and reduce latency.
7. Test your internet connection: Regularly test and assess the performance of your internet connection to ensure optimal gaming performance.
With these steps completed, you should now have a properly configured Motorola modem that is optimized for online gaming. Enjoy your gaming sessions with reduced lag, improved connection stability, and an overall enhanced gaming experience.
Remember, should you encounter any difficulties or have further questions, don’t hesitate to consult the user manual of your modem or contact your ISP for additional support.
Happy gaming!


