Introduction
Welcome to the world of High Definition (HD) Internet of Things (IoT) cameras! With the rising popularity of smart home technology, IoT cameras have become an essential part of securing our homes and monitoring our surroundings. Whether you want to keep an eye on your kids, check in on your pets, or enhance the security of your property, setting up an HD IoT camera is a fantastic choice.
In this guide, we will walk you through the process of setting up and configuring an HD IoT camera. We will cover everything from choosing the right camera to troubleshooting common issues. By the end of this article, you will be well-equipped to set up your own HD IoT camera and start enjoying the peace of mind it brings.
Before we dive into the technical details, it’s important to understand what an HD IoT camera is. Unlike traditional security cameras, HD IoT cameras are part of the Internet of Things ecosystem, which means they are connected to the internet and can be accessed remotely via a smartphone, tablet, or computer. These cameras provide high-quality visuals, allowing you to monitor your home in crisp detail.
Setting up an HD IoT camera may seem daunting at first, especially if you’re not well-versed in technology. However, with our step-by-step instructions, you’ll find the process to be surprisingly straightforward. So, without further ado, let’s get started on our journey to setting up your very own HD IoT camera!
Choosing the Right HD IoT Camera
When it comes to choosing the right HD IoT camera for your needs, there are a few key factors to consider. These factors will ensure that you select a camera that meets your requirements in terms of features, performance, and budget.
The first and foremost consideration is the camera’s resolution. HD cameras typically have a resolution of 720p or 1080p. The higher the resolution, the clearer and more detailed the footage will be. If you want to capture fine details, such as facial features or license plate numbers, opt for a 1080p camera.
Another important aspect to consider is the camera’s field of view (FOV). This refers to the area that the camera can capture. Some cameras have a wide-angle lens that allows for a larger coverage area, while others have a narrower FOV. Think about where you want to install the camera and choose one with an appropriate FOV to cover the desired area.
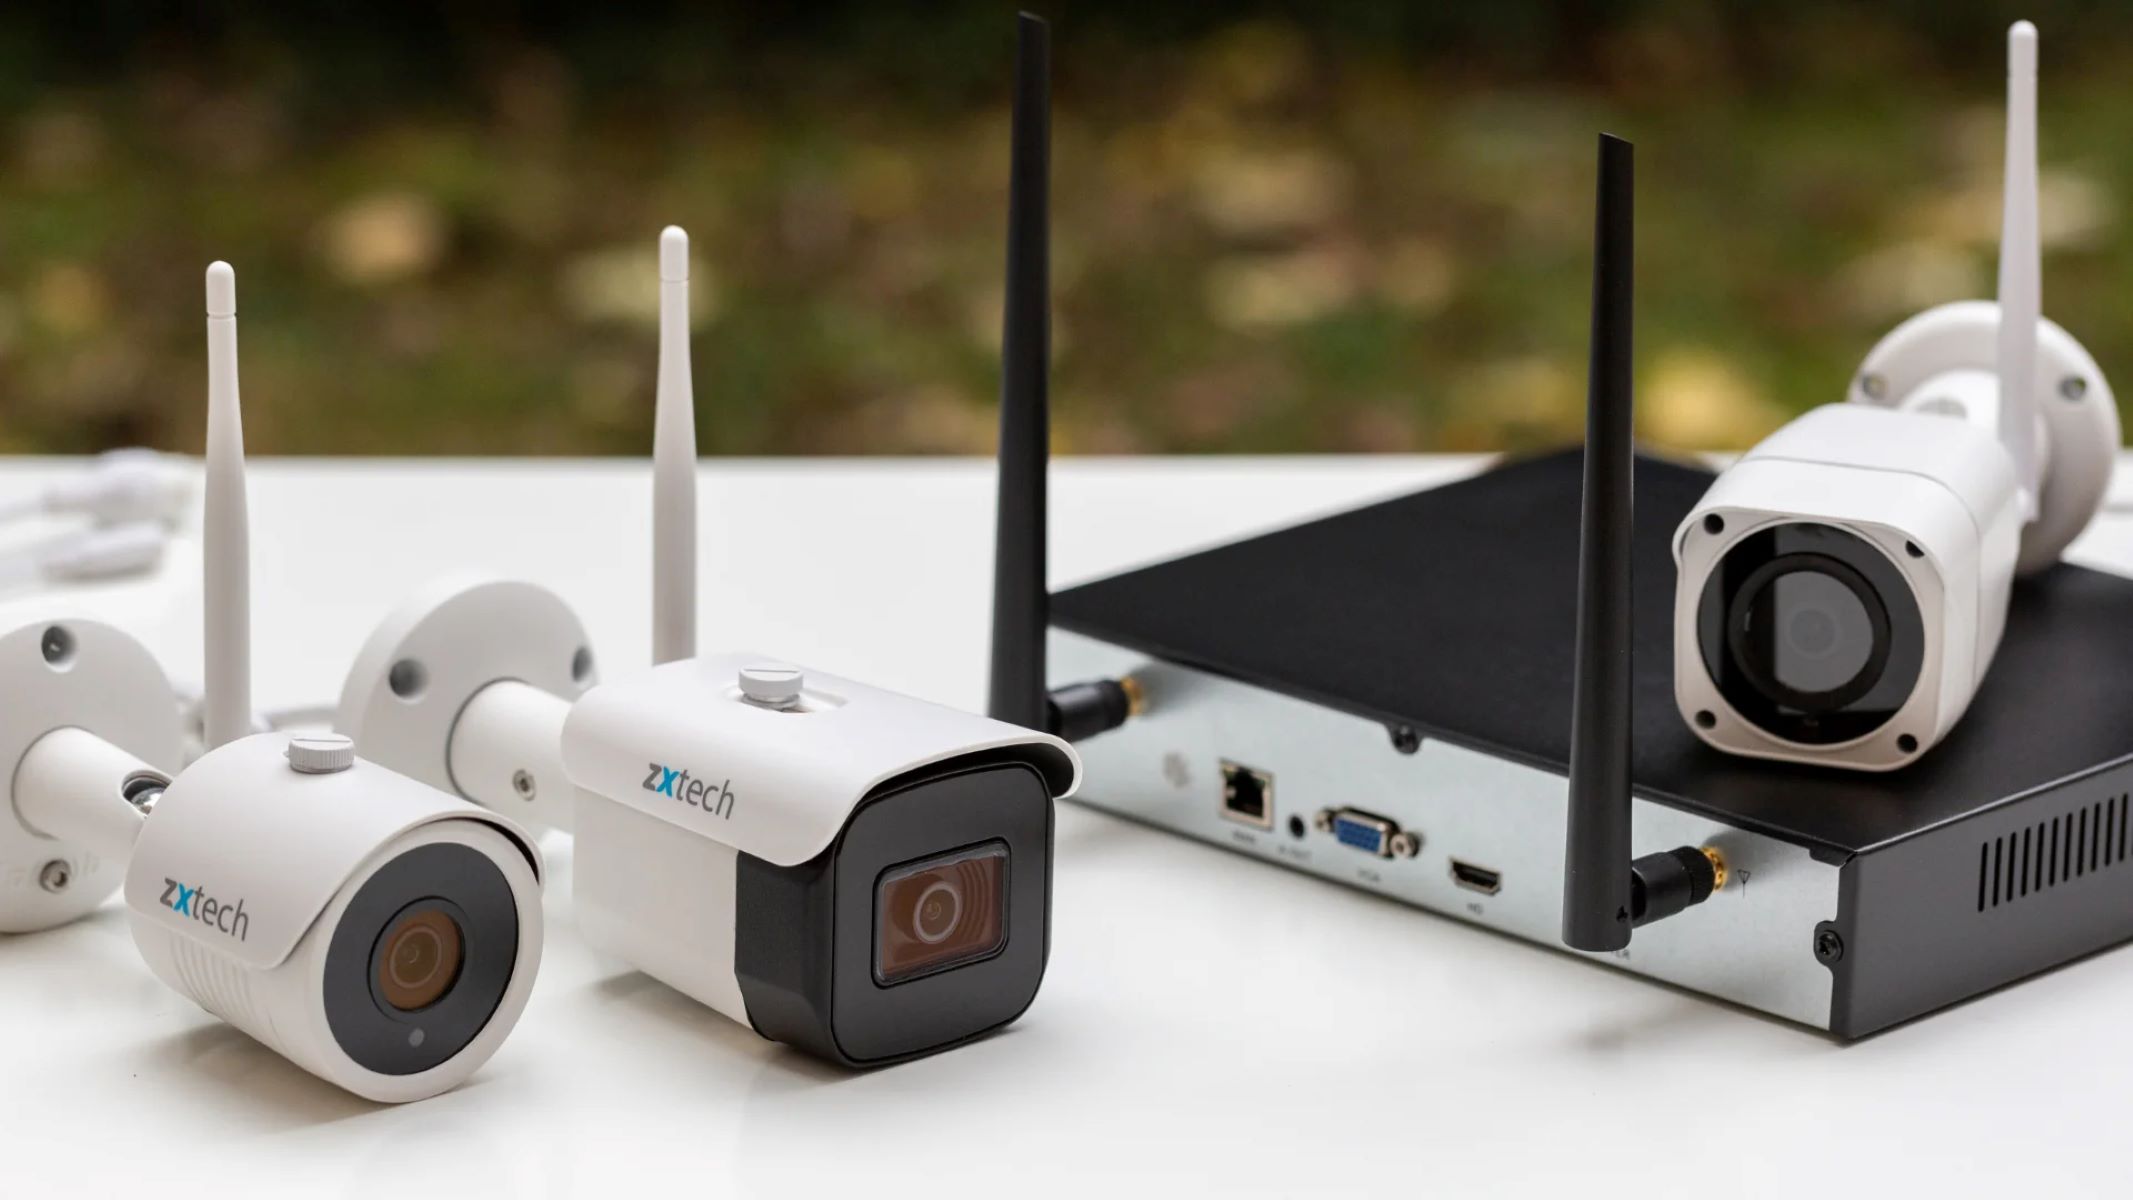
Next, consider whether you want a wired or wireless camera. Wired cameras require an Ethernet cable for power and data transmission, while wireless cameras rely on Wi-Fi connectivity. Wired cameras tend to have a more stable connection, but wireless cameras offer greater flexibility in terms of installation.
Additionally, think about whether you want your HD IoT camera to have additional features such as night vision, two-way audio, or motion detection. Night vision is essential if you want to monitor your premises during the nighttime. Two-way audio allows you to communicate with people on the other side of the camera, which can be useful for security purposes or interacting with family members. Motion detection is handy for receiving alerts when there is movement in the camera’s field of view.
Lastly, consider your budget. HD IoT cameras come in a wide range of prices, so it’s important to set a budget and stick to it. Keep in mind that while a higher price may indicate better quality, it’s not always necessary to break the bank for a reliable and functional camera.
By considering these factors, you can make an informed decision when choosing the right HD IoT camera for your needs. Once you’ve made your choice, it’s time to move on to the next step: installing the camera.
Installing the HD IoT Camera
Installing an HD IoT camera may vary depending on the specific model and manufacturer, but the general steps are relatively similar. Follow these guidelines to ensure a proper installation of your HD IoT camera:
- First, identify the ideal location for your camera. Consider areas that require monitoring, such as the front entrance, backyard, or living room. Make sure the location has a solid Wi-Fi signal if you have a wireless camera.
- Once you’ve found the perfect spot, mount the camera securely. Most cameras come with mounting kits that include screws and brackets. Follow the manufacturer’s instructions for proper installation. For wired cameras, you may need to drill holes and run the cables to the desired location.
- After mounting the camera, connect the power source. If you have a wired camera, simply plug it into a power outlet. If you have a wireless camera, make sure it’s charged or connect it to a power source via the included power cable.
- If your camera has an SD card slot for local storage, insert an SD card to enable video recording and playback.
- Once the camera is powered on, it will start initializing. This process may take a few minutes depending on the model. Follow the on-screen instructions or consult the user manual to complete the initial setup.
- For wireless cameras, navigate to your device’s Wi-Fi settings and connect to the camera’s network. This will enable you to configure the camera’s settings through its dedicated app or software.
- Launch the camera’s app or software on your device and follow the setup wizard. This will involve connecting the camera to your home Wi-Fi network and creating a unique login and password.
- Once the camera is connected to your Wi-Fi network, you can customize additional settings, such as motion detection sensitivity, scheduling, and notifications. Explore the camera’s app or software to familiarize yourself with the available options.
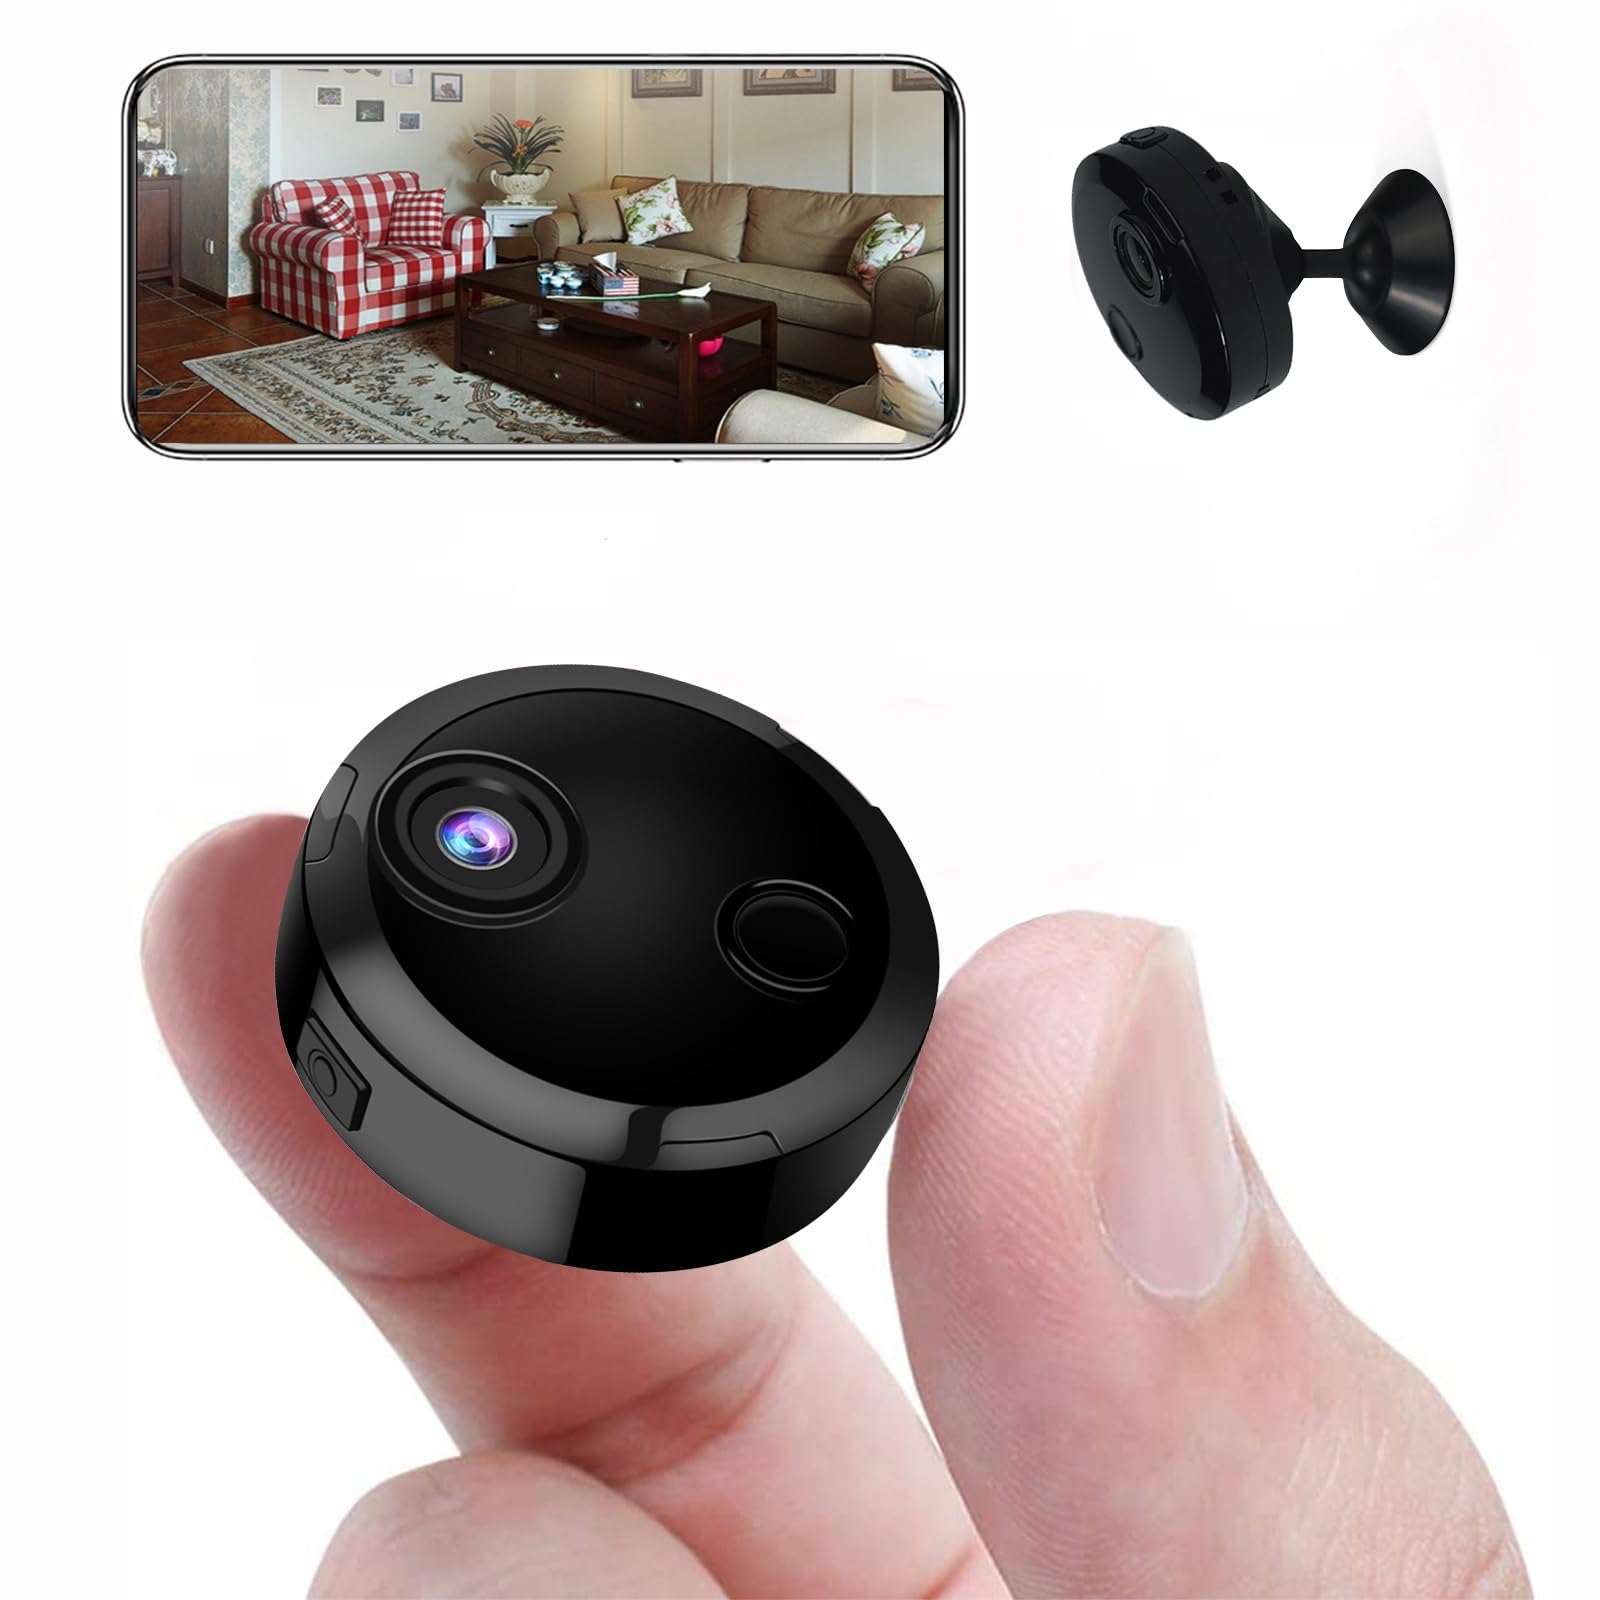
- Finally, test the camera by accessing the live feed from your smartphone, tablet, or computer. Make sure the camera’s video quality is satisfactory and that it provides the desired coverage of the monitored area.
By following these steps, you can easily install your HD IoT camera and begin monitoring your desired areas. Keep in mind that it’s essential to carefully read the manufacturer’s instructions specific to your camera for accurate installation.
Connecting the Camera to the Internet
Once you have finished installing your HD IoT camera, the next step is to connect it to the internet. This will enable you to remotely access and control the camera from your smartphone, tablet, or computer. Follow these steps to ensure a seamless connection:
- Start by ensuring that your camera is powered on and connected to your home Wi-Fi network. Check the camera’s user manual or the manufacturer’s website for specific instructions on how to connect to Wi-Fi.
- Once the camera is connected to Wi-Fi, use your smartphone or computer to verify that it’s connected to the same network.
- Download and open the camera’s dedicated app or software on your device. This will serve as the interface through which you can access and control the camera remotely.
- In the app or software, look for an option to add a new camera or device. Click on this option and follow the instructions to add your HD IoT camera to your account.
- During the setup process, you may be prompted to scan a QR code or enter a unique identifier (UID) for your camera. This information can usually be found on the camera itself or in the packaging.
- Once the camera has been successfully added to your account, you should be able to see a live feed from the camera on your device. Test the connection by accessing the live feed and ensuring that it streams smoothly.
- Depending on the camera’s features and settings, you may also be able to customize additional options such as motion detection, recording schedules, or push notifications.
- Remember to set a strong, unique password for your camera to ensure the security of your device and footage.
By following these steps, you will be able to connect your HD IoT camera to the internet and access it remotely. Always consult the camera’s user manual or the manufacturer’s website for specific instructions tailored to your camera model, as the setup process may vary slightly. With a successfully established internet connection, you can now move on to the next step: setting up the camera’s app or software.
Setting Up the Camera’s App or Software
Once your HD IoT camera is connected to the internet, the next step is to set up the camera’s dedicated app or software. This will allow you to remotely access and control the camera, customize settings, and receive notifications. Follow these steps to get started:
- Start by downloading the camera’s app or software onto your smartphone, tablet, or computer. You can usually find the app in the respective app store or the software on the manufacturer’s website.
- Once the app or software is installed, open it and create an account if necessary. This account is typically required to access the camera remotely.
- In the app or software, look for an option to add a new camera or device. Click on this option and follow the instructions to add your HD IoT camera to your account.
- During the setup process, you may be prompted to enter the camera’s unique identifier, such as a serial number or MAC address. This information can usually be found on the camera or in the user manual.
- Once the camera is successfully added to your account, you should be able to see a live feed from the camera right within the app or software. Take a moment to familiarize yourself with the user interface and available features.
- Depending on the camera and app/software, you may have additional options to customize settings, such as adjusting the motion detection sensitivity, setting up recording schedules, or enabling push notifications for specific events.
- Explore the app or software’s settings to configure options that suit your preferences and needs. This may include audio settings, video quality adjustments, and the ability to manage multiple cameras if applicable.
- Make sure to set a strong password for your account to keep your camera and footage secure.
By following these steps, you will be able to set up the camera’s app or software and take advantage of its features and functionalities. Remember to refer to the camera’s user manual or the manufacturer’s website for any specific instructions related to your camera model. With the app or software successfully set up, you are now ready to move on to the next step: configuring the camera settings.
Configuring Camera Settings
After setting up the app or software for your HD IoT camera, the next step is to configure the camera settings. This will allow you to customize various options to meet your specific needs and preferences. Follow these steps to configure the camera settings:
- Open the camera’s app or software on your device and navigate to the settings menu. This is usually represented by a gear or cog icon.
- Explore the available settings and familiarize yourself with the options. The specific settings may vary depending on your camera model, but common options include video quality, motion detection sensitivity, recording settings, and scheduling.
- Adjust the video quality settings based on your desired balance between video clarity and bandwidth usage. Higher quality settings may provide better detail but require more storage and bandwidth.
- Customize the motion detection settings to suit your needs. You can typically specify the sensitivity level and the areas of the camera’s field of view where motion should be detected.
- Set up recording schedules to capture footage only during specific times of the day. This can help save storage space and make it easier to review events of interest.
- Explore other settings such as audio preferences, privacy options, and notifications. Enable or disable features based on your preferences and requirements.
- Take the time to test the different settings and make adjustments as necessary. This will ensure that the camera functions according to your specific needs and desired outcomes.
- Remember to regularly check for firmware updates for your camera. These updates often introduce new features, performance improvements, and security enhancements.
By carefully configuring the camera settings, you can optimize the performance and functionality of your HD IoT camera. Remember to refer to the camera’s user manual or the manufacturer’s website for any specific instructions related to your camera model. With the camera settings configured, you can now proceed to the next step: mounting and positioning the camera.
Mounting and Positioning the Camera
Mounting and positioning your HD IoT camera is a crucial step to ensure optimal coverage and functionality. The way you mount and position the camera will determine the angles and areas it can monitor effectively. Follow these steps to mount and position your camera:
- Start by selecting the ideal mounting location for your camera. Consider the areas you want to monitor, such as the front door, backyard, or driveway.
- Ensure that the mounting location offers a clear and unobstructed view of the intended surveillance area. Avoid obstructions like trees, walls, or other objects that could interfere with the camera’s line of sight.
- If your camera requires drilling, use a drill and appropriate tools to securely mount the camera base or bracket. Make sure to follow the manufacturer’s instructions for proper installation.
- For wireless cameras, consider the strength and range of the Wi-Fi signal in the mounting location. Ensure that the camera can reliably connect to your home Wi-Fi network without any signal interruptions.
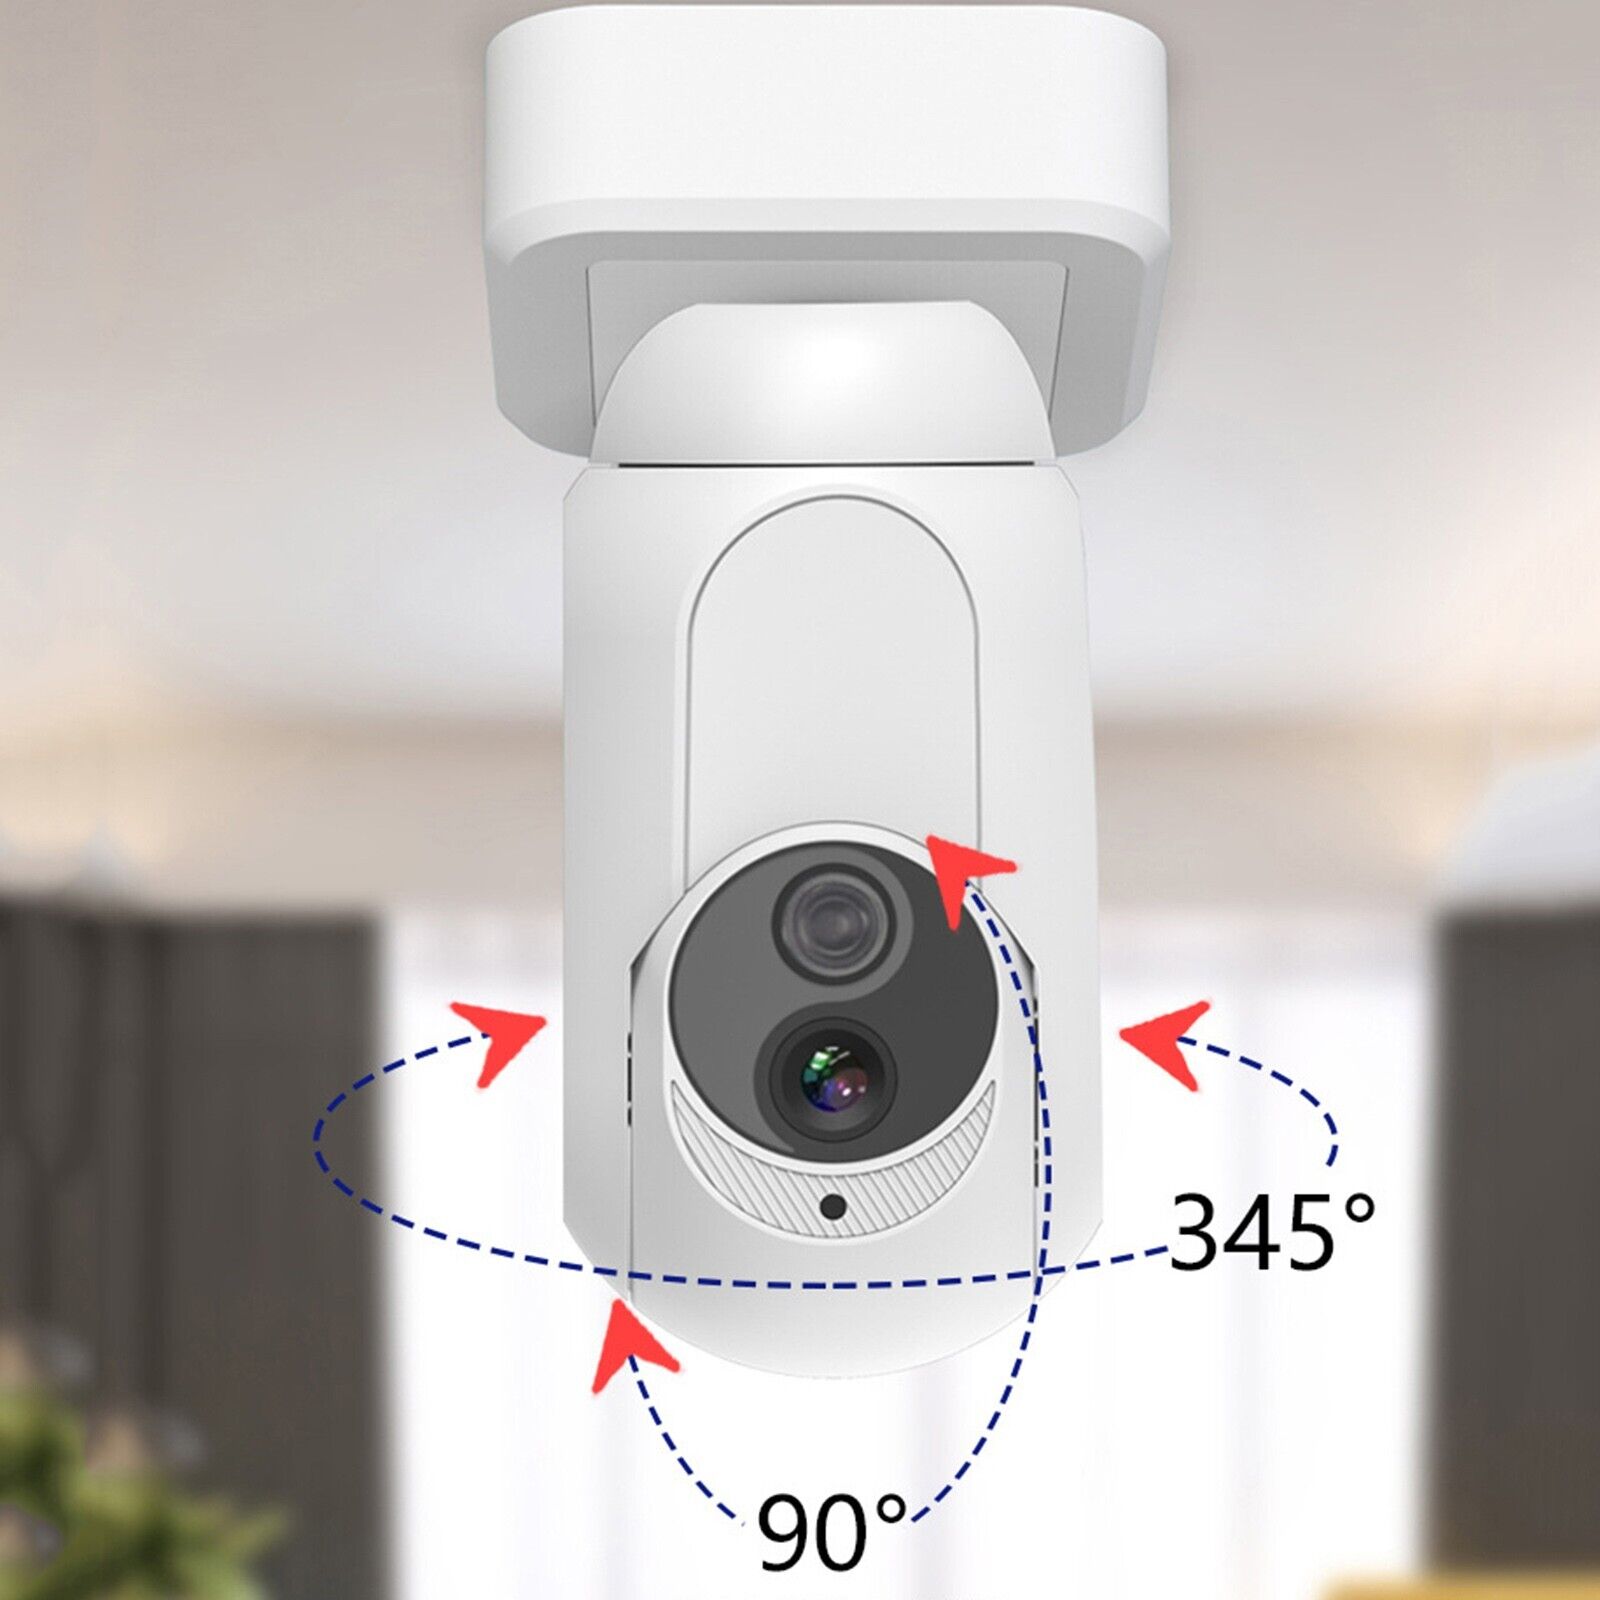
- Once you have mounted the camera, adjust its position and angle to capture the desired surveillance area. Tilt, pan, rotate, or swivel the camera as needed to maximize its coverage.
- Take into account the camera’s field of view (FOV) and adjust the positioning accordingly. Make sure the camera covers the areas of interest while minimizing blind spots.
- To further enhance security and deter potential threats, consider mounting the camera at a higher location, out of reach from intruders.
- After positioning the camera, double-check its stability and ensure that it is securely mounted. This will prevent accidental movements or tampering.
By carefully mounting and positioning your HD IoT camera, you can maximize its effectiveness and ensure comprehensive surveillance coverage. Keep in mind that specific instructions may vary depending on your camera model, so always refer to the manufacturer’s guidelines. Once your camera is securely mounted, it’s time to move on to the next step: testing the camera.
Testing the Camera
After mounting and positioning your HD IoT camera, it’s crucial to test its functionality to ensure it’s working as intended. A thorough testing process will help identify any issues and allow you to make necessary adjustments. Follow these steps to test your camera:
- Ensure that the camera is powered on and connected to your home Wi-Fi network.
- Using your smartphone, tablet, or computer, open the camera’s app or software and access the live feed from the camera.
- Observe the video quality and ensure it meets your expectations. The images should be clear, sharp, and without any distortion or pixelation.
- Test the camera’s motion detection feature by moving within its field of view. Verify that the camera detects and records motion accurately.
- Check the camera’s night vision capability if it has this feature. Test it by turning off the lights in the monitored area and ensuring that the camera can still capture clear footage.
- If your camera supports two-way audio, test this functionality by speaking through the app or software and listening to the audio output from the camera.
- Ensure that the camera’s pan, tilt, and zoom functions (if applicable) work smoothly and accurately.
- If your camera supports recording, test the recording feature by initiating a manual recording and verifying that the footage is saved and accessible.
- Check if the camera provides push notifications or alerts for specific events, such as motion detection or sound detection. Verify that you receive these notifications on your smartphone or other devices.
- Perform a range test to ensure that the camera maintains a stable connection to the Wi-Fi network throughout the monitored area. Test the connection from areas at the far end of the wireless range to ensure the signal strength is sufficient.
By conducting a comprehensive test of your HD IoT camera, you can ensure that it is functioning properly and meets your expectations. If any issues are identified during testing, consult the camera’s user manual or reach out to the manufacturer’s support for further guidance. Once you’re satisfied with the camera’s performance, you are ready to move on to the next step: troubleshooting any common issues that may arise.
Troubleshooting Common Issues
During the setup and usage of your HD IoT camera, you may encounter common issues that can hinder its performance. Fortunately, many of these issues can be resolved with some troubleshooting steps. Here are some common issues and their potential solutions:
- Connection Issues: If you’re experiencing connection problems with your camera, try moving it closer to the Wi-Fi router or access point. Check if the Wi-Fi signal strength is strong enough in the camera’s location. Also, make sure you have entered the correct Wi-Fi password in the camera’s settings.
- Poor Video Quality: If the video quality from the camera is subpar, ensure that the camera lens is clean and not obstructed. Adjust the camera’s focus, if applicable. Additionally, check if there are any network bandwidth limitations or issues that could be causing the poor video quality.
- Inaccurate Motion Detection: If the camera’s motion detection is not detecting or recording motion accurately, adjust the sensitivity settings to find the optimal level. Make sure the camera’s field of view is clear of any moving objects that could trigger false alerts. Also, ensure that there is no interference from other light sources or reflective surfaces that could affect motion detection.
- App or Software Issues: If you’re experiencing issues with the camera’s app or software, check for any available updates and install them. Force close the app and relaunch it to see if that resolves the problem. If issues persist, try uninstalling and reinstalling the app/software. Make sure your device meets the minimum requirements for running the app or software.
- Power Supply Problems: If your camera is not receiving power or continuously loses power, ensure that the power source is reliable and functional. Check the power cable and connections for any damage or loose connections. If using a wired camera, verify that the power outlet is working correctly.
- Cloud Storage Issues: If you’re experiencing difficulties with cloud storage, ensure that your subscription or plan is active and not expired. Double-check the camera’s settings to confirm that it’s set to upload footage to the cloud. If issues persist, contact the camera’s manufacturer or cloud storage provider for further assistance.
If you encounter any other issues not mentioned here, consult the camera’s user manual or reach out to the manufacturer’s support for specific guidance. Troubleshooting steps may vary depending on the camera model and manufacturer. By troubleshooting and resolving common issues, you can ensure the smooth operation of your HD IoT camera.
Tips for Maximizing the Camera’s Performance
To get the most out of your HD IoT camera and ensure optimal performance, consider implementing the following tips:
- Position the Camera Strategically: Carefully choose the camera’s mounting location to ensure it covers the desired areas. Avoid pointing the camera towards bright light sources or windows to prevent glare and overexposure.
- Regularly Clean the Camera Lens: Over time, dust and dirt can accumulate on the camera lens, affecting the image quality. Clean the lens periodically with a soft cloth to maintain clear visuals.
- Optimize Network Performance: To prevent network congestion, ensure that your Wi-Fi router is positioned correctly and not obstructed. Consider using a Wi-Fi range extender if the camera is located far from the router. Regularly update your router’s firmware for improved performance.
- Secure Your Camera: Change the default username and password of the camera’s app or software to protect against unauthorized access. Enable encryption if available, and regularly check for firmware updates to address any security vulnerabilities.
- Check for Software Updates: Regularly update the camera’s app or software to access new features, bug fixes, and security enhancements. Set the app or software to automatically check for updates if possible.
- Opt for Cloud Storage or Local Storage: Consider utilizing cloud storage services or local storage options to securely store and access your camera’s footage. Determine which option aligns with your needs and preferences.
- Set Up Motion Detection Zones: If your camera supports motion detection, configure specific zones within the camera’s view that trigger alerts and recordings. This can help avoid unnecessary notifications from less critical areas.
- Regularly Review and Delete Footage: Avoid running out of storage space by periodically reviewing and deleting old footage that is no longer needed. Set up a schedule for automated footage deletion to free up storage capacity.
- Test and Verify Camera Performance: Regularly conduct tests to ensure that the camera is functioning correctly. Check the live feed, motion detection, and other features to confirm that they are working as expected.
- Monitor and Adjust Camera Settings: Continuously monitor and fine-tune the camera’s settings to optimize its performance. Adjust video quality, motion detection sensitivity, and other settings based on your changing needs.
By implementing these tips, you can maximize the performance and functionality of your HD IoT camera. Remember to consult the camera’s user manual or manufacturer’s website for specific guidelines tailored to your camera model. Enjoy the peace of mind and security that your HD IoT camera provides!
Conclusion
Setting up and configuring an HD IoT camera may seem like a daunting task, but with the right information and guidance, it becomes a straightforward process. By choosing the right camera, installing it properly, connecting it to the internet, and configuring the settings, you can create a reliable surveillance system that meets your specific needs.
Throughout this guide, we’ve covered essential steps, including choosing the right camera based on resolution, field of view, and additional features. We’ve provided instructions on installing the camera, connecting it to the internet, setting up the app or software, and configuring various camera settings. We also discussed the importance of mounting and positioning the camera strategically and provided troubleshooting tips for common issues.
To maximize your camera’s performance, we presented tips on positioning, cleaning the lens, optimizing network performance, and securing the camera. Additionally, we highlighted the benefits of cloud storage and local storage options, motion detection zone setup, regular review and deletion of footage, and continuous monitoring and adjustment of camera settings.
Remember to consult the camera’s user manual and the manufacturer’s website for specific instructions tailored to your camera model. Regularly check for firmware and software updates to ensure your camera operates at its best potential.
With your HD IoT camera successfully set up, you can enjoy enhanced security, peace of mind, and a greater sense of control over your home or business environment. Embrace the power of technology and the convenience it brings, allowing you to monitor and protect your premises from anywhere at any time.


