Introduction
Welcome to this comprehensive guide on how to replace the HDD (Hard Disk Drive) in your Toshiba Satellite E45T-A4300B Ultrabook. If you’re experiencing issues with your current HDD or simply looking to upgrade to a larger storage capacity, this step-by-step tutorial will walk you through the process.
The HDD in your Ultrabook is responsible for storing and accessing all of your important files, documents, and applications. Over time, it’s not uncommon for the HDD to become sluggish or even fail completely. Replacing the HDD is a cost-effective solution that can significantly improve the performance and reliability of your Ultrabook.
Before we dive into the specifics of the replacement process, it’s important to note that opening up your Ultrabook and tampering with its components may void the warranty. If your laptop is still under warranty, it’s recommended to contact Toshiba’s support team or a certified technician to handle the replacement. However, if your warranty has expired or you feel comfortable taking on the task, read on to learn how to replace your HDD.
In this guide, we will cover the necessary tools and materials you’ll need, as well as the step-by-step process of replacing the HDD. We’ll also provide some helpful tips and precautions along the way to ensure a smooth and successful replacement.
Replacing the HDD in your Toshiba Satellite E45T-A4300B Ultrabook can be a rewarding project that not only saves you money, but also ensures that your laptop continues to perform at its best. So, let’s get started!
Step 1: Gather the necessary tools and materials
Before you begin the process of replacing the HDD in your Toshiba Satellite E45T-A4300B Ultrabook, it’s important to gather all the necessary tools and materials. Here’s a list of what you’ll need:
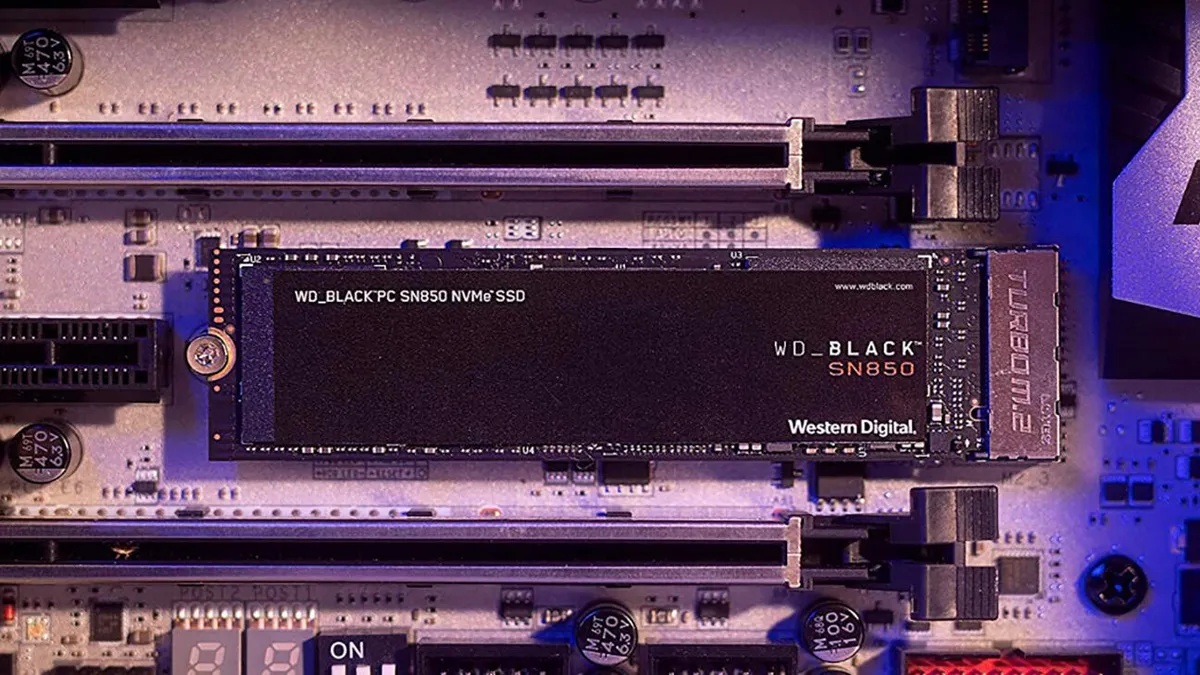
- Replacement HDD: Make sure you have a compatible replacement HDD with the desired storage capacity. Check the specifications of your Ultrabook to ensure compatibility.
- Screwdriver: You’ll need a small Phillips head screwdriver to open and close the Ultrabook casing. Ensure it fits the screws on your laptop.
- Static wristband (optional): It’s recommended to use an anti-static wristband to prevent static electricity from damaging sensitive components during the replacement process.
- Clean cloth or microfiber cloth: This will come in handy to clean any dust or debris that may have accumulated inside the Ultrabook.
- External storage device: It’s a good idea to have an external storage device handy to backup your data before replacing the HDD. This way, you can transfer your files and documents to the new drive once the replacement is complete.
- Soft workspace: Find a clean and soft surface to work on, preferably with good lighting. This will provide a comfortable and safe environment for the replacement process.
Ensure that you have all the necessary tools and materials before proceeding with the replacement. This will help you complete the process without any unnecessary interruptions.
Gathering these tools and materials is an essential first step in the HDD replacement process. Once you have everything ready, you can move on to the next step of powering off the Ultrabook and preparing it for the replacement.
Step 2: Powering off the Ultrabook and preparing for replacement
Now that you have gathered all the necessary tools and materials, it’s time to power off your Toshiba Satellite E45T-A4300B Ultrabook and prepare it for the replacement process. Follow these steps:
- Save and close any open files or applications: Before shutting down the Ultrabook, ensure that you have saved and closed all your work. This will prevent any data loss or corruption during the replacement.
- Disconnect the power adapter: Unplug the power adapter from your Ultrabook and disconnect any other external devices, such as USB drives or printers.
- Shut down the Ultrabook: Click on the ‘Start’ button and select ‘Shut down’ from the menu. Wait for the Ultrabook to completely power down before proceeding.
- Remove the battery (if applicable): If your Ultrabook has a removable battery, slide the battery release latch and carefully remove the battery from its compartment. This step is not necessary for Ultrabooks with built-in batteries.
- Ground yourself: To prevent static electricity from damaging the internal components of your Ultrabook, it’s important to ground yourself. You can do this by touching a grounded metal surface or wearing an anti-static wristband.
By following these steps, you will ensure that your Ultrabook is powered off and ready for the replacement process. Removing the battery, if applicable, and grounding yourself will minimize the risk of static electricity causing any damage to the internal components.
Now that your Ultrabook is in the right state, you’re ready to move on to the next step: opening the Ultrabook casing.
Step 3: Opening the Ultrabook casing
With your Toshiba Satellite E45T-A4300B Ultrabook powered off and prepared for the replacement process, it’s time to open the casing. Follow these steps carefully:
- Flip the Ultrabook upside down: Place the Ultrabook on a soft and clean surface with the bottom facing up. This will give you access to the screws that secure the casing.
- Locate and remove the screws: Using a small Phillips head screwdriver, carefully unscrew the screws that hold the bottom cover in place. Keep the screws in a safe place to avoid losing them.
- Remove the bottom cover: Once all the screws are removed, gently lift the bottom cover to detach it from the Ultrabook’s chassis. Be cautious not to force it, as there might be clips or connectors holding it in place.
- Set the cover aside: Place the removed bottom cover in a safe and clean area, making sure it doesn’t get damaged or scratched during the replacement process.
By following these steps, you will successfully open the casing of your Toshiba Satellite E45T-A4300B Ultrabook. Remember to take your time and be gentle while removing the screws and the bottom cover to avoid any accidental damage.
With the Ultrabook casing now open, you’re ready to proceed to the next step: removing the old HDD.
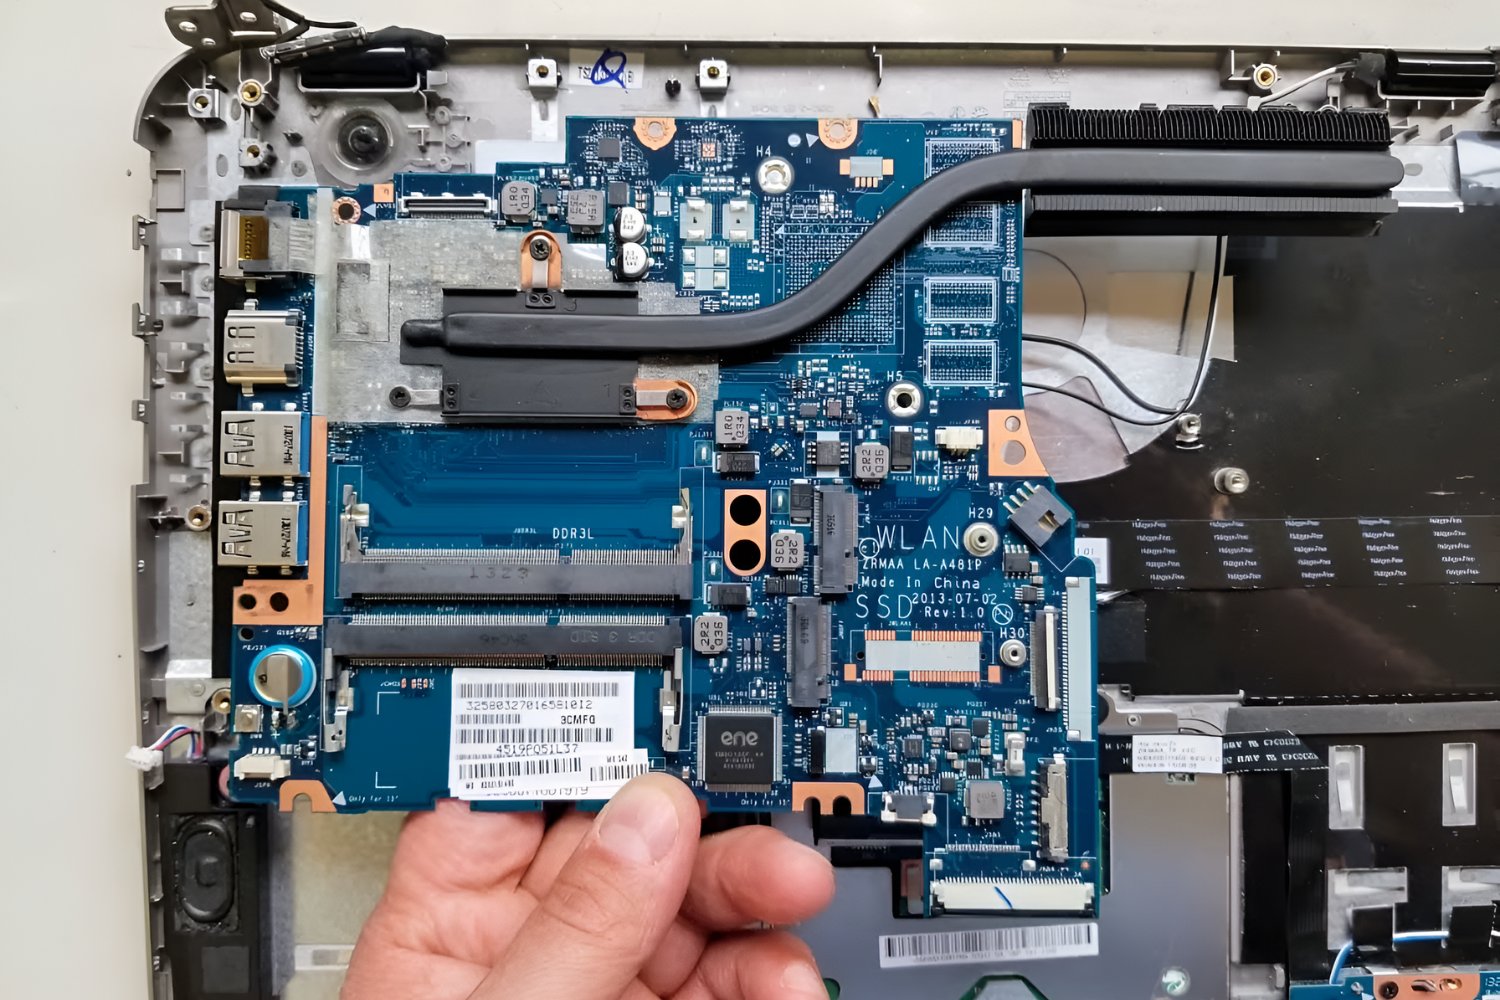
Step 4: Removing the old HDD
Now that you have successfully opened the casing of your Toshiba Satellite E45T-A4300B Ultrabook, it’s time to remove the old HDD. Follow these steps carefully:
- Locate the old HDD: Look for the rectangular-shaped component inside the Ultrabook that houses the HDD. It will be connected to the motherboard via a cable and secured with screws.
- Disconnect the HDD cable: Gently unplug the cable connected to the old HDD from the Ultrabook’s motherboard. Take note of its position and orientation for later when connecting the new HDD.
- Remove the screws securing the HDD: Using a small Phillips head screwdriver, carefully unscrew the screws that secure the old HDD to the Ultrabook’s chassis. Set the screws aside in a safe place.
- Take out the old HDD: Once the screws are removed, carefully lift the old HDD out of its compartment, ensuring not to damage any other components in the process. Place it aside in a safe and static-free location.
Removing the old HDD from your Toshiba Satellite E45T-A4300B Ultrabook can be a delicate process. Take your time and be gentle to avoid any accidental damage to the Ultrabook or other components.
With the old HDD successfully removed, you’re now ready to move on to the next step: installing the new HDD.
Step 5: Installing the new HDD
Now that you have removed the old HDD from your Toshiba Satellite E45T-A4300B Ultrabook, it’s time to install the new one. Follow these steps carefully:
- Take out the new HDD: Remove the new HDD from its packaging and handle it with care. Avoid touching the surface or any sensitive components.
- Align the new HDD: Position the new HDD in the same orientation as the old one, aligning it with the connector on the Ultrabook’s motherboard.
- Secure the new HDD: Using the screws that you set aside earlier, carefully screw the new HDD into place. Ensure that it is securely fastened to the Ultrabook’s chassis.
- Connect the HDD cable: Reconnect the cable that was disconnected from the old HDD back into the Ultrabook’s motherboard, following the same position and orientation as before. Make sure it is firmly plugged in.
When installing the new HDD, it’s important to handle it with caution to avoid any damage. Ensure that it is aligned properly and securely fastened to the Ultrabook’s chassis.
With the new HDD successfully installed, you’re now ready to proceed to the next step: closing the Ultrabook casing.
Step 6: Closing the Ultrabook casing
With the new HDD securely installed in your Toshiba Satellite E45T-A4300B Ultrabook, it’s time to close the casing. Follow these steps carefully:
- Position the bottom cover: Take the bottom cover that you set aside earlier and align it with the Ultrabook’s chassis. Ensure that all the edges are properly aligned.
- Press down gently: With the bottom cover in position, press down gently on all sides to secure it to the Ultrabook’s chassis. You may hear slight clicks as the clips engage.
- Reinsert the screws: Using the small Phillips head screwdriver, carefully screw in all the screws that were removed in the previous steps. Ensure that they are tightened securely, but be cautious not to overtighten.
When closing the Ultrabook casing, it’s important to ensure that the bottom cover is properly aligned and securely fastened. Take your time and be gentle to avoid any damage to the Ultrabook or its internal components.
With the Ultrabook casing now closed, you’re almost done with the replacement process. The final step is to power on the Ultrabook and test the new HDD.
Step 7: Powering on and testing the new HDD
With the Ultrabook casing successfully closed, it’s time to power on the Toshiba Satellite E45T-A4300B Ultrabook and test the newly installed HDD. Follow these steps:
- Reconnect the power adapter: Plug the power adapter back into the Ultrabook and ensure it is securely connected.
- Power on the Ultrabook: Press the power button to turn on the Ultrabook. Wait for it to boot up and reach the desktop screen.
- Check for HDD recognition: Open ‘My Computer’ or ‘This PC’ on your Ultrabook and verify that the new HDD is recognized and displayed. You should see the new storage capacity reflected.
- Test the new HDD: Transfer some files or open applications to ensure that the new HDD is functioning properly. Monitor its performance and check if it meets your expectations.
- Backup and restore data (if applicable): If you previously backed up your data to an external storage device, now is the time to transfer the files to the new HDD. Ensure that all your important data is successfully restored.
Powering on the Ultrabook and testing the new HDD is essential to ensure that the replacement process was successful. Verify that the new HDD is recognized, test its performance, and restore any backed up data if necessary.
If everything is working as expected, congratulations! You have successfully replaced the HDD in your Toshiba Satellite E45T-A4300B Ultrabook. Enjoy the improved storage capacity and performance!
Conclusion
Congratulations on successfully replacing the HDD in your Toshiba Satellite E45T-A4300B Ultrabook! By following the step-by-step guide provided in this article, you have taken a significant step towards improving the performance and storage capacity of your Ultrabook.
The process of replacing the HDD may seem intimidating at first, but with the right tools, careful handling, and patience, you can accomplish it without any issues. Remember to gather all the necessary tools and materials, power off and prepare the Ultrabook, open the casing, remove the old HDD, install the new one, and finally, close the casing. By following these steps, you ensure a successful replacement process.
After closing the Ultrabook casing, don’t forget to power on the device and test the new HDD. Check for HDD recognition, transfer files, and monitor its performance to ensure everything is in order. If you had previously backed up your data, make sure to restore it to the new HDD.
Replacing the HDD in your Toshiba Satellite E45T-A4300B Ultrabook is not only a cost-effective solution but also a great way to extend the lifespan and usability of your laptop. With the upgraded storage capacity, you can now store more files, install applications, and enjoy improved performance.
Remember, if your laptop is still under warranty, it’s always recommended to consult Toshiba’s support team or a certified technician before replacing any components. This ensures that you don’t inadvertently void the warranty or cause any damage during the process.
Thank you for following this guide on how to replace the HDD in your Toshiba Satellite E45T-A4300B Ultrabook. We hope it has provided you with the necessary information and confidence to successfully complete the replacement process. Enjoy the enhanced performance and expanded storage capacity of your Ultrabook!