Introduction
Welcome to the world of RFID technology! In this article, we will explore the fascinating process of programming RFID tags. RFID (Radio Frequency Identification) technology has revolutionized various industries, enabling efficient tracking, inventory management, and contactless communication. Whether you’re a hobbyist, a small business owner, or simply curious about this cutting-edge technology, learning how to program RFID tags can open up a world of possibilities.
RFID tags are small, electronically powered devices that store and transmit data wirelessly using radio waves. These tags can be attached to objects, such as products, assets, or even living beings, and are equipped with a unique identifier. They interact with RFID readers or scanners, which emit radio waves and receive the signals back from the tags.
In this guide, we will explore the step-by-step process of programming RFID tags. We will cover the necessary components required, the software and libraries needed, and the coding process. By following these instructions, you’ll be able to write data onto RFID tags and utilize them for your specific requirements.
Programming RFID tags can offer a wide range of applications, from tracking inventory in a retail store to authenticating access in a secure facility. By understanding the programming process, you can gain control over the information stored on the tags, making them highly customizable and adaptable to your needs.
So, if you’re ready to dive into the world of RFID technology and unleash the potential of programmable tags, let’s get started! We will take you through each step, ensuring a smooth and successful programming experience. By the end of this article, you will have the knowledge and skills to program RFID tags for your own projects or business needs.
What is RFID Technology?
RFID (Radio Frequency Identification) is a technology that makes use of radio waves to wirelessly identify and track objects, animals, or people. It consists of two primary components: RFID tags and RFID readers or scanners.
RFID tags are small electronic devices that are equipped with a unique identifier and embedded with a microchip and an antenna. These tags can be attached to a variety of objects and transmit data to RFID readers or scanners when within range. The data stored on the tags can include information such as product details, inventory quantities, or access credentials.
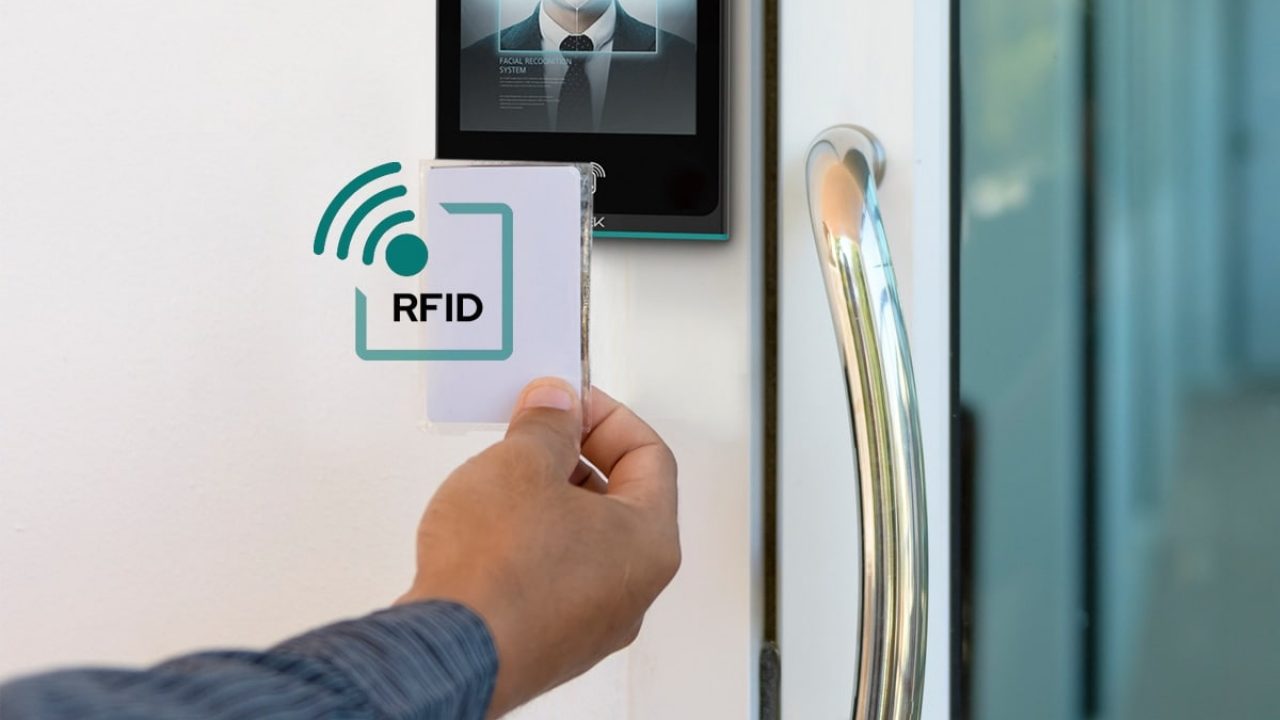
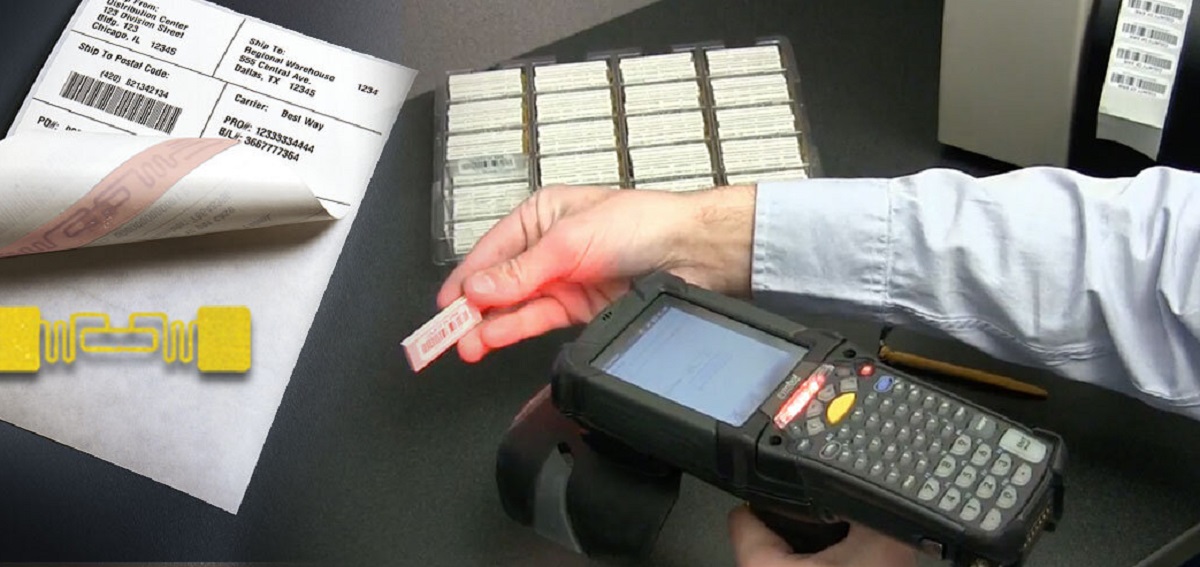
RFID readers or scanners emit radio waves and receive the signals back from the RFID tags. These readers can be handheld devices or integrated into stationary infrastructure, such as door access systems or conveyor belts. When a tag comes into the range of a reader, it captures the tag’s data and allows for further processing or action.
One of the key advantages of RFID technology is its ability to read multiple tags simultaneously and at a distance, without requiring a line of sight. This makes it ideal for automating tasks and improving efficiency in various industries, such as retail, manufacturing, logistics, healthcare, and transportation.
In retail, RFID technology enables accurate inventory management, reducing the time and effort required for manual counting. It allows for real-time tracking of products throughout the supply chain, ensuring stock availability and minimizing out-of-stock situations. RFID tags can also be used to prevent theft by triggering alarms if unauthorized items are detected.
In healthcare, RFID technology enhances patient safety by accurately tracking and managing medical equipment, pharmaceuticals, and patient files. It enables seamless identification and authentication of patients, ensuring the right treatment and medication administration. RFID tags can also assist in monitoring the temperature and expiration dates of sensitive medical supplies.
In logistics and transportation, RFID technology streamlines the tracking and tracing of assets, containers, and packages. It enables efficient management of supply chain operations, reducing errors and improving overall productivity. RFID tags can also be utilized in toll collection systems, parking access, and fuel management.
Overall, RFID technology provides a convenient and reliable method for identifying, tracking, and managing various objects and assets. Its applications are diverse and continue to expand as new innovations are made. By understanding the fundamentals of RFID technology and how to program RFID tags, you can unlock its potential to improve workflows, increase security, and enhance the overall efficiency of your operations.
Components Required for Programming RFID Tags
Before you can start programming RFID tags, it’s important to gather the necessary components for the process. Here are the key components you will need:
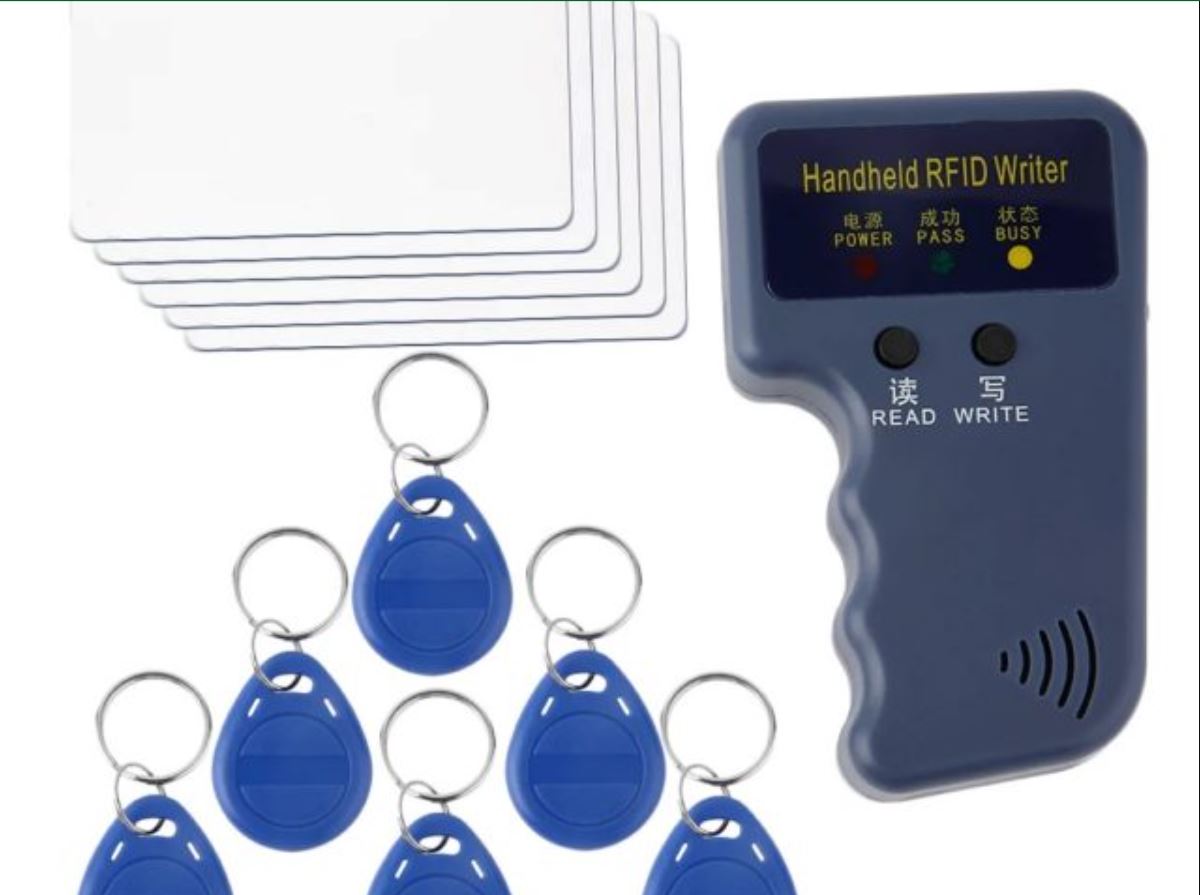
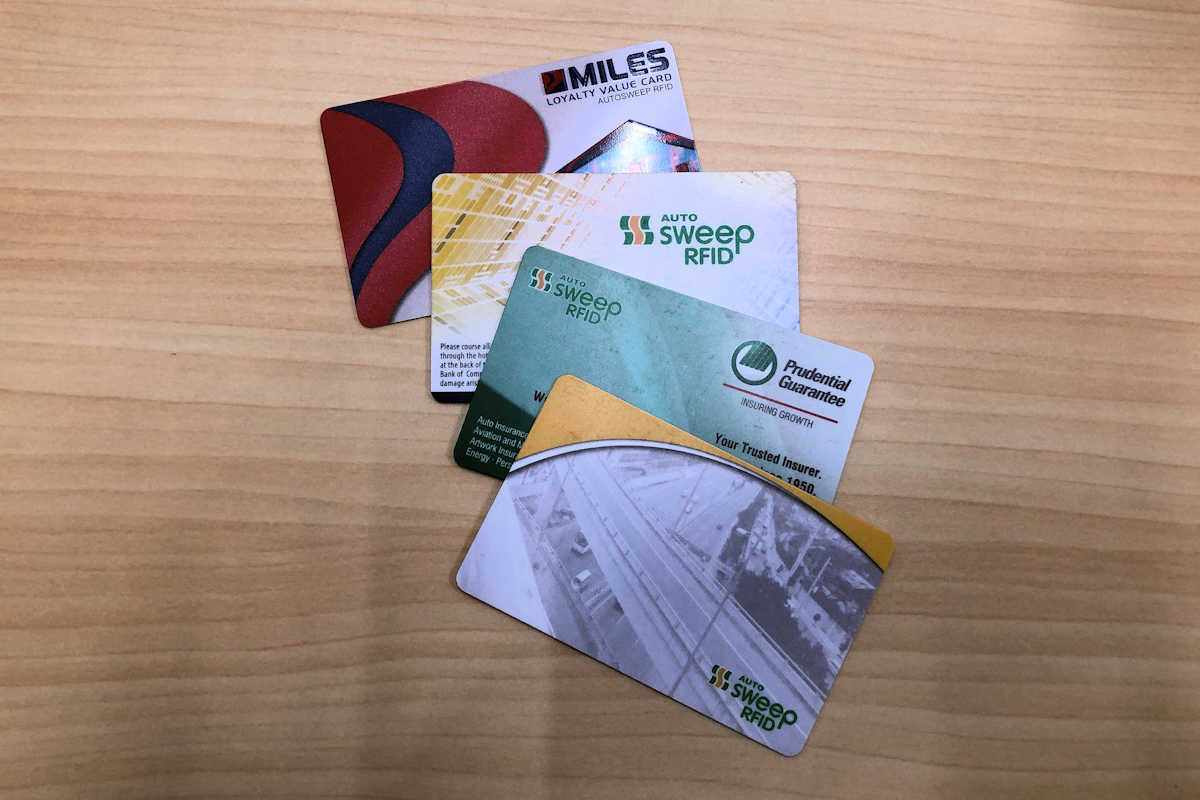
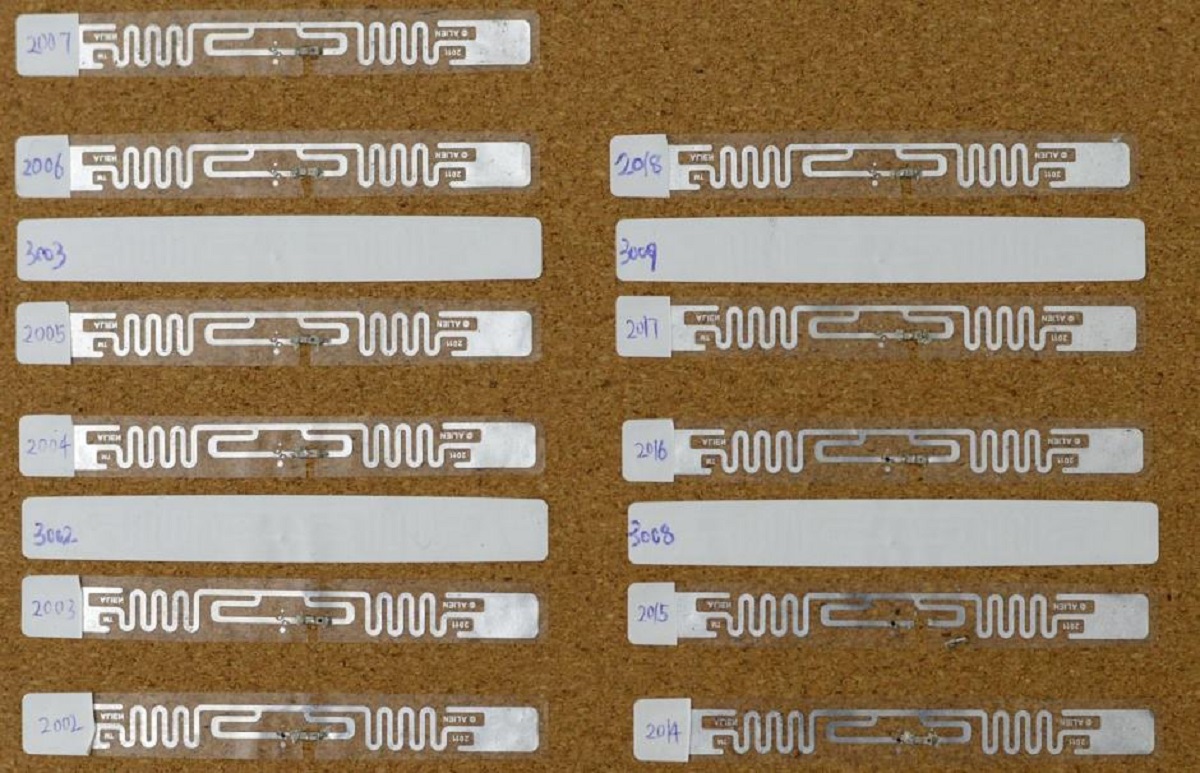
1. RFID Tags: Choose the type of RFID tags that are compatible with your desired application. RFID tags come in various forms, such as adhesive labels, key fobs, or wristbands. Make sure to consider factors like tag frequency (LF, HF, or UHF), memory capacity, and read range to suit your specific requirements.
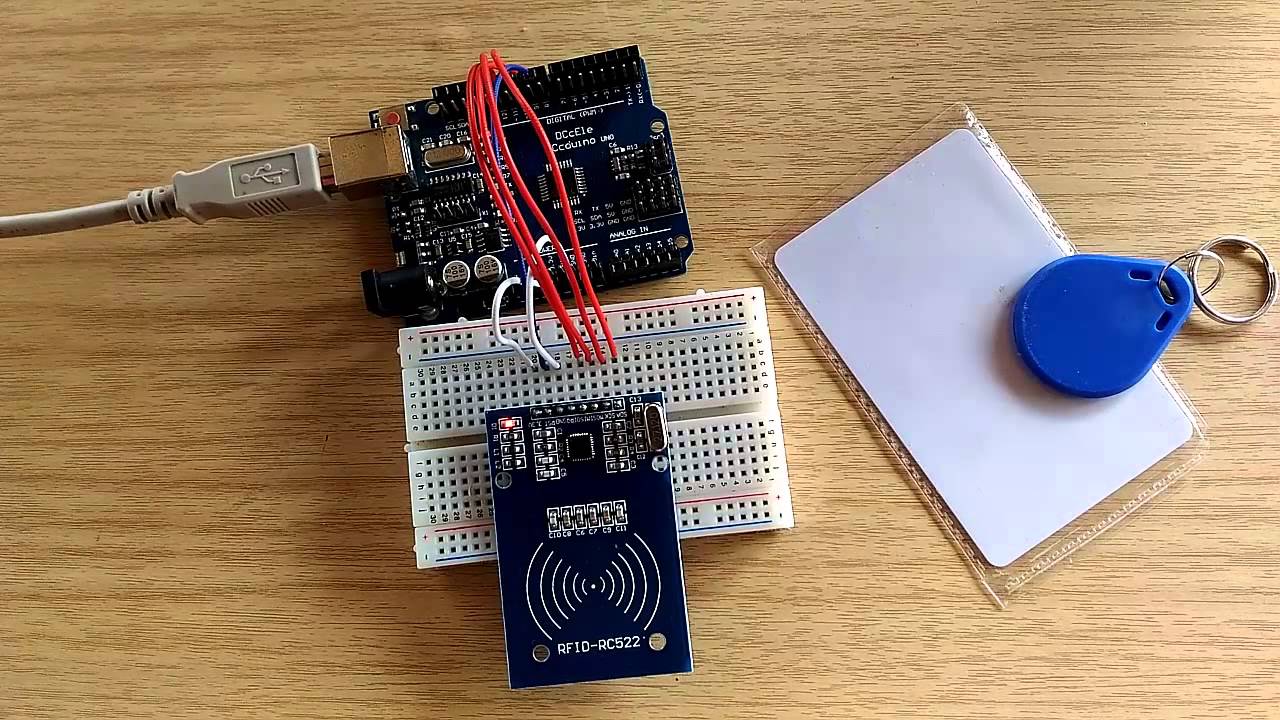
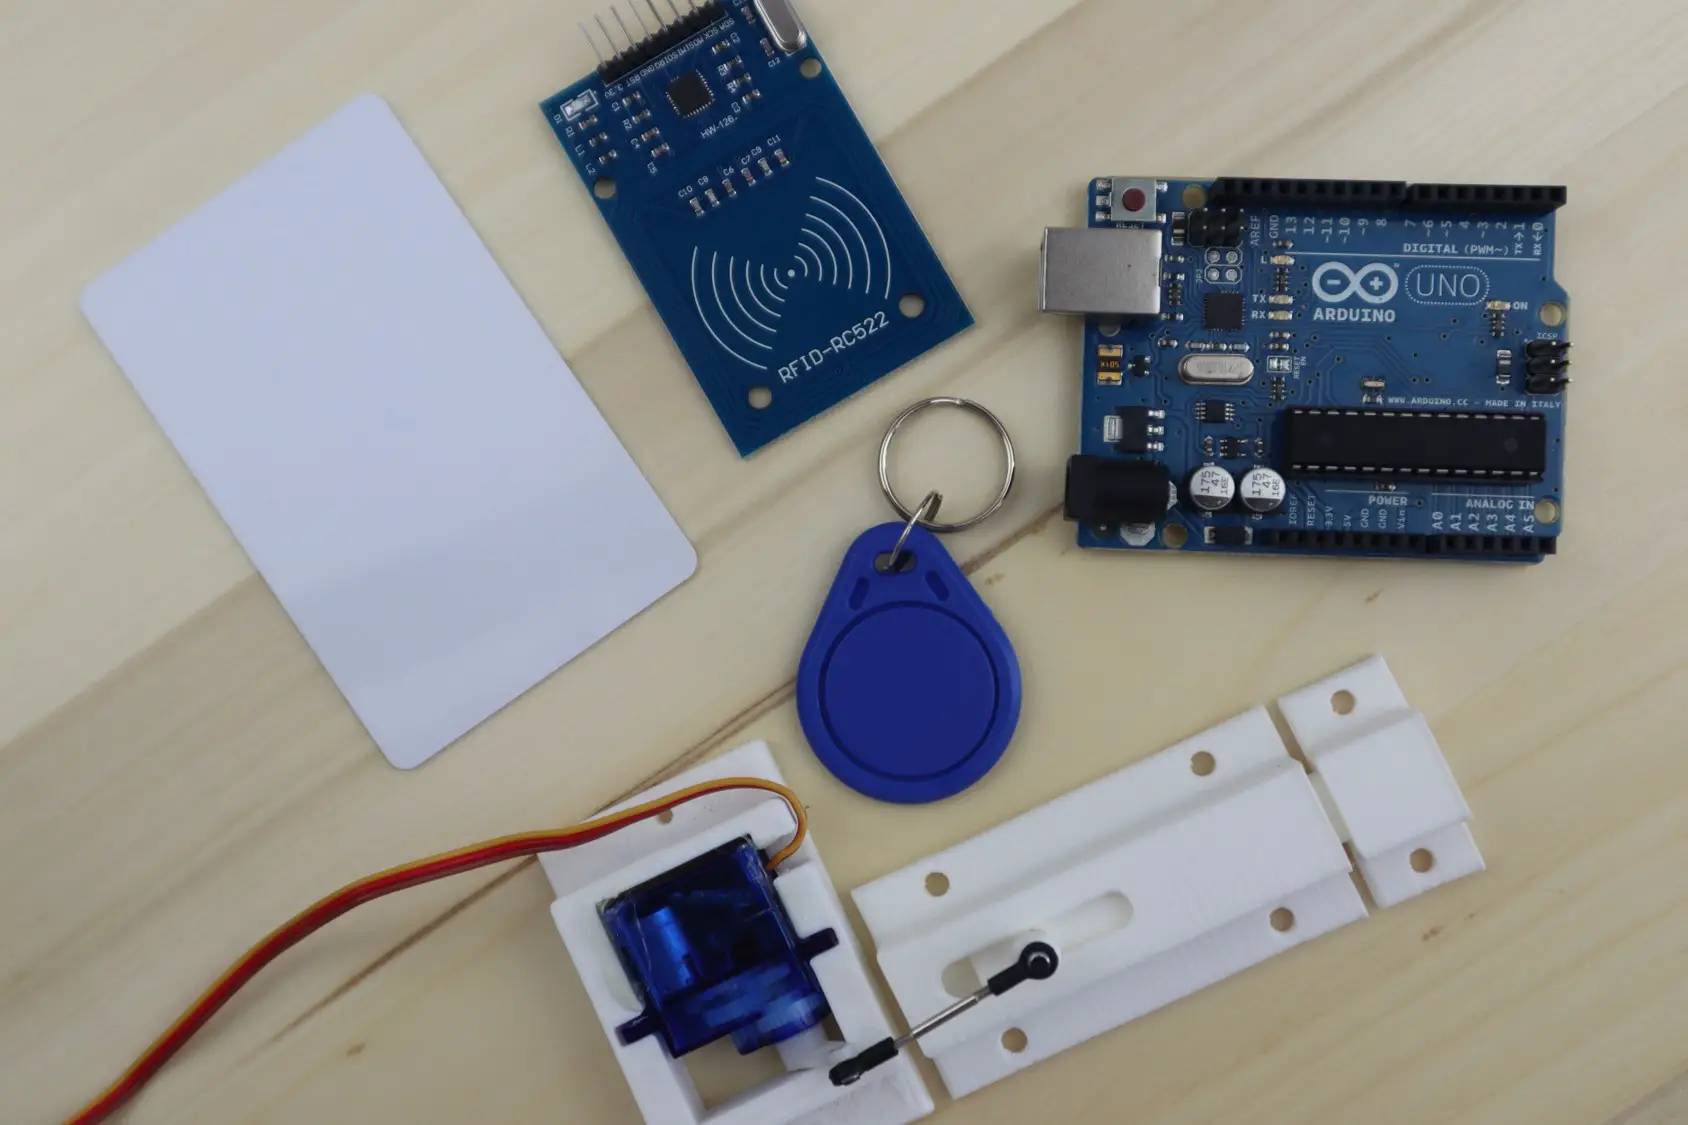
2. RFID Reader/Writer: An RFID reader/writer is the device that will communicate with the RFID tags. It can be a standalone device or a module that connects to your computer or microcontroller. Ensure that the reader/writer supports the same frequency as the RFID tags you have chosen.
3. Software: Depending on the reader/writer you are using, you may need to install specific software to program and interact with the RFID tags. The software will provide the necessary tools and functions to read, write, and manipulate the data stored on the tags.
4. Computer: You will need a computer to install the software and connect the RFID reader/writer. Ensure that your computer meets the minimum system requirements specified by the software provider.
5. Connectivity Cables: Some RFID reader/writer devices require USB or serial cables to connect to your computer. Check the specifications of your reader/writer to determine the type of cable required.
6. Power Supply: Depending on the type of RFID reader/writer you are using, it may require an external power source or rely on the power supplied by the computer. Make sure to have the appropriate power supply to ensure uninterrupted operation.
7. RFID Antennas: In some cases, you may need to use external antennas to enhance the read range and performance of the RFID system. Antennas come in various shapes and sizes and can be selected based on the specific application requirements.
8. RFID Programming Tools: These tools include software development kits (SDKs), libraries, or programming languages required to write and execute the code for programming the RFID tags. Depending on the reader/writer and software being used, you may need to install specific tools to facilitate the programming process.
By gathering these components, you will have everything you need to program RFID tags. It’s important to ensure that the tags, reader/writer, software, and other components are compatible and work seamlessly together. Following the upcoming steps, we will guide you through the process of programming RFID tags, allowing you to unleash the potential of this technology for your specific needs.
Step 1: Choose the RFID Tags
Selecting the right RFID tags is an essential first step in programming RFID tags. The type of tags you choose will depend on your specific application and requirements. Here are some factors to consider when choosing RFID tags:
1. Frequency: RFID tags operate at different frequencies, including Low Frequency (LF), High Frequency (HF), and Ultra-High Frequency (UHF). Each frequency has its own advantages and limitations. LF tags are suitable for short-range applications and offer better performance near metal surfaces. HF tags have medium-range capabilities and are commonly used in access control and contactless payment systems. UHF tags have a longer read range and are ideal for inventory management and supply chain applications.
2. Memory Capacity: Consider the amount of data you need to store on the RFID tags. Some tags have limited memory capacity for storing basic identification data, while others have larger memory capacities for storing additional information like product details or sensor data. Determine the memory requirements based on the data you intend to write onto the tags.
3. Form Factor: RFID tags come in various form factors, including adhesive labels, key fobs, wristbands, or even encapsulated within objects. Choose a form factor that is suitable for your application. For example, adhesive labels are commonly used for inventory tracking, while key fobs are popular for access control systems.
4. Read Range: Consider the distance at which you need to read the tags. Certain applications may require a longer read range, such as tracking assets in a large warehouse, while others may require a shorter read range, like authenticating access to a door.
5. Environmental Considerations: Evaluate the environmental conditions in which the tags will be used. Some tags are designed to withstand extreme temperatures, water exposure, or harsh chemicals. Ensure that the tags you choose are suitable for the intended environment.
6. Cost: Budget is an important factor to consider when choosing RFID tags. Different tags have different price ranges based on their features, memory capacity, and performance. Evaluate the cost of the tags in relation to the benefits they provide for your application.
By considering these factors, you can choose RFID tags that best suit your specific needs. It’s important to ensure that the tags are compatible with the RFID reader/writer you will be using. In the next step, we will explore how to obtain an RFID reader/writer to continue with the programming process.
Step 2: Obtain an RFID Reader/Writer
To program RFID tags, you will need an RFID reader/writer that can communicate with the tags. There are various options available in the market, ranging from handheld devices to integrated modules that can be connected to your computer or microcontroller. Here’s how you can obtain an RFID reader/writer:
1. Research: Conduct thorough research to identify the RFID reader/writer models that align with your requirements. Consider factors such as frequency compatibility (LF, HF, or UHF), read range, connectivity options (USB, serial, Ethernet), and software compatibility.
2. Supplier Selection: Look for reputable suppliers or manufacturers that offer RFID reader/writer devices. Check online marketplaces, industry-specific retailers, or contact RFID technology providers that specialize in your application area. Read reviews, compare prices, and assess the warranty and technical support offered by the suppliers.
3. Specifications Verification: Pay close attention to the specifications of the RFID reader/writer to ensure it meets your programming needs. Verify that it is compatible with the frequency of the RFID tags you have chosen in the previous step. Ensure that it has the necessary functionalities, such as read and write capabilities, data encryption, and communication interfaces.
4. Compatibility Check: Check if the RFID reader/writer is compatible with your computer or microcontroller. Some devices require specific drivers or software SDKs to establish communication between the reader/writer and your computer. Confirm that the reader/writer can interface with the programming tools you intend to use.
5. Budget Considerations: Evaluate the cost of the RFID reader/writer devices within your budget. Price ranges can vary depending on the features, capabilities, and brand reputation. Determine your budget and choose a device that offers a good balance between functionality and affordability.
6. Order and Delivery: Once you have selected the RFID reader/writer device, place an order with your chosen supplier. Provide your shipping information and complete the necessary payment process. Check the estimated delivery time to ensure it aligns with your project timeline.
7. Installation and Setup: Upon receiving the RFID reader/writer, follow the manufacturer’s instructions for proper installation and setup. This may involve connecting the device to your computer, installing any required drivers or software, and configuring the communication settings.
By obtaining a suitable RFID reader/writer, you will have the necessary tool to communicate with and program RFID tags. This device will enable you to read existing data from tags and write new data onto them, making it an essential component in the programming process. In the next step, we will discuss how to install the required software for programming RFID tags.
Step 3: Install the Required Software
In order to program RFID tags, you will need to install the necessary software onto your computer. The specific software required will depend on the RFID reader/writer you are using. Here’s how you can install the required software:
1. Software Identification: Identify the software that is compatible with your RFID reader/writer. Most manufacturers provide their own software for configuring and programming the devices. Visit the manufacturer’s website or check the documentation provided with the reader/writer to determine which software to install.
2. Download or Obtain Software: Once you have identified the required software, download it from the manufacturer’s website or obtain it through the provided sources. Make sure to download the version that is compatible with your operating system.
3. Install Software: Locate the downloaded software file and double-click to begin the installation process. Follow the on-screen instructions and prompts to complete the installation. Ensure that you have the necessary administrative permissions to install software on your computer.
4. Configuration Settings: During the installation process, you may be prompted to configure certain settings for the software. Pay attention to these prompts and adjust the settings according to your preferences or specific requirements.
5. Device Connection: Connect your RFID reader/writer to your computer using the appropriate connectivity cable. Ensure that the reader/writer is powered on and that the connection is secure.
6. Software Initialization: Launch the installed software on your computer. The software may automatically detect and recognize the connected RFID reader/writer. If not, follow the software’s instructions to establish a connection between the software and the reader/writer. This may involve selecting the communication interface or entering specific settings.
7. Driver Installation: In some cases, the software may require additional drivers to enable communication with the RFID reader/writer. If prompted, follow the instructions provided by the software to install the required drivers. This will ensure seamless communication between the software and the reader/writer.
By installing the required software, you will have the tools necessary to interact with the RFID reader/writer and program the RFID tags. The software will provide user-friendly interfaces, configuration options, and programming functionalities. In the next step, we will discuss how to connect the RFID reader/writer to your computer to begin the programming process.
Step 4: Connect the RFID Reader/Writer to your Computer
After installing the required software, it’s time to connect your RFID reader/writer to your computer. Establishing a proper connection is crucial for successful communication between your computer and the reader/writer. Here’s how you can connect the RFID reader/writer to your computer:
1. Check Connectivity Options: Identify the type of connectivity options available on your RFID reader/writer. Common options include USB, serial port, or Ethernet. Ensure that your computer has the corresponding ports or adapters to connect with the reader/writer.
2. Connect Using USB: If your RFID reader/writer has a USB connection, simply plug one end of the USB cable into the reader/writer and the other end into an available USB port on your computer. The operating system should automatically detect the reader/writer and install any necessary drivers.
3. Connect Using Serial Port: If your RFID reader/writer uses a serial connection, connect one end of the serial cable to the reader/writer and the other end to the serial port on your computer. If your computer doesn’t have a serial port, use a USB-to-serial adapter to establish the connection. Install any required drivers for the adapter if prompted.
4. Connect Using Ethernet: For RFID reader/writer devices with Ethernet connectivity, connect one end of the Ethernet cable to the reader/writer and the other end to an Ethernet port on your computer or to a router if using a network connection.
5. Ensure Power Supply: Some RFID reader/writer devices require an external power source. If this is the case, make sure to connect the power supply to the reader/writer for proper functionality.
6. Power On the Reader/Writer: Once the connections are made, power on the RFID reader/writer device. This step may require pressing a specific button or flipping a switch on the device.
7. Verify Connection: Launch the RFID programming software on your computer and check whether it recognizes the connected reader/writer. The software should indicate a successful connection with the device, allowing you to proceed with programming the RFID tags.
By establishing a solid connection between your RFID reader/writer and your computer, you are ready to start programming RFID tags. Ensure that the connection is secure, and all cables are properly connected. In the next step, we will discuss how to prepare the RFID tags for programming.
Step 5: Prepare the RFID Tags for Programming
Before you can start programming RFID tags, it’s important to properly prepare them to ensure successful programming. This step involves ensuring the tags are in good condition, properly encoded, and ready to receive the desired data. Here’s how you can prepare the RFID tags for programming:
1. Inspect the Tags: Carefully examine the RFID tags to ensure they are in good condition. Verify that the tags are not physically damaged, and the antennae are intact. Discard any tags that appear to be defective or have visible damage.
2. Encode Unique Identifiers: If the RFID tags require unique identification numbers, known as Electronic Product Codes (EPC), ensure that each tag is encoded with a unique identifier. This can be done using the software provided by the RFID reader/writer manufacturer. Follow the instructions in the software to assign unique identifiers to the tags.
3. Erase Existing Data: If you are reusing RFID tags that contain existing data, make sure to erase that data before programming. This ensures that the tags are ready to receive the new information you want to write onto them. Most RFID software provides an option to erase the existing data on the tags.
4. Prepare Data to be Written: Determine the specific data you want to write onto the RFID tags. This could include product details, inventory information, access credentials, or any other relevant data. Prepare the data in a format that can be easily applied to the tags during the programming process.
5. Organize Tag Data: If you are programming multiple tags with different data, organize the tag data in a spreadsheet or database, mapping each tag with its respective information. This will help ensure accurate programming and streamline the process.
6. Test Read/Write Operations: Before proceeding with programming, it’s a good practice to test the read and write operations of the RFID reader/writer. Use the software provided to read data from a programmed tag to confirm that the reader/writer is functioning correctly. Then, write a test set of data onto a tag to validate the write operation.
7. Prepare Tags for Programming: Place the RFID tags within the read range of the RFID reader/writer. Ensure that the tags are properly positioned and not obstructed by any external objects. Make sure the tags have a clear line of sight with the reader/writer to ensure successful programming.
By properly preparing the RFID tags for programming, you can ensure smooth and error-free operations. This step lays the foundation for accurately writing data onto the tags during the programming process. In the next step, we will discuss how to install any required libraries and drivers for programming the RFID tags.
Step 6: Install Libraries and Drivers
To successfully program RFID tags, you may need to install additional libraries and drivers that provide necessary functionality and compatibility with your RFID reader/writer. These libraries and drivers enable seamless communication between your programming environment and the RFID reader/writer. Here’s how you can install libraries and drivers for programming RFID tags:
1. Identify Required Libraries: Determine the libraries required for programming RFID tags. Check the documentation provided by the RFID reader/writer manufacturer or consult the software documentation to identify the necessary libraries. These libraries may include functions for reading and writing data to the RFID tags, as well as any additional functionalities required for your specific programming needs.
2. Download the Libraries: Once you have identified the required libraries, download them from the manufacturer’s website or from reputable open-source repositories. Ensure that you download the correct version of the libraries that match your operating system and programming environment.
3. Install the Libraries: Locate the downloaded library files and extract them if necessary. Follow the installation instructions provided with the libraries to install them on your computer. This may involve running an installer or simply copying the library files to the appropriate location in your programming environment.
4. Check Dependencies: Some libraries may have dependencies on other software components or frameworks. Make sure to install any required dependencies to ensure the library functions properly. Check the library documentation for information on any dependencies and installation instructions.
5. Install Device Drivers: If your RFID reader/writer requires specific device drivers, make sure to install them to establish communication between the reader/writer and your computer. The drivers may come with the RFID reader/writer or can be downloaded from the manufacturer’s website. Follow the instructions provided with the drivers to install them on your computer.
6. Test Library Installation: After installing the libraries and drivers, perform a test to ensure they are properly installed and functioning. Write a simple code snippet to read data from or write data to an RFID tag using the libraries. If the test is successful without any errors, it indicates that the libraries and drivers have been installed correctly.
By installing the necessary libraries and drivers, you ensure that your programming environment is equipped with the required tools to interact with the RFID reader/writer and program the RFID tags. These libraries provide essential functionalities, simplify programming tasks, and enhance the overall efficiency of the programming process. In the next step, we will discuss how to write the code to program the RFID tags.
Step 7: Write the Code to Program the RFID Tags
Writing the code is a crucial step in programming RFID tags. The code allows you to interact with the RFID reader/writer and manipulate the data stored on the tags. Here’s how you can write the code to program the RFID tags:
1. Select a Programming Language: Choose a programming language that is compatible with your RFID reader/writer and programming environment. Popular programming languages for RFID tag programming include Python, C#, Java, and C++.
2. Import Libraries: In your code, import the necessary libraries that you installed in the previous step. These libraries provide the functions and methods required to communicate with the RFID reader/writer and perform read and write operations on the tags.
3. Establish Connection: Code the necessary commands to establish a connection between your code and the RFID reader/writer. This may involve initializing the reader/writer object, configuring communication settings, and providing authentication credentials if required.
4. Reading Data: Write code snippets to read data from the RFID tags. This can include retrieving unique identifiers, product information, or any other data stored on the tags. Use the functions provided by the libraries to perform these read operations.
5. Writing Data: Write code snippets to write data onto the RFID tags. This can include updating product information, authentication credentials, or other relevant data. Utilize the functions provided by the libraries to perform these write operations.
6. Data Validation and Verification: Implement code to validate and verify the data before writing it onto the tags. Perform checks to ensure the data meets the required format, length, or any other specifications. This helps prevent errors or inconsistencies when programming the tags.
7. Handling Errors and Exceptions: Incorporate error handling and exception management in your code. This ensures that any issues encountered during the programming process, such as communication failures or tag errors, are properly handled and reported.
8. Test the Code: After writing the code, perform comprehensive testing to ensure its functionality. Use test data and simulated scenarios to validate the read and write operations on the RFID tags. Debug and iterate the code as necessary to ensure it performs as intended.
By writing the code to program the RFID tags, you gain control over the data stored on the tags and can customize their functionality to suit your specific needs. The code serves as the bridge between your programming environment and the RFID reader/writer, enabling seamless communication and efficient programming of the RFID tags. In the next step, we will discuss how to test the programmed RFID tags.
Step 8: Test the Programmed RFID Tags
After programming the RFID tags, it is crucial to perform thorough testing to verify their functionality and ensure that the desired data has been successfully written. Testing helps identify any issues or errors and allows for necessary adjustments. Here’s how you can test the programmed RFID tags:
1. Prepare Test Environment: Set up a controlled test environment where you can evaluate the performance of the programmed RFID tags. Ensure that the RFID reader/writer and the tags are in close proximity for reliable communication.
2. Read Tag Data: Use the RFID reader/writer and your code to read the data from the programmed RFID tags. Verify that the information retrieved matches the data you programmed onto the tags. Confirm the accuracy of identifiers, product details, or any other relevant information.
3. Perform Write Operations: Write new data onto the RFID tags using the RFID reader/writer and your code. Ensure that the new data is successfully written and can be read back from the tags without any discrepancies.
4. Validate Data Integrity: Compare the programmed data with the original data to ensure that it has been accurately written onto the RFID tags. Perform any necessary data validation checks to confirm the integrity and correctness of the programmed information.
5. Verify Read Range: Test the read range of the programmed RFID tags by moving them closer or farther from the RFID reader/writer. Determine the optimal distance for reliable communication and ensure that the tags can be read consistently within the desired range.
6. Test Multiple Tags: If you are programming multiple RFID tags, test them individually to ensure that each one has been programmed correctly and can be read independently. This helps identify any tag-specific issues and ensures that all tags are functioning as intended.
7. Simulate Scenarios: Perform tests that simulate real-world scenarios to evaluate the functionality of the programmed RFID tags. Test the tags in different environments, under varying temperatures or lighting conditions, and assess their performance in practical situations.
8. Document Test Results: Keep a record of the test results, including any issues encountered, error messages, or unexpected behaviors. This documentation can be helpful for troubleshooting, improving the programming process, or future reference.
By thoroughly testing the programmed RFID tags, you can ensure their reliability and effectiveness in real-world applications. Testing allows you to confirm that the data has been properly programmed onto the tags, validate their read range, and identify any potential issues. With successful testing, you can confidently deploy the programmed RFID tags for your intended use and leverage the benefits of RFID technology for your specific needs.
Conclusion
Congratulations! You have now learned the step-by-step process of programming RFID tags. Through this guide, we have explored the components required, the installation of necessary software and libraries, and the writing of code to program RFID tags. It is crucial to choose the right RFID tags, obtain a compatible RFID reader/writer, and connect it to your computer. Installing the required software and libraries helps facilitate communication and interaction with the RFID tags. Writing the code allows you to read and write data onto the tags, while testing ensures the functionality and accuracy of the programmed tags.
With the ability to program RFID tags, you can unlock a wide range of possibilities and applications. RFID technology offers advantages in inventory management, access control, asset tracking, and many other areas. By programming the tags, you can customize them for your specific requirements and enhance efficiency and productivity in various industries.
Remember to follow best practices and consider factors like tag frequency, memory capacity, and form factor when selecting RFID tags. Properly preparing and inspecting the tags, as well as validating the programmed data, is essential to ensure their correct functioning. Thorough testing enables the identification of any issues or errors and allows for necessary adjustments.
As technology continues to advance, RFID technology will undoubtedly play an increasingly essential role in various sectors. Whether you are a hobbyist, a business owner, or have a specific use case in mind, the ability to program RFID tags provides you with a powerful tool to streamline operations and improve processes.
Now that you have completed this guide, it’s time to start applying your newfound knowledge and explore the endless possibilities that RFID technology offers. Remember to stay updated with the latest advancements and continue learning to optimize your RFID programming skills.
So, go ahead and unleash the power of programming RFID tags to revolutionize your organization or projects. Have fun exploring this exciting world of RFID technology and making the most out of its potential!


